If you’ve ever tried removing a floodlight cover, you know it can be a real pain. The screws are usually tight, and the cover is often bulky. In this blog post, we’ll show you how to remove flood light cover easily and without damage. Stay tuned!
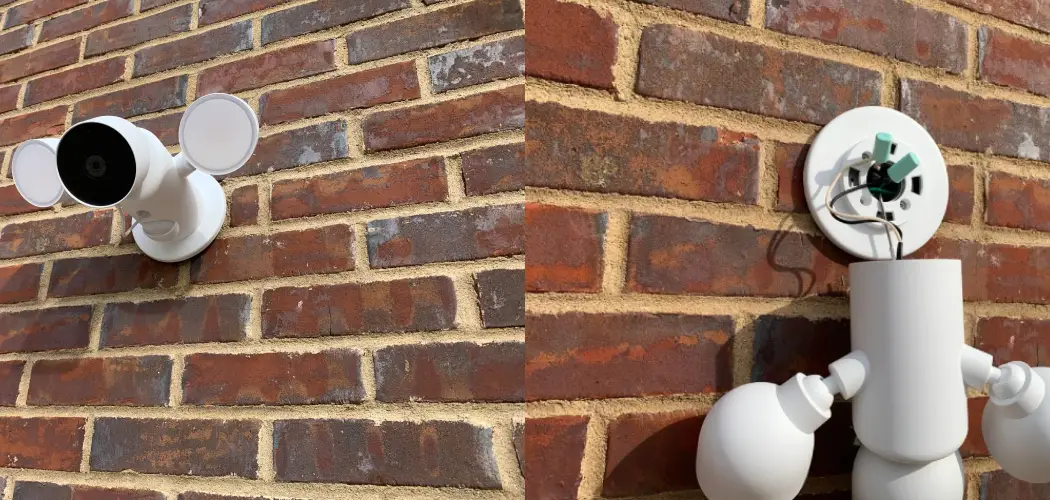
Summary Removing a floodlight cover is often necessary when replacing a burnt-out bulb or performing maintenance on your outdoor lighting fixtures. Floodlight covers protect the bulb and internal components from weather and debris, and are typically secured with clips, screws, or a twist-lock mechanism. Identifying the attachment method is crucial for safely and effectively removing the cover without causing damage to the fixture or the cover itself.
Before attempting to remove the floodlight cover, ensure that the power is switched off to avoid the risk of electrical shock. Next, inspect the cover’s attachment mechanism. If it is secured with clips or screws, use a screwdriver to carefully loosen and remove them. If the cover features a twist-lock mechanism, grasp the cover firmly and rotate it counterclockwise until it releases from the fixture.
In some cases, a floodlight cover may be sealed with weatherproofing material, which will need to be carefully removed before the cover can be detached. Once the cover is removed, proceed with the necessary maintenance or bulb replacement before reattaching the cover using the appropriate method. Always exercise caution when working with electrical fixtures, and if you’re unsure of the process, consider consulting a professional electrician.

What Is a Flood Light Cover?
Floodlights are a type of light that is used to light up outdoor areas like yards and parking lots. They have a wide beam angle and can produce a very bright light. In addition, there are covers for the floodlights that protect the bulb from damage and keep things from entering the fixture.
Most covers are made of durable materials such as plastic or metal, and some even have a protective coating that helps repel water. Flood light covers are an important part of any outdoor lighting system, and they can help prolong your floodlights’ life.
Why Should You Remove Flood Light Cover?
Most people don’t know that their flood light covers need to be removed and cleaned regularly. If you don’t remove the cover, dirt and dust will accumulate on the inside, causing the light to dim over time. In addition, the cover can become cracked or damaged, allowing moisture to enter the fixture and rust the wires.
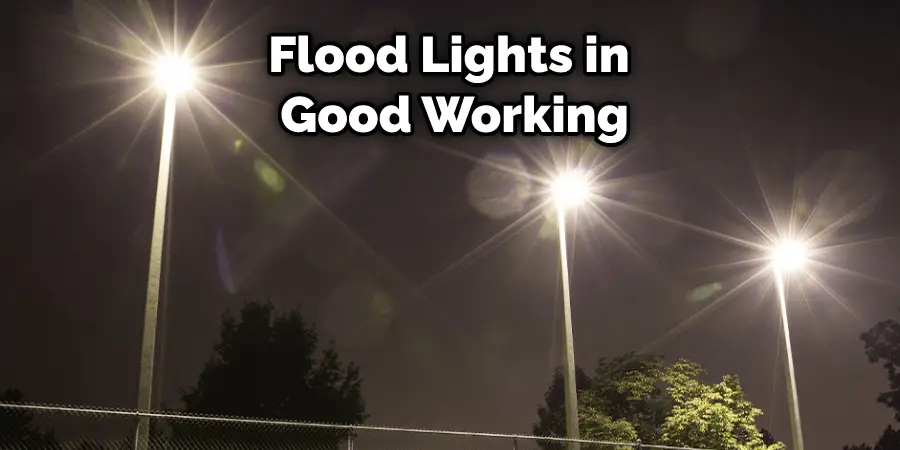
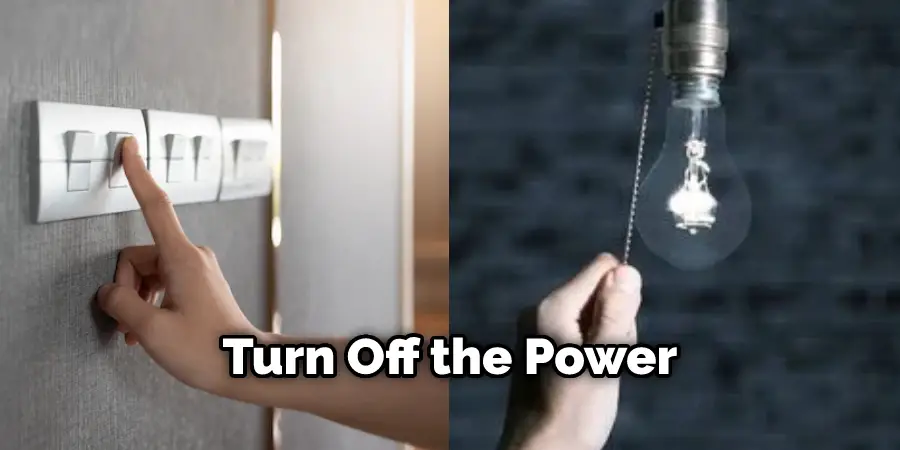
To keep your flood lights in good working condition and ensure maximum illumination, simply remove the cover. Plus, it only takes a few minutes to do! Just be sure to turn off the power before you begin.
How to Remove Flood Light Cover Step-by-Step Guide
Flood lights can be a great addition to your home or business but can also be a pain to maintain. The cover on the light can easily become dirty or damaged and needs to be removed to clean or repair it. Here’s how:
Step 1: Find the Screws that Hold the Cover in Place
The first step is to find the screws holding the cover in place. There are typically two screws that will be holding the cover onto the light. Once you have located these screws, you can proceed to the next step.
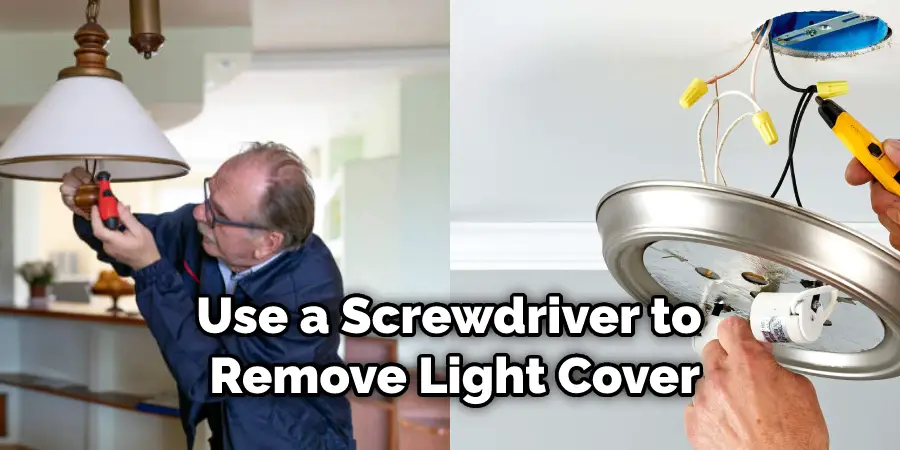
Step 2: Remove the Screws and Take Off the Cover
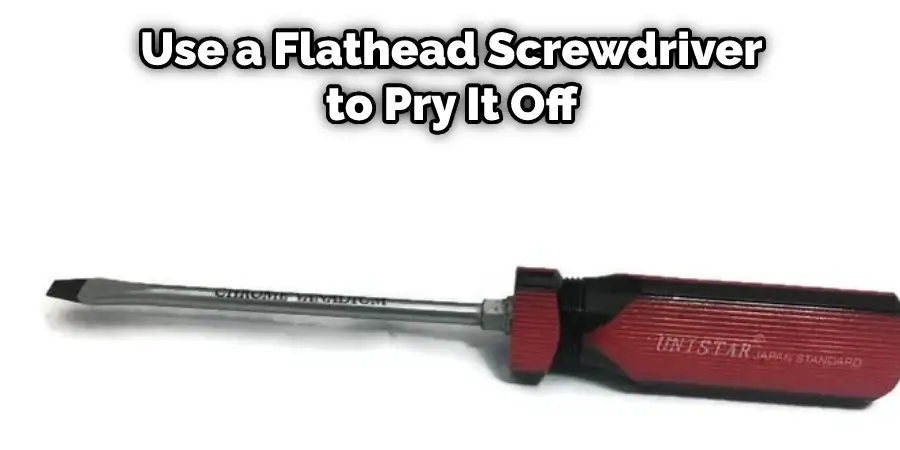
First, locate the screws with your eyes or with your fingers.-Then, grab a screwdriver and begin to unscrew the screws, being careful not to strip them.-Once the screws are removed, you can lift off the cover.-If the cover is stuck, use a flathead screwdriver to pry it off gently.
Step 3: Disconnect the Wires from The Light Fixture
Now that the cover is off, you must disconnect the wires from the light fixture. To do this, unscrew the wire nuts that are holding the wires in place. Once the wires are disconnected, you can remove the entire light fixture.
Step 4: Remove the Light Fixture from The Housing Unit
The next step is to remove the light fixture from the housing unit. To do this, unscrew the two screws holding it in place. Once you have done this, you can pull the fixture out of the housing unit.
Step 5: Install a New Flood Light Cover
Now that you have removed the old cover, it is time to install a new one. Again, be sure to follow the manufacturer’s instructions when doing this. In most cases, you will need to line up the new cover with the screws and then tighten them. Once the new cover is in place, you can turn on your flood light and enjoy its bright light again.
Step 6: Reconnect the Wires to The Light Fixture
It’s time to reconnect the wires to the light once the new cover is in place. First, ensure that the power to the fixture is turned off before beginning work. Next, use wire strippers to remove about half an inch of insulation from the black and white wires.
Wist the end of each wire around a corresponding screw on the back of the new cover, then tighten the screws to secure the wires. Once the wires are connected, you can turn the power back on and test out your new light cover!
Step 7: Call a Professional
If you are having trouble removing your flood light cover or are not comfortable doing electrical work, it is best to call a professional. A qualified electrician can remove the cover and install a new one quickly and safely.
If you’re not comfortable working with electrical wiring, it’s best to leave this job to a professional. But if you’re confident, follow these steps to remove your old flood light cover and replace it with a new one. With a few simple tools, you can have your light fixture look new in no time!
That’s it! You’ve now learned how to remove flood light cover. Be sure to follow all safety precautions when working with electrical wiring. If you have any questions, be sure to consult a qualified electrician.
How to Remove a Flood Light Cover Without Damaging It
The first step is locating the retaining clips that hold the cover. In most cases, there will be two clips on each side of the cover. However, some covers may have three or more clips. Once you have located the retaining clips, use a screwdriver or other tool to pry them off gently. If the retaining clips are stubborn, you can try heating them with a hair dryer or heat gun.
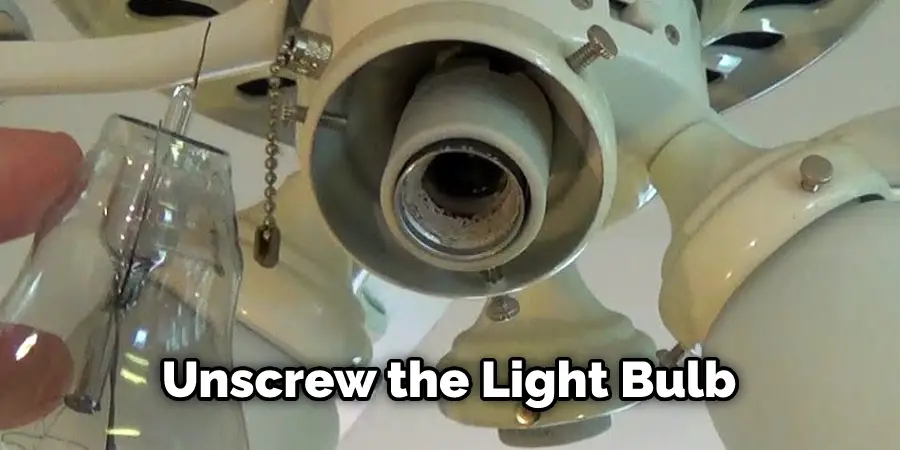
Once the retaining clips are removed, the cover should come right off. If it doesn’t, gently pry it loose with your screwdriver or other tools. Be careful not to damage the edges of the cover as you remove it. Once the cover is off, you can proceed to unscrew the light bulb and replace it with a new one.
Finally, reattach the cover and secure it with the retaining clips. With a little care and patience, you should be able to remove and replace your flood light cover without damaging it.
What to Do if You Can’t Remove the Flood Light Cover
If you find yourself in a situation where you can’t remove the flood light cover, there are a few things you can do. First, try using a flathead screwdriver to pry the cover off. You can try heating the cover with a hair dryer or heat gun if that doesn’t work.
Be careful not to overheat the plastic, as this could damage the fixture. Once the cover is heated up, it should be easier to remove. If all else fails, you can always call a professional to help you with the problem.
Tips for Removing a Flood Light Cover
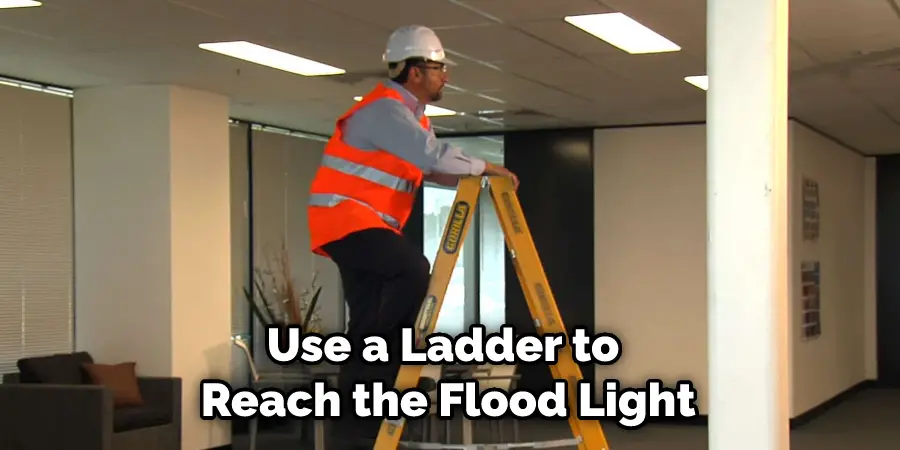
If you need to remove a flood light cover to access the light bulb or make repairs, you should keep a few things in mind. First, disconnect the power to the fixture before beginning any work. Then, once the power is off, use a ladder to reach the flood light and unscrew the retaining screws that hold the cover.
With the screws removed, you should be able to pull the cover away from the fixture gently. If the cover is stuck, you can try using a putty knife or other thin tool to pry it loose. Once you have access to the bulb, simply unscrew it and replace it with a new one. Then reattach the cover and screw it into place.
Be sure to turn on the power before descending the ladder. Keep reading for more information about how to remove flood light cover.
How to Fix a Broken Flood Light Cover
A broken flood light cover can be a nuisance, but it’s easy to fix with just a few simple steps. First, locate the break and clean up any debris around the area. Next, using a utility knife or scissors, score a line around the circumference of the cover. Once the cover is scored, carefully snap it off along the line.
Finally, align the Cover back onto the flood light base and press firmly to secure it. With these easy steps, you can have your flood light up and running in no time!
How to Clean a Flood Light Cover
Floodlights are a great way to add extra light to your home, but they can get pretty dirty over time. So to keep them looking their best, cleaning the covers regularly is important. Here’s how:
First, remove the cover from the floodlight fixture. If it’s attached with screws, simply unscrew them and set the cover aside. If it snaps on, you may need to use a flathead screwdriver to pry it off.
Next, using a soft cloth or sponge, wipe down the inside of the cover to remove any dust or dirt. Be sure to avoid getting any water inside the fixture.
If the cover is very dirty, you can wash it with mild soap and warm water. Just rinse it well and dry it completely before putting it back on the floodlight.
With just a little bit of regular cleaning, you can keep your floodlight covers looking new for years to come!
Frequently Asked Questions
Can You Replace an Integrated Led Light Bulb?
While LED light bulbs are becoming more and more popular, there may be times when you need to replace an integrated led light bulb. When should this happen? Well, it depends on the type of integrated led light bulb that you have and how long it has been working. For example, if your integrated led light bulb is a compact fluorescent (CFL) or incandescent equivalent, then it should generally be replaced every 10-12 years. If your integrated led light is a halogen lamp (i.e., traditional filament incandescent), then it should be replaced every 2-4 years depending on its usage.
If you’re not sure when your Integrated Led Light Bulb needs to be replaced, simply consult with the manufacturer or retailer to get advice about what action to take in order for yours to stay lit up reliably!
What Causes Led to Burn Out?
There are many factors that can lead to burn out, and the most common ones include long hours at work or strain on personal relationships. Other causes may include dietary deficiencies or bad habits such as smoking cigarettes.
If you find that you’re experiencing frequent bouts of mental fatigue, it is important to address the issue head-on. This might require changing your work schedule or finding a new job that is more accommodating to your needs. Additionally, it’s important to take care of yourself physically by promoting good hydration and getting regular exercise. A healthy diet full of fruits and vegetables will also help keep your body functioning optimally.
Can a Broken Light Bulb Electrocute You?
It all depends on the type of bulb and how it is broken. If the bulb is broken and contains sharp edges, it could potentially electrocute you. On the other hand, if the bulb has been smashed or dropped, there is a greater chance that it will release toxins that could cause harm. Ultimately, it’s best to get a professional opinion before doing anything – just to be safe!
Do You Have to Turn Off Electricity to Change a Light Bulb?
Most people don’t have to turn off electricity to change a light bulb, but there are some precautions that you should take if you do. First, unplug your lights when you’re going to replace the bulbs so that any accidental shocks won’t damage them. Second, be sure not to touch the lightbulbs with your hands; use a screwdriver or another tool instead. And finally, keep an eye on children who may be tempted to play with them by turning them on and off. By following these simple guidelines, you can avoid potential injury and make sure your lights stay shining bright!
Conclusion
It is very easy to remove the cover of the flood light. You can have it done in just a few simple steps in no time. Plus, by doing it yourself, you can save some money on hiring a professional to do it for you. So follow these steps and get started today! Thanks for reading our post about how to remove flood light cover.