
If you want to upgrade your Christmas decorations this season, then removing the lights from a pre-lit tree might be something that catches your eye. You must know how to remove lights from pre lit tree.

While it may seem like a challenging task due to the sheer amount of work involved, it doesn’t need to be so intimidating! We’ve got some useful tips for you on how easily and quickly remove excess lights from your preexisting tree without any difficulty or mess. Your existing twinkling green masterpiece will look brand new in no time! Read on for more details.
Tools You Will Need
- Screwdriver
- Step ladder
- Pliers or wire cutters
- Flexible plastic zip ties (optional)
6 Steps Guide on How to Remove Lights From Pre Lit Tree
1. Unplugging the Tree From Any Power Sources
If you are decorating for the holidays and have an artificial pre-lit tree, removing the lights from the tree is easy when done correctly. Start unplugging the tree from any power sources such as multiple plugs or battery boxes and lay out the strands of lights on a flat surface so that it’s easier to work with each one individually.
Gently untangle and separate each strand of light before unraveling any knots or tangles that may have formed over time. If need be, cut off parts of wire ties or string that were used to hold strands of strands together so they can be more easily handled without affecting the rest of the light set. Once all these steps are complete, you can easily clip off individual bulbs and replace them if necessary.
2. Be Careful Not to Damage the Connectors
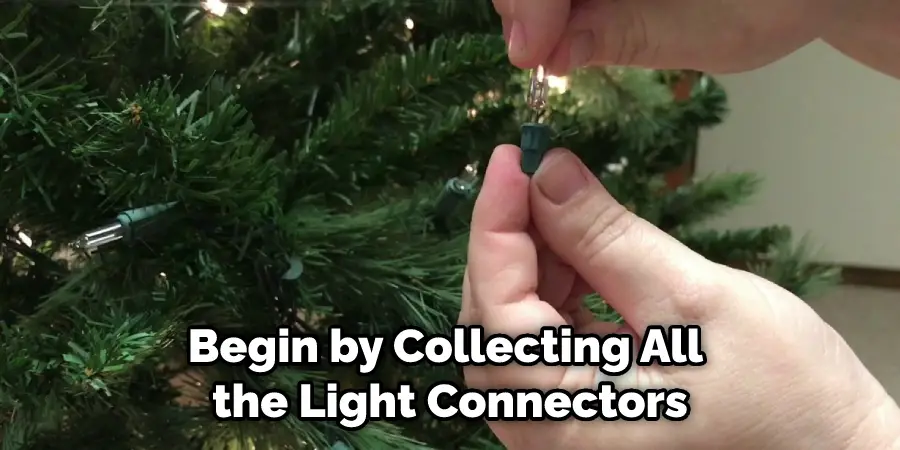
Removing lights from a pre-lit tree can be a tedious task, but with a little care and patience, it can be accomplished safely. Begin by collecting all the light connectors that are affixed to the tree and set them aside on a clean surface. Using a screwdriver, carefully unscrew and detach each connector from the tree.
If any of the screws are rusted or stripped, do not force or over-tighten them – instead spray some lubricant to loosen them before attempting removal. Be sure that each connector is completely detached from the tree before proceeding; otherwise, you could end up with costly repairs. With all parts disconnected, store them securely in an area where they will not become damaged while you take down your festive decorations.
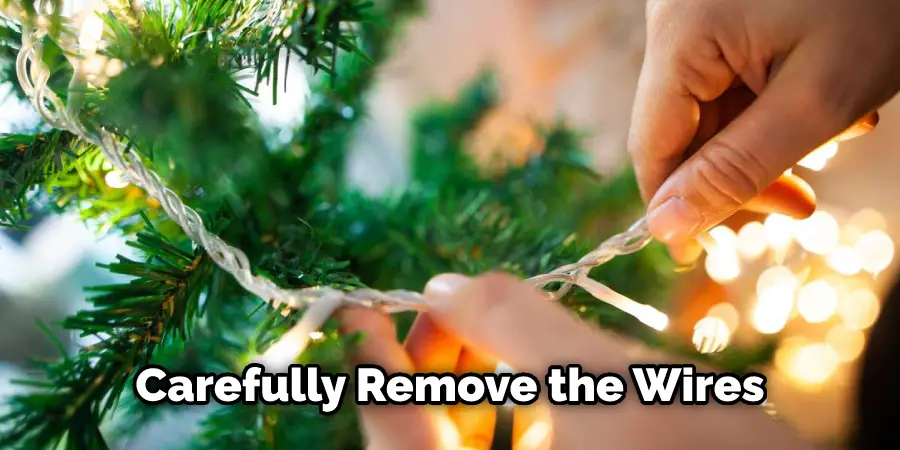
3. Remove Any Wires That Are Connected to the Tree
Removing lights from an artificial tree can be a messy job, however, with the right tools, it can become an easier task. To take off decorations and lights from a pre-lit tree you will need to have pliers or wire cutters ready. If your tree has had its decorations up for longer than just a few days.
It is important to be very careful in cutting away wires so that you don’t accidentally sever any other parts of the tree in the process. Start by slowly chipping away at the wires that are connected to the decorations and lights until they completely disconnect from your pre-lit tree.
4. Start Removing the Actual Lights
Starting at the top of the tree, begin to wrap any excess light strands around your hand or arm as you work your way down. This will help keep all of the lights organized and make sure none of them get left behind.
Now that all the wires and connectors are secured and disconnected, it’s time to start taking down the actual lights. The best way to go about this is to begin at the top of the tree so that any excess strands of light can be wrapped around your hand or arm as you work your way down. Not only will this help keep you organized by avoiding any knots or tangles, but it will also ensure that all the lights are removed when taking down the tree. This method is sure to make light removal a breeze!
5. Snip Away Any Excess Lights From the Bottom Up
If you plan on taking down your pre-lit tree after the holiday season, don’t forget to remove all the lights before disassembling it! This can be done easily with a pair of pliers or wire cutters, depending on the type of lights you have. To do this correctly, start from the bottom of the tree and work your way up so that extra lengths of light don’t get caught in branches that move as you progress upward.
Make sure to take your time when snipping away at each strand, as it’s very important not to mistake any part of the tree for excess lights. With careful precision, you will soon have a sparsely lit (or unlit!) tree ready for storage.
6. Secure Any Remaining Wires in Place
Taking the time to properly remove web lights from a prelit tree is essential for its care and display. After all of the desired lights have been removed, be sure to use flexible plastic zip ties to secure any remaining wires in place.
This will ensure that the tree looks neat and presentable, while also safely securing any extra wiring that may remain. Doing this small step will help keep your holiday décor looking festive and tidy while also preventing any accidents or tangling that could occur due to excess wiring.
Tips to Remove Lights From Pre-Lit Tree
- Before beginning, make sure that you have the following materials: a stepladder, a screwdriver, and a pair of pliers.
- Using the stepladder, carefully remove the topmost section of the tree. This section will likely be held in place by screws or bolts.
- Once the top section is removed, you will be able to see the wires that connect the lights to the rest of the tree.
- Using the screwdriver, loosen the screws or bolts that hold the wires in place. Be careful not to damage the wires as you do this.
- Once the screws or bolts are loosened, carefully remove the wires from their respective holes.
- With the wires removed, you should now be able to remove the next section of the tree. Repeat steps 2-5 until all sections of the tree have been removed.
- Once all sections of the tree have been removed, you will need to remove the lights from each branch. To do this, first, twist each light around its socket a few times to loosen it.
- Once loosened, carefully pull each light out from its socket. If any lights are stubborn and refuse to come out, you may need to use a pair of pliers to gently pull them out.
- With all of the lights removed, you can now dispose of them in whichever manner you see fit.
- Congratulations! You have now successfully removed all of the lights from your pre-lit tree!
Everything You Need to Know About Removing Lights From Pre-Lit Trees
Removing lights from pre-lit trees can be a labor-intensive task. Start by folding up one side of the tree branches to easily access the entire tree. After that, determine which type of light strand is connected to the tree and disconnect it starting with the top of the tree and then slowly working your way through each limb until the strand is completely disconnected. Depending on how much time you have, you can start to remove lights from the strands one at a time or speed up the process by removing them in sections (for thicker strands).
Typically we recommend removing a few strands at a time so you don’t have too many lights for safe storage. To keep things organized, it’s important to store your strands properly and wrap them in plastic bubble wrap that has been cut down in size. That way, when you’re ready to put them back on next year all you have to do is place them back together like they were removed. Removing lights from pre-lit trees doesn’t have to be complicated but following these steps will help streamline the process and make sure your decorations are kept safely stored away till the next holiday season!
How To Ensure All of the Lights Come Off When Taking Down Your Pre-Lit Tree?
When it is time to take down your pre-lit tree, it is essential to ensure that all the lights come off. After manipulating the tree from its full height until it is fully laid out, hopefully not tangling the branches too much, start by bending each branch gently outward as you work your way through and form a V shape. This allows you to access each spot of each branch to unhook the lights.

As tedious and time-consuming as this process may seem, taking extra care while doing this step will be very beneficial in helping you take off all the lights successfully without missing any spots! Once you finish, either store away your lights separately or leave them attached to the branches and fold up the tree for space-saving purposes.
Conclusion
Removing lights from a pre-lit tree can be a tedious job, but it is possible to do. You should carefully determine how to remove lights from pre lit tree. With the right tools and techniques, you can successfully remove all of the lights and enjoy the simple scene of a plain tree.
Whether you want to make room for new decorations or simply don’t need the pre-lit tree anymore, removing the lights follow these easy steps and you’ll have an unlit tree in no time. Through persistence and patience, your holiday decor is free to be updated each season within your budget.
You Can Check It Out to Make a Lava Lamp Work Again