Are you looking to remove old recessed light trim? If so, then you’ve come to the right place! In this blog post, we’ll show you how to remove old recessed light trim easily. With just a few simple tools, you’ll be able to get rid of that outdated trim in no time! So if you’re ready to learn how to remove old recessed light trim, then keep reading!
Summary: Removing old recessed light trim is an essential step in updating or replacing recessed lighting fixtures in your home or office. The process involves carefully detaching the trim from the housing without damaging the surrounding ceiling or the fixture itself. Recessed light trims are typically held in place using spring clips, friction clips, or screws, so it’s crucial to identify the type of attachment mechanism before attempting removal.
To start, switch off the power supply to the recessed light fixture to ensure safety. Next, gently press the trim against the ceiling to access the attachment mechanism. If the trim is held in place by spring clips, carefully unhook and release them using a screwdriver or your fingers.
For friction clips, you may need to rotate the trim counterclockwise before pulling it away from the housing. If the trim is secured with screws, use a screwdriver to loosen and remove them.
Once the trim is detached, carefully lower it from the housing, taking care not to damage the surrounding ceiling or internal components. If the trim is connected to a light bulb, remove the bulb first to avoid accidentally breaking it during the process. After removing the old trim, clean the recessed light housing and surrounding area in preparation for installing new trim or a replacement fixture.
Why Remove Old Recessed Light Trim?
There are a few reasons you might want to remove old recessed light trim. Maybe the trim is outdated or damaged, or maybe you’re just looking to switch things up. No matter what your reason, removing old recessed light trim is a simple task that anyone can do!
What You’ll Need
Before we get started, there are a few things you’ll need. For this project, you’ll need:
- A screwdriver
- A drill
- A pair of pliers
- New recessed light trim (optional)
How to Remove Old Recessed Light Trim Step by Step Guide
Step 1: Turn the Lights Off And Allow Them to Cool
Before you do anything, you’ll want to make sure the light is off and has had a chance to cool down. This is especially important if there’s glass involved, as you don’t want to start cutting and then have the glass shatter on you.
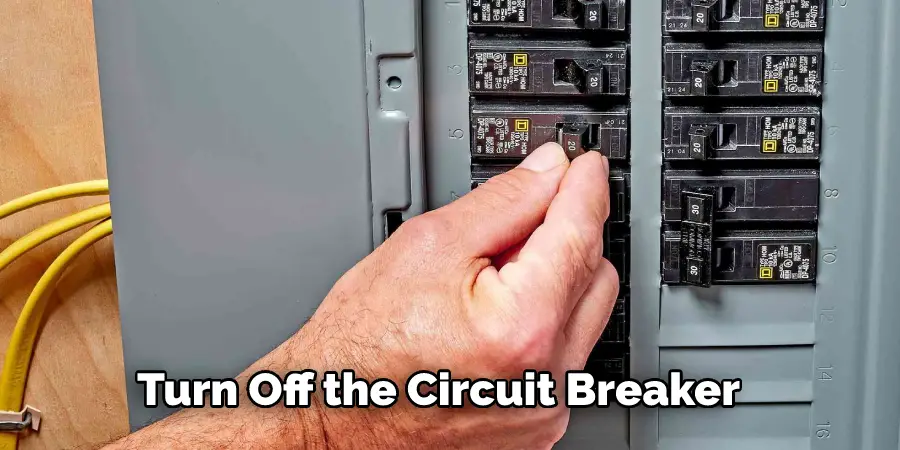
Step 2: Turn Off the Circuit
In order to avoid any potential accidents, you’ll want to turn off the circuit breaker for the light before beginning this project. This safety precaution should always be taken whenever working with electricity.
Step 3: Unscrew the Light Bulbs
Unscrew the light bulbs and carefully remove them from the recessed light trim. If the bulbs are not easy to unscrew, you may need to use a pair of needle-nose pliers.
Step 4: Get Ready to Remove the Trim
Now that you have all of the tools and materials you need, it’s time to remove your old recessed light trim. Start by turning off the power to the circuit that controls the light fixture at your home’s breaker box. Once the power is off, remove the light bulb from the socket and unscrew the trim ring from the fixture. If the trim is particularly stubborn, you can use a flathead screwdriver to pry it off.
Step 5: Remove the Old Trim
LED light strips are a type of light that can be mounted on a wall. They are not known to come off the wall, but if you plan on moving them around regularly it is best to use a mount or holder. This will help to keep the light strips from getting damaged.
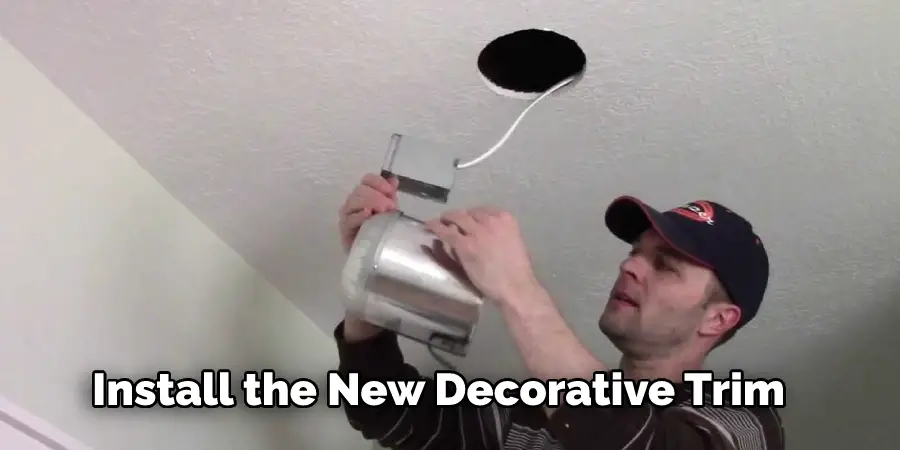
Step 6: Install the New Decorative Trim
Now that you have successfully removed your old recessed light trim, it is time to install the new decorative trim. To do this, the first measure the inner diameter of the recessed can light. Next, cut a piece of electrical tape that is slightly larger than the inner diameter of the recessed can light. Once you have done this, peel off the adhesive backing and attach the electrical tape to the back of the new decorative trim.
Step 7: Screw the Light Bulbs Back Into Place
Replace the light bulbs by screwing them back into the sockets. Be careful not to touch the glass of the new light bulbs with your fingers, as this will cause them to become hot quickly.
Step 8: Turn on the Electricity and Test the Light Bulbs
Now that your new recessed light trim is in place, it’s time to turn on the electricity and test the light bulbs. If everything is working properly, you should see a nice, even light coming from your fixtures. If not, you may need to adjust the position of the trim or the light bulbs themselves. But, with a little bit of trial and error, you should be able to get your recessed lights looking great in no time!
Dans cet article, nous expliquons comment enlever les garnitures de lumières encastrées qui sont vieilles. Si vous avez des questions ou des commentaires, n’hésitez pas à les partager avec nous ci-dessous. Et n’oubliez pas de consulter nos autres articles pour obtenir plus de conseils et d’astuces sur les projets d’amélioration de l’habitat.
What Are Some of The Pros and Cons of Recessed Lighting Fixtures?
When it comes to lighting, there are a variety of different fixtures to choose from. Recessed lighting is one option that has both pros and cons. Here are some of the biggest benefits and drawbacks of this type of lighting:
Benefits
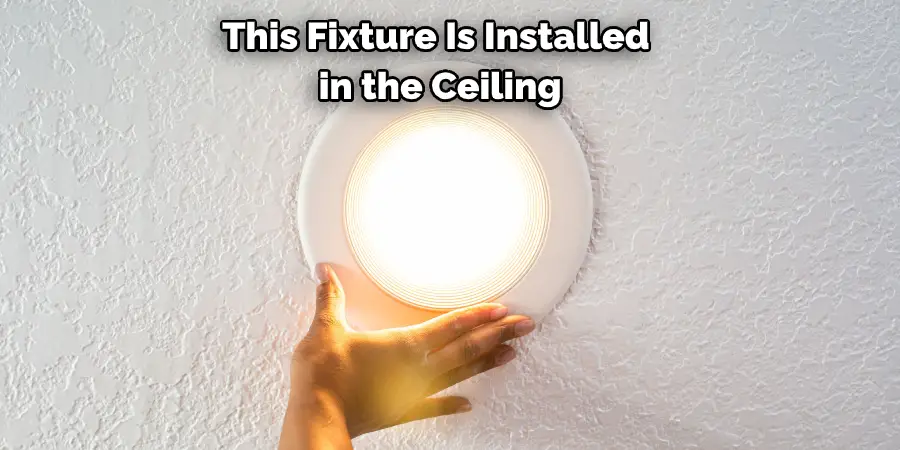
1. Recessed lighting is a great way to save space. This fixture is installed in the ceiling, so it doesn’t take up any floor space.
2. Recessed lighting is a great way to create ambiance. This type of lighting can create different moods in a room.
3. Recessed lighting is a great way to highlight specific features in a room. For example, this type of lighting can highlight artwork, furniture, or other features in a room.
Drawbacks
1. Recessed lighting can be difficult to install. This type of lighting requires professional installation.
2. Recessed lighting can be expensive to install. This type of lighting is more expensive than other types of fixtures.
3. Recessed lighting can be difficult to maintain. This type of lighting requires regular cleaning and maintenance.
Can I Connect Two Recessed Lighting Fixtures?
If you want to connect two recessed lighting fixtures, you need a wire connector. First, twist the exposed wires of each fixture together. Then, screw on a wire connector over the top. This will create a secure connection between the two fixtures.
You can also use a junction box to connect two or more recessed lighting fixtures. A junction box is a metal or plastic box installed in the ceiling, and it provides a safe place to connect wires. To install a junction box, cut a hole in the ceiling and push the box up into the hole.
How Do I Remove Trim Rings from Recessed Lighting?
There may come a time when you want to remove the trim ring from your recessed lighting. Perhaps you’re painting or re-tiling and need to get the light out of the way, or you’re just updating your lighting fixtures and want a new look. Whatever the reason, here’s how to do it:
1. first, unscrew the light bulb from the socket.
2. then, using a flathead screwdriver or other tool, pry off the trim ring.
3. finally, pull out the light fixture itself.
You’ll have no problem removing your old recessed light trim with these steps! Keep reading for more information about how to remove old recessed light trim.
How Do You Replace Recessed Lighting Cans?
Replacing a recessed light can is a fairly simple process, but it helps to know what you’re doing before you get started. Here are the basic steps:
- Turn off the power to the light at the circuit breaker.
- Remove the trim from the old can by unscrewing it.
- Disconnect the wires from the old can.

- Connect the wires to the new can in the same order as they were connected to the old one.
- Screw on the new trim.
- Turn on the power to the light at the circuit breaker.
You may also need a ladder to replace a recessed light can. Be sure to use caution and ask someone to help you if you’re not comfortable using a ladder.
How To Remove Can Light Housing From Ceiling?
There are a few ways to remove a can of light housing from your ceiling.
One way is to use a pry bar. Pry the trim ring off of the housing. You can also try to loosen the screws on the housing side. If these are loose, you can pull the housing straight down.
Another way to remove the housing is to cut the electrical wires attached to the housing. This will disable the light, and you can then pull the housing straight down.
Be very careful when working with electricity. If you are not comfortable doing this, please call a professional.
Frequently Asked Question
How Long do LED recessed lights Last?
LED recessed lights can last anywhere from 25,000 to 50,000 hours. This is a significant improvement over the lifespan of incandescent and fluorescent lights, which last around 1,000 and 10,000 hours, respectively.
How to Adjust the Bulb Depth in A Recessed Light Fixture?
If the light is not coming on or is too bright, you may need to adjust the bulb depth. To do this, remove the trim and then use a screwdriver to adjust the screws on the side of the fixture. Be sure to hold onto the light to avoid dropping it. Once the bulb is at the desired depth, replace the trim and test the light.
How to Adjust the Bulb Depth in A Recessed Light Fixture?
If your recessed light fixture is not providing enough light, you may need to adjust the bulb depth. This can be done by removing the trim and unscrewing the socket from the housing. Once the socket is removed, you can twist the bulb deeper into place. Be sure to screw the socket back in securely before replacing the trim.
How Do You Remove Old Recessed Light Housing?
There are a few ways that you can remove old recessed light housing. The first is to use a screwdriver to remove the screws that hold the light in place. The second is to use pliers to twist off the light cover. The third is to break the glass and remove the light bulbs before pulling out the housing. If you have a lot of recessed lights, it may be necessary to replace the entire light fixture. This is not as difficult as it sounds. All you need to do is unscrew the old housing and screw in the new one. You will need to make sure that the new fixture is compatible with your home’s electrical system.
Conclusion
Now that you know how to remove old recessed light trim, it’s time to get started on yours! This is a relatively easy project that can be completed in just a few hours. Be sure to follow the safety precautions listed above, and have fun with it. Once your new trim is installed, you’ll be able to admire your handiwork every day. Are you excited about trying this project? Let us know how it goes in the comments below.