Summertime is here, and that means time for fun in the sun! Unfortunately, it’s also time to break out the boob lights. Wait, what? Don’t you know what a boob light is? It’s ok; you’re not alone. A boob light is a lamp shaped like a woman’s breast. While they may be popular among college students, many people are still unsure how to remove a boob light. Don’t worry; I’m here to help.
Why Remove a Boob Light?
There are a few reasons you might want to remove a boob light. Maybe you’re moving and need to take it down. Or maybe you’re just not a fan of the look. No matter the reason, removing a boob light is easy.
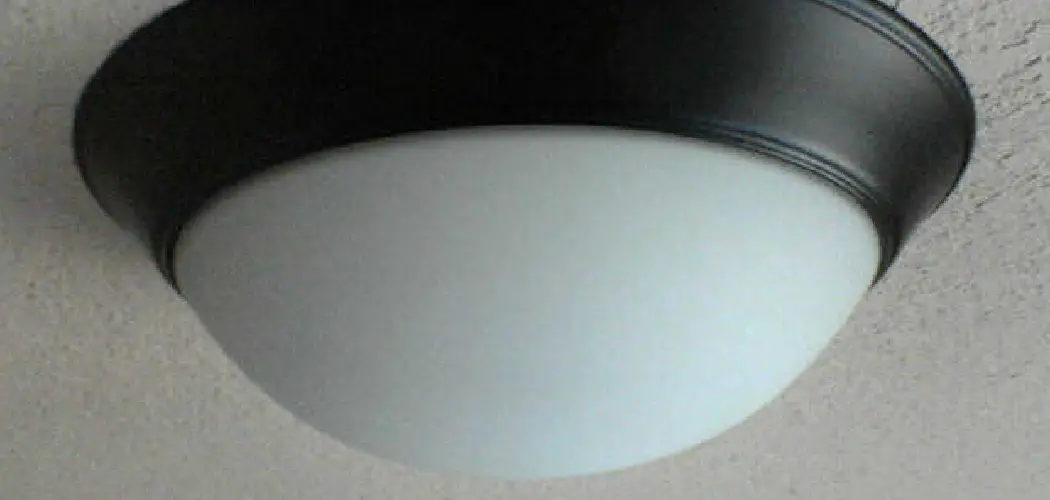
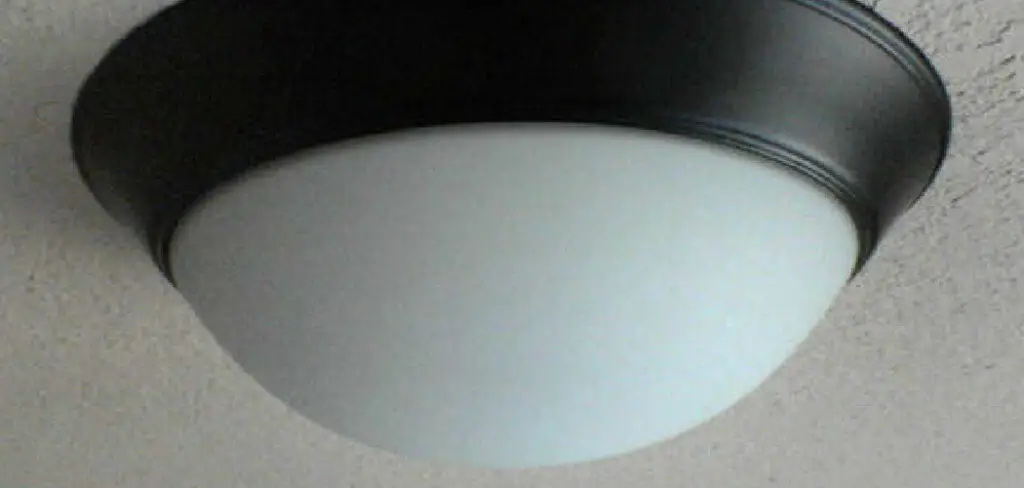
Summary: A boob light, also known as a flush-mount or dome light, is a common lighting fixture found in many homes. They are characterized by their dome-shaped cover, which resembles a breast, hence the colloquial name. Removing a boob light is necessary when replacing, updating, or repairing the fixture. The process involves safely disconnecting the electrical components, detaching the cover, and removing the fixture base from the ceiling. It is essential to follow safety precautions and use appropriate tools during the removal process.
Before attempting to remove the boob light, turn off the power supply to the fixture at the circuit breaker to minimize the risk of electrical shock. Start by removing the dome-shaped cover, which is usually held in place by a finial (a decorative nut) or clips. If a finial is present, unscrew it counterclockwise and carefully lower the cover to expose the lightbulb and fixture base. If the cover is held in place by clips, gently press the cover towards the ceiling and turn it counterclockwise to release it from the clips. Remove the lightbulb and set it aside.
Next, detach the fixture base from the ceiling by unscrewing any visible screws or bolts that secure it. Carefully lower the fixture base to expose the wiring connections. Disconnect the wiring by unscrewing wire nuts or other connectors, as necessary. Keep in mind the color-coding of the wires, as this will be helpful during the installation of a new light fixture.
With the wires disconnected, the boob light fixture should now be completely removed. By following these steps and exercising caution, you can successfully remove a boob light and proceed with the installation of a new lighting fixture or make any necessary repairs.
Required Materials
- Philips head screwdriver
- Pliers
- Wire cutters
How to Remove a Boob Light Step by Step Guide
Step 1: Turn the Power Off
LED light strips are a type of light that can be mounted on a wall. They are not known to come off the wall, but if you plan on moving them around regularly it is best to use a mount or holder. This will help to keep the light strips from getting damaged.
Step 2: Put on Gloves and Safety Glasses
Before you get started, be sure to put on some gloves and safety glasses. This will help protect your hands and eyes from the soldering iron’s heat and any flying debris.
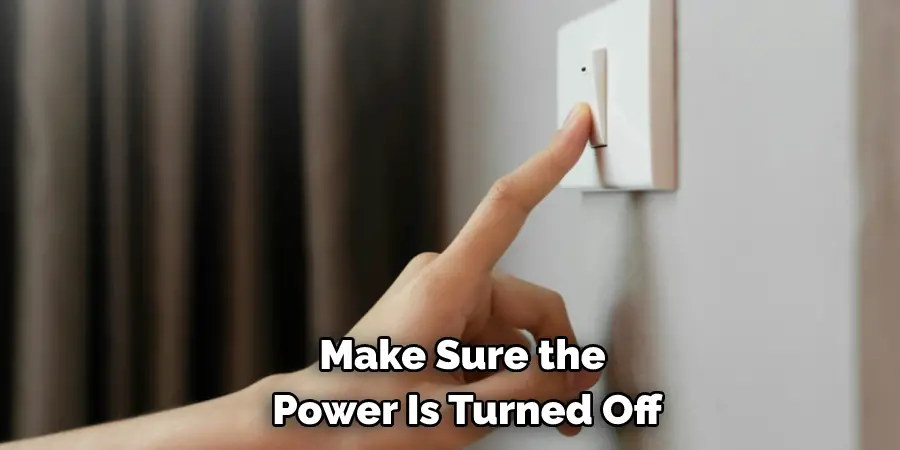
Step 3: Cut the Power
Once you have all the necessary supplies, it is time to cut the power. This can be done by flipping the breaker switch to the off position. If you are not sure how to find the breaker switch, consult an electrician.
This is an important step, as you do not want to be electrocuted while attempting to remove a boob light.
Step 4: Remove the Cover Plate
LED light strips are a type of light that can be mounted on a wall. They are not known to come off the wall, but if you plan on moving them around regularly it is best to use a mount or holder. This will help to keep the light strips from getting damaged.
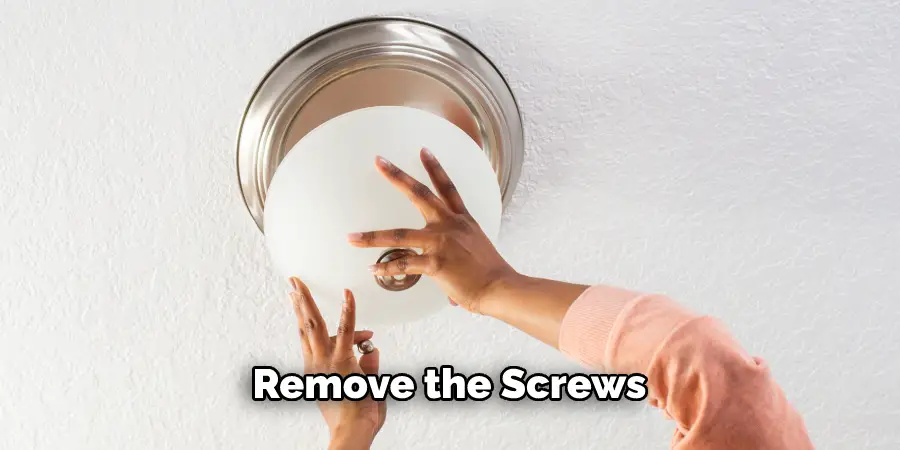
Step 5: Remove the Globe
First, use a screwdriver to remove the screws that hold it in place to remove the cover plate. Once the screws are removed, you can pull the cover plate off the fixture. Be careful not to touch any electrical wiring or components inside the light. If you need to get inside the light to fix something, turn off the power to the light at your breaker box first.
Step 6: Disconnect the Wires
Once the cover plate is removed, you will be able to see the electrical wires that are connected to the fixture. There are usually two or three wires connected to the fixture. To disconnect the wires, unscrew the wire nuts holding them together and then pull the wires apart.
Step 7: Remove the Fixture
Maintenant que la lumière est déconnectée du courant, vous pouvez dévisser le luminaire du plafond. Selon votre luminaire, il peut avoir des vis sur le devant ou les côtés qui doivent être enlevées. S’il s’agit d’une lumière filaire, il y aura également un écrou à fil au sommet du luminaire qui devra être desserré. Une fois que le luminaire est libre, vous pouvez le descendre et le jeter.
Step 8: Remove the Base
The base of the light fixture is typically held in place with screws. Remove these screws to release the base from the light. If the screws are corroded or difficult to remove, you may need to use a screwdriver or wrench. Once the screws are removed, pull the base away from the light and set it aside.
Step 9: Solder the Wires
Now that the light is completely disconnected, it’s time to solder the wires back together. First, twist the wire nuts back onto the ends of the wires. Then, use a soldering iron to heat the metal connectors on each wire and join them together. Once connected, wrap electrical tape around the connector to insulate it.
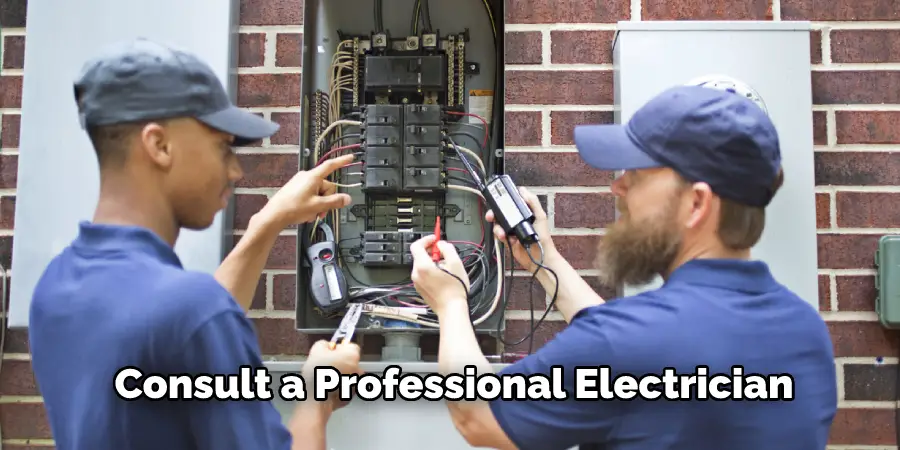
Now that you know how to remove a boob light, you can do it yourself the next time one goes out. Be sure always to use caution when working with electricity, and if you’re not comfortable doing the work yourself, consult a professional electrician.
You Can Check It Out To Keep a Tortoise Warm Without a Heat Lamp
Designer Tips For Upgrading Boob Light Fixtures
When it comes time to upgrade your boob light fixture, there are a few things you need to consider. The first is the design of the light itself. Many women choose to go with a simple design that doesn’t stand out too much. This is especially important if you have a smaller light size. You don’t want to look like you’re hanging a disco ball in your bathroom.
The next thing you need to consider is the wattage of the light. You don’t want to get too bright a light, as it can be unflattering. So instead, opt for a light that is around 60 watts. This will provide you with the perfect amount of light without being too harsh.
Finally, you need to think about the color of the light. Most women choose to go with a soft, natural light. When you are ready to upgrade your boob light fixture, follow these tips, and you will be sure to love the results!
If you have old, outdated boob lights, it might be time to upgrade. Here are some tips for how to remove a boob light:
- Turn off the power to the light fixture at the breaker box.
- Remove the globe or shade from the light fixture.
- unscrew the light bulb from the socket.
- Unscrew the retaining ring that holds the light bulb in place.
- Pull out the old light bulb and dispose of it properly.
- Replace the retaining ring, light bulb, and globe or shade.
- Turn on the power to the light fixture and test it out.
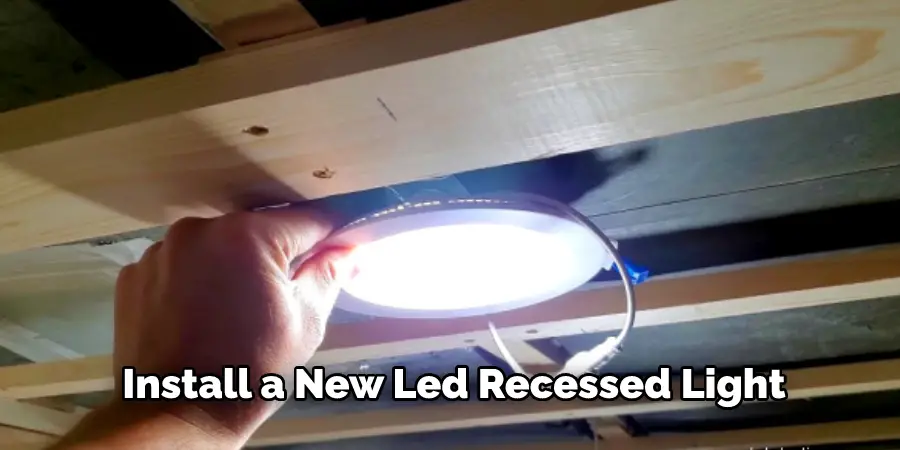
How to Update Boob Lights With Led Slim Recessed Light Kit?
Removing the old boob light and installing a new LED slim recessed light kit is a great way to improve the look and function of your bathroom. With just a few simple steps, you can have your new light installed! How to Remove a Boob Light
- Remove the old light fixture by unscrewing the mounting screws.
- Pull the fixture down and disconnect the wires.
- Remove the old light bulb.
- Install the new LED slim recessed light kit by screwing it into place.
- Connect the wires to the new fixture.
- Install a new light bulb.
- Turn on the power and enjoy your new light.
Replacing the Builder Grade Boob Light or Dome Light with a Lampshade
If you’re looking to give your home a quick and easy update, consider replacing your builder-grade boob light or dome light with a lampshade. Lampshades come in various shapes, sizes, and colors, so you’re sure to find one that will complement your home’s décor.
To remove the old light fixture, you’ll need to unscrew the two screws that hold it in place. Once the screws are removed, you can pull the light fixture out of the ceiling.
Next, insert the lampshade into the ceiling opening and screw the two screws to secure it. You may need to use a drill or screwdriver to tighten the screws.

Finally, turn on the light switch to test your new lampshade. Then, if everything is working properly, you can sit back and enjoy your updated home!
The Best Alternatives for Boob Lights
There are a few different alternatives to boob lights that you can consider if you’re looking to remove this type of light from your bedroom. Some of the best alternatives include:
- Changing the lightbulb to a non-boob shaped lightbulb
- Hanging a lampshade over the light
- Putting up curtains or blinds to block out the light
- Turning the light off altogether and using candles or another source of light in the room.
Frequently Asked Question
What is a boob light?
A boob light is a light fixture in the shape of a woman’s breast. It is often used as decorative light in bedrooms or other areas of the home.
Why Are Boob Lights so Popular?
There are many reasons why boob lights are so popular. Some people might find them funny or quirky, while others might appreciate the novelty of having a light in their bathroom shaped like a breast. Additionally, some people might like that boob lights are relatively affordable and easy to install.
What Should I Replace My Boob Lights With?
When it comes time to replace your boob lights, you have a few different options. You could go with a more traditional light fixture, like a ceiling light or chandelier. You could also choose something more fun and unique, like a set of string lights or fairy lights. Whichever option you choose, make sure that it matches the style of your home and that it provides the amount of light you need.
Why Should I Replace My Boob Lights?
There are a few reasons you might want to replace your boob lights. First, if they’re old and outdated, they might not be providing the best light possible. They might also be causing glare or discomfort. Finally, if they’re damaged, it’s important to replace them to ensure safety.
Why Do Homes Have Boob Lights?
Homes have boob lights to provide a warm and inviting atmosphere. They can also be used to highlight specific features in a room.
You Can Check It Out To Bathroom Heat Lamps Safe
Conclusion
So, there you have it! How to remove a boob light. It’s not as hard as it seems and can be done in just a few simple steps. But, follow the instructions closely and always use caution when working with electricity. Have you tried removing a boob light before? What tips do you have for our readers? Let us know in the comments below.