
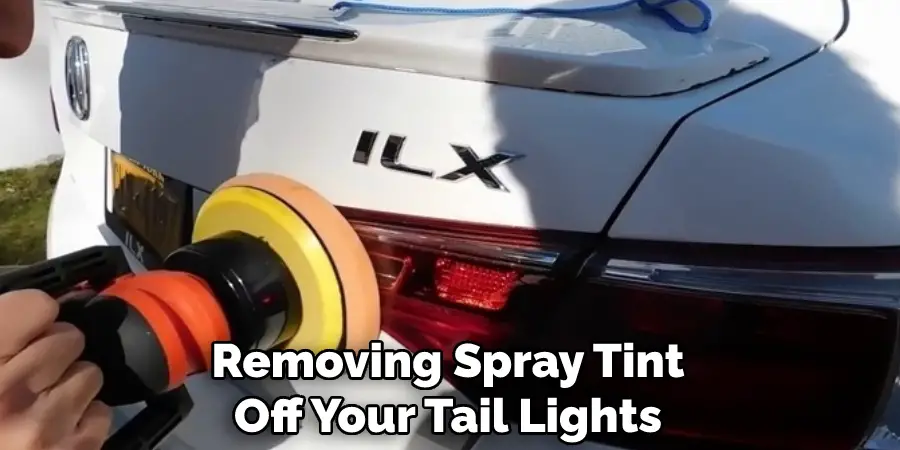
Spray tint is a popular way to darken tail lights, but it can be difficult to remove if you decide you want to change the look of your car. There is always the possibility of damage caused by the removal process, but with a careful approach, you can generally restore your tail lights to their original condition.
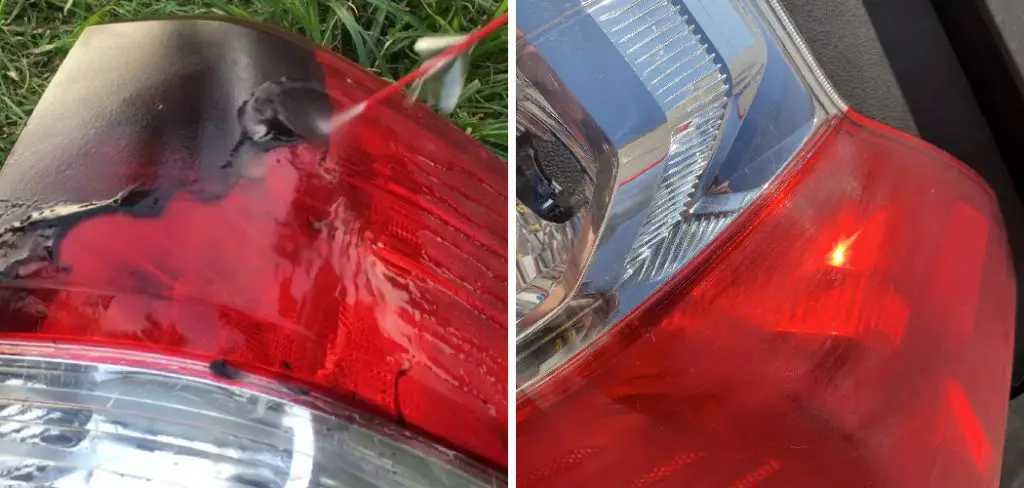
There are a few methods how to remove spray tint off tail Lights, depending on how much time and effort you want to put in. With some patience and elbow grease, you can make your tail lights look like new again. In this blog, we will discuss the different ways you can remove spray tint from your tail lights.
Can Spray Tint Be Fully Removed Off the Tail Lights?
Yes, removing the spray tint from your tail lights is completely possible. However, this process requires patience and care in order to avoid damaging the lenses of your tail lights. Be sure to take all necessary precautions as this post directs for successful removal. Contact a professional automotive if you feel uncomfortable performing this task yourself.
9 Steps on How to Remove Spray Tint Off Tail Lights
Step 1: Gather the Supplies
You will need a few supplies to do this job, including rubbing alcohol, window cleaner or car wax, soft cloths, and 0000 steel wool. Depending on how difficult it is to remove, you might also need a heat gun to help remove the tint. Gathering these will help make the removal process easier.
Step 2: Start with the Rubbing Alcohol
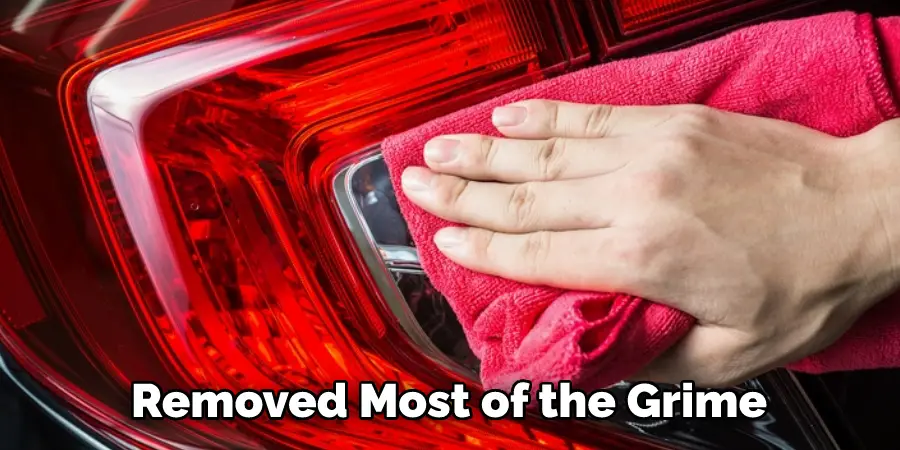
Begin by soaking a soft cloth in rubbing alcohol and wiping down the surface of the tail lights to break down any built-up dirt or grime. The alcohol will help soften and loosen up any tint residue. Repeat this step until you have removed most of the grime and dirt from the surface.
Step 3: Apply Window Cleaner or Car Wax
Next, spray a small amount of window cleaner or car wax over the tail lights to help further break up any remaining residue. Allow this to sit for 2–3 minutes before wiping it away with a clean cloth. This will also help to make the surface smoother and easier to work with.
Step 4: Use Steel Wool
Now it’s time to get out the 0000 steel wool and scrub away at any remaining residue. Start gently, focusing on areas where there is still some tint left behind. Work in circular motions until all of the tints has been removed.
Step 5: Use a Heat Gun
If you still have trouble removing the tint, try using a heat gun. Make sure to keep it moving and do not stay in one spot for too long, as this could potentially damage your tail lights. Move the heat gun around in small circles until all of the tints has been removed.
Step 6: Wipe Away Residue
Once you have removed all of the tints, use a clean cloth to wipe away any residue left behind. This includes anything that the heat gun may have melted off. It will come off easily, but if it is still sticking, you may need to use a little bit of rubbing alcohol again. Then, a dry cloth buffs the surface and makes it shine.
Step 7: Clean with Window Cleaner
To finish up, spray a small amount of window cleaner or car wax over the tail lights to help restore their original clarity. Wipe away any residue with a clean cloth and allow them to air dry before using them again. You need to do this step to ensure that your tail lights look like new.
Step 8: Reinstall Tail Lights
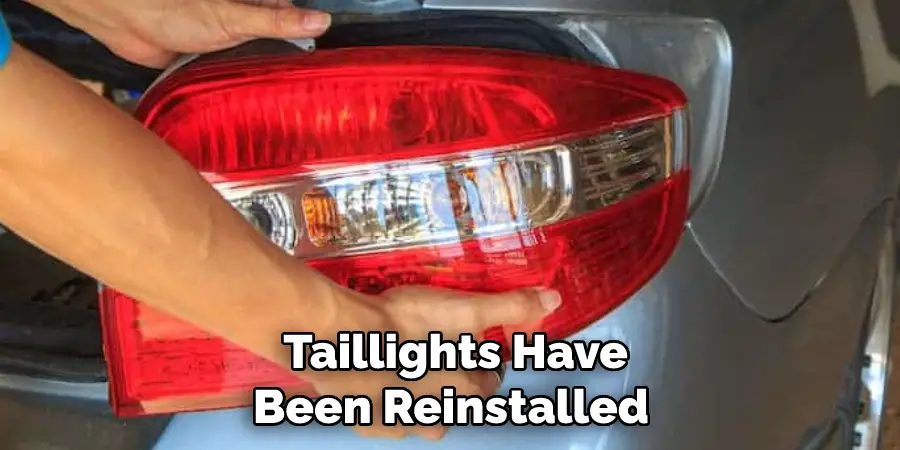
Now you can reinstall the tail lights on your car. Ensure everything is connected properly and securely before taking it for a drive. Otherwise, you could damage your tail lights or even the car itself. You can also take it to a professional if you are unsure how to do this.
Step 9: Enjoy Your Tail Lights
Once the taillights have been reinstalled, you can enjoy your new look. You’ll be glad you took the time and energy to remove the spray tint off your tail lights, as they should look new. You can also take pride in knowing that you did it yourself!
It’s important to note that removing spray tint from your tail lights is a delicate process and should be done with care. If you find that it is too difficult or time-consuming, then contact an automotive professional for assistance. Good luck!
What Other Necessary Steps Need to Be Taken?
1. Verify that the tail lights are completely secured before driving to ensure they do not detach while you are on the road.
2. Cover up any exposed areas of your tail lights with a layer of clear tape in order to prevent any dirt or debris from entering them and causing corrosion or damage.
3. Check your tail lights regularly to ensure they are working properly and that the lenses remain clean and scratch-free. Otherwise, they may need to be replaced.
4. Make sure to use a high-quality wax or polish after washing your car to protect the tail lights and help keep them looking like new. Low-quality wax or polish may damage or discolor the lenses over time.
5. If you cannot properly clean or remove the spray tint from your tail lights, consider seeking professional help, as they will be able to do it safely and effectively.
6. Replace any cracked, scratched, or damaged lenses on your tail lights with new ones as soon as possible. This will ensure that your tail lights remain in excellent condition and do not create any safety hazards while driving.
7. Check the connections of the bulbs for any corrosion or damage, and replace them if needed. Corroded or damaged connections may cause a decrease in light output, thus reducing visibility on the road.
8. Ensure to follow the manufacturer’s guidelines for installing your tail lights, as improper installation may lead to decreased performance or malfunctions.
9. Familiarize yourself with all local laws and regulations regarding tail lights’ use, placement, and maintenance to avoid legal issues or penalties.
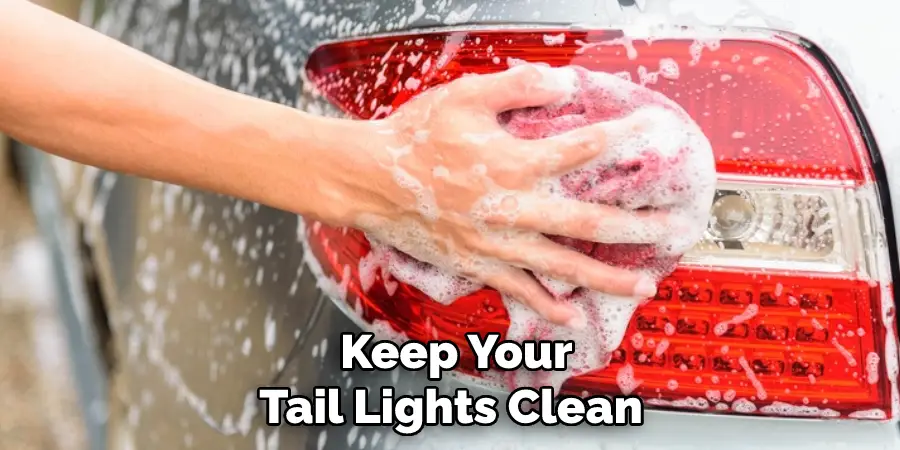
10. Always remember to keep your tail lights clean and in good working condition for the safety of yourself and other drivers. This will help ensure that you are visible on the road, even in low-light conditions.
8 Safety Measures to Be Taken While Removing Spray Tint Off Tail Lights
1. Wear the appropriate safety gear, such as goggles and a respirator or dust mask, to protect your eyes and lungs from any debris that may be released during the process.
2. Work in a well-ventilated area so that any fumes can be safely dispersed. Or you will need to use a respirator with an organic vapor filter if you decide to work indoors.
3. Remove any loose tint from the tail light using a soft cloth or scraper, being careful not to scratch the lenses. soft clothes will help to remove the tint without damaging the plastic lenses.
4. Begin spraying the tail light with a citrus-based cleaner or mineral spirits; this will loosen up any remaining tint so it can be scraped off more easily. Make sure to cover any areas that are not being sprayed with a cloth or newspaper to avoid splattering of the remover onto surrounding objects or surfaces.
5. After allowing the remover to sit for a few minutes, use a sharp razor blade to scrape off the remaining tint. Be sure to hold the razor at an angle so as not to scratch the plastic lenses of the tail lights. Maintaining this would ensure that your tail lights remain undamaged.
6. After the tint has been completely removed, thoroughly clean the lenses of the tail lights with a glass cleaner or soapy water to remove any residue left behind by the citrus-based remover.
7. Finally, protect your newly cleaned and polished lenses by applying a coat of wax or polish. This will help prevent the tail lights from fading due to ultraviolet exposure and keep them in good condition for longer.
8. Dispose of any used rags, newspapers and razor blades properly in a trash receptacle to ensure that no hazardous materials or sharp objects are left behind. This will help keep you and your environment safe from any potential harm that may come from improper disposal of these items.
Frequently Asked Questions
Can You Peel Off Tail Light Tint?
There is no easy answer when it comes to peeling off tail light tint. It depends on the type of tint and the adhesive used. Some tints may be removable with a cloth or a hairdryer, while others may require a chemical stripper. In most cases, it is best to get a professional to remove the tint.
How Long Does Tint Last on Tail Lights?
The length of time that tint lasts will vary depending on the type, brand, and formulation of the tint, as well as the driving habits and environment of the person who is using it. In general, tint may last for up to two weeks in moderate weather conditions, but may need to be reapplied sooner if the weather becomes hot or humid. If the tint is being used on tail lights, it is important to keep in mind that sunlight will eventually fade the tinting, so it is recommended that it is replaced every 6 months or after every use.
Why Do People Tint Their Tail Lights?
Tinting your tail lights can improve your visibility while driving at night, by reducing the amount of light that is reflected off of the car and onto the road. The law in most states prohibits driving with any light not required for safety purposes, including headlights. When your tail lights are tinted, they are considered a light not required for safety purposes and are thus allowed to be tinted.
Is It Safe to Tint Tail Lights?
Tinting the tail lights of your car is generally safe, provided that the tint is light enough and the tail lights are located away from high-traffic areas. Tinting the tail lights can help to improve your driving visibility in low light conditions, and may also make your car more noticeable to other drivers. However, it is important to be aware of the laws in your state regarding vehicle window tinting, as some states prohibit the use of any type of window tinting. If you are unsure about whether or not tinting your tail lights is legal in your state, it may be a good idea to contact your local law enforcement agency or traffic department for advice.
Conclusion
Removing spray tint off your tail lights might seem daunting, but with the right guidance and careful steps, you can achieve great results. Having the necessary supplies on hand is absolutely key to a successful process. It’s also important to take your time and be precise.
As mentioned, doing it over multiple sessions is ideal as it allows you enough time to perfect the results you want from each area worked on. With patience, perseverance, and practice, you’ll soon become an expert in no time at all!
Always double-check after each step to ensure that all of the spray tints is gone off your tail lights before proceeding any further. We hope this article has helped you with how to remove spray tint off tail lights – so go forth and get spraying!