
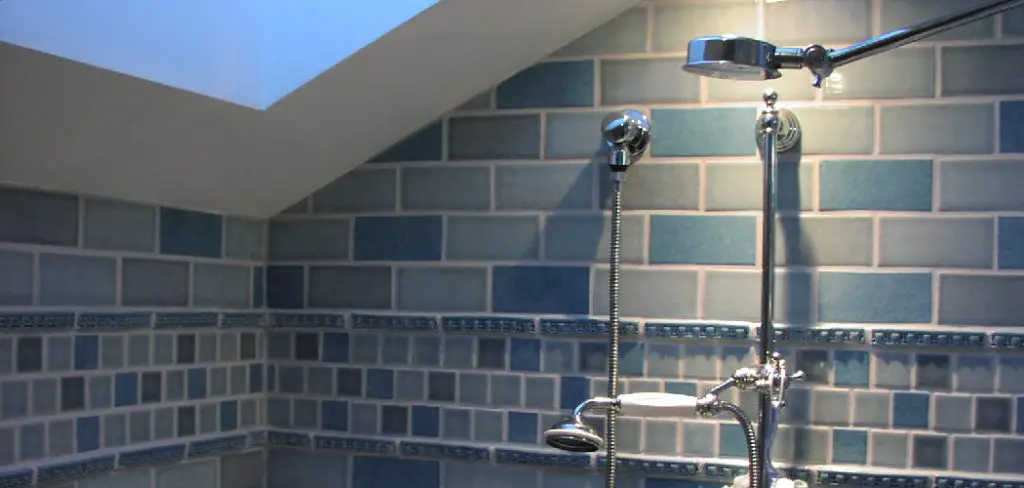
Did you know that a lightbulb in your shower lasts about ten times as long as a regular lightbulb? That’s because it’s exposed to way less moisture. But eventually, even a shower light will burn out. So how do you go about replacing it? In this post, we’ll show you how to replace light in shower in just a few easy steps. Keep reading to learn more!
Replacing a light in your shower can seem daunting, but it’s actually a quick and easy process. Through this blog, we’ll walk you through the steps of how to replace a light in your shower. So whether your light is burnt out or just not quite right, follow these instructions to get it replaced in no time. So what are you waiting for? Let’s get started.
Summary: There is a common problem with showering: the light can be too faint or not bright enough. This problem can be solved by replacing the shower light with an LED light. LEDs are much brighter and last longer than traditional shower lights, so they will save you time and energy in the long run.
Things You Should Keep in Mind Before Replacing Light in Shower
1. The Type of Light Bulb
Make sure to get the right type and size of light bulb for your shower fixture. It is very important to know if your fixture requires a specific type of light bulb, such as LED or halogen. So be careful not to purchase the wrong kind of light bulb.
2. Do Not Forget to Power Off Before Start
Before attempting to replace the light in the shower, make sure to shut off the power to that specific fixture. This can be done by turning off the circuit breaker or removing the fuse from the fuse box. But make sure to check that the power is indeed shut off before proceeding.
3. The Power Source
Some shower light fixtures are attached directly to the power source, while others may require batteries. Make sure to check how your fixture gets its power before replacing the light bulb. Also, be careful not to mix up the power source, as it may cause damage to the fixture or even be a safety hazard.
4. Appropriate Safety Measures
Before starting any type of electrical work, it is important to take the necessary safety precautions. This includes wearing protective eyewear and gloves, as well as making sure to work on a dry surface.
Things You May Need to Replace the Light in the Shower
- A replacement light fixture
- Screwdriver
- Electrical tape
- Safety glasses
- Ladder (if necessary)
How to Replace Light in Shower in 7 Easy Steps
Step 1: Shut Off the Power
Before starting any electrical work, make sure to shut off the power at the breaker box. It is very important and essential to your safety to make sure the power is off before proceeding. So do not forget to turn off the power!

Step 2: Identify the Type of Light Bulb
In the shower, there are typically two types of light bulbs that are used. One is a standard household bulb, and the other is a waterproof, sealed bulb meant for wet environments like showers. Make sure to identify which type you have in your shower before moving on to the next step.
Step 3: Remove the Light Cover or Fixture
If you have a standard household bulb, remove the light cover by unscrewing it from the fixture. If you have a sealed bulb, remove the entire fixture by loosening any screws and carefully pulling it away from the wall or ceiling. But make sure to use caution and be gentle, as you do not want to accidentally damage the fixture or shower wall.
Step 4: Remove Old Bulb
Once the light cover or fixture is removed, gently twist and unscrew the old bulb from its socket. Be sure to dispose of it properly. And also, make sure not to touch the new bulb with your bare hands, as the oil and dirt from your hands can damage it. Use a cloth or gloves to handle it if needed.
Step 5: Install New Bulb
Carefully insert the new bulb into its socket and twist it until it is securely in place. Double-check that it is properly and tightly secured before moving on to the next step. If you find any problem with the new bulb, do not force it and try a different one.
Step 6: Replace the Light Cover or Fixture
If you removed a light cover in step 3, carefully screw it back into place over the new bulb. If you removed a fixture, securely fasten it back onto the shower wall or ceiling. Make sure it is secure and not loose.
Step 7: Turn On the Power & Test the Light
Before stepping into the shower, turn the power back on at the breaker box and test out the new light to make sure it is working properly. Keep checking it for any unusual behavior or problems. If you notice any issues, shut off the power and double-check all steps to make sure everything is securely in place.

Precautions You Must Take While Replacing Light in Shower
1. Use Proper Ladder
Make sure your ladder is stable and secure before climbing to access the light fixture. So it is very important to use a proper ladder for safety purposes. If you do not do a proper ladder setup, you increase the risk of falling and injury.
2. Use the Correct Tools
Use the correct tools for removing the light fixture and installing a new one. This includes screwdrivers, wire cutters, and electrical tape. Using the wrong tools can result in damage to the fixture and potential injury to yourself. So make sure to use the correct tools for the job.
3. Follow the Instructions for the New Light Fixture
Each light fixture will have its own specific instructions for installation. Make sure to carefully follow these instructions to ensure proper installation and functionality of the new light fixture. Skipping steps or not properly following the instructions can result in a faulty or potentially dangerous installation.
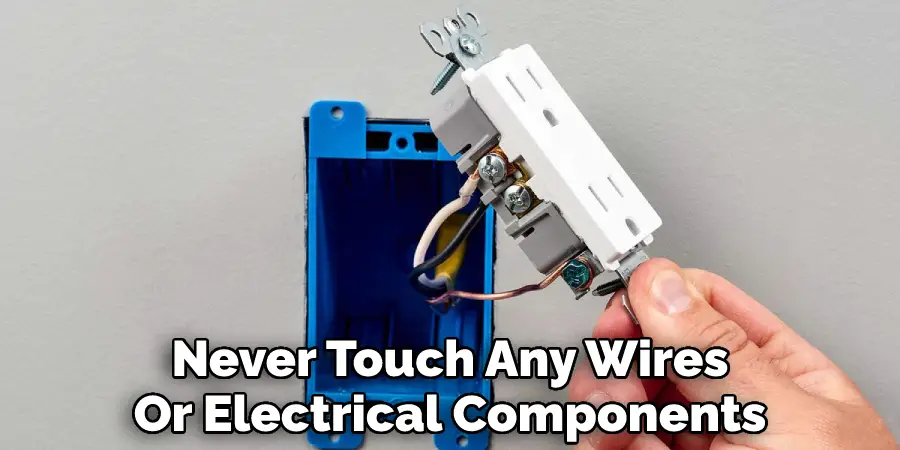
4. Use Caution with Electricity
Always exercise caution when dealing with electricity. Make sure to turn off the power to the shower before beginning any work on the light fixture. And never touch any wires or electrical components with wet hands, as it greatly increases the risk of electric shock.
5. Seek Help If Unsure
If at any point you feel unsure or uncomfortable about replacing the light fixture, it is always best to seek help from a licensed electrician. It is better to be safe than sorry when dealing with electricity and potential safety hazards.
You Can Check It Out To String Lights on a Wreath
Frequently Asked Questions
How Do I Know if My Shower Light Needs to Be Replaced?
If your light is flickering or not turning on at all, it may be time to replace it. Additionally, if you notice any damage to the fixture or bulb, it should be replaced for safety reasons. But make sure to turn off the power to the shower before starting any replacement.
What Do I Need for This Replacement?
You will need a new light fixture and bulb, as well as tools such as screwdrivers and a ladder if necessary. It may also be helpful to have gloves and safety glasses for protection. Also, make sure to turn off the power before starting.
Can I Replace the Light Myself or Should I Hire a Professional?
If you are comfortable with electrical work and have experience replacing light fixtures, it is possible to do it yourself. However, if you are uncertain or not comfortable with the task, it is best to hire a professional for safety reasons.
What Safety Precautions Should I Take?
Always turn off the power before starting any electrical work, and follow all instructions included with the new light fixture. Additionally, wear gloves and safety glasses while working to protect yourself from electric shock or debris. It’s always better to err on the side of caution when it comes to electrical work.

Conclusion
So, there you have how to replace light in shower. No matter which route you choose, be sure to consult with a professional electrician to ensure that the work is done safely and correctly. With a little time and effort (and maybe some money), you can say goodbye to those dim, dreary showers for good!
Whether you’re wanting to save money or reduce your carbon footprint, showering with LED lights is a great way to lower your energy consumption. Not only will you be using less energy overall, but LEDs also last much longer than traditional light bulbs, so you won’t have to replace them as often. Follow the steps above and enjoy brighter, more sustainable showers for years to come!