Are you noticing that your tanning bed is not producing as much heat as it used to? Chances are, it may be time to replace the bulbs.
In order to keep your tanning bed running smoothly, you’ll need to know how to replace tanning bed bulbs. This guide will show you how to do it quickly and easily. Keep in mind that some tanning beds require specific types of bulbs, so be sure to check your owner’s manual before starting.
Replacing a tanning bed bulb may seem daunting, but it’s a relatively simple procedure. This blog post will walk you through the steps necessary to replace a tanning bed bulb. We’ll also provide tips on choosing the right replacement bulb for your tanning bed. So, if you need a new tanning bed bulb, read on!
Summary: First, check to see if your tanning bed is plugged into an outlet. If it isn’t, turn off the power to the tanning bed by unplugging it from the wall outlet. Next, remove the old bulbs by unscrewing the screw at the base. Be sure to dispose of the old bulbs in a safe and responsible way. Finally, install the new bulbs by screwing them in place.
What are Tanning Bed Bulbs?
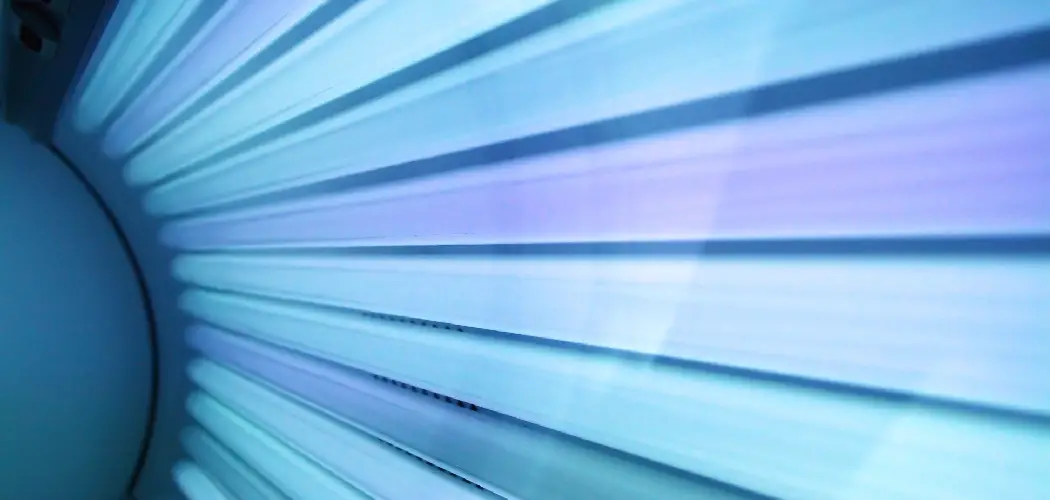
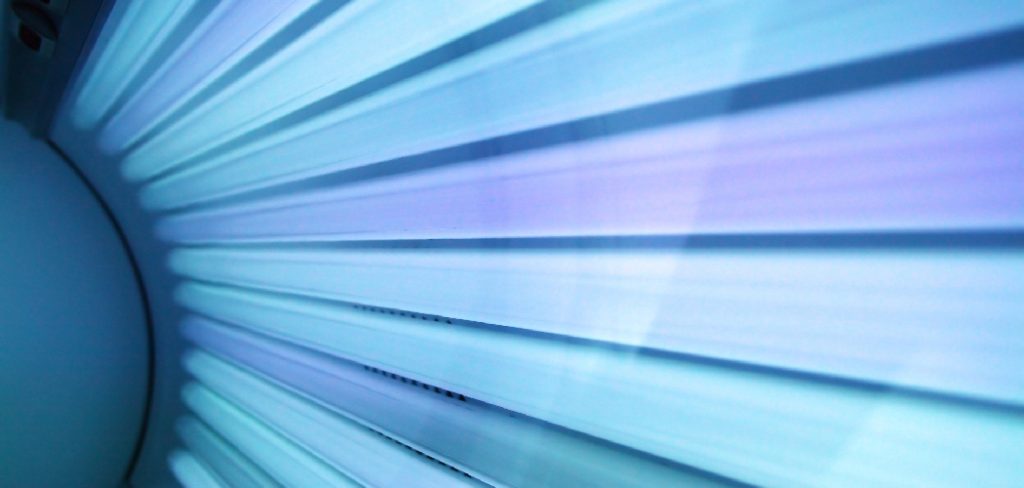
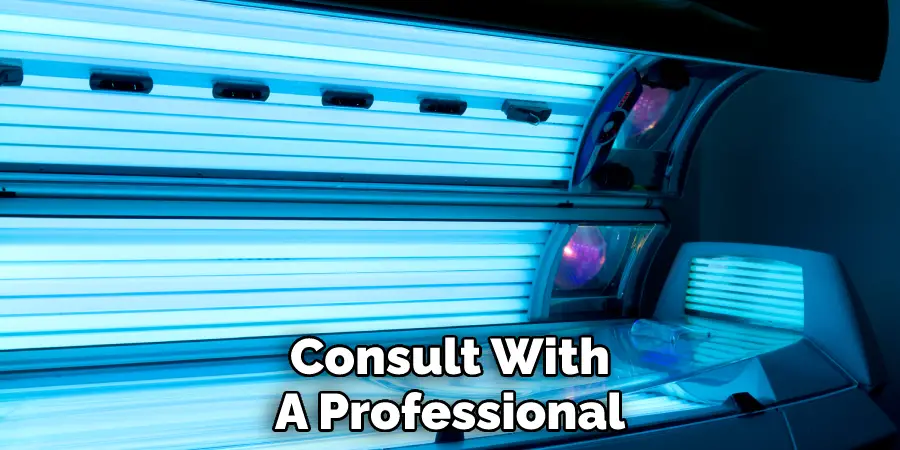
Tanning bed bulbs, also known as tanning lamps or tanning tubes, emit ultraviolet (UV) light which is necessary for the tanning process. The bulbs must be replaced regularly to ensure optimal tanning results and a safe tanning experience.
Why Do You need to Replace Tanning Bulb?
Tanning bed bulbs lose their potency over time and need to be replaced in order to ensure that your tanning bed is producing enough UV light for optimal tanning results. Additionally, old or damaged bulbs may not evenly distribute heat, causing hot spots in the tanning bed, which can lead to burns.
10 Easy Steps on How to Replace Tanning Bed Bulbs
Step 1: Unplug Your Tanning Bed
Before beginning any maintenance on a tanning bed, always make sure to unplug it from the power source. This will ensure your safety while working on the equipment.
Step 2: Remove Tanning Bed Lid
Most tanning beds have a removable lid or canopy to give you access to the bulbs. Use the provided tools (usually a wrench) to remove the lid or canopy from your tanning bed. Be careful not to drop or damage the lid while removing it.
Step 3: Remove Old Tanning Bed Bulbs
Carefully unscrew the old tanning bed bulbs, being sure not to touch the glass of the bulb with your bare hands as this can leave oils and residue on the surface, which can reduce its effectiveness. Place the used bulbs in a safe place for disposal.
Step 4: Replace Bulbs with New Ones
Now it’s time to replace the old bulbs with new ones. Make sure you use the correct bulbs for your tanning bed (consult your owner’s manual or contact the manufacturer if necessary). Place the new bulbs in their sockets, being careful not to touch the bulbs with your bare hands as this can reduce their effectiveness.
Step 5: Replace Tanning Bed Lid
Once you have replaced the bulbs, reattach the lid or canopy to the tanning bed using the provided tools. Plug your tanning bed back into the power source. Make sure the lid or canopy is securely attached before use.
Step 6: Turn on Tanning Bed and Test Bulbs
Before using the tanning bed, turn it on and test the bulbs to make sure they are working properly. You can do this by lying in the tanning bed and checking for an even distribution of heat and UV light.

Step 7: Clean Tanning Bed
Now that you have replaced the bulbs, giving your tanning bed a thorough cleaning is also a good idea. Wipe down any surfaces and vacuum out any debris from inside the bed. Don’t forget to clean the filters, if applicable. Because tanning beds use UV light, it’s important to keep them clean in order to reduce the risk of skin infections.
Step 8: Record the Date of Replacement
It’s important to keep track of when you replace the bulbs in your tanning bed. Make a note of the date on a calendar or in your tanning bed maintenance log. This will help you keep track of when it’s time to replace them again in the future.
Step 9: Dispose of Old Bulbs Properly
Old bulbs should be disposed of properly, as they contain hazardous materials. Check with your local waste management regulations for the proper disposal method. Be careful not to break the old bulbs, as this can release hazardous materials.
Step 10: Enjoy Your Tanning Session!
Now that you have replaced your tanning bed bulbs, it’s time to enjoy a safe and effective tanning session. Always follow all safety precautions and consult a professional if you have any concerns about maintaining your tanning bed.
We hope these steps have helped you easily and safely replace the bulbs in your tanning bed. Happy tanning!
5 Additional Tips and Tricks
- When replacing tanning bed bulbs, always wear protective eyewear.
- Keep spare bulbs on hand if one burns out during a tanning session.
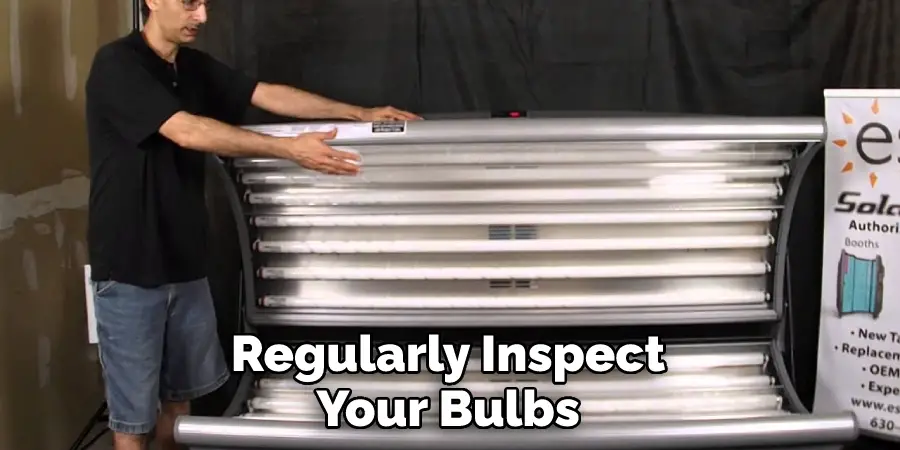
- Regularly inspect your tanning bed for any signs of damage or malfunctioning equipment.
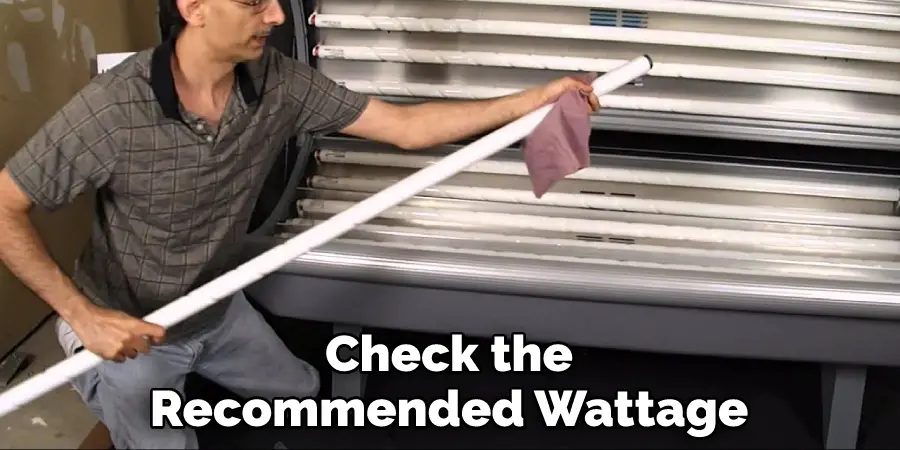
- Before purchasing new bulbs, be sure to check the recommended wattage for your tanning bed.
- Always follow the manufacturer’s guidelines for properly using and maintaining your tanning bed. This will ensure the best results and the safest experience possible.
These steps and tips can also be applied to replacing bulbs in a stand-up or outdoor tanning booth.
5 Precautions You Can Take While Replacing Tanning Bed Bulbs
- Use gloves to handle the bulbs and avoid touching them with bare hands.
- Don’t touch the new bulbs with bare hands, as oils on your hands can damage them. Use gloves or a clean cloth to handle them.
- Make sure the new bulbs match the wattage and type of your tanning bed’s specifications.
- Follow the manufacturer’s guidelines for the proper installation of the new bulbs.
- Utilize a friend or colleague to help with replacing the bulbs, especially if it requires lifting heavy parts or reaching high places. Safety first!
Taking these precautions will help ensure a successful and safe replacement of your tanning bed bulbs. Happy tanning!
Frequently Asked Questions
How Often Should You Replace Tanning?
This can vary depending on the type and quality of bulbs being used, as well as the frequency and intensity of use. It is generally recommended to replace bulbs every 200-400 tanning sessions or every 6-12 months. Consult with a professional for specific recommendations for your tanning bed.
Be sure to also regularly inspect your bulbs and replace any that may have burned out before their recommended replacement date. This will ensure the best results and the safest experience possible.
What Type of Bulb Do I Need?
Before replacing your tanning bed bulbs, be sure to check with the manufacturer or a professional for the recommended type of bulb. This can vary depending on the type and model of your tanning bed.
Common types of bulbs used in tanning beds include UVA, UVB, and Facial tanning bulbs. Consult with a professional for specific recommendations for your tanning bed.
How Do You Know When to Change Your Tanning Bed Bulbs?
Regularly inspecting your tanning bed and its bulbs are important to ensure the best results and safest experience. Signs that it may be time to replace your bulbs include a decrease in the intensity of the tanning light, uneven tanning results, or burnt out bulbs during a session. Consult with a professional for specific recommendations for your tanning bed.
Remember also to keep track of when you last replaced your tanning bed bulbs. Because their effectiveness can vary, replacing them every 200-400 tanning sessions is generally recommended.
How Can You Extend the Life of Your Tanning Bed Bulbs?
Taking proper care of your tanning bed and its bulbs is important for extending its lifespan. This includes regularly cleaning the bed and replacing any malfunctioning parts, and following the manufacturer’s guidelines for use and maintenance. It is also important to avoid dropping or mishandling the bulbs during replacement.
Using lower wattage bulbs or limiting the frequency and intensity of tanning sessions can also help extend the life of your bulbs. Consult with a professional for specific recommendations for your tanning bed.
Additionally, regularly inspecting your tanning bed and replacing burnt out bulbs before their recommended replacement date can help extend the life of the rest of the bulbs. Happy tanning!
You Can Check It Out To Change Light Bulb In Ceiling Spotlight
Conclusion
Replacing your tanning bed bulbs is important for several reasons. New bulbs will emit more powerful UV rays, meaning you’ll get a better tan in less time. They also have a longer lifespan than older bulbs, so you won’t have to replace them as often.
Finally, new bulbs are more energy-efficient, saving you money on your electric bill. When it’s time to replace your tanning bed bulbs, follow these easy steps, and you’ll be back to bronze in no time.
Now that you know how to replace tanning bed bulbs, you can keep your machine running smoothly for years to come. With a little care and attention, you can enjoy many worry-free sessions in your home sun tanning bed. Thanks for reading!
You Can Check It Out To Shorten a Hanging Lamp Cord