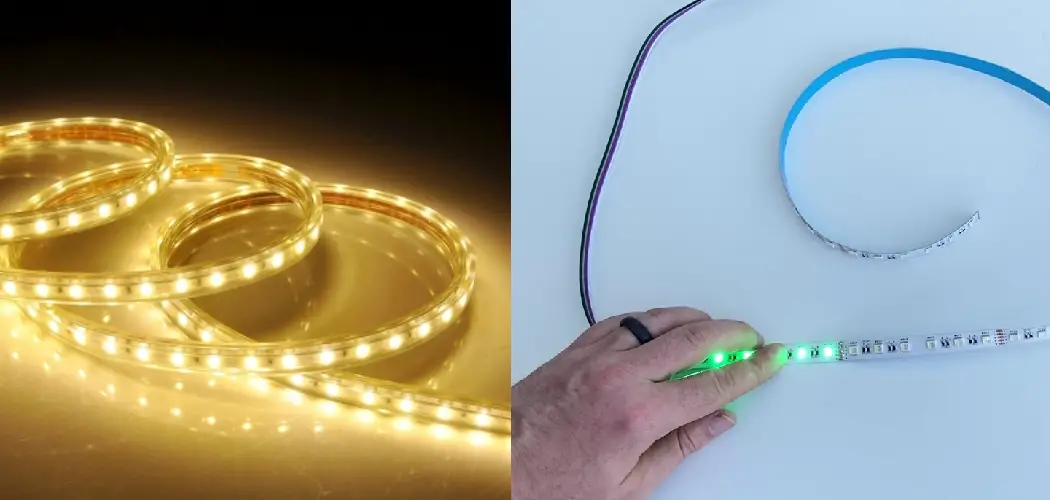
Led light strips are becoming increasingly popular because of their versatility and low cost. However, while they are usually easy to use, sometimes they can stop working properly. In this blog post, we will show you how to reset led light strips to start working again.

Summary: Resetting LED light strips can help resolve connectivity issues, restore default settings, or prepare the strips for use with a new Wi-Fi network or smart home setup. The reset process may vary slightly depending on the brand or model of your LED light strips. Before starting, ensure you have any necessary remote controls or smartphone apps that control the light strips handy, as you may need to reconnect the strips following the reset.
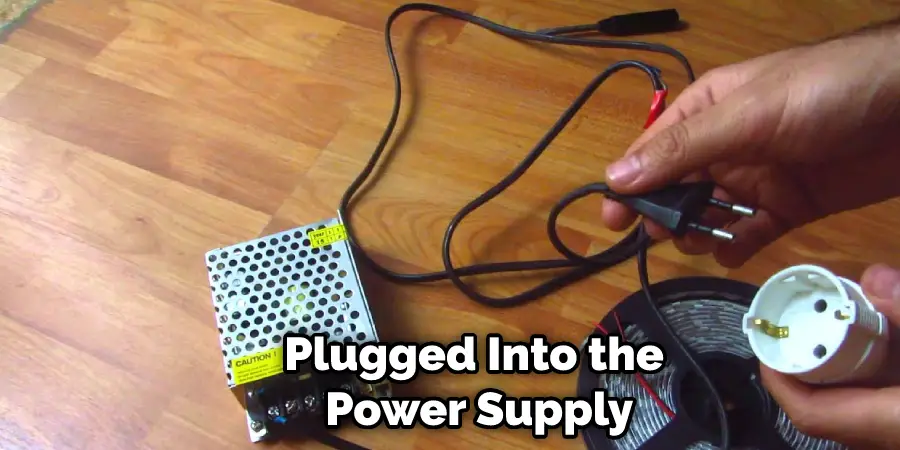
To reset your LED light strips, begin by unplugging the power supply from the wall or disconnecting it from the strip itself. Wait for approximately 10 seconds before reconnecting the power supply. Some LED light strips can be reset by pressing and holding a reset button located on the power supply, controller, or strip itself for a specific period, typically around 5-10 seconds.
For other models, you may need to follow a specific on-off pattern using the remote control or smartphone app. This may involve turning the lights on for a few seconds, then off for a few seconds, and repeating this process several times. The LED light strip should flash or change colors to indicate that it has been successfully reset. Once the light strip has been reset, open the relevant smartphone app or use the remote control to reconnect the strip and reconfigure your preferred settings.
Why Reset Led Light Strips?
There are several reasons why you might need to reset your LED light strips. One common reason is if the lights suddenly stop working or start flickering. If this happens, resetting the light strips can often solve the problem.
Another reason to reset LED light strips is if you want to change the color or pattern of the lights. This can be done by resetting the light strip to its default settings.
Required Materials
To reset your LED light strips, you will need the following materials:
- USB cable
- computer
- led light strip
How to Reset Led Light Strips Step by Step Guide
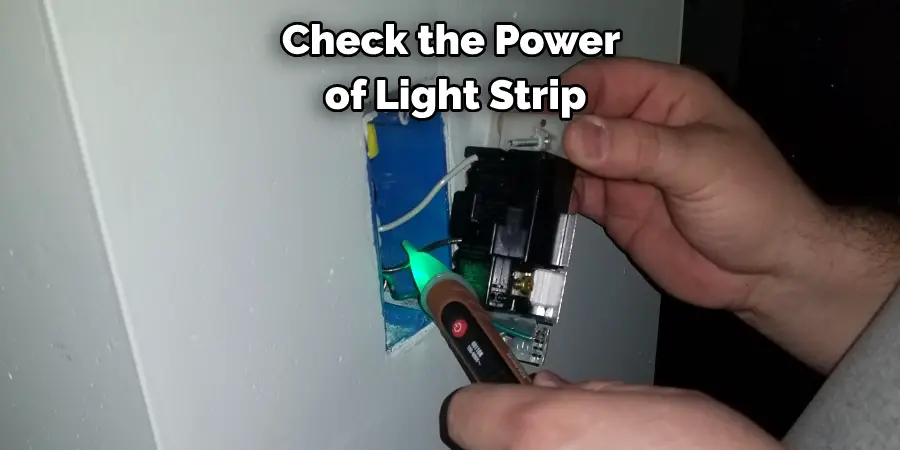
Step 1: Check the Power
The first thing you want to do is make sure the power is off to the light strip. You can do this by flipping the switch on the power strip or unplugging the cord from the outlet. If the power is on, then you could accidentally electrocute yourself.
Step 2: Cut the Power
As with any electrical device, it’s important to cut the power before attempting a reset. Locate the LED light strip’s power source and switch it off. If your LED light strip is plugged into an outlet, you can unplug it. If your LED light strip is hardwired, you’ll need to find the breaker box and switch it off.
Step 3: Remove the End Caps
Now that the power is off, it’s time to remove the end caps. There will be two small plastic caps on most LED strips at either end. These need to be removed to access the reset button.
If your LED strip doesn’t have end caps, you may need to carefully peel back a section of the strip to access the reset button.
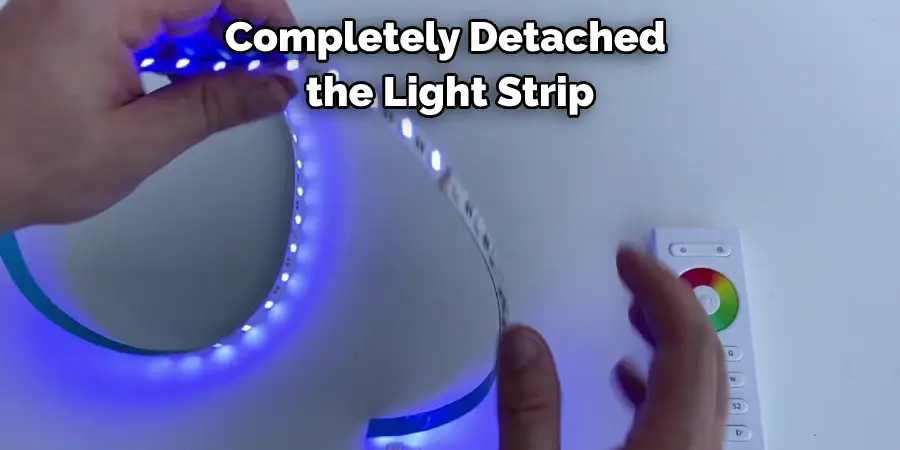
Step 4: Unplug the Strip
Once you have located the reset button, it is time to unplug the strip. This will ensure that there is no power running through the lights, which could potentially cause a safety hazard. Carefully remove the plug from the outlet and press and hold the reset button for a few seconds. You should see all of the LEDs on the strip turn off. Release the button and plug the strip back in. The lights should now be reset and will function normally.
Step 5: Remove the Adhesive
Now that the light strip is detached, it’s time to remove the adhesive. Some light strips come with a paper backing that can be peeled off. If your light strip doesn’t have a paper backing, use a sharp object (like a razor blade or X-acto knife) to slowly and carefully peel back the adhesive.
Step 6: Cut the Strip
This is the last step. Again, it would help if you cut the strip so that it will fit your desired location. Make sure to leave about 1/4″ of extra space so you can solder the connections. Once you have cut the strip, use your soldering iron to attach the connectors.
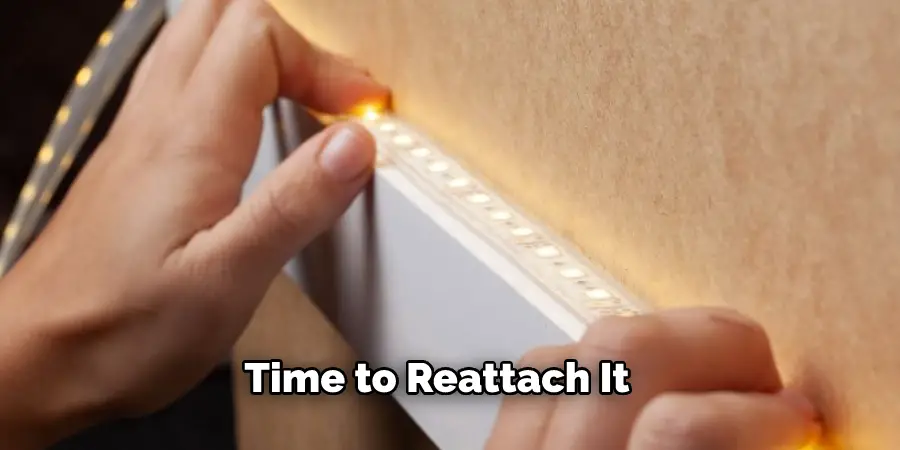
Step 7: Reconnect the Strip
Once you have reset the light strip, it is time to reattach it. Make sure that the power supply is off before reconnecting the strip. Once it is in place, please turn on the power and test the light strip to ensure it is working properly.
Step 8: Replace the End Caps
Once the light strip is re-installed, it is time to replace the end caps. This is a very simple process. Line up the cap with the LED light strip and push it down until it clicks into place. You will know that it is secure when you do not see any of the LED lights shining through the end cap. Keep reading for more information about how to reset led light strips.
What Are LED Strips and Their Uses?
LED strips are a type of lighting that uses light-emitting diodes (LEDs) as the source of light. These strips can be used for various purposes, including accent lighting, task lighting, and even general illumination. In addition, LED strips are much more versatile than traditional incandescent or fluorescent lights because they can be cut to any length and easily installed.
There are two main types of LED strips: those that use 12 volts (called low-voltage or LV strips) and those that use 24 volts (called high-voltage or HV strips). LV strips are the most common type and are typically used for accent lighting, task lighting, and general illumination. HV strips are typically used for industrial applications or in areas where high light levels are required.
LED lights are much more energy-efficient than traditional incandescent or fluorescent lights. They also last much longer, so you won’t have to replace them as often.
What Does Resetting an LED Light Do?
Resetting an LED light can be a useful tool to help you troubleshoot problems or reset them to their factory settings. It is also used as a way to extend the life of your LED light. When you reset an LED light, it can clear out any errors that have become stored in its memory and restore the device back to its original point of operation. Resetting an LED light can help ensure that it is running optimally, reducing energy consumption and saving money in the long run.
Considerations Things
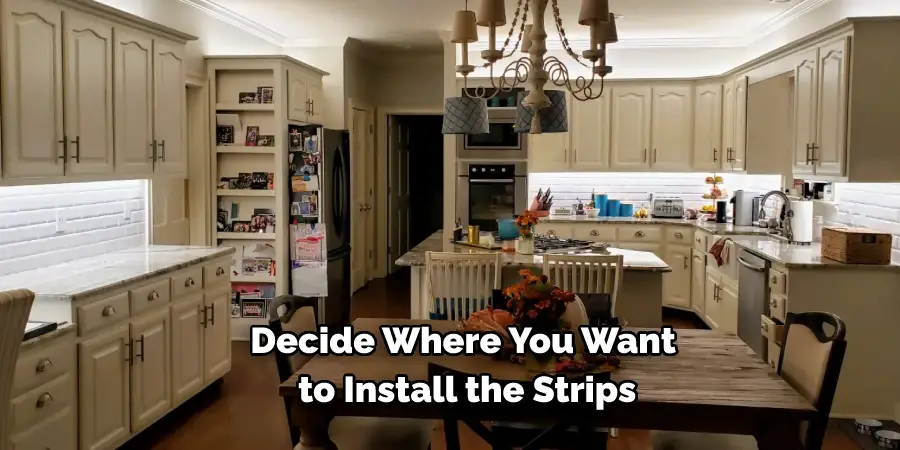
Installing LED strips is a relatively easy process, but there are a few things you need to know before you get started. First, you need to decide where you want to install the strips. Second, you need to determine how much power you will need to supply the strips. And third, you need to know how to reset the strips if they stop working.
If you want to put LED lights in your room, there are lots of videos online that can show you how. Just be sure to read the instructions carefully and follow them step-by-step. If you want to learn more about LED lights, keep reading!
How to Reset Your LED Strip Light Remote?
If you’ve been using an LED strip light and its remote for a while, you may have noticed that the remote’s buttons don’t always work as they should. This is usually because the remote has lost its connection with the strip light. To reset the remote and reconnect it with the strip light, you can follow these simple steps:
- Turn off the strip light by pressing and holding the button on the strip light for 3 seconds.
- Press and hold the reset button on the back of the remote for 3 seconds.
- Release both buttons and wait until the LED on the remote flashes.
- Now press and hold the button on the strip light for 3 seconds to turn it back on.
- The remote should now be reset and working properly.
How Can You Reprogram Your Strip Lights?
There are a few ways that you can reprogram your LED light strips. One way is to use a controller to input the new settings. Another way is to use a computer program to create new settings. Finally, some manufacturers allow you to reset the light strips by cutting and rejoining the wires.
If you want to change the colors or patterns on your LED light strip, you must use a controller. Controllers can be plugged into a computer or wall outlet. They come in various shapes and sizes, and some are even wireless. Some controllers have preset patterns and colors, while others allow you to create your own.
If you don’t want to use a controller, you can reprogram your LED light strip using a computer program. Many programs are available for free online. These programs allow you to create custom patterns and colors. Once you have created the settings, you can save them to your computer and upload them to the light strip.
Why Is My Smart Light Not Connecting?
If you’re having trouble connecting your smart light, or it’s been working inconsistently, resetting the strip is probably the solution. This is a quick and easy process that only takes a few minutes.
First, locate the reset button on your LED strip. It’s usually a small, circular button recessed into the strip.
Press and hold the reset button for 5 seconds using a pin or paperclip. You should see the light turn off and then back on.
If your smart light isn’t connecting, try restarting your device and router. If that doesn’t work, you may need to contact customer support for your specific product.
Frequently Asked Question
What to Do When Your LED Strip Lights Are Not Working?
If your LED strip lights are not working, you can do a few things to troubleshoot the issue. First, check to ensure that the power supply is connected correctly and that the strips receive power. Next, check to see if the controller is programmed correctly. Finally, if the lights aren’t working, you may need to reset the strips.
Why Won’t My Led Lights Change Colour?
There are a few reasons why your LED lights might not be changing colors. One reason may be that the light strip is not properly plugged into the power supply or controller. Another reason may be that the light strip is defective. If you have tried all of the above and your LED lights aren’t working, you may need to reset the light strip.
Can You Reprogram Led Light Strips?
Yes, you can reprogram LED light strips! It’s one of the main advantages of LED lights over traditional incandescent bulbs. With LEDs, you have complete control over the color, brightness, and even the light pattern. There are a few different ways to reprogram LED light strips. The most common method is to use a remote control. Many LED light strips come with a remote that allows you to change the colors and light patterns.
If you’re not satisfied with the default settings on your LED light strip or want to change the look of your space, reprogram the lights to get the exact effect you’re after.
You Can Check It Out To Take Led Lights Off the Wall
Conclusion
So there you have it! Our simple guide on how to reset LED light strips. Remember these simple steps if you’re ever in a pinch and need to get your lights back up and running as soon as possible. Have any questions or comments? Let us know in the comments below!
You Can Check It Out To Install Govee Led Strip Lights on Ceiling