Like most car owners, you want your car to look as good as new for as long as possible. One way to achieve this is by restoring your headlights. However, it’s essential to seal them after restoration to protect them from the elements.

Suppose you’ve recently restored your headlights and are looking for a way to seal them and protect them from the elements; look no further. In this post, we’ll walk you through how to seal headlights after restoration and keep them looking good for years to come. So whether you’re a DIYer or want to know what’s involved in the process, read on!
Summary: The restoration process of headlights can be a daunting task, but with the right tools and techniques, it can be a fairly easy process. One important step is to seal the headlights after restoration. This will protect them from the elements and keep them looking their best.
Why Should You Seal Headlights After Restoration?
There are a few reasons why it’s important to seal headlights after restoration. First, it will help protect your headlights from the elements. Headlights are exposed to various weather conditions, including sun, rain, snow, and ice. Over time, these conditions can take a toll on the headlight lens, causing it to become cloudy or yellowed. Sealing the headlight will help to keep it clear and bright.
Another reason to seal headlights is to prevent oxidation. Oxidation occurs when the headlight lens is exposed to oxygen, which can cause it to become dull and discolored. Sealing the headlight will help to prevent this from happening. When sealing your headlights, be sure to use a sealant that is designed explicitly for headlight lenses. This will ensure that the sealant adheres properly and doesn’t cause any damage to the headlight lens.
What Type of Sealant Can You Use to Seal Headlight Lenses?
Once you’ve cleaned and restored your headlights, you’ll want to seal them to protect them from future damage. The best way to do this is with a clear sealant that will allow light to pass through while still providing a durable barrier. Several sealants can be used for this purpose, but the most popular are polyurethane and acrylic.
Polyurethane Sealant
Polyurethane sealants are some of the market’s most durable and long-lasting options. They form a strong bond with the surface they’re applied to, creating a watertight seal that will protect your headlights from moisture and other elements. Polyurethane sealants are also clear so that they won’t affect the light output of your headlights.
Acrylic Sealant
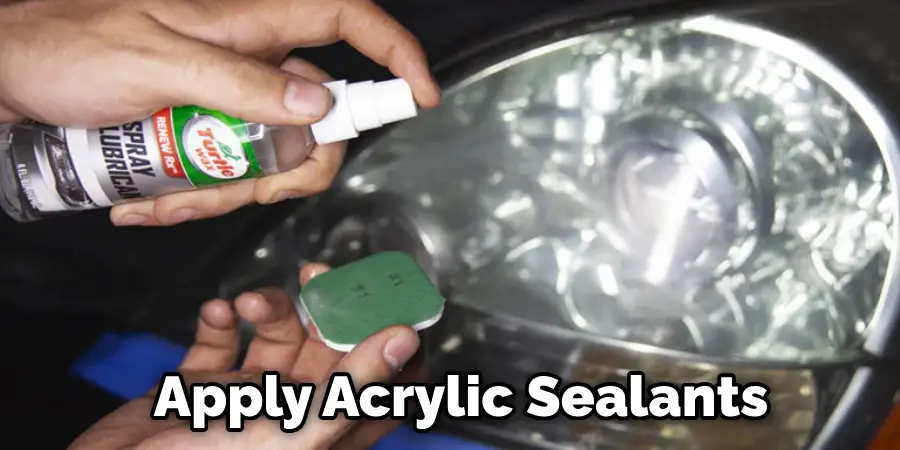
Acrylic sealants are another popular option for sealing headlights. They’re less durable than polyurethane sealants but are also less expensive and easier to apply. In addition, acrylic sealants will still provide a strong barrier against moisture and other elements, though they may need to be replaced more often than polyurethane sealants.
7 Effective Ways on How to Seal Headlights After Restoration
1. Using Ceramic Coat:
If you are looking for a product that will seal your headlights and protect them from future damages, then a ceramic coat is the way to go. A ceramic coat creates an invisible layer of protection on the surface of your headlights which repels water, dirt, and other contaminants.
2. Apply Clear Coat:
The clear coat is another great option to seal your headlights and protect them from future damages. A clear coat creates a durable and hard layer on your headlight’s surface, making it more difficult for debris and other materials to cause any damage. To apply a clear coat, you must purchase a clear coat spray designed explicitly for headlight restoration. Once you have the clear coat, follow the directions on the can and apply it evenly to your headlights.
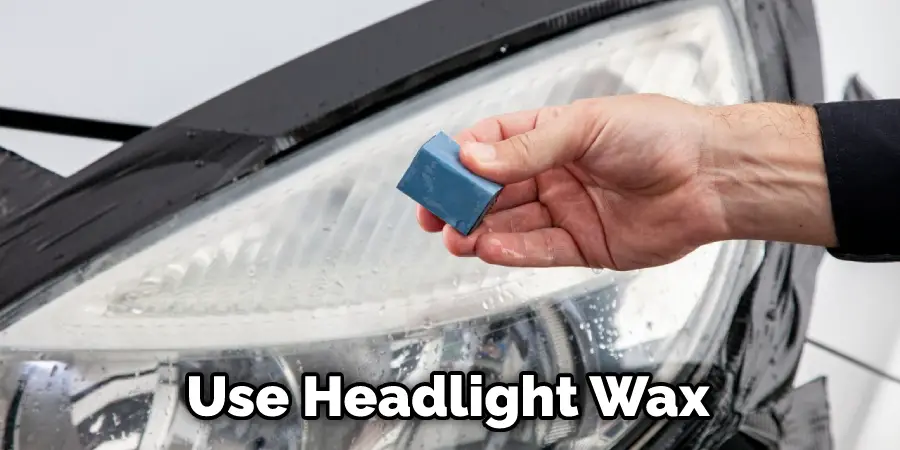
3. Use Headlight Wax:
If you want to give your headlights an extra layer of protection, consider waxing them after you have restored and sealed them. Headlight wax works similarly to car wax, creating a durable and protective barrier on your headlight’s surface. You can purchase headlight wax at most auto parts stores or online.
4. Use a Protective Sealant:
Another great option to seal your headlights is to use a protective sealant. A sealant will create an invisible barrier on your headlight’s surface that will repel water, dirt, and other contaminants. To apply a sealant, you must purchase a headlight restoration kit that includes a sealant. Once you have the sealant, follow the directions on the can and apply it evenly to your headlights.
5. Use a UV Protection Coat:
Consider using a UV protection coat to protect your headlights from fading or yellowing over time. A UV protection coat will also help to keep your headlights looking clear and new. In addition, it will help you avoid constantly polishing and cleaning your headlights. You can find UV protection coats at most auto parts stores.
UV protection coats typically come in aerosol cans and can be applied with a cloth or brush. Follow the directions on the UV protection coat label for best results.
6. Apply a Mixer of Baking Soda & Vinegar:
Another popular method to seal headlights after restoration is to apply a mixture of baking soda and vinegar. This mixture can be applied with a cloth or brush. You need to have a 1:1 ratio of baking soda to vinegar.
Apply the mixture to your headlights in a circular motion, and then wipe it off with a clean cloth. This method will help to create a seal that will prevent moisture from getting inside your headlights and causing them to fog up.
7. Install Paint Protection Film:
After the sealant has cured, apply a 6-8″ wide strip of paint protection film to the leading edge of the hood, making sure to wrap it around the edges of the headlights. This will help protect your newly restored headlights from bugs, rocks, and other road debris. Check if the paint protection film is compatible with your vehicle before applying.

Step by Step Procedure: How to Seal Headlights After Restoration
Step 1: Prepare the Work Area.
You will need a clean, dry, and well-ventilated workspace. Make sure to have plenty of rags or paper towels to clean up any messes. Also, have a drop cloth to protect your work surface if your workspace is outside.
Step 2: Gather Your Supplies.
For this project, you will need a headlight sealant, a headlight sealant applicator, a clean rag, and a headlight restoration kit. Make sure you’ve all this before you begin. If you don’t have a kit, you can purchase one online or at your local auto parts store.
Step 3: Clean the Headlight Lens.
Using the headlight restoration kit, clean the entire headlight lens. Make sure to follow the instructions that come with the kit. You must clean the lens before applying the sealant, or the adhesive will not adhere properly. Once the lens is clean and dry, you’re ready to move on to the next step.
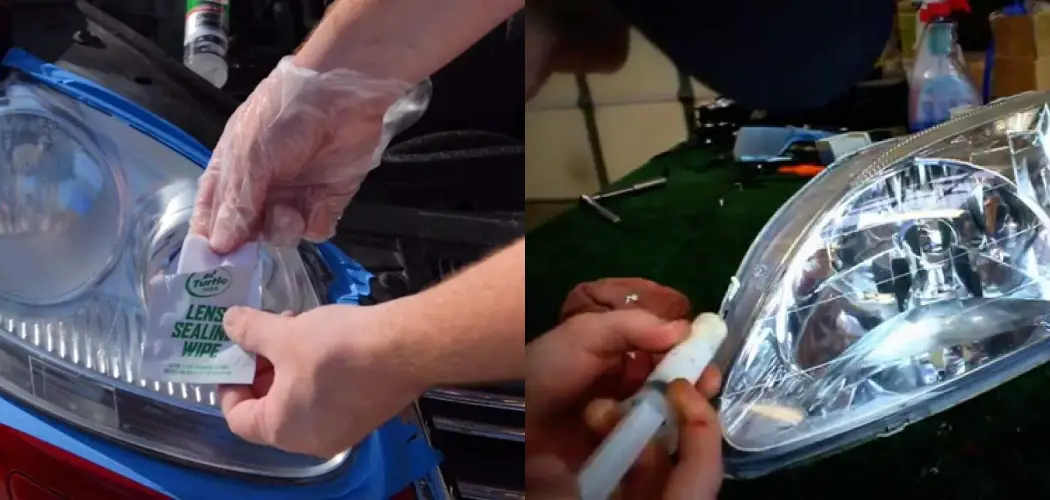
Step 4: Apply the Headlight Sealant.
Using the headlight sealant applicator, apply a thin layer of headlight sealant to the entire headlight lens. Ensure you don’t miss any areas, as this will result in an uneven seal. If your headlight sealant comes with a curing light, follow the instructions to cure the sealant. If not, allow the sealant to dry for at least 24 hours before moving on to the next step.
Step 5: Polish and Wax.
Using the polish and wax in your headlight restoration kit, polish, and wax the entire headlight lens. This will help to protect the sealant and keep your headlights looking clear and bright for months to come. If your headlights are particularly cloudy, you may need to repeat this step a few times.

Step 6: Inspect the Seal.
Once the sealant has had time to dry, inspect it to ensure no gaps or missed areas. If you find any, apply another sealant layer and allow it to dry. Once you’re satisfied with the seal, you’re done! Your headlights should now be protected from the elements and remain clear and bright for years.
You Can Check It Out To Keep Snow Off Led Headlights
Some Helpful Tips and Suggestions
- Before you seal your headlights, ensure they are clean and dry. Any dirt or debris will prevent the sealant from adhering correctly.
- Use a high-quality sealant explicitly designed for headlights. This will ensure optimal results.
- Apply the sealant evenly and smoothly to avoid any air bubbles.
- Allow the sealant to dry completely before driving or operating your vehicle.
- If you are not satisfied with the results of your first attempt, you can always apply additional coats of sealant until you are happy with the results.
- Remember to clean your headlights regularly to maintain the sealant and prevent dirt and debris from building up.
- Always apply the sealant in a well-ventilated area to avoid inhaling fumes.
Sealing your headlights after restoration is a great way to protect them from the elements and keep them looking new for longer. By following these simple tips, you can ensure optimal results.
Frequently Asked Questions
What Can I Use to Seal My Headlights After Polishing?
Headlights can be sealed with a variety of sealants, but the automotive polish is the most common. Ambitious Car Care recommends using Optimum No-Water Sealant to protect headlights from rain and road debris while keeping them shiny and polished.
This versatile product can also be used to clean lenses, clear coat surfaces, and protect vinyl roofs from UV damage. It is safe for use on both new and old paint jobs, rubber & plastic trimming, chrome parts (including bumpers), glass surfaces (including windshields), heated-up plastics, or metal components in extreme conditions(as long as they are not painted!),and more!
Simply spray a liberal amount onto an applicator pad or buff wheel, and work it into the surface until all areas are coated . Wipe off any excess with a cloth before let dry completely – typically within 24 hours.
Can You Apply Sealant to the Headlights?
It depends on the type of sealant you are using and the type of headlights you are attempting to seal. Generally speaking, though, it is unlikely that sealant would be effective at sealing headlights – they are made to be exposed to the elements.
Can I Use Silicone to Seal My Headlights?
Unfortunately, silicone is not recommended to be used as a sealant for headlights because it can deteriorate the metalens of your car. Not only will this decrease visibility and safety while driving, but it could also lead to engine damage or other complications.
Instead, you should use an approved sealant like So-Lite’s Headlight Sealants. These products are designed specifically to protect against water and dirt infiltration, which would otherwise cause deterioration in your headlights over time.
What is Butyl Caulk?
Butyl Caulk is a sealant used to fill in any small gaps or cracks in drywall, plaster, or ceiling tiles. It is also used to seal seams along the edge of wood cabinets and furniture. Butyl Caulk is available in a variety of colors and can be used on both new and old construction.

Conclusion
Headlights are essential to your car, and keeping them in good condition is crucial. Sealing headlights after restoration is the best way to ensure they stay looking new for as long as possible. In this article, we’ve outlined how to seal headlights after restoration. So, what’s the best way to seal your headlights? That depends on your personal preferences and needs.
If you want maximum protection against UV rays and other environmental hazards, then a coat of clear sealant is probably your best bet. But if you don’t mind doing extra maintenance work down the road, using wax or polish may be a better option. Whichever method you choose, make sure to follow the instructions closely so that you get the best results possible!