In today’s world, black lights are used for various reasons. Whether you want to create a psychedelic party atmosphere or need light for finding pet stains on the carpet, having your black light is a fun and valuable addition to any home. Luckily, it’s easy to make your black light using LED lights! This article will show you how to make black light with led lights. Read on for more.
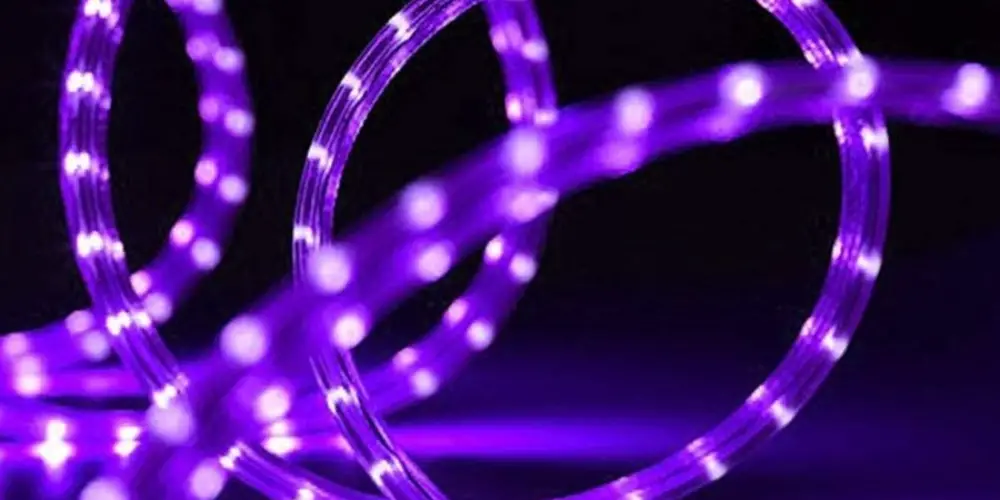
You can easily make one with some led lights. All you need is a few simple supplies, and you’ll be ready to rock the glow-in-the-dark scene! Keep reading for instructions.
Summary: First, you’ll need some led lights. Then, you’ll need a container of black liquid and some white paper. Finally, you’ll need a black light bulb and some batteries. Follow these simple steps and you’ll be able to create your own black light show!
A Detailed Guide on How to Make Black Light With Led Lights
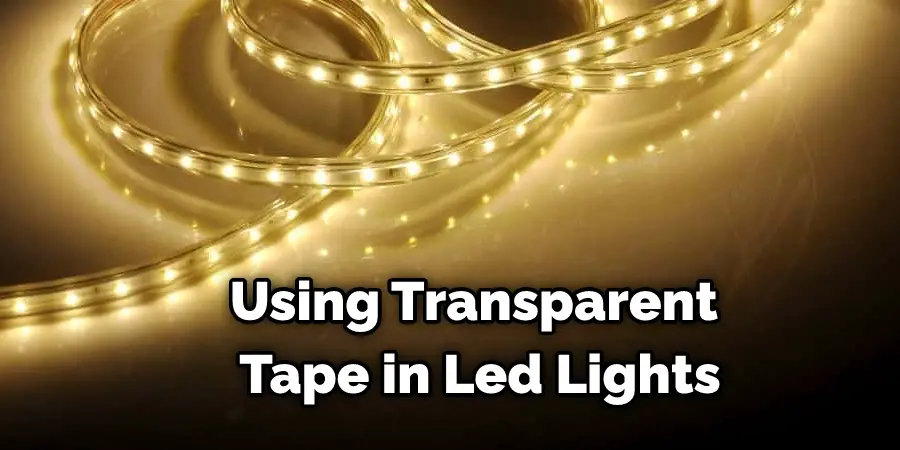
Method 1 : Use Transparent Tape
- Firstly, you need to get a paper and then use the transparent tape on it and let your paper completely dry under the tape
 .
. - After that, take another piece of paper and place it right over the first one and this time, use regular scotch tape so that both documents are together with their backsides touching each other.
- Try to press out any air bubbles as much as possible because they can produce different colors of light, which will not be visible once we shine a black light on them.
- Then cut along the edge of your sheet around 1 cm from its border along its length but don’t separate yet! Just leave it attached at one edge for now while you prepare another sheet like the one you just cut.
- This time, use black tape on one of its sides and let it dry completely.
- Then cut along the border again, but this time separate your two pieces, and you will notice that there is one piece with no black on it while the other has a strip of black running all along its length.
- After separating them, place the first sheet, which doesn’t have any tape on it under direct sunlight, for about 10 minutes to an hour (the longer you leave it under the sun, the darker color your paper will get).
- Once you have placed it under direct sunlight for long enough, bring it back inside to a room so that the surrounding light is not as bright as before and place the second sheet with black tape on top of your first one, which has been in direct sunlight.
- Again, press out any air bubbles from between both pieces just like you did at step 2 because these air bubbles can produce different light colors once we shine a blacklight on them.
- Now, take a scissor or a scotch tape and cut along the border all along its length, this time without separating them yet because we still need to do something more to make sure they don’t come apart when we hold them together.
- After cutting it, peel the black tape off its first sheet and then press it down onto your second sheet. Make sure that you don’t let go of the two sheets before they are stuck together because these can separate if they slip out of your hands.
- Now that you’ve joined both pieces together, place the new larger piece under direct sunlight for about 10 minutes to an hour again (the longer you leave it under the sun, the darker color your paper will get).
- When you feel like it has been long enough, pull it back inside and let it sit in a room without bright lights for about half an hour or until it has completely cooled down.
- After cooling off, grab one end of this stick with black light paper and strip the black tape off your new merged sheet from its backside until you reach its other end.
- Keep stripping its black tape off until you reach the end of your sheet and pull it apart to reveal your newly made backlight paper!
Method 2 : Use a Remote Control
- For this method, you will need an old remote control that has stopped working for some reason or another and a fluorescent bulb of your choice.
- If there are any buttons on the back of the remote, try to cover them up with black electric tape so that it doesn’t affect its performance once you shine it under blacklight.
- After covering all of the buttons, prepare your fluorescent bulbs by removing all of their protective plastic coating (the kind that is on the glass part) because this can end up blocking specific colors of light which can come out from these types of bulbs if they’re left on when we shine blacklight onto them.
- Then, take about 2 inches of solder wire (can be found at any hardware store) and fold it in half with the tips facing each other to make a loop.
- Now, place one tip of this wire onto both contacts of your bulb on either side, twist them together so that they are touching, and then solder these two legs together by melting some solder on there while applying gentle pressure with your soldering iron.
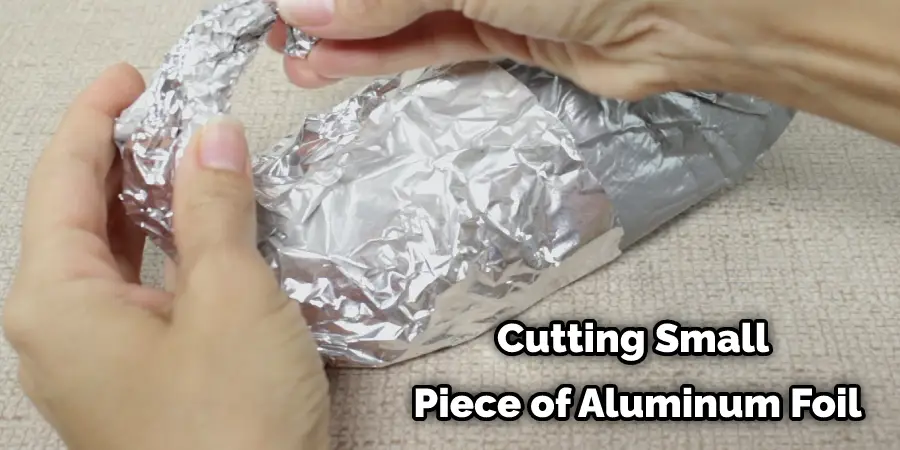
- Then cut out a small piece of aluminum foil about 2 inches long and wide enough to cover up the entire surface of one end of your remote control where its light comes out from but keep this piece attached under its 2-inch length until you have tested it for black light first to be safe
 .
. - Place this slightly larger piece still covered with aluminum foil along one side of a black marker and draw a line with this marker on the center of this piece so that you have created a large half-circle.
- Then cut it out from its other end just past your drawn line until its tip to create a small half circle shape but do not take off its 2-inch length yet, which is attached underneath it.
- For each contact on your bulb, take at least 3 inches of solder wire and twist the tips together to make an upside-down U shape. You might need to use more solder if your original solder tips are too short for this task. This is because if they aren’t long enough, they will come apart once we apply pressure onto them later on when we press our bulb against them.
- Next, place one of these U-shaped solder tips between the two halves (the half with the circular aluminum foil attached) of this piece which you have just cut out, and then press both sides together to make sure that it has come into contact with both legs of your bulb.
- Cut off its 2-inch length underneath it once you’re sure that everything looks like it’s in order there and attach this new end to the front side (where the light comes out from) of your remote control by taping or gluing it down but do not cover up its other end where our blacklight will shine through later on!
- Now, all you need is an area that does not get too hot or too cold to test your remote control before exposing it to any bright lights because if you tell it to average room temperatures for about 30 minutes. It still doesn’t work; then, there might be something wrong with your soldering.
- To make your remote control work with a black light, first make sure everything is in order, then cover the entire front side of the remote with a piece of aluminum foil. Make sure the foil is attached firmly so that light can only shine through in the area where you want the black light to pass through.
- After covering the entire area in aluminum foil, except for the small spot where our new half-circle shape is attached, use white tape to secure it firmly in place. Turn on your remote control with the fluorescent bulb inside it (make sure to remove all protective plastic coatings!) and flip it around until you find a spot where your blacklight comes out.
- You will need to cut the aluminum foil along the given area and make two small holes at either end. To do this, you can use a cutting edge tool like an Exacto knife or a nail. Then, take some masking tape and put several pieces together to cover the two new holes. This will ensure that no light can go anywhere except straight through the holes.
- Lastly, you need to attach your final fluorescent bulb underneath this piece of aluminum foil so that it will shine directly onto the blacklight, which is already placed in its designated spot, but what we have just done with our two new holes at either end of this piece is to prevent any light from getting through them and reaching our ultraviolet bulb. Both of these methods will help in how to make black light with led lights.
You can check it to Avoid Ring Light Reflection in Eyes

Frequently Asked Questions
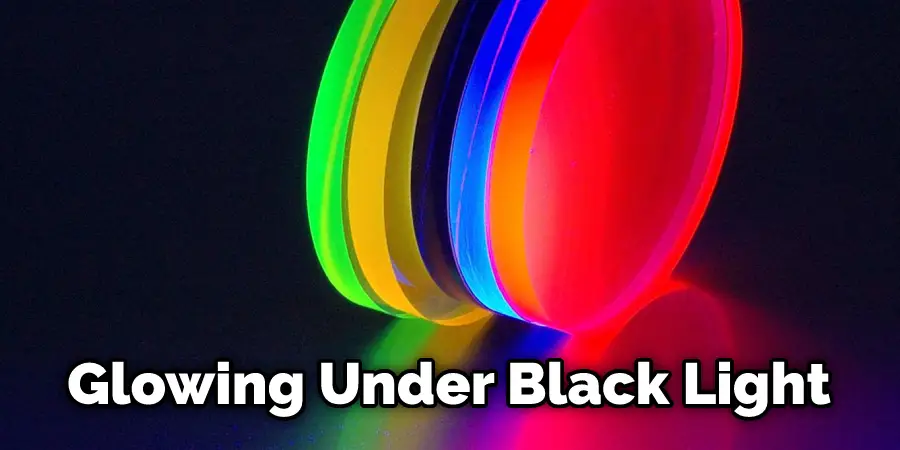
Can You Make Led Lights Into Black Lights?
Yes, you can make LED lights into black light using a special device known as a black light bulb. This type of bulb emits short-wavelength radiation that is invisible to the human eye but which has an effect on different types of photosensitive materials. By shining this type of light on LEDs, you can create various colors and effects that are not possible with regular lighting alone.
What Two Colors Make a Black Light?
It’s simply a fun way to learn about some of the basic principles of physics.
Two colors that make a black light are black and white. When you expose a material to black light, the material will emit black light, which is made up of frequencies that are invisible to the human eye.
So, if you want to learn more about how black light works, playing around with two colors is a great way to get started! Have fun and learn something new in the process.
Is It Possible to Make a Real Black Light?
Yes, it is possible to make a real black light. This unique device allows you to see objects and images that are otherwise invisible in the darkness. Black lights produce short-wavelength electromagnetic radiation, which can activate certain electronic materials and cause them to emit visible light. This makes black lights an extremely useful tool for forensic investigations, archaeology, biology, chemistry, and entertainment applications.
What Color Makes Tired?
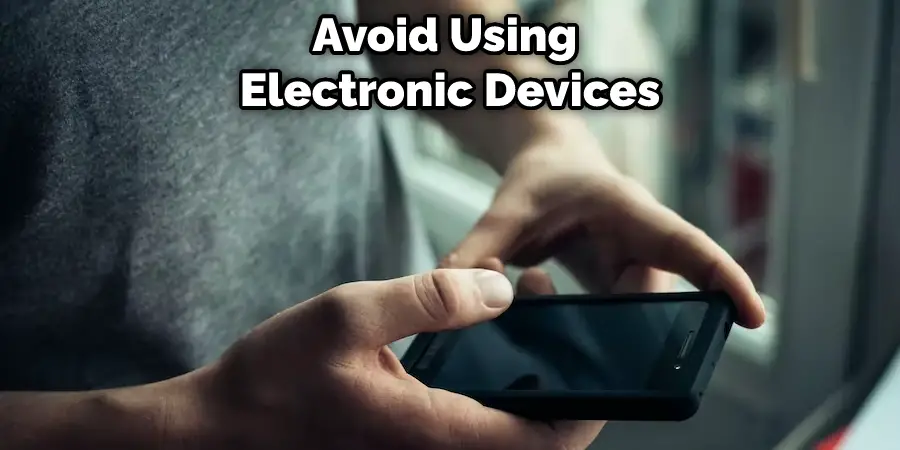
Blue is the most common color that people report as being tired. This may be due to its close relationship to depression and anxiety, which are two conditions that often lead to fatigue. Interestingly enough, studies have shown that blue light can actually have a negative effect on our body’s natural circadian rhythm.
This means that we should avoid using electronic devices in the evening or early morning hours if possible. Instead, try spending time outdoors in nature or reading a book indoors instead.
Conclusion
We hope you have learned how to make black light with led lights. Black light is a fun way to make your party feel like an event. You can create it with led lights! Let’s take a closer look at the science of black light and see how you can use this knowledge in your next party or rave.
You may read it also – How to Remove Led Light Strips From Wall