You’ve seen them everywhere, from under-cabinet lighting in kitchens to accent lighting in cars. LED strip lights are a versatile and relatively simple way to add some extra light to just about any area. And if you’re feeling ambitious, you can even solder your own! Here’s a quick guide on how to solder led strip lights.
Summary: First, take the LEDs and twist each one around a pencil to create a small loop. Then, use the solder to attach each loop to the solder iron. Finally, heat up the solder iron and place the LED strip light onto it. Be sure to use caution when working with hot metals, and make sure to wear safety equipment such as goggles and apron.
Why Should You Solder LED Strip Lights?
Installing LED strips is a great way to add accent lighting to your home. But why should you solder the connections? Here are three reasons:
- Soldering creates a strong, permanent connection. This is important because LED strips are designed to last for many years. So by soldering the connections, you can be confident that your accent lighting will stay in place for a long time.
- Soldering protects against moisture and corrosion. When you solder, you create a seal that prevents moisture and other corrosive elements from damaging the connection. This is especially important in areas where the LED strip might be exposed to moisture, such as in a kitchen or bathroom.
- Soldering makes it easier to troubleshoot problems. For example, if an LED strip stops working, it can be difficult to determine which connection is the problem. But if you solder the connections, it’s easy to check each one for problems. That way, you can quickly identify and fix any issues that come up.
So there you have three good reasons to solder your LED strip lights! First, by taking this extra step, you can be sure that your accent lighting will stay in place and work properly for many years to come.
7 Tips to Follow on How to Solder Led Strip Lights
1. Cut the Strip Light to Size
Depending on the application, you may want to cut the strip light into smaller sections. For example, if you’re installing under-cabinet lighting in a kitchen, you may want to cut the strip light into lengths that will fit evenly under each section of cabinets.
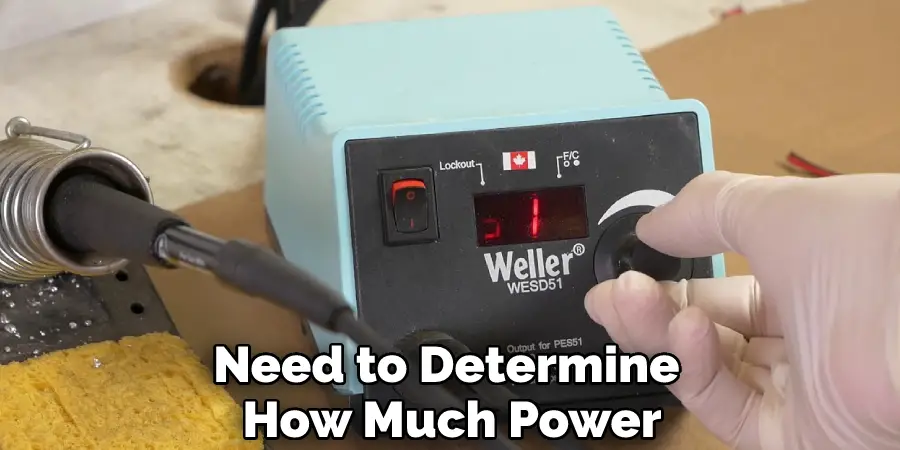
2. Determine the Power Requirements
Before soldering any connections, you’ll need to determine how much power will be required for the project. This information can be found on the product packaging or specification sheet.
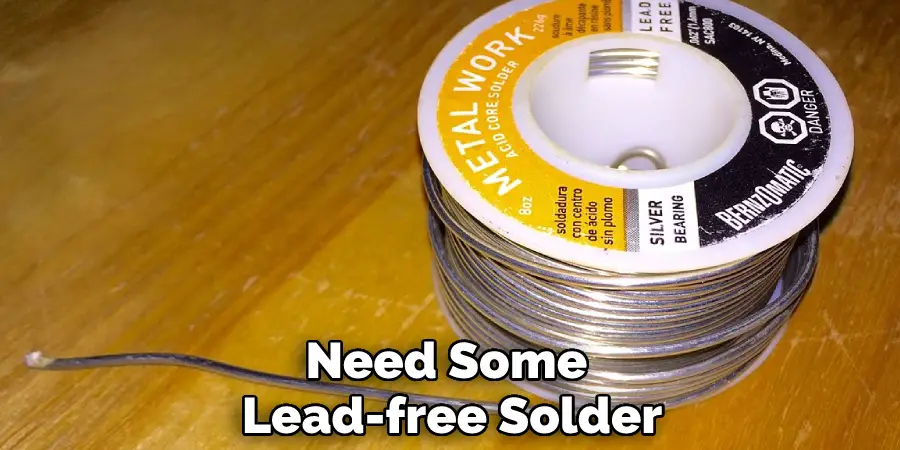
3. Choose the Appropriate Solder
Two types of solder can be used for electronics: lead-based and lead-free. Lead-based solder has a lower melting point, which makes it easier to work with. However, it can be harmful if inhaled or ingested, so it’s important to use caution when working with it. Lead-free solder has a higher melting point, so it requires more heat to work with. However, it is considered safer to use.
4. Prepare the Strip Light for Soldering
Once you’ve determined the power requirements and chosen the appropriate solder type, you can begin preparing the strip light for soldering. To do this, you’ll need to tin the stripped ends of the wire. This process involves applying a small amount of solder to the wire so that it will adhere to the strip light.
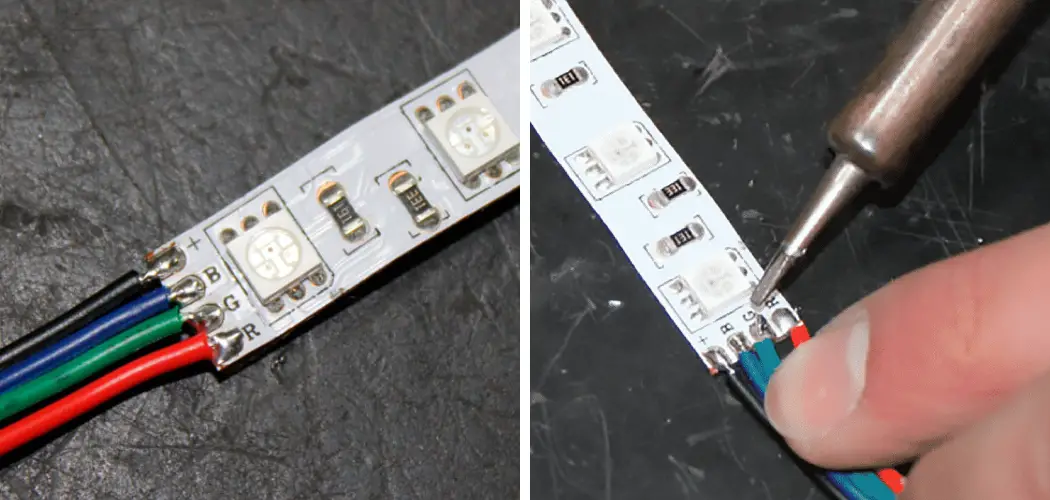
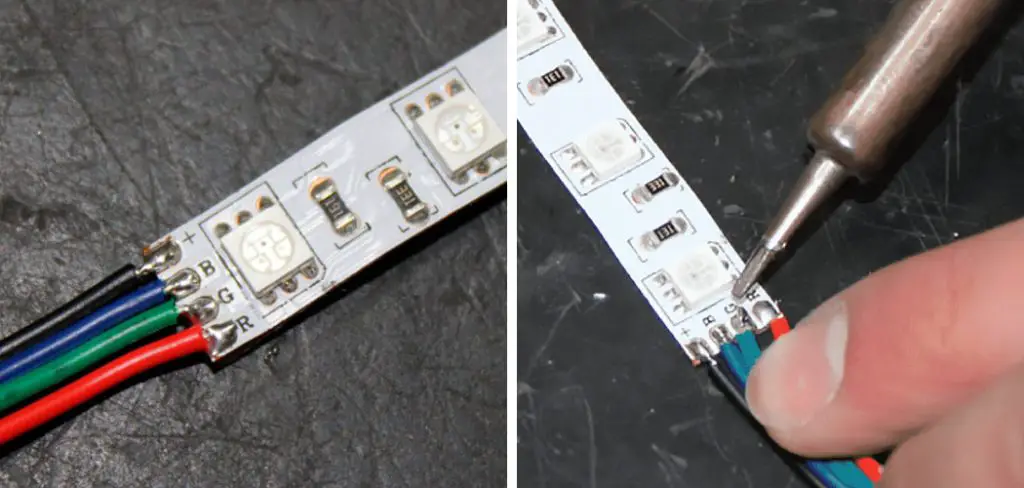
5. Solder the Positive Connection
The positive connection is typically soldered to the anode, which is the longer of the two leads on an LED. To do this, align the stripped end of the wire with the anode and apply heat to the connection until the solder melts and forms a bond.
6. Solder the Negative Connection
The negative connection is typically soldered to the cathode, which is the shorter of the two leads on an LED. The negative lead is also the flat side of the LED’s plastic casing. Once you have determined which lead is the negative connection, tin that leads by heating it with the soldering iron and then applying a small amount of solder.
7. Test the Connection
Once both connections have been soldered and the heat shrink tubing has been applied, it’s time to test the connection. If everything went according to plan, the LED strip should now be lit up. If not, check your solder joints to make sure they are secure and have good contact. Once you’ve confirmed that the connection is good, you can go ahead and apply power to the rest of the LEDs in the strip.
That’s it! You’ve now learned how to solder led strip lights. By following these simple tips, you can ensure a successful installation.
The Dos and Don’ts of Soldering Led Strip Lights
Soldering is a great way to connect LED strip lights. It provides a strong, lasting connection that can handle a lot of heat and vibration. Plus, it’s relatively easy to do with the right tools and materials. Here are some tips to help you get started:
- Do use a soldering iron with a fine tip. This will help you avoid damaging the delicate LEDs.
- Do use flux. This will help the solder flow more smoothly and prevent it from sticking to the soldering iron.

- Do use lead-free solder. This is better for the environment and for your health.
- Don’t overheat the LEDs. This can damage them and shorten their lifespan.
- Don’t touch the soldering iron tip to your skin. It’s extremely hot and can cause burns.
With these tips in mind, you’ll be able to solder LED strip lights like a pro!
How to Fix a Broken LED Strip Light
LED strips are a popular way to add accent lighting to a room, but they are susceptible to damage. The most common type of damage is a break in the circuit, which can be caused by several factors, including physical impact, water damage, or simply age. If you find yourself with a broken LED strip, there is no need to panic. With a little soldering, you can easily repair the break and get your lights back up and running.
The first step is to locate the break in the circuit. This can be done by using a multimeter to test for continuity. Once you have found the break, you will need to cut the strip on either side of the break. Next, solder two wires onto the exposed pads and connect them across the break. Finally, apply heat shrink tubing to protect the connection, and voila! Your LED strip is as good as new.
What Are the Benefits of Soldering LED Strip Lights?
LED strip lights are a popular way to add accent lighting to any room, and soldering is often the preferred installation method. While soldering may seem daunting, it is quite simple and only requires a few basic tools. The main benefits of soldering led strip lights are that they create a stronger connection, prevent moisture damage, and make it easy to create custom light designs.
Soldering also allows for a more secure connection than other methods, such as using wire nuts or terminals. As a result, soldered connections are less likely to come loose over time. In addition, soldering creates a barrier that protects the connection from moisture and corrosion. This is especially important in areas where the lights will be exposed to humidity or water, such as in bathrooms or kitchens.
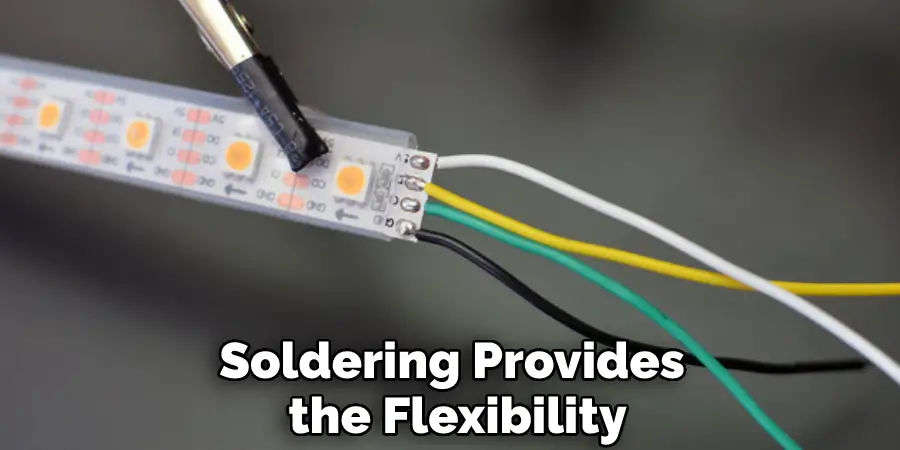
Finally, soldering provides the flexibility to create custom light designs. For example, by soldering multiple strips of lights together, it is possible to create curves or other shapes that would be difficult to achieve with other methods. Soldered connections also allow adding additional features, such as dimmers or sensors. Overall, soldering offers many advantages over other methods of installing LED strip lights.
5 Common Problems with LED Strip Lighting and How to Solve Them
Despite their many benefits, led strip lights can sometimes cause problems. Here are five of the most common issues and how to solve them:
1. Flickering:
This is usually caused by a loose connection or damaged wire. Simply check all the connections and replace any damaged wires to fix them.
2. Only One Color is Working:
This is typically caused by a faulty controller or LED. Replacing the controller or LED should solve the problem.
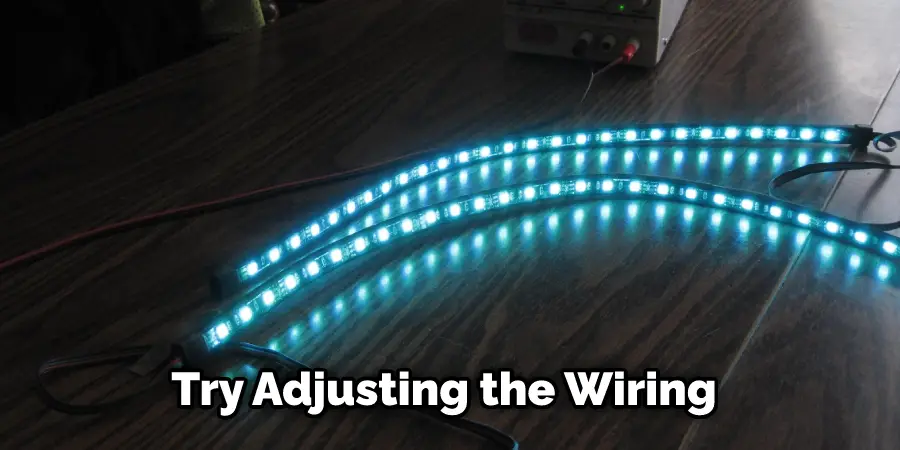
3. Lights Are Too Bright:
If the lights are too bright, it might be due to incorrect wiring or a faulty controller. Try adjusting the wiring or replacing the controller to see if that helps.
4. Lights Are Not Bright Enough:
This could be because of low-quality LEDs or incorrect wiring. Make sure you are using high-quality LEDs and check the wiring to see if that is the issue.
5. Lights Are Not Evenly Distributed:
If the lights are not evenly distributed, it might be because of incorrect spacing between the LEDs. Adjusting the spacing should solve the problem.
What Tools Do You Need to Solder LED Strip Lights?
If you’re looking to add some extra light to your home décor, soldering LED strip lights is a great way to do it. But what do you need to get started? Here’s a quick rundown of your essential tools for the job.
First, you’ll need a good quality soldering iron. Look for one that has adjustable temperature control, so you can be sure to use the correct temperature for your project. You’ll also need some lead-free solder, which can be found at most hardware stores. In addition, you’ll need a pair of needle-nose pliers and a small Phillips head screwdriver.
LED strip lights are relatively easy to solder, but it’s important to take your time and do it properly. Then, with the right tools, you can create a beautiful and unique lighting display in your home.
Frequently Asked Questions
Can Led Light Strips Be Soldered?
Yes, LED light strips can be solderable. However, it is important to use the right tool for the job and to take care when soldering them together. If you are using an iron that is not properly heated or if you apply too much heat, your LEDs may explode. Additionally, make sure that both ends of the strip are connected securely before turning on the power so that there is no risk of shorts or damage to your lights.
What Solder Should I Use for Led Lights?
Many people are unsure of which solder to use when it comes to LED lights. This is because there are a variety of different types and qualities of LEDs, each with its own specific requirements for electrical wiring. Some common types of LEDs that require soldering include multi-color LED strips, addressable RGB LEDs, surface mount LEDs (SMDs), and through-hole LEDs.
When it comes to soldering LED lights, the most important factor to consider is the type of connector on the light source. Most conventional connectors used for lighting (such as hookup wire or plug) aren’t suitable for Led lights due to their high voltage levels.
Do You Solder Leds in Parallel?
the answer will vary depending on the type of LED and its configuration. That being said, most LEDs will typically require at least two leads – one for each side of the LED – in order to be soldered in parallel.
Which Way Do You Solder a Resistor?
There are many ways to solder a resistor, but one of the most common is by using an oven or stovetop. Simply place the resistor on a baking sheet and preheat your oven or stove to its desired temperature. Then, carefully lower the resistor into the heat and allow it to melt. Once melted, use a pair of tweezers to remove it from the pan and position it so that you can begin soldering according to your desired method.
Alternatively, you can also solder Resistors using liquid epoxy: Mix equal parts epoxy and water together until homogeneous before adding each component individually in small batches until fully mixed. Apply mixture with a brush or pad applicator onto both ends of each Resistor chip (solder them as close as possible).

Conclusion
Now you know how to solder LED strip lights! This project is relatively simple and only requires a few supplies that can be easily found at any hardware store. LEDs are a great way to add some extra light to just about any area, so put your new skills to use and brighten up your space today!