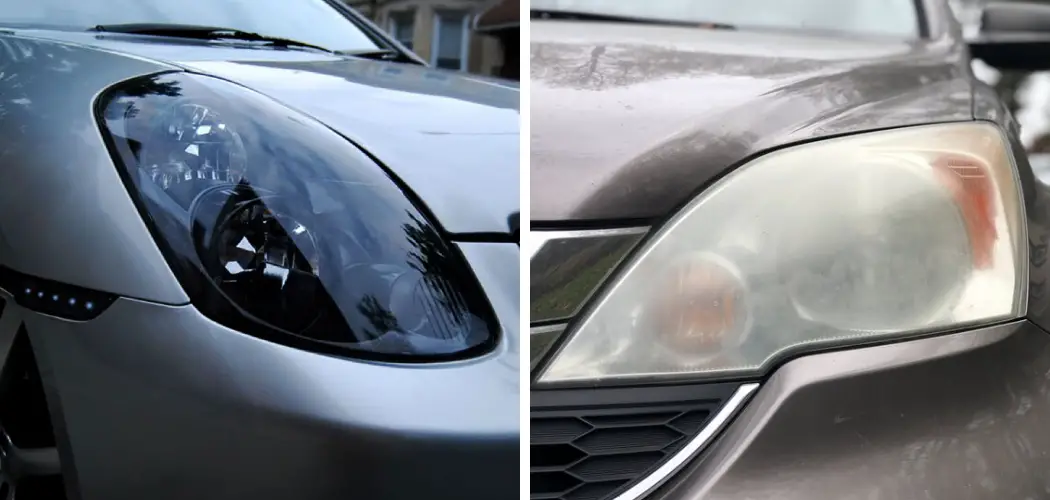
Are you looking to give your headlights a cool, edgy look? One popular method is to smoke your headlights, which involves coating the lenses with a dark tint. This can be done either at home or by a professional, depending on how dark you want the lenses to appear and how detailed you want your work to be.
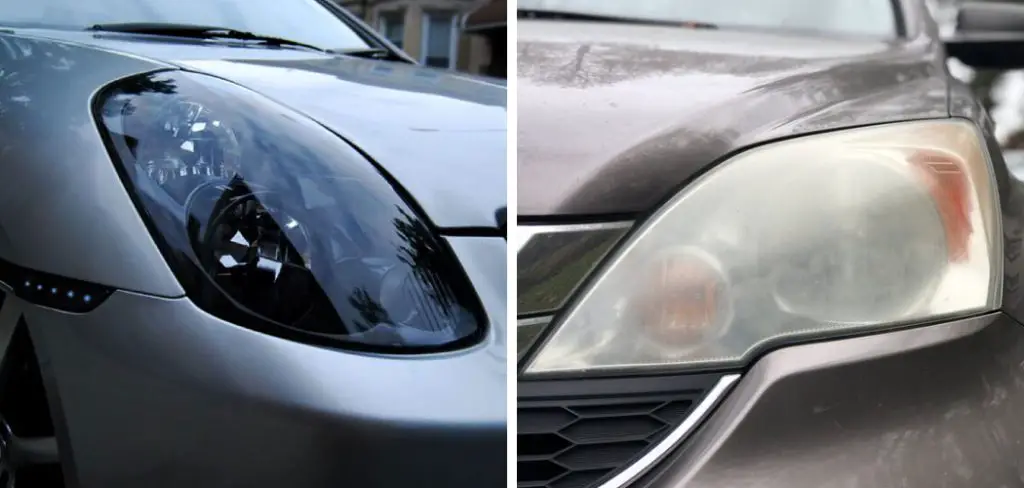
Smoking your headlights is a process that some car owners use to clear the headlight lens of any built-up grime, oxidation, or other deposits. It’s a cheap and easy way to improve your car’s appearance and increase your safety while driving at night. But how to do it? Keep reading for all the details!
In this blog post, we’ll show you how do you smoke your headlights like a pro!
What Will You Need?
To smoke your headlights, you will need a few basic tools and supplies, including:
- A headlight restoration kit
- A fine-grit sandpaper
- A rubber polishing or painting glove
- Glass cleaner or rubbing alcohol
- Handheld drill (optional)
- Tint cutting film, tint spray, or tint pencils
- Protective eyewear and gloves
- Masking tape and newspaper or other covering material
- Clear coat sealer and paint thinner (optional)
- Patience, precision, and focus!
The exact steps you will need to follow to smoke your headlights will depend on the type of headlight restoration kit you are using and how dark you’d like your lenses to appear.
10 Easy Steps on How Do You Smoke Your Headlights
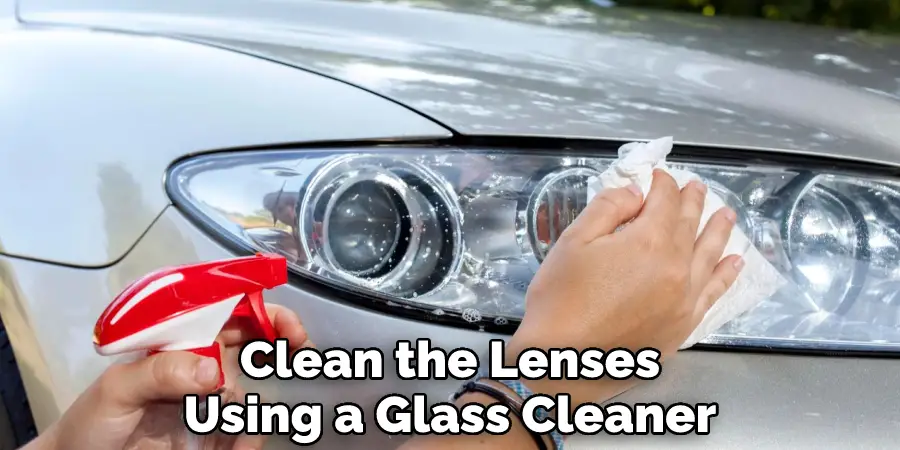
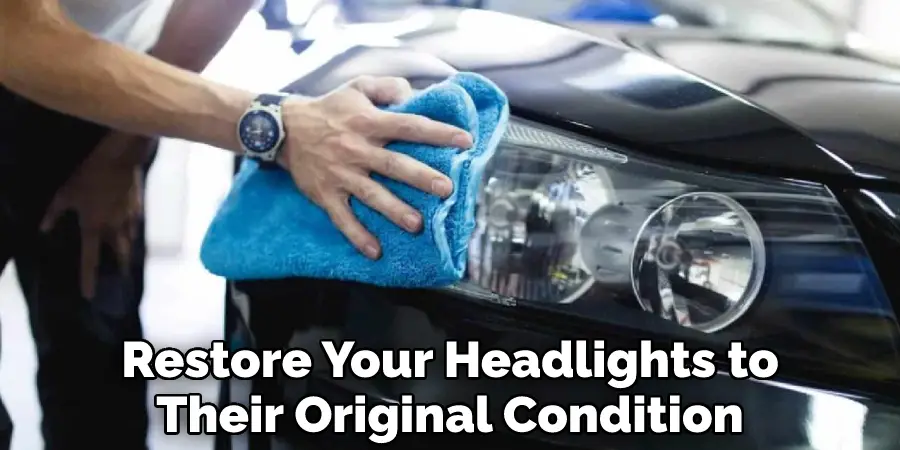
Step 1. Clean Your Headlights:
Before you start smoking your headlights, it’s important to thoroughly clean the lenses using a glass cleaner or rubbing alcohol. This will help remove any built-up grime, dirt, or other particles that may interfere with the process. Use a soft cloth or brush to scrub away any stubborn residue gently.
Step 2: Sand Your Headlights:
Once your headlights are nice and clean, you can start sanding them down using your chosen sandpaper grit. This will create a rough surface on which to apply the tint film or spray later on. Ensure that you are wearing protective gloves and eyewear during this step.
Step 3: Apply the Tint Film or Spray:
Depending on how dark you’d like your headlights to appear, you can either use pre-cut tint film or apply tint spray directly onto the lenses of your car. Be sure to follow any specific instructions included with your headlight tint kit. You should also use a rubber polishing or painting glove to apply the tint, which will help prevent any unwanted smudges.
Step 4: Smooth the Tinted Lenses:
Once you’ve applied the tint film or spray, use a rubber polishing or painting glove to smooth out any bumps or irregularities in the lenses gently. This will ensure a uniform and professional-looking finish. Another, more advanced option is to use a handheld drill with a polishing pad attachment, which can help you achieve an even smoother finish.
Step 5: Let the Tint Dry:
Depending on how much tint you’ve applied, you may need to wait anywhere from 30 minutes to a few hours before moving on to the next step. Make sure that your headlights are completely dry and free of any film or spray before proceeding. Otherwise, you run the risk of smudging or damaging the tint layer.
Step 6: Apply Protective Sealant:
Once your headlights have fully dried, applying some protective sealer is a good idea to protect the tinted lenses from any damage or fading over time. You can either use a clear coat spray or paint thinner for this part of the process, depending on how much extra protection you’d like for your car’s headlights. This will help ensure that your headlights look good for years to come!
Step 7: Let Your Headlights Cool Off:
After you’ve applied the protective sealant, it’s important to give your headlights plenty of time to cool off before using them again. This will help prevent any damage or smearing from occurring as the lenses continue to dry. Don’t forget to remove any masking tape or newspaper from around the lenses before using your headlights, as these can easily smudge or become stuck to the surface.
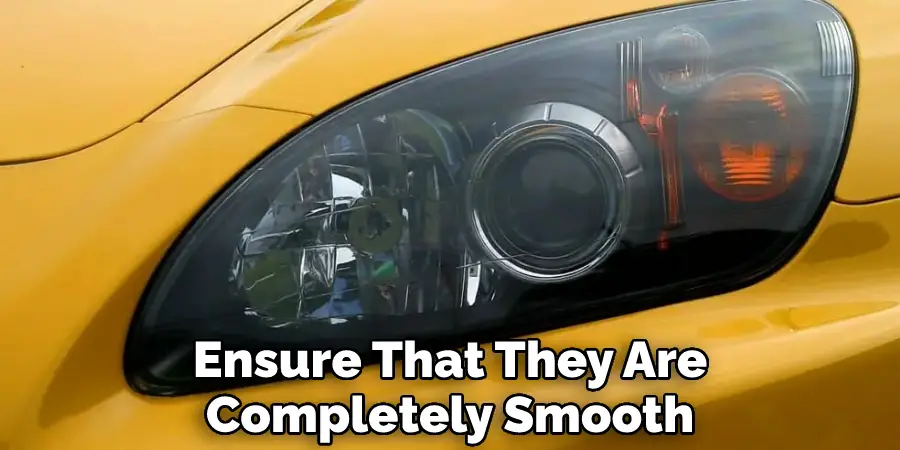
Step 8: Inspect Your Headlights:
Before you hit the road, take a close look at your newly tinted headlights and ensure that they are completely smooth and free of any blemishes or unevenness. If needed, repeat any steps that didn’t go quite right to perfect your results. Remember to be patient and give yourself adequate time to complete the process.
Step 9: Drive Safely at Night:
Congratulations on successfully smoking your car’s headlights! Just remember to drive safely at night while they’re still fresh and new, as this will help them hold up longer and look their best for years to come. Be careful how you park to avoid any bumps or scratches that could mess up your hard work. Greet all street corners confidently, knowing that your headlights look their best!
Step 10: Maintain Your Headlights Regularly:
To keep your headlights looking fresh and dark, be sure to clean and inspect them regularly with the proper tools and materials. Additionally, you can follow any other maintenance tips or recommendations provided by your headlight restoration kit manufacturer in order to help your car’s headlights stay in tip-top shape.
Whether you’re looking to give your car a new look or simply improve its nighttime visibility on the road, it is a fun and simple DIY project that anyone can try at home! So why wait? Get out there and start tinting today!
5 Additional Tips and Tricks
1. Use a hairdryer and a soft cloth to remove debris from your headlights gently. This will help prevent scratches or other damage affecting how well your headlights illuminate the road ahead.
2. Consider using a glass cleaner or other specialty products designed specifically for cleaning headlights. These products can help remove tough stains and grime and may be more effective than other solutions.
3. If your headlights are particularly dirty or stained, consider using sandpaper or other abrasive material to buff away any buildup or damage gently. Be sure to do this very carefully so as not to scratch the surface of your headlights.
4. Consider investing in headlight restoration kits with specialized tools and solutions designed to smooth out imperfections and restore optimal reflectivity to your headlights. These kits can often be quite effective, but they may be a bit more expensive than other solutions.
5. Finally, if all else fails, you may consider seeing a headlight restoration professional. A trusted mechanic or auto body shop can often restore your headlights to their original condition with minimal effort and at a reasonable cost.
Whether you’re looking for ways to improve how well your headlights illuminate the road or want to restore damaged or dirty headlights back to their original condition, plenty of tips and tricks can help.
5 Things You Should Avoid
1. Smoking Your Headlights in Extreme Temperatures.
If you live in an area that experiences extremely high or low temperatures, it can damage your headlights and cause them to crack or warp over time.
2. Using Cheap Chemicals or Products to Smoke Your Headlights.
Many people will try to save money by purchasing cheap chemicals or products to use on their headlights, but these often contain harsh chemicals that can cause damage to the surface of your lights over time.
3. Overly-aggressive Applications of Chemicals or Products.
Suppose you apply too much chemical or product when smoking your headlights. In that case, it can result in a buildup of residue that is difficult to remove and could ultimately lead to permanent damage.
4. Smoothing Out Existing Scratches or Abrasions.
While it may seem tempting to try to smooth out existing scratches or abrasions on your headlights, this can actually do more harm than good and hinder the effectiveness of the smoking process.
5. Allowing Dirt and Debris to Build Up on Your Headlights Over Time.
Your headlights are exposed to a lot of dust, dirt, and other debris regularly, so it’s important that you take the time to clean them regularly to keep them looking their best and working at optimal performance levels.
If you want to smoke your headlights, it is essential that you take these key factors into consideration and avoid making any common mistakes when applying chemicals or products to your lights.
Frequently Asked Questions
Do Smoked Headlights Affect Visibility?
The research on this topic is still inconclusive. Some studies suggest that smoked headlights can reduce visibility by up to 50%, while other studies claim that they have no detrimental effect. However, it is generally agreed that smoked headlights should be avoided when visibility is important, such as while driving in bad weather conditions or during late-night hours.
Are Smoked Car Lights Legal?
Yes, smoked car lights are legal in most states. Smoked car lights are simply decorative headlights that have been painted or covered in a material that gives the appearance of being smoked. Typically, smoked car lights are used on luxury cars or trucks to give them a more dramatic look. While smoked car lights may not be practical for daily use, they can be a fun addition to a vehicle and are generally legal to use in most states.
How Long Do Smoked Headlights Last?
Smoked headlights last for a limited amount of time depending on the type of smoked headlight. Halogen headlights typically last for around 6,000 to 10,000 miles, while Xenon headlights typically last for around 20,000 to 30,000 miles. Once the smoked headlight feature is no longer necessary or the headlight has reached its lifespan, it should be replaced.
Can You Blackout Your Headlights?
Yes, it is possible to blackout your headlights using a headlight blackout kit. This kit includes a pair of blackouts that fit over your headlight lenses, and a set of instructions to help you install the kit. By installing a headlight blackout kit, you can reduce the glare from your headlights while driving, making it easier to see in low light or darkness. Headlight blackout kits are typically easy to install and are a cost-effective way to improve your visibility while driving.
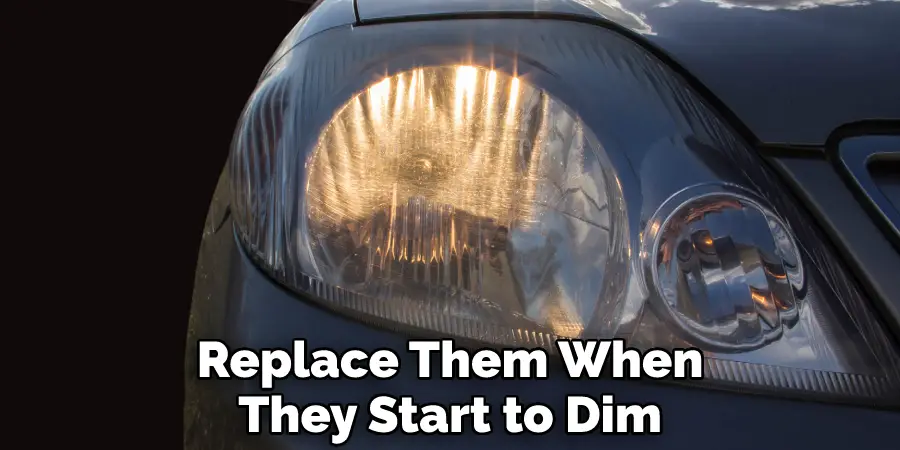
Conclusion
If you want to keep your car running optimally, it is important to take care of the headlights. This means regularly cleaning them and making sure they are properly aimed. You should also replace them when they start to dim. By following these simple tips, you can avoid accidents and ensure that your car is always in good condition.
Smoking your headlights is a pretty simple process that can save you a lot of money and hassle in the long run. We would highly recommend taking the time to do this little bit of maintenance on your car. It’s easy, cheap, and could save you from an expensive accident down the road.
Hopefully, the article on how do you smoke your headlights was Helpful. Thanks For Reading!