A timing light is an important tool for any mechanic. It can help you to diagnose engine problems and perform tune-ups. In this blog post, we will show you how to use a timing light with advance. We will also provide some tips on troubleshooting and maintaining your timing light. If you are not familiar with how to use a timing light, don’t worry. We will walk you through the process step-by-step.

Using a timing light is relatively simple. First, find the number one spark plug on your engine. On most engines, this will be the plug on the front left side of the engine (when standing in front of the car). Once you have found the number one spark plug, follow the spark plug wire to the distributor. Read on to know more information.
Summary: If you’re looking to take your photography to the next level, timing lights can be a big help. Here’s how to use them effectively: 1. Set your camera to Manual mode and choose your shutter speed. 2. Setup your timing light according to the manufacturer’s instructions. 3. Use the timing light to create stunning portraits or landscape shots.
What is a Timing Light?
A timing light is a diagnostic tool that helps to set the ignition timing on an internal combustion engine. It works by shining a bright light on the crankshaft pulley’s timing mark, allowing the mechanic to see when the spark plug fires. The timing light also has an advanced setting, which can be used to ensure the timing is set correctly.
How Does a Timing Light Work?
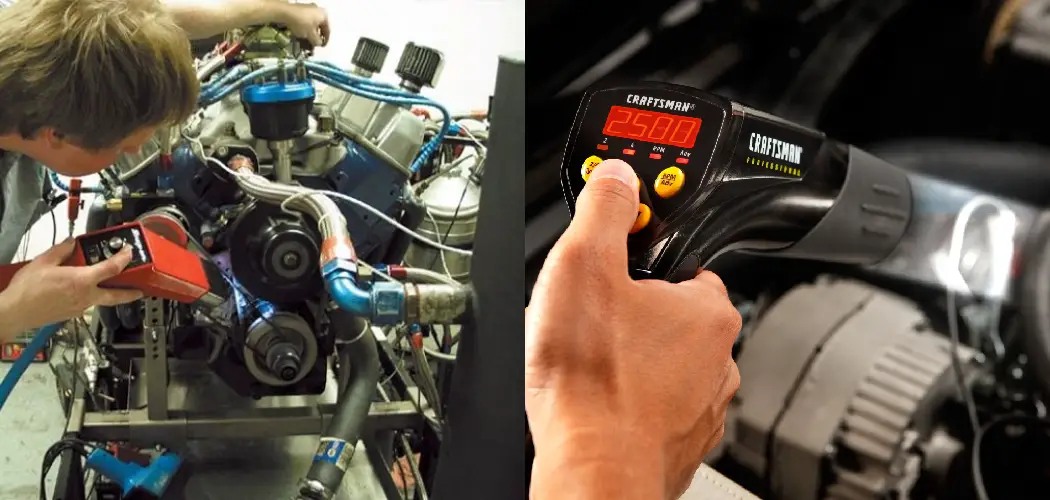
A timing light measures the time it takes for an electrical current to travel from the battery to the spark plug. The timing light uses this information to calculate the engine’s firing order and determine the crankshaft’s position.
The timing light consists of three main parts: a trigger, a sensor, and a display. The trigger activates the light, which then sends a pulse of electricity to the sensor. The sensor measures the time it takes for the current to reach the spark plug, and the display shows the results. The timing light is an important tool used to adjust the timing of an engine’s ignition system.
The timing light is attached to the spark plug wire of the number one cylinder, and the trigger is used to activate the light. The light then sends a pulse of electricity to the sensor, which measures the time it takes for the current to reach the spark plug. The results are displayed on the timing light’s display, which shows the crankshaft’s position.
Step by Step Instructions: How to Use a Timing Light With Advance
Step 1: Make Sure the Engine is Turned Off
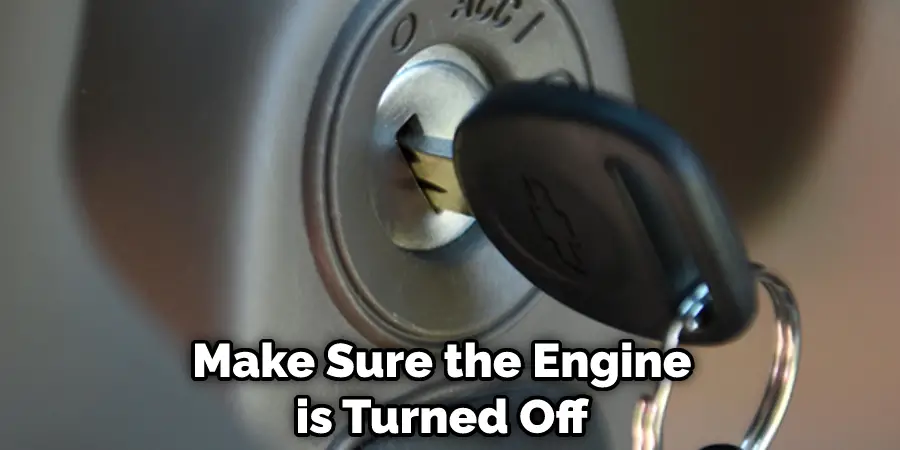
The first thing you need to do is make sure the engine is turned off. You don’t want to accidentally start the engine while working on it. Then, open the hood and locate the battery and the spark plugs. Follow the spark plug wires to the distributor. The distributor is a metal box that contains the ignition coil and the points.
Step 2: Start the Engine and Observe the Timing Light
Once you have set the timing light to advance, you can start the engine and observe the timing light. The light should flash when the spark plug fires. If the light does not flash, you need to adjust the advance setting on the timing light.
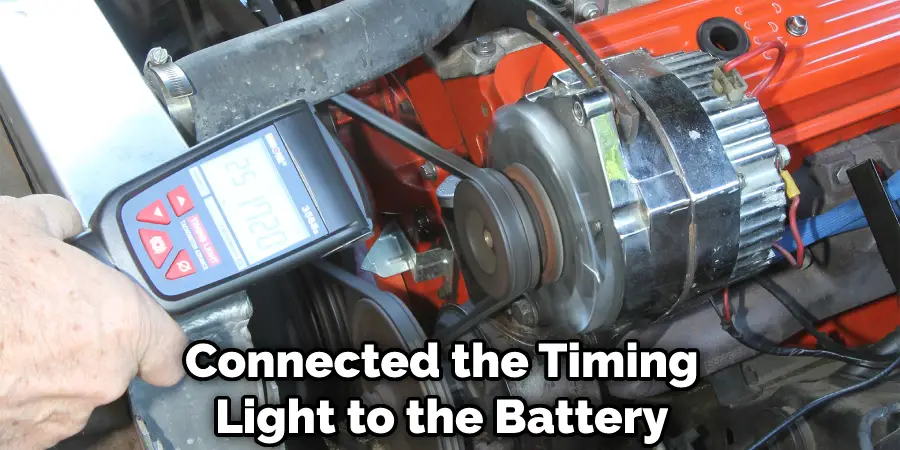
Step 3: Connect the Timing Light to the Battery
Now you will need to connect the timing light to the battery. Ensure the positive (+) lead is connected to the positive terminal on the battery, and the negative (-) lead is connected to the negative terminal on the battery.
Step 4: Aim the Timing Light at the Crankshaft Pulley
Once you have connected the timing light to the battery, you will need to aim it at the crankshaft pulley. The timing mark on the pulley should align with the timing light’s pointer.
Step 5: Set the Timing Light to Advance
Now you will need to set the timing light to advance. This will ensure that the timing is set correctly. To do this, you will need to turn the knob on the timing light clockwise until the light is in the correct position.
Step 6: Start the Engine and Observe the Timing Light
Once you have set the timing light to advance, you can start the engine and observe the timing light. The light should flash when the spark plug fires. If the light does not flash, then you need to adjust the advance setting on the timing light.
How Many Types of Timing Light?
There are two main types of timing lights: incandescent and LED. Incandescent timing lights are the traditional type of timing light. They use a bulb to produce light, which is then used to illuminate the engine. LED timing lights are newer and use LEDs (light-emitting diodes) to produce light. LED timing lights are more accurate than incandescent lights and tend to be more durable.
Incandescent Timing Light
First, disconnect the battery’s negative terminal to use an incandescent timing light. Second, open the hood and locate the number one spark plug wire. The number one spark plug is always located at the front of the engine on the cylinder closest to the radiator. Third, attach the alligator clip of the red lead from the timing light to the number one spark plug wire.
Fourth, attach the alligator clip of the black lead from the timing light to good ground on the engine, such as a bolt attaching the alternator to the engine block. Fifth, crank the engine and point the timing light at the harmonic balancer. The harmonic balancer is a large pulley at the front of the engine wrapped around the fan belt.

The harmonic balancer has a mark that lines up with a mark on the engine. So when the timing light is pointed at the harmonic balancer, you should see a bright streak of light coming from the end of the timing light.
If you do not see a bright streak of light, check the connections of the leads from the timing light to ensure they are tight and secure. If the connections are tight and secure, and you still do not see a bright streak of light, the bulb in the timing light may be burned out and will need to be replaced.
LED Timing Light
To use a timing light in advance, connect the positive lead to the number one spark plug wire, and ground the negative lead of the timing light. Next, advance the timing until the mark on the harmonic balancer lines up with the TDC mark on the distributor housing. Then, read the advance reading on the timing light, and subtract the initial advance reading from the total advance reading. This will give you the amount of advance.
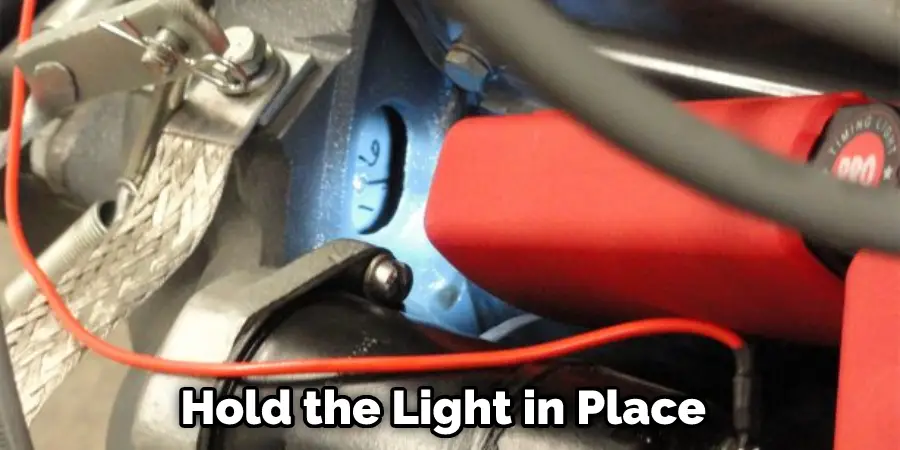
If you’re using an older model timing light, you’ll need to hold the light in place while you turn on the engine. Then, with the engine running, aim the timing light at the harmonic balancer and observe the marks on the balancer through the timing hole in the distributor housing. The TDC mark on the balancer should line up with the TDC mark on the housing when the engine is at top dead centre.
With the engine off, remove the distributor cap and rotor. Next, connect the positive lead of the timing light to the number one spark plug wire, and ground the negative lead of the timing light. Next, crank the engine and aim the timing light at the harmonic balancer. The harmonic balancer’s mark aligned with the pointer indicates the current ignition timing.
Advantages & Disadvantages of Timing Light
Timing Light Advantage
A timing light with an advanced feature can be used to adjust the timing of an engine’s ignition system. The timing light is attached to the spark plug wire of the number one cylinder, and the trigger is used to activate the light.
The light then sends a pulse of electricity to the sensor, which measures the time it takes for the current to reach the spark plug. Finally, the results are displayed on the timing light’s display, which shows the crankshaft’s position. By using the advanced feature, you can adjust the engine’s timing to run at its optimum performance.
Timing Light Disadvantage
One disadvantage of using a timing light with an advanced feature is that it can be difficult to see the results on display. If the lighting is not good, or if the engine is running too fast, it can be hard to read the display. Another disadvantage is that if the timing is off by even a little bit, it can cause the engine to run poorly. Therefore, it is important to be careful when using the advanced feature and ensure that the timing is set correctly.
Frequently Asked Questions
How Do You Hook Up a Timing Light?
When installing a timing light, the first thing you need to do is identify the existing electrical wiring in your vehicle. This includes locating and tracing any circuit boxes or switches that are associated with the lighting system. Once you have located these components, you can begin connecting the wires from your timing light to them.
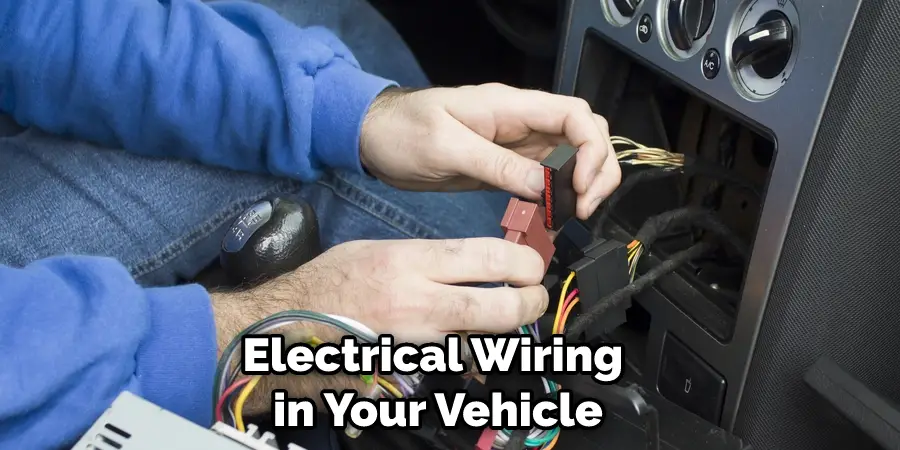
Next, connect each wire as close to its source as possible without touching it directly. Make sure that all of the connections are secure and that there is no overlap between wires. Finally, test your installation by turning on both lights at once using an outlet near where you will be mounting your timing light.
Can You Set Timing Without Engine Running?
While it is possible to set a time without your engine running, this may not be the best option. Setting a time without your engine running can result in inaccurate readings and could damage your car or prevent you from starting it. Additionally, if there is an emergency situation and you need to start your car quickly, setting the timer while the engine is off might not be ideal.
What Should Timing Advance Be at Idle?
it really depends on your specific vehicle and driving habits. However, generally speaking, you should adjust the timing advance to align with your engine’s natural running range. This will help you achieve optimal fuel economy and performance while optimizing emissions. Here are a few general tips to get you started:
1. Check your owner’s manual – Most vehicles have a timing advance guide that can help you determine the correct timing advance for your vehicle.
2. Use a timing light – A timing light can help you identify proper timing by displaying the time left in your engine’s fuel injection cycle.
3. Use a tuner – A tuner can help you fine-tune your engine’s running range and optimize emissions.
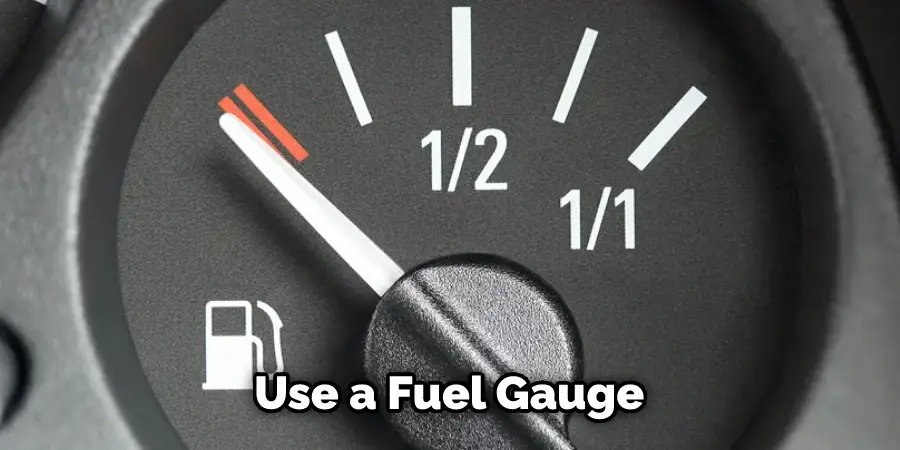
4. Use a fuel gauge – A fuel gauge can help you determine when it is time to adjust the timing advance according to your driving habits and vehicle specifications.
What Rpm Set Initial Timing?
There may be times when you need to adjust the rpm set initial timing for your car. This is usually done in order to compensate for variations in engine performance and driveability due to weather conditions, fuel quality, or other factors. By tuning your rpm set initial timing, you can achieve a more consistent driving experience that will improve both economy and performance.
The setting should be performed by an experienced mechanic who is aware of the various parameters that affect engine operation. The goal is to find the balance between responsiveness and smoothness so that abrupt acceleration or deceleration are avoided. Depending on your vehicle’s make and model, there may be several options available for adjusting the rpm set initial timing. Be sure to consult with a technician if you’re unsure how to go about it yourself.
Conclusion
Timing is everything regarding car repairs, and a timing light can be an important tool in your arsenal. By using a timing light in advance, you can more accurately time your engine’s ignition and ensure that your car runs as efficiently as possible.
If you’re unsure how to use a timing light with advance, our team at Advance Auto Parts can help. We have the tools and expertise to get your car back on the road in no time. Have you tried using a timing light with advance? What was your experience?