When you are driving and need to make your third brake light flash, there is a way to do it without going to a mechanic. This article will show you how to make third brake light flash using some simple tools. Keep reading for more information on how to do this.

If you’re having trouble seeing the third brake light on your car, there is a quick and easy way to make it flash. All you need is a pair of pliers and some electrical tape. First, remove the cover over the light with the pliers. Then, use the tape to cover up the light bulb. Finally, replace the cover and you’re good to go!
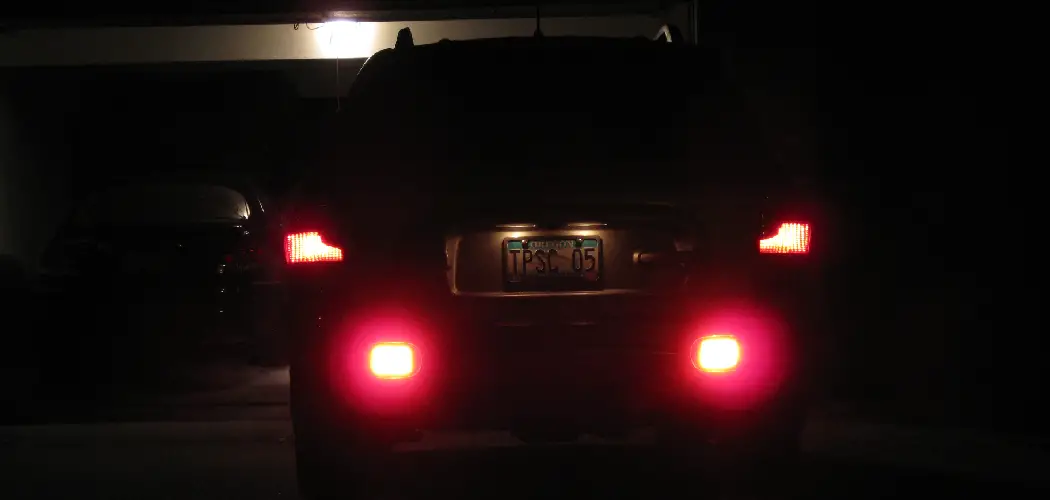
Third brake light flash is a great way to make sure other drivers on the road know you are stopping or slowing down. While a third brake light flash is not required by law, it can help show your fellow drivers when you intend to stop moving. How this works and how to make it work depends on if you have an electric brake light system or a hydraulic brake light system.
Required Tools
- Screwdriver
- Soldering Iron
Parts needed: (1) LED, (2) resistors (1.5k Ohm), (3) wires, (4) circuit board, (5) power source (+12 V for LED or +5V for single color LED or + 5 V compatible USB charger for three-color LEDs).
It has not required but helpful: (6) wire stripper/cutter and solder.
A Step by Step Guide How to Make Third Brake Light Flash
Step 1: Determine How You Want to Activate Your Third Brake Light.
There are two or three options for this: using the brake lights themselves, the turn signals, or an entirely separate switch.
- Using the actual brake lights (the red light in your existing brake light): Purchase an LED that is the same wattage as your current bulb and screw it into one of your existing brake light sockets.
- Using turn signals: Purchase an extra set of LEDs and fit them into somewhere onto your car where they will be visible to you (e.g., the side of your vehicle).
- Using a switch: Purchase an extra set of LEDs and wire them into the wires that come out from your brake lights. This is typically not as bright as using the actual brake lights themselves but will require less strain on your brake lights (and thus longer life).
Step 2: Determine What Kind of The Third Brake Led You Want to Use
There are many third brake LEDs available for sale online or at electronics shops due to their ever-growing popularity. How you want your third brake LED(s) to function is up to you, but here are some common examples:
- Single-color LEDs (e.g., red, yellow, green). These will be one solid color when lit and often can turn off any time while braking (as opposed to blinkers that need to continue blinking even while stopped). They require one resistor per 12V power source or a 5V USB-powered charger.
- Three color LEDs (e.g., red/yellow/green). These operate much like standard traffic lights with an on/off position for each color, then the ability to choose just two colors at once or all three simultaneously. The current configuration requires one resistor per 12V power source or 5V USB-powered charger.
- Fade LEDs (e.g., red/yellow/green). These operate by slowly transitioning from one color to another when activated. They often give off a light show effect while braking and require one resistor per set of 12V power sources or 5V USB-powered chargers.
Step 3: Soldering the Wires for Your Circuit Board
This step assumes you are using a standard third brake LED such as single color or fade, but not an actual brake light that needs to be attached to your existing bulb socket.
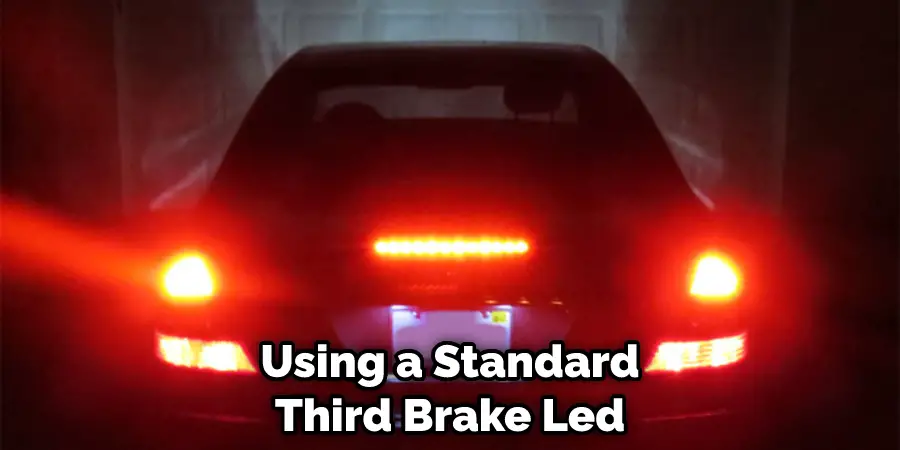
You will need to strip the insulation off of two wires, being careful not to damage anything in between. Then, you will need to twist the wires together and add a small amount of solder to them so they will stay together. After that, you will need to place a resistor onto your circuit board, making sure to place it in the correct direction. The number of resistors you will need depends on how much power is required for your LEDs.
Step 4: Soldering the Wires for Your Third Brake LeDs
To make a third brake light flash, you need to strip the insulation from about ¼ inch of your five wires, being careful not to damage anything in between. Twist together your stripped cables and add a small amount of solder to them so they will stay together. Place one resistor onto your circuit board, saying “R1” or “R2”. How many you need depends on how much power is necessary for your LEDs (e.g., 1k Ohm if using a 12V power source or 3.3k Ohm for 5V USB powered charger).
Step 5: Soldering the Positive Wire
Secure one end of your black wire to your circuit board with electrical tape. Place the other end of the wire into any spare hole along the outer edge of the board.
Step 6: Soldering Your Positive and Negative Wires
Attach the red wire from the circuit board to the positive terminal on the power supply strip, and the black wire from the circuit board to the negative terminal on the power supply strip. Ensure that these wires are secure and cannot short out on anything else inside or outside your housing box.

Pass a length of electrical tape under all exposed parts of wire attached into holes for this purpose and fold it around towards the outside of your housing box to keep them out of the way. How you do this is up to you, but don’t let it get in the form of anything.
Step 7: Connecting Le Ds Into Housing Box
Take your three or five LEDs and connect one end of each wire into their corresponding resistor on the circuit board. Place all parts inside your housing box in a way that doesn’t create any tangles. Make sure that none of the wires are touching any metal surfaces within or around your housing box (including screw terminals). You want everything isolated from other objects and only attached by electrical tape or zip ties if necessary, so everything stays wrapped tightly together inside your housing box.
Secure the LED wires to the corresponding screw terminals within your housing box. How you do this is up to you, but make sure they don’t short out on anything metal from the outside of your housing box (e.g., screws). Again, how you do this is not important as long as it’s done securely and you can’t touch metal surfaces or other loose parts within or around your housing box that could cause a short. Ensure all knobs and switches are also isolated from potential shorts with electrical tape if necessary.
Step 8: Connecting Your Wiring Harnesses
Now take each group of male and female connectors from another wire harness and attach one wire from the harness to the corresponding wire from the LED wire harness you’ve been working on. It doesn’t matter how you do this, but try to keep everything as neat and clean as possible without a lot of clutter, tape, or extra knots in the wiring for a professional finished appearance. Again, it doesn’t matter how you do this as long as everything is connected securely and can’t short out on anything within or around your housing box, but it shouldn’t be loose either.
Attach any wiring harnesses to the corresponding screw terminals for secure attachment with no chance of a short. How you do this is up to you, but make sure nothing gets in the way of anything from outside your housing box, and all knobs and switches are insulated from potential shorts with electrical tape.
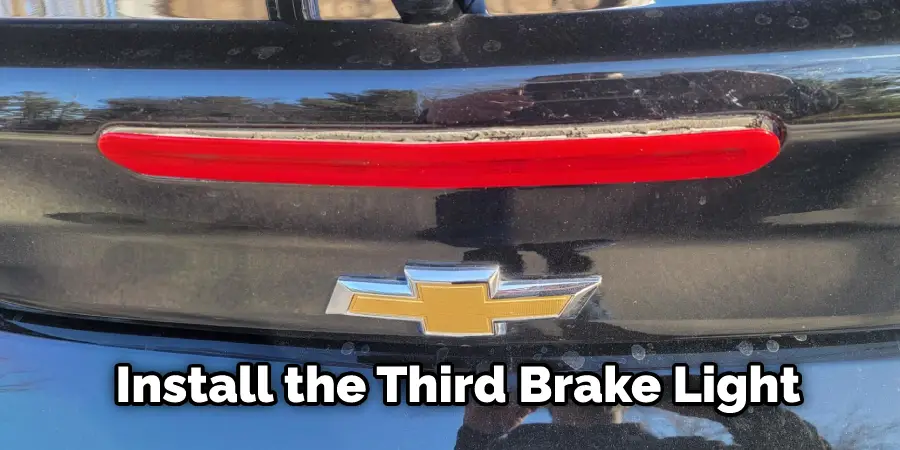
Step 9: Installing Third Brake Light in The Vehicle
Connect the wiring harness you’ve created to the connector of your third brake light. It doesn’t matter how you do this unless your vehicle’s connectors are different, but make sure everything is plugged in securely without any slack or clutter. This will prevent any possible shorts. Neatness is key, so try to make your wiring as tidy as possible.
How you do this is up to you, but make sure nothing gets in the way of anything from outside the vehicle. Plug any extra pieces into corresponding screw terminals for secure attachment without a lot of clutter or tape getting in the way. How you do this is up to you, but make sure nothing gets in the way of anything from outside your housing box, and all knobs and switches are insulated from potential shorts with electrical tape. These steps will help you in how to make third brake light flash.
You Can Check It Out to: Apply Bulb Grease to Brake Light
Frequently Asked Questions
Are Blinking Brake Lights Illegal in Virginia?
It is illegal in Virginia for a driver to use their blinker light while stopped on the side of the road, including when turning left or right, or when coming to a stop in traffic. Violators are subject to a $100 fine and three points on their driving record.
Why Are Led Tail Lights Illegal?
Some states do not consider it illegal to drive with both feet on the pedals, while others may consider it a traffic violation. It is always best to consult with your local authorities before driving if you are not sure whether or not this is allowed.
What Does One Flash Behind You Mean?
When you see someone or something suddenly approach from behind, the natural response is to turn around and face that person or thing. However, if there’s an emergency situation present (i.e., you’re being carjacked), turning around may not be safe enough and might put you in further danger.
Instead of turning around completely, try to keep your back against the wall so that whoever is following you cannot get close without drawing attention to themselves. If confronting the individual seems like a bad idea, then loudly proclaiming your innocence may cause them to retreat for now rather than hurt you physically or worse. Remember: BE VIGILANT but don’t BE AFRAID!
Conclusion
We hope you have learned how to make third brake light flash. You can have an LED third brake light that flashes when you hit the brakes. This is an excellent safety feature to make sure people know your car has stopped and will give them plenty of time to avoid hitting you. We offer this service at our auto body shop in Pompano Beach, FL, for a $50 installation fee plus labor cost if needed.
You can also check it out: How to Reset Service Vehicle Soon Light