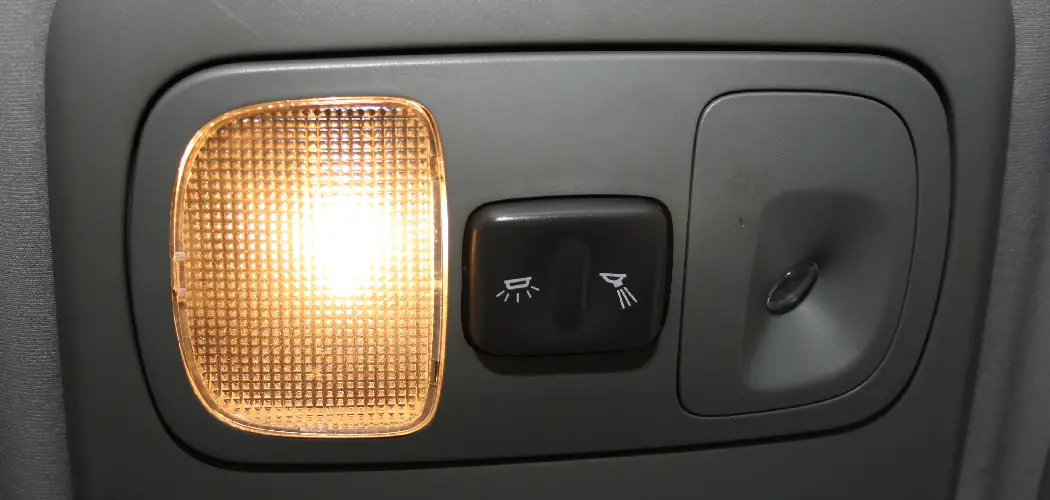
Almost everyone has dome lights in their car. They provide a lot of light and are very handy. If you have ever had to replace a dome light, you know that it can be a little tricky. This article will show you how to wire a dome light. We will also give you some tips on making the process easier. Let’s get started!

Wiring a dome light can be a little challenging, but it’s worth it when you see the end result. Depending on the type of dome light, the wiring process will be different. There are two types of dome lights: incandescent and LED (light-emitting diode). The wiring process will be different depending on which type of vehicle the light is in.
Summary: This blog post will show you how to wire a dome light. First, cut the wires to the correct length. Next, strip the insulation off of each end of the wire. Finally, twist the wires together and put the insulation back on.
Tools and Materials
- 3 wire nuts (There were too many different styles, but the main thing is that you need three of them.)
- A wire stripper/cutter
- Pliers or crimping tool
- Phillips head screwdriver
- Electrical tape or duct tape
A Stepwise Guide on How to Wire a Dome Light
Step 1: Preparation
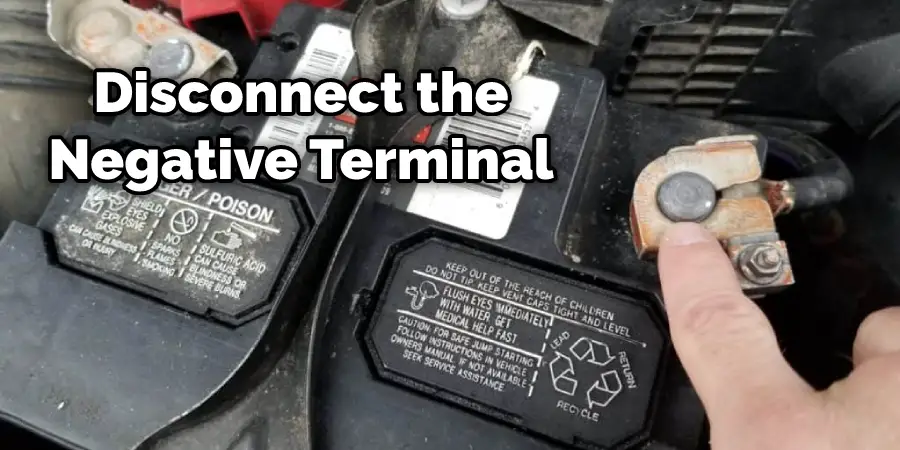
Ensure the car is off, and disconnect the negative terminal on the battery. Next, remove the dome light bulb assembly by inserting your hand under its base to form a C-shape and pull up. There will likely be one or two screws holding it in place that need to be unscrewed using either a Phillips head screwdriver or pliers/crimp tool (depending on how tight they are).
Once removed, you can unplug your old lighting circuit at this point by wiggling it free with your hands. It will be a white plastic box with three wires leading to it: two on the bottom and one on top.
Step 2: Preparing the New Lighting Circuit
The new lighting circuit needs to be freed from its packaging so that it can be used. To do this, you will need to cut a zip tie that holds its wires together and drill a few holes through the package. Once you have freed it from the packaging, look for a white plastic box with three terminals labeled “86” on it.
Locate the three wires coming out of your lighting circuit – two red and one blue. Strip off 1/2-inch of insulation from their ends using either wire strippers or sharp scissors/knives. This will expose the metal terminals which you will need to connect in order to complete the wiring assembly.
You can also see where the driver’s side wiring harness goes to another 10mm bolt on the firewall. This will need to be removed, but it should just pull off.
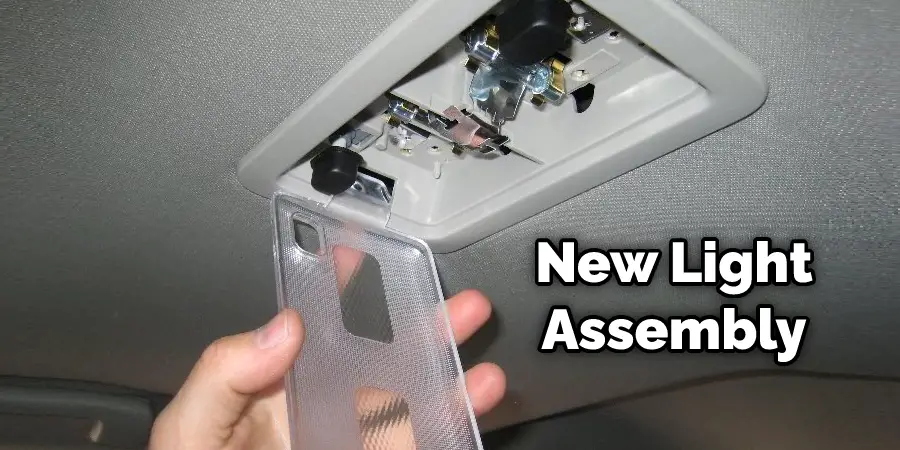
Step 3: Connecting New Light Assembly
If you haven’t already done so, hold your new lighting circuit in one hand and strip off 1/2-inch of insulation from all three wire ends (previously cut). The red wires are for 86; the black wire is for 87, and the blue wire is for 30. Insert each stripped end into its terminal (86 to 86, etc.)
In order to wire a circuit, you will need to twist two wires together at each connection. The colors of the wires do not matter, as long as you keep them consistent throughout the circuit. Once you have twisted all of the wires together, you should wrap them in electrical or duct tape to keep them from coming apart.
Step 4: Installing New Lights
It is important to triple check all electrical connections before screwing the light assembly back into its frame. Next, the new three wire lighting circuit should be run up and over the car’s interior and the black wire should be attached to the ground on your vehicle. This can be done using either a 10mm bolt or sheet metal screw.
Make sure this connection is tight as well as secure. Then take the white plastic cover off of your dome light socket by pushing down on it with both hands until it clicks open and slides right out of place; set this aside for now. Next, plug your lighting circuit’s white plug into the socket and reinstall the light bulb by clicking it back into place.
This step is a little more complicated, but keep trying to push it in until you hear it click; the white cover should snap right back on afterward. At this point, your interior lights should be fully functional! This is a crucial step in how to wire a dome light.
Step 5: Wire Your New Lighting Circuit
Once all connections are made, plug your new lighting circuit into the old one by wiggling it into place (it only goes one way). There will be a small amount of slack, but if you notice that there isn’t any after doing this, remove the new lighting circuit and bend the terminals up slightly to grip onto the original wiring assembly better. Re-insert it back into its connector and make sure everything still works (turn over car to activate parking lights/turn signals).

Once everything still works, go ahead and turn off the car (make sure to do this every time you solder any new connections together). Next, run your three wire nuts to where the old lighting circuit used to be. Using your Phillips head screwdriver, tighten them down so that they are nice and snug.
Take any extra wire from each of the three-wire nuts and wind them up with either electrical tape or duct tape so that it reaches about halfway between the under-dash board and firewall (A good rule of thumb is to take enough wire so that you have a little bit sticking out past one end of the packaging). Once all cables are bundled together, place additional electrical tape around it for extra security/durability.
Step 6: Finishing Touches
After everything is wired up, your dome light should work now. All that’s left to do now is replace the lighting circuit into its housing box on the firewall, thread the wire harness through the gap in the firewall and guide it into place above or below your steering column area. You can then cut out a small rectangle of plastic using an X-acto knife/another sharp object so that your wiring assembly sits flush against it.
This will help keep moisture out. Once done with that part, replace the 10mm bolt so that you can snap your dome light housing box back into place. These steps will help in how to wire a dome light.
Tips and Warnings
Tips:
- Make sure that the power wire is connected to a fused source, so you do not run the risk of overloading a circuit and potentially causing a fire.
- Be sure to connect any additional wires with butt connectors or solder them into place as appropriate for your application. Otherwise, they may fray if exposed to heat from other connections or from being crimped, creating electrical shorts in the wiring system and causing problems such as blown fuses down the road.
- In most cases, it is recommended that you put a 20 amp fuse within 18 inches of where you connect your wiring harnesses to ensure ample protection for your dome lights against an overload situation. If you use LED lighting, it is advisable to upgrade the wire from 18 gauge to at least 16 or 14 gauge. This will allow more amperage through your system so that your lights do not overheat and become damaged.
- Always connect wires by pushing them into places; never pull on the wire itself as you may damage any wiring inside of the insulation. Instead, use needle-nose pliers or some other gripper that can be used to push out a tab to open up an area for insertion.
- To protect against overheating problems, always ensure that your LED dome light(s) are correctly shielded with heat sinks if needed. Heat sinks help dissipate excess heat away from sensitive electronics like LEDs, ensuring they have proper airflow and do not overheat and damage the LED(s) inside.
Warnings:
- Make sure to use LED dome lights instead of traditional filament bulbs. These will generate far less heat and ensure they can be adequately shielded as needed for cooling, as mentioned above.
- LEDs require a resistor to regulate the voltage going to them. Otherwise, they will generate more heat and potentially burn out.
- The wire gauge mentioned above corresponds with how much current can flow through the circuit before it creates an overload situation. In other words, the lower the number, the thicker the wire has to be for proper use in wiring a dome light.
- Always make sure you have a good source of power that is a fused connection to protect against overloading a circuit and causing potential fire hazards down the road.

Conclusion
We hope you have gone through the article on how to wire a dome light. The wiring of a dome light is relatively simple. It only requires grounding the power wire and connecting it to a 12 volt DC source with an appropriate fuse, then attaching your positive lead from your car battery or other external power supply to the bulb holder terminal.
You can also run this wire up into the interior of your vehicle for easy access if you don’t want to drill any holes in the exterior body panels. If you’re ever unsure about something related to automotive electrical systems, consult qualified professionals instead!
You may also read it: How to Make Black Light With Led Lights