
Are you looking for a creative, affordable way to light up your home or backyard? If so, consider wiring a spider light. These unique lights are easy to create and can be customized to fit your needs. Spider lights are a great way to add some extra pizzazz to your party or special event. But, wiring them can be tricky if you’re unfamiliar with the process.

In this blog post, we’ll walk you through how to wire a spider light so you can have the perfect illuminated display for your next celebration! We will also provide you with some tips on how to choose the right spider light for your home. So, whether you are looking to install your first spider light or are just curious about the process, keep reading for all the details!
Summary: If you’re looking to add a touch of spookiness to your Halloween decor, consider wiring up a spider light. This simple project is easy to perform and only requires a few supplies. First, remove the light bulb from the socket and unscrew the base. Next, cut the wire about 2 inches shorter than the circumference of the bulb. Strip one end of the wire, then twist it around the bulb once. Finally, screw the base back on and replace the light bulb.
What is a Spider Light?
A spider light is a string of small lights. The lights are often arranged in a spiral pattern and attached to a central wire. Spider lights are often used as decorations in homes and gardens. They can be hung from trees, gutters, or porches.
Why Should You Wire a Spider Light?
There are many reasons to wire a spider light. They are beautiful, inexpensive, and easy to install. You can use them to accentuate architecture or highlight features in your yard. Plus, wiring a spider light is a great way to create a unique, one-of-a-kind light display.
Installing spider lights can make your room look and feel more festive. They are perfect for holiday parties or special occasions. And, because they are so easy to install, you can put them up and take them down as needed. This makes them a great option for temporary lighting projects.

Things You’ll Need to Wire a Spider Light
- Spider light
- Power drill
- Screws
- Wire cutters
- Electrical tape
- Outdoor extension cord
- GFCI outlet (optional)
Step by Step Process: How to Wire a Spider Light
Step 1: Choose Your Desired Location.
The first step in setting up a spider light is to choose a location. You’ll want to consider how many people will be walking by and what the weather conditions are like. Make sure the area you select is large enough to fit the size of your light.
Step 2: Drill Holes for the Screws.
Once you’ve selected a location, use a power drill to create holes for the screws. The number of holes you’ll need will depend on the size of your spider light. But, as a general rule of thumb, you should plan to create two holes for each foot of light.

Step 3: Insert the Screws.
Next, insert the screws into the holes you just created. Be sure to screw them in securely so they don’t lose over time. If your light is particularly heavy, you may want to consider using a wall anchor to keep it in place. Make sure that the screws are long enough to go through the thickness of your light and into the wall or surface.
Step 4: Cut the Wire to Length.
Now it’s time to cut the wire. First, use wire cutters to create a clean, straight cut. Then, strip away about ½ inch of insulation from each end of the wire. This will help to ensure a good connection when you attach the wire to the light. If your light is particularly long, you may need to use multiple pieces of wire.
Step 5: Attach the Wire to the Light.
The next step is to attach the wire to the light. To do this, you’ll need to twist the exposed wires around the metal screws on the light. Make sure that the wires are wrapped tightly around the screws. Once the wires are in place, use electrical tape to secure them.
Step 6: Secure the Light with Hooks or Tapes.

Now it’s time to secure the light in place. If you’re hanging the light from a wall or ceiling, you can use hooks or tape to keep it in place. Be sure to use a strong adhesive so the light doesn’t fall and break. You may also consider using zip ties to secure the light further. Ensure the light is securely in place before proceeding to the next step.
Step 7: Plug in the Light.
The final step is to plug in the light. If you’re using an extension cord, tape down any loose wires. This will help to prevent tripping or accidents. Additionally, if you’re using an extension cord, you may want to consider using a GFCI outlet. This will provide an extra layer of protection against electrical shocks. And that’s it! You’re now ready to enjoy your new spider light.
Additional Tips and Advice
Here we have given tips on how to wire a spider light.
- When selecting a location for your spider light, consider things like foot traffic and weather conditions.
- Use a power drill to create holes for the screws. The number of holes you’ll need will depend on the size of your spider light.
- To attach the wire to the light, twist the exposed wires around the metal screws. Again, ensure the connection is tight, so there is no electrical shock risk.
- Once you have attached the wire to the light, test the connection by plugging it into an outlet and flipping the switch. If the light doesn’t turn on, check the connections and try again.
- When you’re finished, screw the light into the chosen location. Be careful not to overtighten the screws, as this could damage the light.
- Always unplug the light before making any repairs or adjustments.
- If you’re not comfortable working with electricity, it’s best to hire a professional electrician to help you with this project.
How Long Does it Take to Wire a Spider Light?
It takes about two hours to wire a spider light. This includes the time it takes to gather the necessary supplies and connect the wires. The actual wiring process is not difficult, but it is important to take the time to do it correctly.
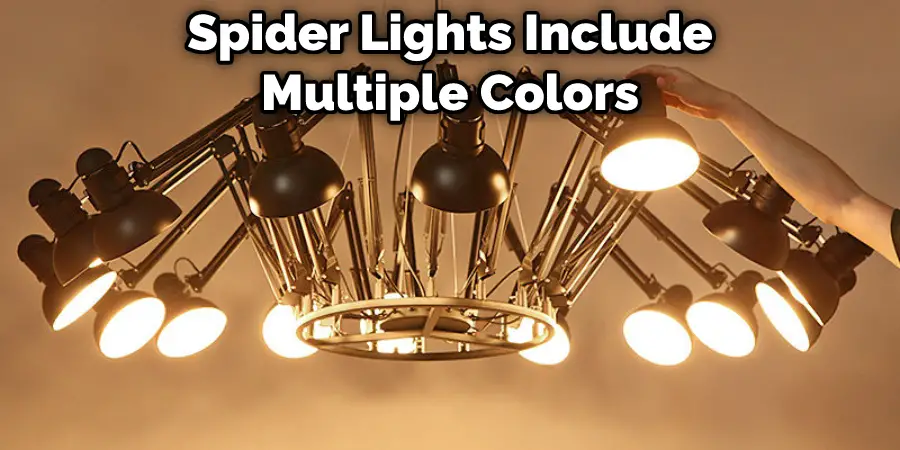
If your spider lights include multiple colors, you may want to spend additional time selecting the order in which you will wire them. If you think the project will take longer than two hours, consider enlisting the help of a friend or family member. This can be a fun project to do together and help you get the job done more quickly.
How Do You Wire a Multi Pendant Light?
Pendant lights are a great way to add style and personality to your home. They come in all shapes and sizes and can be made from various materials. Most multi-pendant lights will come with instructions on how to wire them. However, if you’re unsure how to wire a multi-pendant light, here are some tips.
First, you’ll need to determine the number of bulbs that your light will have. You’ll also need to know the wattage of each bulb. Once you have this information, you can begin to wire your light.
Start by connecting the black wire from the light fixture to the black wire from the ceiling box.
Then, connect the white wire from the light fixture to the white wire from the ceiling box. Finally, connect the ground wire from the light fixture to the ground wire of the ceiling box.
Now, you’ll need to connect each bulb to its socket. To do this, twist the wires together. Make sure the connection is tight, so there is no chance of the bulb coming loose. Once all the bulbs are connected, you can screw in the light fixture and turn the power on. Your new light should now be up and running!
Frequently Asked Questions
Can I Hang a Lamp From the Ceiling?
There are a few things that you need to keep in mind when hanging a lamp from the ceiling. First, make sure that the cord is long enough to reach wherever you want it located. Second, be sure to use an appropriate wire gauge and avoid using too much voltage or putting unnecessary stress on your electrical system. Third, make sure that the fixture is level and plumb before hanging it so that light will come out evenly.
Do I Need an Electrician to Install a Chandelier?
the installation of a chandelier will depend on the specific requirements of your home. However, some tips that may be helpful include measuring your ceiling height and width, checking for any existing wiring or plumbing in the area, and consulting with an electrician to determine whether installing a chandelier is feasible.
Do You Need an Electrician to Change a Light Fitting Uk?
Yes, you will need an electrician to change a light fitting in the UK. There are a few specific reasons for this:
1. Electrical wiring is subject to stricter safety regulations than other building elements. This means that any alteration to electrical wiring, whether it’s a simple light fitting replacement or a more complex installation, must be carried out by an experienced electrician.
2. Electrical wiring is usually installed in a more complicated, staged manner than other types of building materials. This means that there is a greater chance that the wires will get tangled up or cross each other, requiring the expertise of an experienced electrician in order to fix the issue and avoid any potential safety hazards.
3. Electrical fittings and switches are often subject to greater pressure and stress than other parts of the building due to their proximity to other elements such as heating and air conditioning units. This means that they can easily malfunction if not installed and maintained by an experienced electrician.
If you’re thinking of doing any kind of renovation work on your home – including replacing light fittings – it’s important to get in touch with an experienced electrician and discuss your specific needs in advance. They can provide you with a comprehensive quote and ensure that the work is carried out safely and correctly.
Does Changing a Light Fitting Require a Certificate?
there are a variety of standards and regulations that vary by country. However, in general, changing a light fitting does not usually require any sort of certification or licensing. So long as you are familiar with the safety hazards associated with working with electricity and follow all applicable safety protocols, you should be able to handle the job without any issues.
Conclusion
Spider lights are a unique and fun way to light up your home. They’re easy to install, relatively inexpensive, and can add a lot of personality to your outdoor space. Following the simple steps in this blog post, you can have your own spider light in no time! Spider lights are simple to install and can be used in various ways.
We hope you have found this blog post on how to wire a spider light helpful. Be sure to use caution when working with electricity and always consult a professional if you are unsure about any of the steps involved in wiring a spider light. If you have any questions, please feel free to reach out to us.