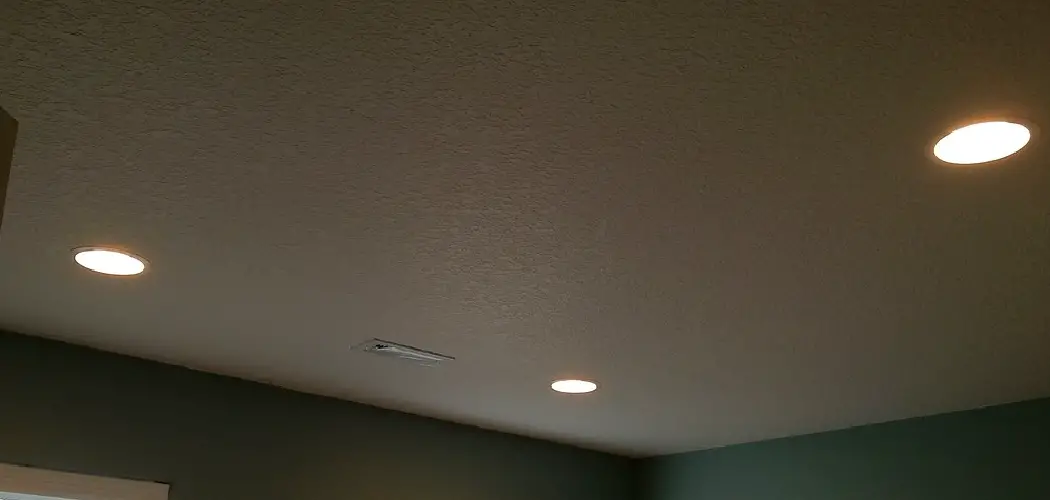
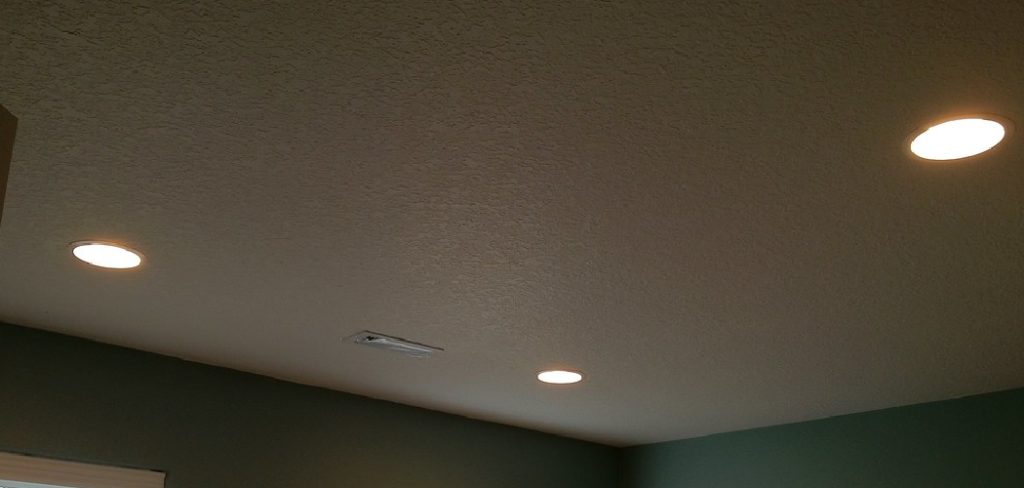
Are you tired of having your lighting take up too much space or not be bright enough to properly illuminate a room? With countless recessed lighting, you have the opportunity to get creative with your design and customize how much light is in any given area. By installing new LED candles and recessed lighting, you’ll achieve greater efficiency while adding an attractive element to the home.
This blog post will walk you through all steps necessary for the successful wiring of can-less recessed lights in order to give your space something unique without sacrificing style or energy efficiency. Read on below for a step-by-step guide on how to wire canless recessed lighting!
Step-by-Step Guidelines on How to Wire Canless Recessed Lighting
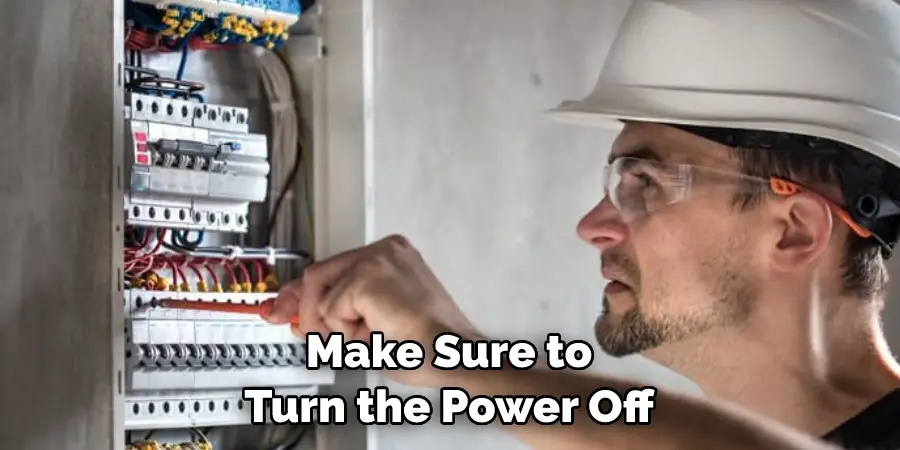
Step 1: Turn Off the Power Source
Before beginning the wiring process, it is important to turn off the power source supplying electricity to that circuit. This can usually be done at the breaker box. If you don’t know which circuit is supplying the power to your recessed lights, it may be best to shut off all breakers until you’ve identified the right one.
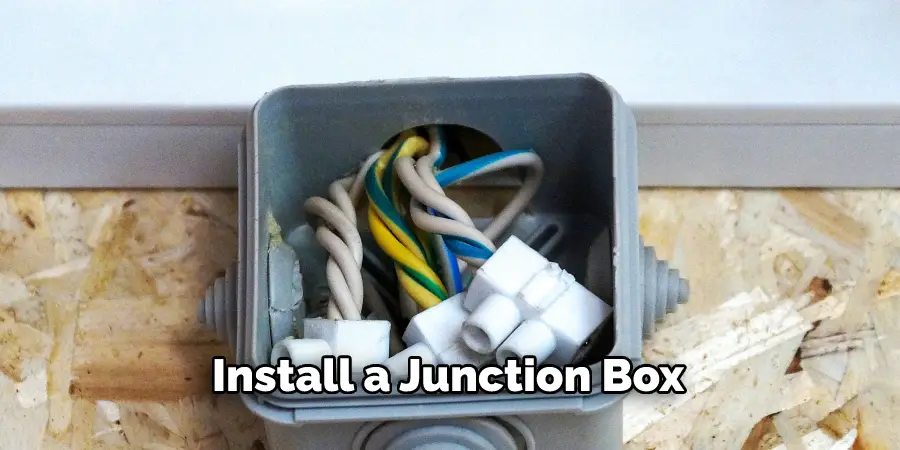
Step 2: Install a Junction Box
Install a junction box in the area where you want your can-less recessed lighting to be located. This will act as a central hub for the wiring. Make sure to install the junction box in an area that is easily accessible, as this will make it easier to troubleshoot problems later on. Your junction box should also be rated for the wattage of your chosen recessed lights. Make sure to check the wattage of your lights before purchasing a junction box.
Step 3: Connect Wires to Junction Box
Next, take each wire that was installed in the ceiling and connect them to the junction box. The existing wiring should have a black (hot) wire, a white (neutral) wire, and a bare or green (ground) wire. You’ll need to attach the black wire to the gold terminal, the white wire to the silver terminal, and the bare/green wire to the green terminal. While connecting the wires, make sure they are tight and secure to ensure a safe connection.
Step 4: Connect Led Recessed Lights
Once your junction box is wired properly, you can now connect your chosen LED recessed lights. Carefully connect the hot (black) wire from the junction box to the hot (black) terminal of the LED recessed light and do the same for the neutral (white) and ground (green/bare) wires. Led recessed lights are rated for a certain wattage, so it’s important to read the manufacturer’s instructions carefully when connecting your fixtures.
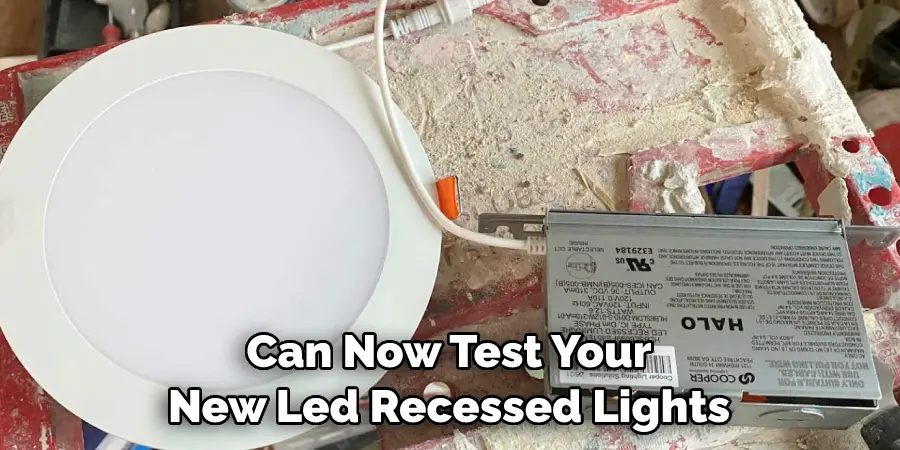
Step 5: Test Your Connections
Once all connections have been made, you can now test your new LED recessed lights. Turn on the breaker at the main electrical panel and check that each light is properly illuminated. If the lights don’t turn on, make sure that your connections are secure and check for any loose wires or frayed insulation. If all lights are properly illuminated, you have successfully wired your can with less recessed lighting!
Congratulations on completing the wiring process for your new can-less recessed lights. With this project complete, you now have added style and greater efficiency to any room in your home. We hope that our step-by-step guide was useful to you during the wiring process. Good luck and happy lighting!
Now that you know how to wire can less recessed lighting, click here for more tips on installing and maintaining your new LED lights to ensure maximum efficiency and safety. Thank you for reading!
Additional Tips and Tricks to Wire Canless Recessed Lighting
1. Make sure to disconnect the power before beginning any work with can less recessed lighting. It is very important to follow all safety precautions when dealing with electricity.
2. Double-check that you have all the necessary tools and materials on hand before starting, including wire connectors, cable strippers, voltage testers, junction boxes, and the countless recessed lighting itself.
3. Make sure you have a properly sized junction box for your project since improperly sized boxes could be dangerous.
4. Ensure that the voltage detector is working before beginning the installation process.
5. Use wire connectors appropriately as they are designed to create a strong connection between two wires.
6. If you need to drill holes in the ceiling, make sure to use the right drill bit and turn it at a slow speed.
7. Make sure you have enough wire length and that the connections are properly secured.
8. Last but not least, test your installation by turning on the power and making sure all lights work correctly. If you have any problems, turn off the power right away and make sure to check the connections and wire length again before continuing with troubleshooting.
With these tips in mind, you’ll be able to properly install can less recessed lighting with greater confidence and ease. Following safety precautions is of the utmost importance throughout the entire process, so make sure that all instructions are followed closely for the best results. Good luck!
Precautions Need to Follow for Wiring Canless Recessed Lighting
1. Make sure to turn the power off to the circuit before wiring can less recessed lighting. This will help protect against shocks, fires, and other accidents caused by stray voltage.
2. Always wear safety goggles when working with electricity and wiring or installing electrical components. Safety glasses will help protect your eyes from any sparks that may occur during the wiring process.
3. Measure twice and cut once when it comes to cutting wires for can-less recessed lighting installation. Cutting improperly sized wires will make the connection unsafe, so be sure to measure twice.
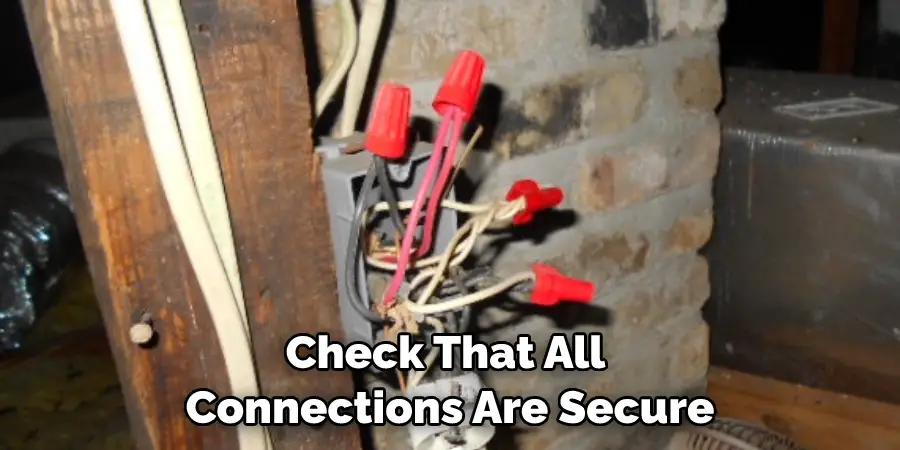
4. Be sure all connections are tight and secure before moving on to the next step in the process of installing the can-less recessed lighting. Loose connections can cause electrical shorts and fires, so be sure to check all connections before proceeding.
5. Make sure you have the right wiring tools for the job. Wire strippers, pliers, and other wire handling tools are essential for completing a safe installation of can-less recessed lighting.
6. Double-check the electrical circuit to make sure it is rated for can-less recessed lighting before you install the lights. If the circuit does not have enough power, consider using a separate transformer or another source of electricity for the installation.
7. Finally, when all wiring and connections have been tested and verified as safe, you can turn the circuit breaker back on and test your installation to make sure all connections are properly made and that the lights are working as intended.
Following these precautions will help ensure a safe and efficient installation of can-less recessed lighting. With these steps in mind, you can successfully wire and install can-less recessed lighting without causing any damage to yourself or your home.
Things You Must Consider While Wiring Canless Recessed Lighting
1. Make sure the wiring is properly insulated to protect against shock and fire hazards. Proper insulation ensures that any exposed wires are sheathed in protective material, such as rubber or plastic.
2. Locate a suitable power source for your can-less recessed lighting. The location of your power source should be close enough to the lighting for efficient wiring.
3. Determine the number of lights you need and the type of wiring that will be necessary to install them. This includes a switch, junction boxes, circuit breakers, and cables.
4. Install an appropriate mounting bracket inside the ceiling to support your can-less recessed lighting fixture. Properly attach the mounting bracket with screws, and double-check that it is securely mounted.
5. Run the necessary wiring from the power source to your can-less recessed lighting fixtures. Make sure all connections are secure, and use wire caps and electrical tape for protection against shock or fire hazards.
6. To complete your can-less recessed lighting installation, you will need to attach the fixtures to the mounting bracket and plug them in. Test each light individually to ensure it is working correctly before you turn on all of them at once.
7. Finally, check that all connections are secure and that there are no potential fire or shock hazards present. Once everything checks out, your can with less recessed lighting is ready to use. Enjoy the improved lighting in your home!
With the following considerations, you can rest assured that you can less recessed lighting will be well-wired and safely installed in your home. Keeping these steps in mind when wiring can less recessed lighting will ensure a job well done. Happy wiring!
Conclusion
Knowing how to wire canless recessed lighting is essential for any home improvement project. These steps should be followed to ensure the safety and proper installation of your can with less recessed lighting fixtures.
Taking the time to do it right will help you enjoy the improved lighting in your home without worry or hassle. With these tips, you have all the information necessary to get started on wiring can less recessed lighting. Good luck!