
By wiring your headlights to a toggle switch, you can easily control when they are turned on and off. This is especially useful for those who use their vehicle at night or in dark driving conditions. Additionally, it provides an easy way to adjust the brightness of the headlights depending on what type of terrain you are navigating. This can help improve visibility and safety while driving. Turning your lights off quickly can also help save energy when they are not needed.

The main advantage of wiring headlights to a toggle switch is that it allows you to control when the headlights are on or off. This means that you can turn them on or off depending on the situation, making your car more efficient and safer. Additionally, wiring headlights to a toggle switch may help extend the life of your bulbs since they won’t be used constantly. With this setup, you can use the switch to turn off your headlights when they are not needed and save power in the process. You can find step-by-step instructions on how to wire headlights to toggle switch in this blog article.
Tools You Will Need
- Toggle switch
- Electrical tape
- Wire cutter and stripper tool
- Heat shrink tubing or electrical splicers
- Assorted wire connectors
- 10 AWG insulated power wire
- 8 AWG insulated ground wire
- 12 AWG insulated light wiring
- Set of automotive terminals for toggle switch
- Automotive fuses
Step-by-step Instructions for How to Wire Headlights to Toggle Switch
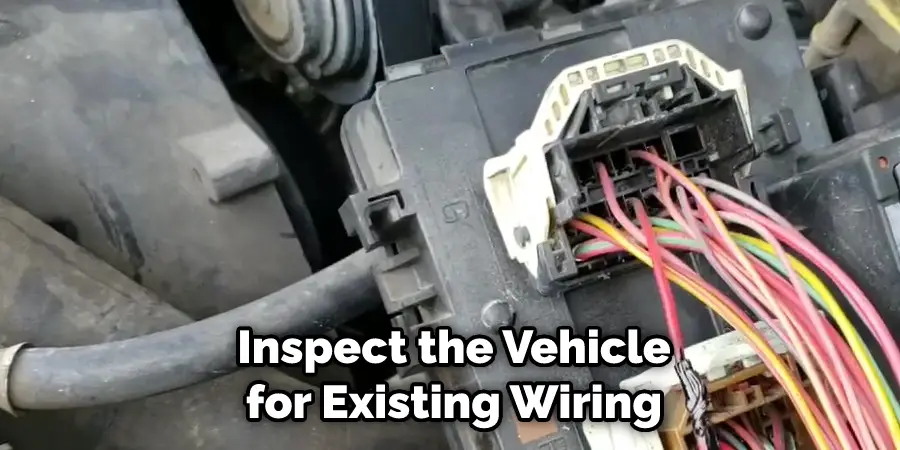
Step 1: Inspect the Vehicle
Before beginning any electrical project, inspect the vehicle for existing wiring and ensure all components are in good condition. This will help prevent any problems from wiring the headlights to a toggle switch.
Step 2: Prepare the Wiring
Gather all needed materials. This includes a toggle switch, wire strippers and crimper, wire connectors, electrical tape, and a 12-gauge primary automotive wiring roll. Strip off about 3/8 inches of insulation from each end of the wiring before connecting it to the toggle switch.
Step 3: Wire the Toggle Switch
Connect one end of the primary automotive wiring to a terminal on the toggle switch and solder it in place. Connect the other end of this wire to a power source, such as an ignition switch or car battery, and secure it with electrical tape.
Step 4: Connect the Headlight Wires
Run a wire from one of the terminals on the toggle switch to the high beam headlight connection. Connect it directly to the headlight or use an adapter if necessary. Repeat this step with a second wire to connect the low beam. Add ground wires to both the high and low beam connections. Secure these wires to a solid ground point in the engine compartment or chassis.
Step 5: Protect the Wiring
To protect the wiring, use electrical tape to wrap any exposed wiring that is not secured with connectors. This will help prevent short circuits or other electrical problems. Once all the wiring are connected and secured, test the wiring to ensure everything works as intended. If there are any problems, go back and check for loose connections or other issues that could be causing a problem.
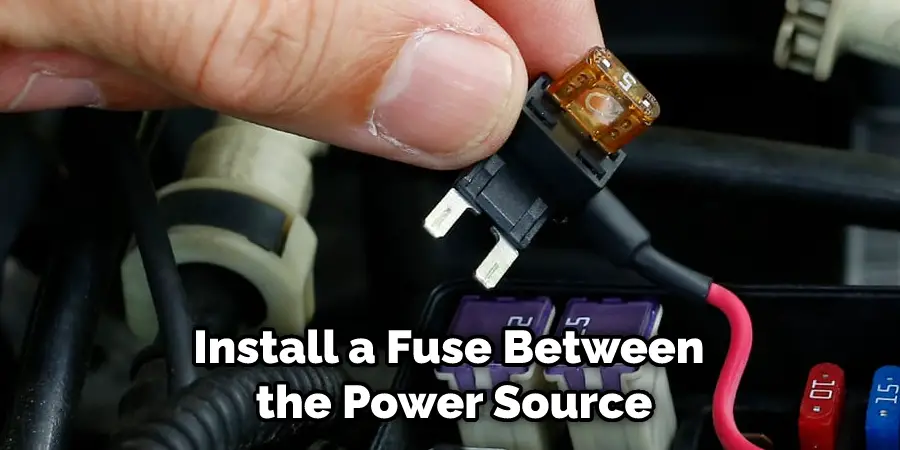
Step 6: Add Fuse Protection
Install a fuse between the power source and the toggle switch. This will help protect against electrical overloads that could cause a fire or damage your vehicle. Use heat-shrink tubing or electrical tape to seal any exposed connections to prevent water from getting into them. Ensure all connections are secure and tight to prevent any shorts or other electrical problems.
Step 7: Final Check
Once all of the wirings are installed and sealed, it’s time for a final check. Make sure all connections are secure, and test the headlights one last time before taking your vehicle out for a drive. Following these steps will ensure that your headlights are securely wired to a toggle switch and ready for use.
Conclusion: Following these steps will help ensure that your headlights are securely wired to a toggle switch and ready for use.
Safety Precautions for How to Wire Headlights to Toggle Switch
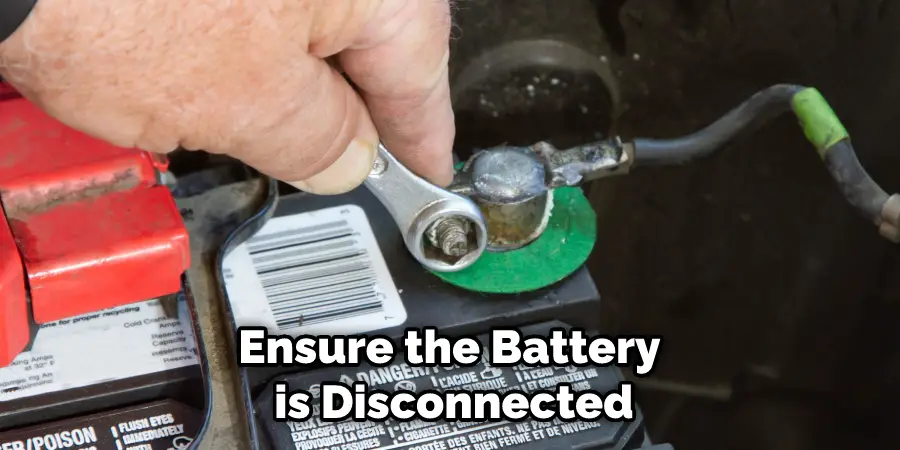
- Ensure the battery is disconnected before working on your car’s electrically powered systems. This will prevent short circuits that can damage the vehicle.
- Wear safety glasses and gloves to protect your eyes and hands from sparks or splinters that may arise during wiring.
- Adequately label all wires and connections with tape or a permanent marker to ensure you can easily track where everything is connected.
- Double-check all wires and connections before proceeding with the installation. This will allow you to ensure that each connection is secure and free from any potential short circuits or loose contacts.
- Use appropriate tools when connecting the wires together. This will help to ensure that you have a secure and reliable connection.
- Make sure all components are functioning correctly before proceeding with the installation process. This includes checking the switch and headlights for any damages or defects that may prevent them from working correctly.
- Use the correct gauge of wire when wiring the headlights. Using a too-thin wire may lead to overheating, while using a thicker gauge than necessary will be more expensive and difficult to route through the car’s body.
- Avoid wiring many components together in one circuit, as this can lead to overloading, causing possible damage or failure of the whole system. Instead, use separate circuits for each component.
By taking these safety precautions when wiring your headlights to a toggle switch, you can ensure that you have a secure and reliable connection.
How Can You Maintain the Headlights and Toggle Switch After They Have Been Wired Together?
To maintain your headlights and toggle switch after wiring them together, it is important to ensure that all connections are secured and tight. Check for any signs of corrosion or wear on the wires and terminals. If any is found, clean off the connections and replace them if necessary. Additionally, you should check to see that all screws are firmly tightened on both the toggle switch and the lights.
You should also regularly inspect the fuse connected to the wiring harness to ensure it is in good condition. If you notice that there are any signs of melting or burning, replace the fuse as soon as possible. Finally, if your headlights flicker when you use your toggle switch, ensure your wiring is properly connected and there aren’t any loose connections. If the problem persists after checking all these points, you may need to take it to a professional mechanic for further inspection.
How Often Should the Wiring Be Inspected for Signs of Wear or Damage?
- Inspect the wiring for signs of wear or damage at least once a year, and more often if you use your vehicle in extreme conditions such as off-roading or in harsh weather climates.
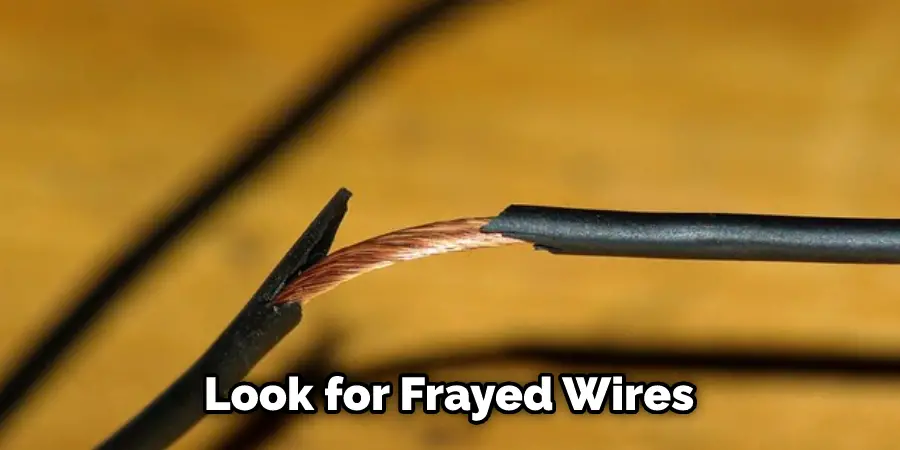
- Look for frayed wires, melted insulation, loose connections, corrosion around connectors, and other signs indicating a need for repair or replacement.
- If you find any signs of wear or damage, it’s important to have a qualified technician inspect the wiring and make any necessary repairs.
- Failing to do so could result in electrical shorts, melted wires, and other problems that may cause further damage and be potentially dangerous.
- Regular wiring inspections should help ensure that your headlights continue to operate safely and effectively.
By following these simple steps, you can easily wire headlights to a toggle switch and ensure they are working properly. Additionally, regular inspections of the wiring will help protect your vehicle from any potential troubles and keep your lights shining brightly for years to come.
How Can You Avoid Damaging the Headlights or Toggle Switch When Wiring Them Together?
When wiring headlights to a toggle switch, it is important to keep in mind the current draw of the headlights. Make sure that the total current is lower than what the switch can handle. You should also use thick wires to reduce voltage drop and heat buildup due to resistance. If you’re using multiple wire runs from one side of the switch to the other, you should also use a relay to reduce the current draw.
When installing the toggle switch, mount it firmly in place and ensure all of the wirings is secure. Ensure that the terminals on the switch do not come into contact with metal objects, such as screws or nuts. Also, check that any screws or wires do not cross over each other, as that could cause a short.
Conclusion
One disadvantage to wiring headlights to a toggle switch is that the headlights will stay on when the switch is off. This means that if you forget to turn them off, your battery could be drained more quickly than necessary. Additionally, it can be difficult to remember always to check and make sure the headlights are turned off when not in use. As a result, it is very important to follow instructions carefully and ensure the wiring is done correctly.
In conclusion, wiring headlights to a toggle switch is a great way to add a unique, custom look to your vehicle. This process requires some basic electrical knowledge and skill, as it involves working with wires, connectors, and switches. With the proper tools and guidance from an experienced technician or expert, anyone can complete this project in their own garage.
If you are uncomfortable wiring your own headlights to a toggle switch, you should consult an expert. Remember always to stay safe when working on electrical projects, and be sure to test the setup before turning it on. I hope reading this post has helped you learn how to wire headlights to toggle switch. Make sure the safety precautions are carried out in the order listed.
You Can Check It Out to Wire Headlights Directly to Battery