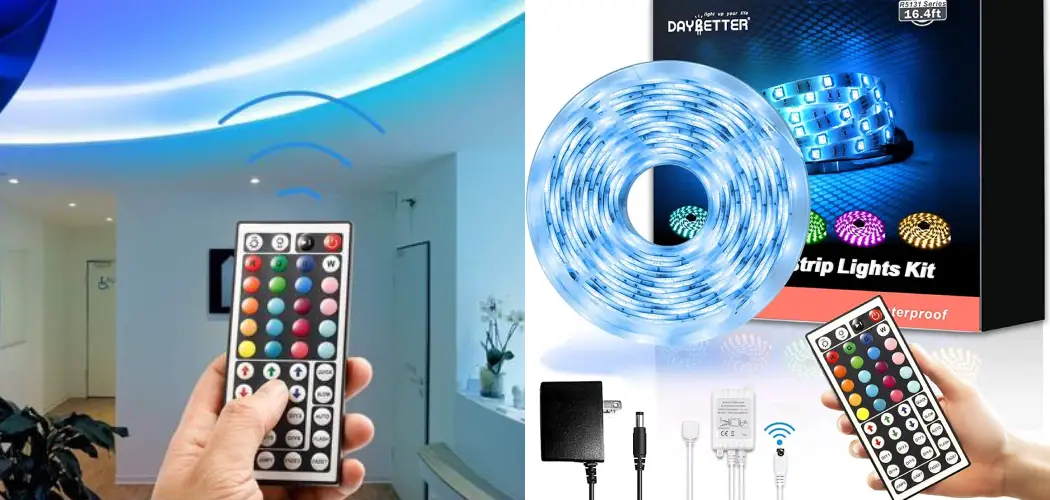
Daybetter LED lights are a great way to add color and ambiance to any room. They come with a remote control, which makes it easy to adjust the lighting from anywhere in the room. With just a few simple steps, you can learn how to work daybetter led lights remote and start creating unique moods in no time!

This guide will show you how to set up your Daybetter LED light remote and use its various features so that you can get creative with your lighting.
Step-by-step Guidelines on How to Work Daybetter Led Lights Remote
Step 1: Prepare Your Remote
Before you can start using your Day Better LED lights remote, you’ll need to make sure it’s properly set up and ready to go. If you’re using a brand new remote, make sure you remove the plastic battery cover and insert the included batteries. It’s a good idea to double check the polarity of the batteries to ensure they’re in correctly.
Step 2: Turn On The Lights
Once your remote is ready to go, the next step is to turn on the Day Better LED lights. To do this, simply press the “On/Off” button on the remote. You should see the lights turn on. But if not, double check that the remote is close enough to the lights (within about 16 feet) and try again. That should do the trick. If not, to your owner’s manual for further troubleshooting.
Step 3: Adjust The Brightness
Now that the lights are on, you can start adjusting their brightness. To do this, use the Brightness Up/Down keys on the remote. You should be able to adjust the brightness level anywhere from 0-100%. But if you’re having trouble, refer to your owner’s manual for further instructions. You can also press the “Max/Min” button on your remote to quickly set the lights to their maximum or minimum brightness level.

Step 4: Change The Color
Once you’ve gotten your desired brightness, it’s time to start playing with the colors. To do this, press the “Color” key on your remote. This should bring up a palette of colors that you can select from. Use the directional keys on your remote to choose the right hue and then press “OK” to confirm your selection. If you don’t see the color you want, press “More Color” and it should bring up a new palette of colors.
Step 5: Configure Modes And Effects
Now that you’ve set your preferred color, it’s time to start experimenting with the various modes and effects available on your remote. Use the Mode/Effect keys to cycle through the different options, such as pulse, flash, and strobe. When you find the mode or effect you want, press “OK” to confirm your selection. It’s a good idea to experiment with each of these options and find the right one for your lighting needs.
Step 6: Save Your Settings
Once you’ve configured all of your settings, it’s a good idea to save them for future use. This is easy to do with the Day Better LED lights remote. Just press the “Save” button, enter a name for your settings (e.g., Party Mode or Relaxation Mode), and then press “OK” to confirm. This will save your settings for easy access in the future, so you don’t have to constantly adjust the lights. It’s also a good idea to save multiple settings so you can switch up the mood in your space easily.
Step 7: Set The Timer
If you want to set the Day Better LED lights to turn on and off at a certain time, you can easily do so with the remote. To do this, press the “Timer” button on your remote and enter the desired time using the directional keys. When you’re finished, press “OK” to confirm your selection. The lights will then turn on and off at the specified time. It’s also possible to set different brightness levels and colors for each time period.
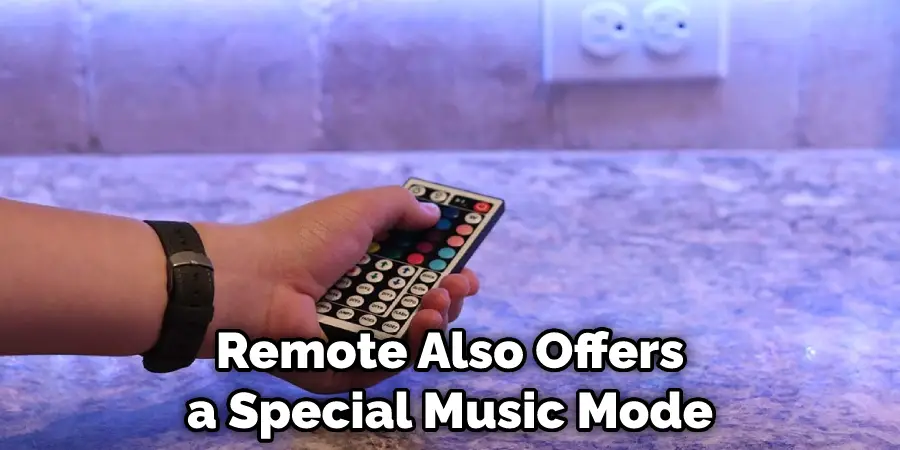
Step 8: Set The Music Mode
The Day Better LED lights remote also offers a special music mode. To access this, press the “Music” button on your remote. This will allow the lights to sync up with music playing in the background. Just make sure your music is loud enough for the remote to pick up and adjust accordingly. But if you’re having trouble, refer to your owner’s manual for further assistance. Remember, you can also adjust the brightness and colors in this mode as well.
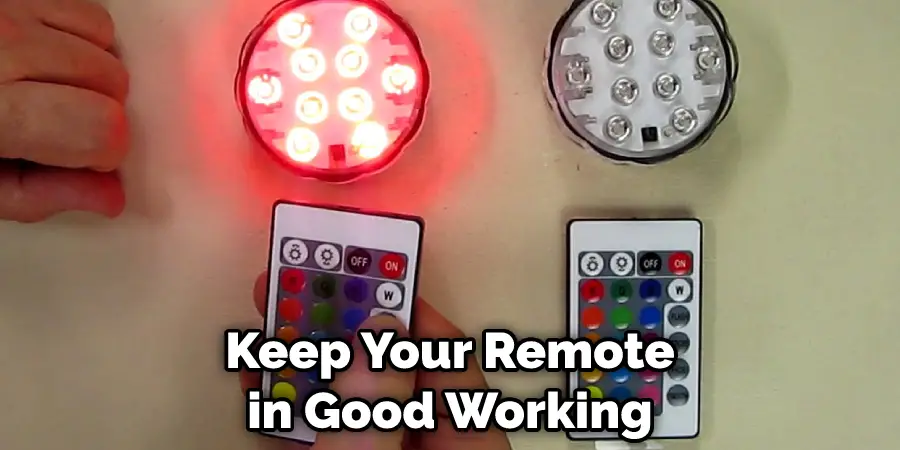
Step 9: Maintenance
Finally, you’ll want to make sure to keep your remote in good working order. This means regularly cleaning the buttons and contacts with a soft cloth. You should also make sure to store your remote in a cool and dry place when not in use. If you follow these simple steps, your Day Better LED lights remote should remain in good condition for many years to come.
Step 10: Enjoy Your Lights
The last step is to sit back and enjoy your Day Better LED lights. Now that you know how to use the remote, you can create the perfect lighting setup for any occasion. Whether you’re having a party or just want to relax, your lights can provide the right atmosphere. So go ahead, get creative and enjoy!
These are all the basics of How to Work Daybetter Led Lights Remote. With this knowledge, you can start creating unique lighting scenarios in your home or office and enjoy the perfect ambiance for any occasion. Have fun experimenting and enjoy your LED lights!
What is the Use of Daybetter Led Lights Remote?
The DayBetter LED lights remote is a convenient way to control your lighting setup and create beautiful, custom scenes. You can use it to adjust the brightness, color, and mode of your lights with just a few clicks. You can also set timers to turn on/off the lights at certain times and use the Music mode to sync up with your favorite tunes. With the Day Better LED lights remote, you can easily create a perfect atmosphere for any occasion. So go ahead and get creative with your lighting!
Do You Need to Use Professionals?
No matter what type of lighting you are using, it is always best to consult with a professional to ensure the highest quality results. Professionals have the knowledge and experience to properly install, maintain, and repair lights so that they will last for many years. They can also offer advice on what type of lighting would be best for your space and can help you with any other questions or concerns you may have.
Additionally, using the services of a professional will help ensure that your lights are safely and correctly connected to your home’s electrical system. If you are unsure of how to properly install or use your Day Better LED lights, then it is highly recommended that you contact a licensed electrician for assistance.
How Much Will It Cost?
The cost of a lighting installation or repair job will depend on the type and complexity of the project. Many companies charge by the hour for their services, so it’s best to do some research and get a few quotes before making a decision.
It is important to keep in mind that the cost of a professional installation or repair job is worth it in the long run. You will be able to trust that your lights are installed correctly and will be safe to use. Moreover, having a professional handle the job can save you time and money in the long run since they can often troubleshoot problems faster and more efficiently than if you were to do it yourself.
Frequently Asked Questions
Q: How Do I Save My Settings?
A: You can save your settings by pressing the “Save” button on your remote and entering a name for your settings. This will save your settings for easy access in the future.
Q: How Do I Set The Timer?
A: You can set a timer on your remote by pressing the “Timer” button and entering the desired time using the directional keys. When you’re finished, press “OK” to confirm your selection.
Q: How Do I Set The Music Mode?
A: To access the music mode, press the “Music” button on your remote. This will allow the lights to sync up with music playing in the background. Just make sure your music is loud enough for the remote to pick up and adjust accordingly.
Q: How Do I Maintain My Remote?
A: To keep your remote in good working order, regularly clean the buttons and contacts with a soft cloth. You should also make sure to store your remote in a cool and dry place when not in use. Following these simple steps will keep your remote in good condition for many years to come.
Conclusion
Using the Day Better LED lights remote is a great way to create unique lighting scenarios in your home or office. With this guide, you should now have all the basics of How to Work Daybetter Led Lights Remoteand to start creating atmospheres for any occasion.
The key is to experiment with different modes, effects, colors and brightness levels until you find the perfect setting that fits your needs. Whether you’re throwing a party or just want to relax after a long day, these lights can help provide an enjoyable atmosphere. So go ahead and enjoy them!