
Installing a light bar on the roof of your car or truck can provide you with added visibility while driving, especially during nighttime hours. It can also make your vehicle look more aggressive and stylish. In this article, we will show you how to install light bar on roof of your car in a few easy steps. Let’s get started!
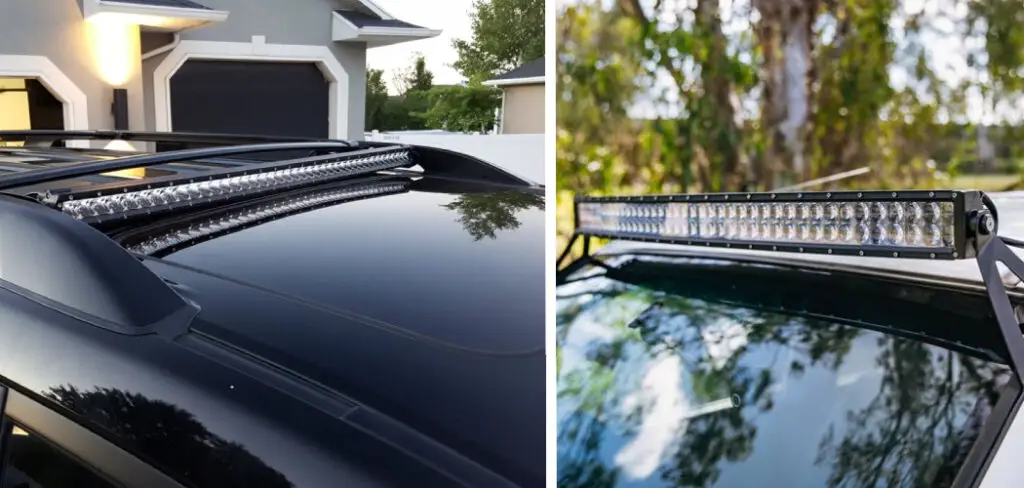
Adding a light bar to the roof of your car or truck can provide extra visibility while driving, especially in low-light conditions. It also makes your vehicle look more aggressive and stylish.
Summary: If you are looking to install a light bar on your roof, there are a few things you will need to do first. First, you will need to find the right spot for the light bar. Second, you will need to get a permit from the local government. Third, you will need to install the light bar. Fourth, you will need to connect the light bar to the power source. Finally, you will need to turn on the light bar.
Required Tools and Materials
- Drill
- Drill bits – 1/8 and 3/8
- Black plastic tubing – ½ 10ft. length
- Fluorescent tube light – 4 ft. is fine
- Round hole saw bit 7/8″
- Tape measure
- Safety glasses or goggles
- Circular saw to cut down PVC pipe if you don’t have a tubing cutter
A Step by Step Guide on How to Install Light Bar on Roof
Step 1: Determine
Before starting, it’s important to know how long your light bar needs to be. You can always add or remove length later if necessary. For a hatch, two feet is usually good; a larger cab may require more. The most important thing is that the light bar is mounted evenly and straight. If you’re working with a truck, the light bar should be mounted above the cab. To do that, you’ll need to drill into your roof. Always wear safety goggles when beginning this process.

Step 2: Cut PVC Pipes
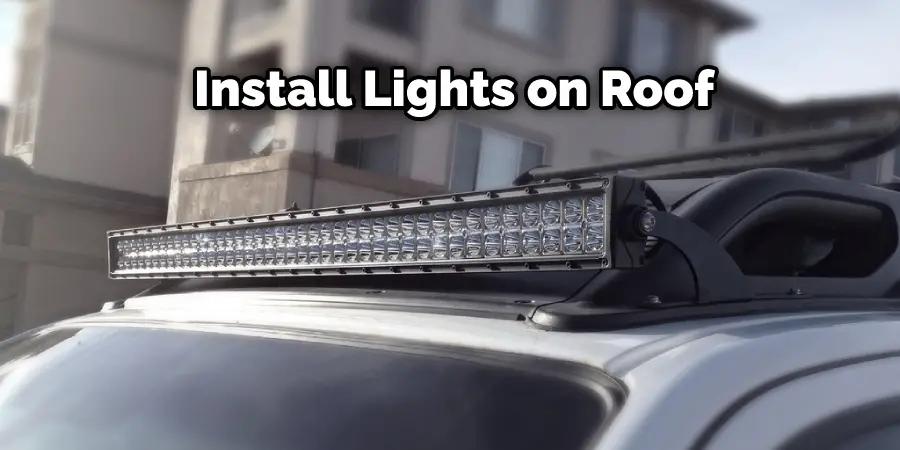
The article is discussing how to install lights on a roof. To do this, the person needs to measure and mark the tubing every 3-4 feet. This will help them determine what size hole saw bit to use. They also need to do this for both sides if they are installing on both sides of the roof. This will ensure that the lights are lined up straight when finished.
When you’ve marked your tubing, take a saw and cut along the line. You can use either a manual or power circular saw with a 7/8″ hole saw bit for this. After you’ve made all of your cuts, it’s time to drill holes at each end of your pipe.
Step 3: Drilling Holes
If you need to make a cut in your PVC pipes, now is the time to drill holes at each end. To do this, use a round hole saw and make sure it is flat against your marked lines. Drill down into the spots by applying pressure as you turn. It will only take a few seconds before it has drilled through. Repeat this step for both sides of your light bar.

Step 4: Line It Up
If you want to make sure your light bar is attached to your truck in the right place, it’s a good idea to create a jig out of PVC. You can use pieces you’ve already cut off, or get another length of PVC. Cut them down to 2 feet each, and drill the ends. Then slide the jig inside your pipes. This will help keep everything lined up while you’re attaching the light bar to the roof or bed of the truck.
Step 5: Putting It All Together
You have drilled holes in all of your PVC pipes. Now it is time to put the pipes together by lining up the holes. Screw in self-tapping screws at both ends of each pipe.
Once complete, slide them back out from the holes again. This is where we will attach our fluorescent light fixtures to the roof/bed of the truck using metal conduit straps. This is a crucial step in how to install light bar on roof.
Step 6: Install Fluorescent Tube Lights
Assemble your fluorescent lights as needed. Use the black plastic tubing to create a protective barrier between the lights and the roof; slide it over one end before attaching each light, which will help eliminate any potential damage to the roof itself.
Adjust the tubing as needed so that all four feet are evenly spaced apart from each other – if yours is too short, you can always cut more off later on. Once you’ve added all four lights, it’s time to flip your light bar right-side up and attach it firmly to your cab or hatch by sliding on PVC pipe caps over each end.
Step 7: Attach
You can now attach your light bar securely to the top of your vehicle by sliding PVC caps over each end and pushing them into place – you will hear a popping sound as they lock into place, creating a tight seal that’ll keep everything in place during any rough road work. Test your lights to make sure they’re working before you tighten the cap for good. All done! Now comes the fun part—light it up and see what kind of job you’ve done! You can get creative and add more PVC caps or lights if you want—the possibilities are endless.
Step 8: Wire The Lights
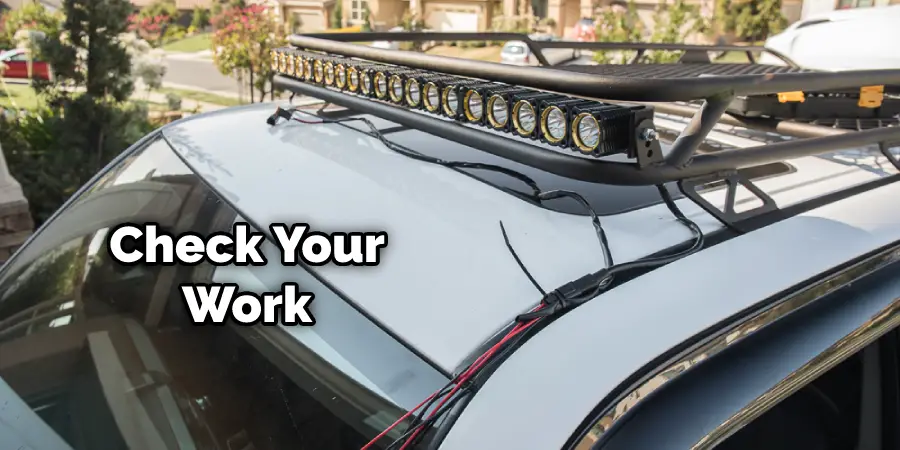
Follow the wiring directions on your fluorescent lights. It’s essential to make sure you get this bit right because it can be hazardous! Follow all of their safety instructions, and make sure you know where all of the main power supply buttons are located; turning them off is crucial in case something goes wrong.
If everything was done correctly, you should be able to turn it on and watch all four feet light up evenly for an excellent effect that will warn any pedestrians and other drivers about your presence. You’re free to attach or detach your lights at any time if desired.
Step 9: Finishing Touch
No light bar is complete without style, so get creative and add some final details. You can get crafty with this part if you want to—the possibilities are endless! Try cutting up bits of plastic tubing into different shapes before attaching them to your roof for a unique look that will catch people’s attention on the road.
Add LED lights or glowsticks inside water bottles if you have them lying around. Use your imagination! Not only does it make the whole process more fun, but it also allows you to personalize your creation to truly show off your individualistic spirit while working on the job site at night. These steps will help in how to install light bar on roof.
Precautions
When mounted correctly on the roof, the light bar acts as extra safety measures for your vehicle. However, to make sure you are installing the light bar safely and adequately, follow these precautions:
- Make sure both switches are in off position
- After you install the mounting brackets, make sure they are tight enough not to move but loose enough to allow movement for adjustment purposes
- Don’t drive around with only one light bar installed intermittently; this causes stress at one end of the vehicle. Instead, install them both to even out weight distribution.
- Use safety straps to secure the light bar in case of a sudden jerk or break in traffic
- Make sure that there is no obstruction between your car and the lights when you are driving
- Never install a light bar on a newly painted surface. If you do so, you will have to remove the light bar immediately. The paint will peel off due to heat from the light bar
- When installing LED Lightbars, make sure they are mounted upright so water cannot seep into them. This causes damage and reduces their life span
- Clear all objects from underneath your vehicle before setting up a mounting bracket for the light bar because this too can cause damages if not properly done
- Don’t leave objects lying around below or near where you have installed your light bar because this too can damage your roof and other parts of the car.
Which Light Bar Should I Buy?
There are many different types of light bars to choose from. For example, you have your choice between slim or full-width LED or halogen lights. If you want a light bar that is durable and bright enough to be seen in the dark without being distracting, go with an LED light bar.
On the other hand, if you prefer a wider beam angle that illuminates the road better than LEDs, choose a halogen model instead. Of course, you can use halogen models for off-road activities as well. Just keep in mind they require more maintenance compared to LED lights.
The most expensive options can cost up to thousands of dollars. How much you’re willing and able to pay will determine which brand and model of the light bar is best for you. However, even if you can afford the most expensive ones, there’s no need to go overboard or be overly extravagant with your purchase. Remember, too much of a good thing isn’t always so great after all!
You Can Check It Out to: Install Ghost Shadow Light
Conclusion
We hope you have gone through the article on how to install light bar on roof. The light bar installation process takes a few hours and is not very difficult. If you are looking for an easy install, this guide will help decision-making. For more tips on lightbar installation, keep following us. We will be publishing articles that are related to this topic.
You can also check it out: How to Get Led Light Residue Off Wall