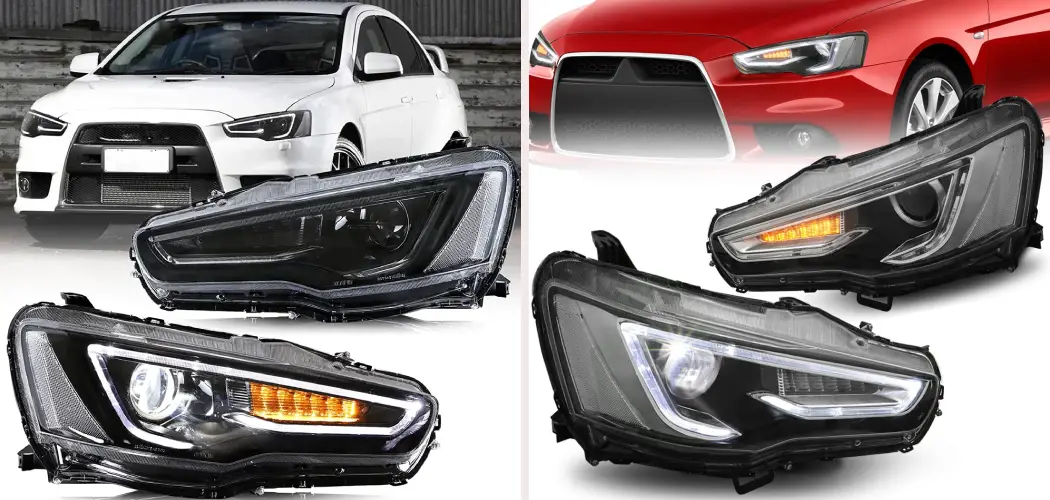
If you are the proud owner of an Evo X, then you know that this car is a workhorse. It’s comfortable enough for a long road trip yet fast and nimble enough to take on tight curves. And with all that power under the hood, it’s no surprise that the Evo X can be a bit challenging to handle in low light conditions.
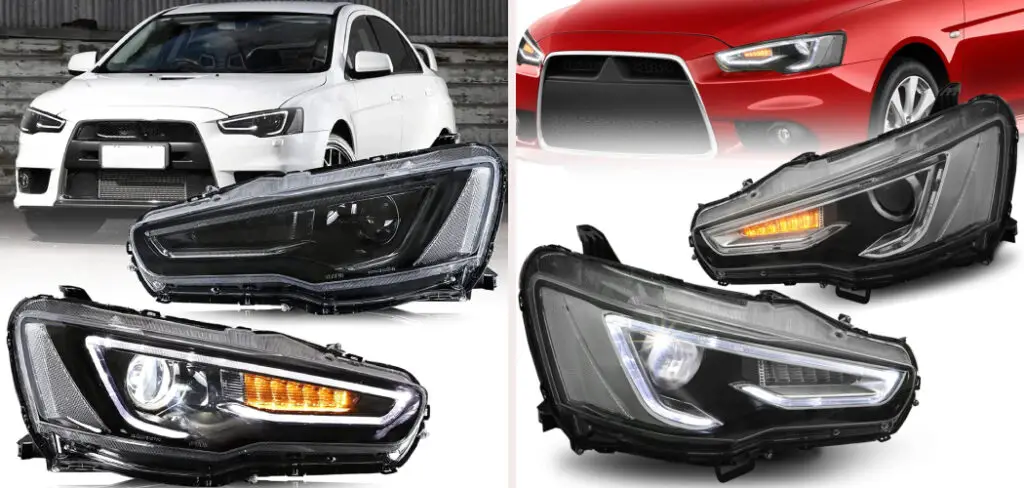
They barely light up the road in front of you, and they don’t provide enough illumination for driving at night. Fortunately, there are ways to adjust your headlights to see as clearly as possible when driving at night. This blog post will show you how to adjust vland headlights evo x. Read on for more information!
Summary: Adjusting the Vland headlights on your Evo X is essential to ensure proper alignment and visibility on the road. Misaligned headlights can compromise your ability to see clearly while driving, and may also cause glare for oncoming drivers. Before adjusting your Vland headlights, gather the necessary tools, such as a Phillips screwdriver or a hex key (depending on the specific model), a tape measure, and masking tape or a marker. Choose a flat, level surface with a wall or garage door to perform the adjustment, ideally during dusk or nighttime hours to accurately gauge the light alignment.
To begin, park your Evo X approximately 25 feet away from the wall or garage door, ensuring that the vehicle is level and facing directly towards the wall. Measure the distance from the ground to the center of your headlights and mark this height on the wall using masking tape or a marker, creating a horizontal line that serves as a reference point for the headlight alignment. With the headlights turned on, observe the light pattern on the wall.
The top of the light beam should be level with or slightly below the marked horizontal line, and the brightest portion of the beam should be slightly to the right of the vertical centerline of the vehicle. Locate the adjustment screws or hex bolts on the back or top of the Vland headlights (refer to the manufacturer’s instructions for the exact location). Use a Phillips screwdriver or hex key to turn the adjustment screws clockwise or counterclockwise, altering the vertical and horizontal alignment of the headlights until the light pattern aligns with the reference marks on the wall.
Periodically step back and observe the light pattern from a distance to ensure accurate alignment. Once the headlights are properly adjusted, you can enjoy improved visibility and safety on the road.
10 Effective Ways on How to Adjust Vland Headlights Evo X
1. Check the Bulb First
You should check the headlight bulbs and ensure they are properly screwed in. If they are not, then it won’t be easy to adjust the headlights. Before checking the headlight, you need to open the hood so that you can access it.
2. Use a Flashlight
If you’re having trouble seeing a headlight, you can use a flashlight to get a better view. Just be careful not to point the flashlight beam directly at the headlight, or it will be hard to see.
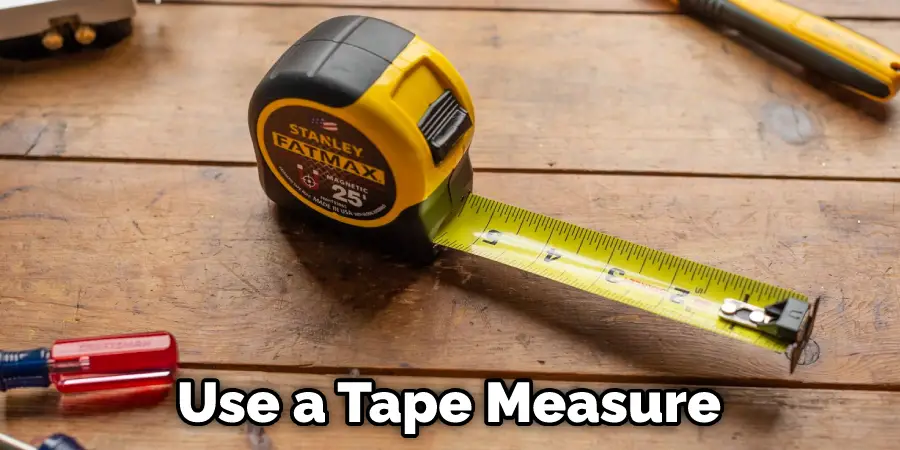
3. Use a Tape Measure
To adjust your headlights, you need to use a tape measure. This will help you measure the distance between the ground and the center of the headlight. The measurement should be taken from the center of the headlight, and not from the side. This will help you get an accurate reading.
4. Adjusting the Headlights Manually
Once you have the measurements, you can manually adjust the headlights. First, you need to unscrew the bolts holding the headlight in place. After that, you can move the headlight up or down until it is at the desired position. When adjusting the headlight, make sure that you do not move it too much, as this can cause the headlight to become misaligned.
5. Use an Adjustment Tool
If you don’t have a tape measure, you can use an adjustment tool to help you adjust your headlights. You can find this tool in the market or online, or you can check the headlights in the market or online to see if there is an adjustment tool that is compatible with your vehicle.
6. Use a Level

It is also a good idea to use a level when adjusting the headlights. This will help you to make sure that the headlights are level with the ground. When using the level, make sure that the bubble is in the middle. Again, this will help to make sure that the headlights are level.
If the headlights are not level, it can cause the light to be uneven, which can make it hard to see when driving at night.
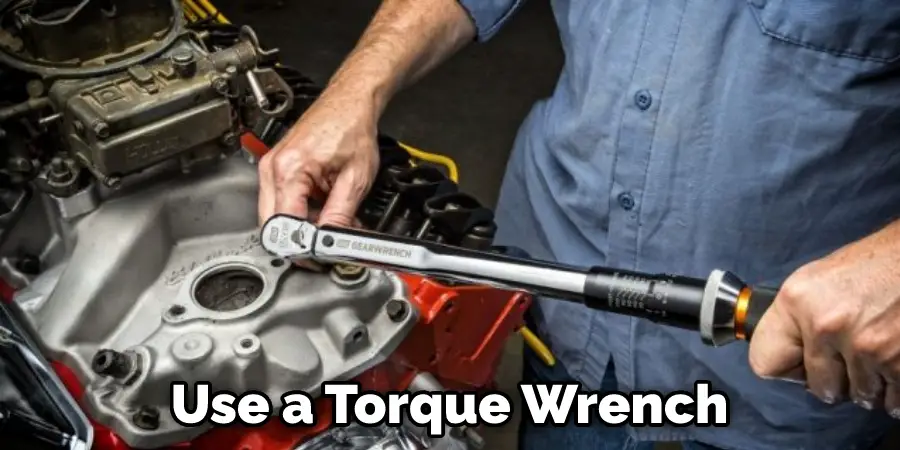
7. Use a Torque Wrench
When you are finished making the adjustments to your headlights, you must use a torque wrench to ensure that the bolts are tightened properly. This will help keep your headlights from becoming loose over time and will also help prevent any damage to your car. If the bolts are not tightened properly, the headlight can become loose and fall off, which could cause serious damage to your car.
8. Check the Alignment
After adjusting the headlights, it is important to check the alignment. You can do this by driving your car in a dark area and seeing how the light beam hits the ground. If the light beam is not aligned properly, then you will need to make further adjustments.
9. Check the Beam Pattern
Once the headlights are aligned properly, it is important to check the beam pattern. The beam pattern is how the light is distributed across the ground. If the beam pattern is not correct, it can cause problems when driving at night. To check the beam pattern, you need to use a light meter. A light meter is a tool that measures the amount of light that is being emitted from a light source.
10. Adjust the Headlights Aim
After you have checked the beam pattern, you will need to adjust the headlight’s aim. This is done by adjusting the screws located on the back of the headlight. You will need to turn the screws until the light beam points in the correct direction. For example, if you see the light beam pointing to the left, you will need to turn the screw clockwise. If the light beam is pointing to the right, you will need to turn the screw counterclockwise.
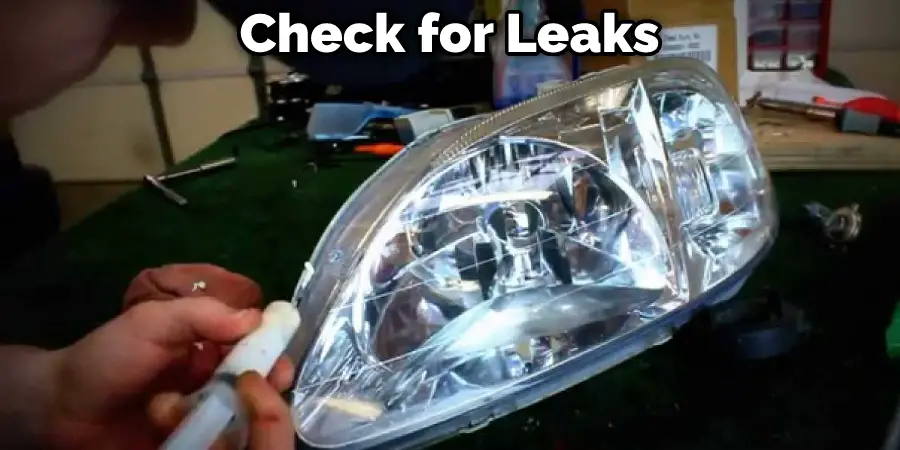
11. Check for Any Leaks
When you’ve completed the adjustment, turn on your headlights and check for leaks. If you see any light leaking from around the edges of your headlight, then you will need to tighten the screws. Once you’ve tightened the screws, turn on your headlights and check for any leaks. If you still see light leaking, you may need to replace your headlight sealant.
You Can Check It Out to Fix Flickering Headlights
Some Helpful Tips and Suggestions
Here are some tips on how to adjust vland headlights evo x.
- Make sure your headlights are clean before starting; this will help you see what you’re doing.
- It is helpful to have someone else hold the light while you make the adjustments, but it’s not necessary.
- Adjustments should be made slowly and in small increments so that you don’t overshoot the desired aim.
- Be aware that the adjustment screws on each side are different – one is for the up/down aim, and the other is for the left/right aim.
- The best way to adjust your headlights is to use a wall or garage door as a reference point. Park your car about 25 feet away from the wall, and look at the position of the low beam headlights relative to the wall.
- If the light is too high, turn the appropriate screw (for that side) counterclockwise. If the light is too low, turn the screw clockwise.
- For left/right aim, it’s best to use a parked car as a reference point. First, park your car so that the headlights are lined up with the taillights of the other car. Then, look at the position of your low beam headlights relative to the taillights.
- If the light is too far to the left, turn counterclockwise the appropriate screw (for that side). If the light is too far to the right, turn the screw clockwise.
Why do You Need to Adjust Vland Headlights Evo X?
It is important to adjust your headlights to point in the correct direction. This will ensure that you have a clear view of the road ahead, and it will also help to improve your visibility to other drivers. If your headlights are not properly adjusted, they may shine into the eyes of oncoming traffic, which can cause a dangerous situation.
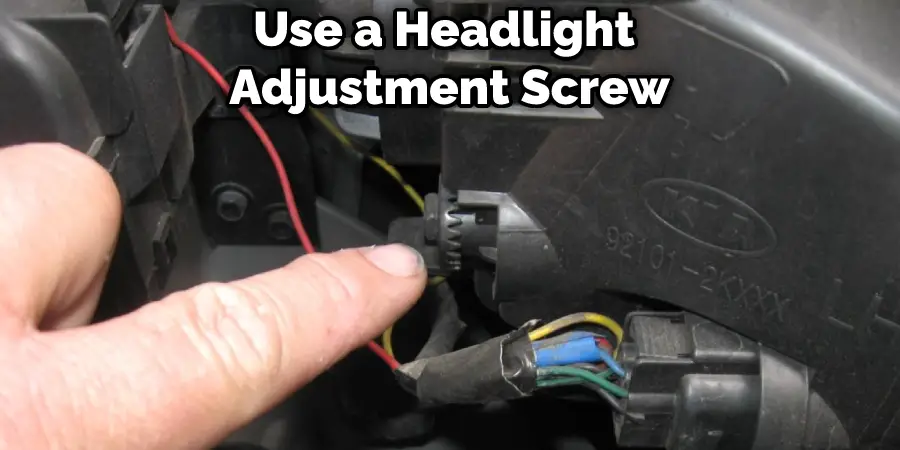
There are a few different ways to adjust your headlights, but the most common method is to use a headlight adjustment screw. This screw is located on the back of the headlight assembly, and you will need to turn it to raise or lower the headlight beam. If the beam points too high, you will need to turn the screw clockwise. If the beam points too low, you will need to turn the screw counterclockwise. When adjusting the headlight, you need to ensure that both beams are at the same level.
How Do You Aim a Vland Headlight?
There are a few different ways that you can aim your Vland headlights. The most common way is to use the adjustment screws located on the back of the headlight housing. You can also use a headlight aiming tool or take your car to a professional to have the headlights aligned.
If you want to aim your headlights yourself, the best way is to use an aiming tool. These tools are designed to help you aim your headlights correctly, and they can be found at most auto parts stores. If you don’t have an aiming tool, you can still adjust your headlights by using the adjustment screws on the back of the headlight housing.
Frequently Asked Questions
What is the Correct Headlight Height?
When it comes to headlights, the height you choose is important. The higher the light, the better your visibility will be in low-light conditions. If you’re driving a car with standard H4 or H8 bulbs, your headlight should be at least 125 mm (5 inches) high from ground level when pointing straight ahead andˆ 229 mm (9 inches) high when looking directly down at an object.
Where Are the Headlight Adjustment Screws?
Headlight adjustment screws are usually found in the driver’s side rearview mirror. They can be a bit elusive, so it is important to know where they are before you try to adjust your headlights.
What Distance Should I Adjust My Headlights?
the distance at which your headlights should be adjusted will vary depending on your driving conditions and vehicle. However, general recommendations for adjusting headlights typically call for adjusting them approximately 2 to 3 degrees towards the front and 2 to 3 degrees towards the rear.
Will Headlights That Are Aimed Too High Cause Problems?
There is some evidence that headlights aimed too high can cause problems. This is because when the headlights are positioned very high up in the air, they cast a shadow over what should be in front of them, which can lead to accidents. In addition, this position also makes it difficult to see objects behind you and prevents you from seeing pedestrians or other cars on the road. So while there may not always be a direct correlation between higher-than-normal headlight use and car accidents, it’s still important to take precautions to avoid accident altogether.
Conclusion
The headlights on a Vland Evo X are adjusted by turning the adjustment screws on the back of the headlight housing. The top screw adjusts vertical aim, while the side screw adjusts horizontal aim. There is also an adjusting screw on the bottom of the light that can be used to adjust the beam’s focus. Always be sure to adjust your headlights correctly to have the best visibility while driving.
We hope this guide on how to adjust vland headlights evo x has been helpful to you. We are happy to help you get the perfect light output and look for your car. However, remember that it is important to keep your headlights properly adjusted for your safety and the safety of others on the road. Thanks for reading, and be sure to check back often for more tips and tricks on making your vehicle look its best.