
If you’ve ever been driving in the dark and thought your headlights were a little bit too dim, you’re not alone. In fact, it’s estimated that more than 90% of vehicles on the road today have at least one faulty headlight. Fortunately, adjusting ram headlights is a quick and easy process that can be done in just a few minutes.

So if your car is one of the few without properly functioning headlights, read on for instructions on how to adjust them yourself. In this post, we will show you how to adjust ram headlights so that you can see better while driving at night. Follow these simple steps, and you’ll be on your way to safer driving!
How Do You Tell if Your Headlights Are Adjusted Properly?
Once the headlights have been adjusted, you can check to see if they are properly aligned by testing them at night in a dark area. Take a friend and have them stand about 25 feet away from your car. Have them turn on the headlights and look at the beam pattern on a wall or other flat surface. The beams should form two distinct, parallel bars.
The bottom bar should be slightly lower than the top bar and should not overlap. If you see any overlapping or misalignment, it is likely that your headlights need to be adjusted again. Additionally, if the beams are too dim or bright, it may indicate a problem with the headlight bulbs themselves, and you may want to consider replacing them.
It is also important to periodically check for proper headlight alignment since bumpy roads can cause misalignment over time. By making sure that your headlights are properly aligned, you will be able to ensure both your own safety as well as the safety of other drivers on the road by providing an adequate amount of light while driving at night.

10 Steps How to Adjust Ram Headlights
Step 1. Raise the Hood :
To Adjust Ram Headlights, you need to raise the hood of your car. While lifting the hood, make sure you are careful so that you do not damage the body. Make sure to prop it up with the support rod so that it does not close on its own.
Step 2: Locate the Screws:
On both sides of each headlight, there are two screws that can be used to adjust the headlight beam up or down and left or right. If you’re having trouble locating them, consult your car’s manual. Although, it’s usually easy to find. Try to locate them near the top of each headlight.
Step 3: Turn the Top Screw:
To adjust the vertical position of a headlight, start by turning its top screw. As you turn it clockwise, the beam will move downward. When turned counterclockwise, it will move up. While doing this, you should be careful not to over-adjust it. If you do, you may have to move it back to its original position.
Step 4: Turn the Bottom Screw:
The bottom screw adjusts horizontal movement for your headlights and works in reverse; when rotated clockwise, it will shift the light to the right, and counterclockwise will shift it to the left. Although this is a simple step, it’s important to be deliberate and not over-adjust the headlight. Try to keep the beam centered.
Step 5: Test Your Adjustments:
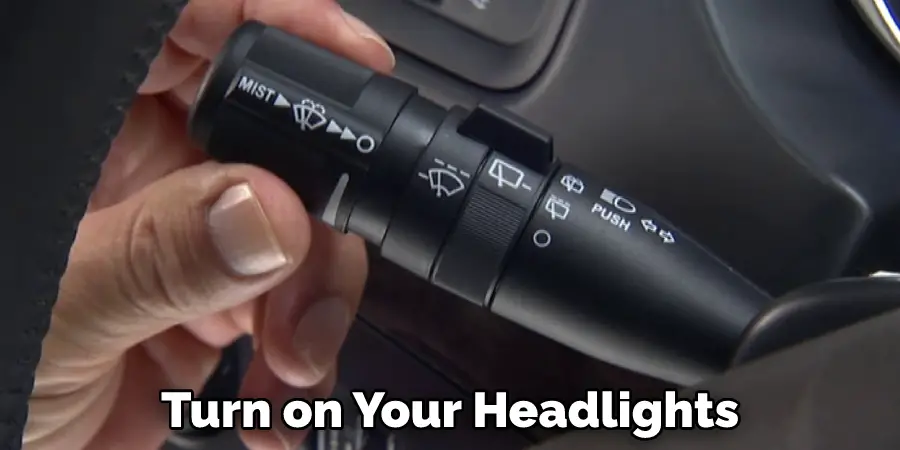
After completing your adjustments, close the hood and start up your car. Turn on your headlights and have a friend look at the beam from a distance. This will give you an idea of how well you adjusted them. Make sure the light shines in its intended area and is not too bright. If it’s still not right, don’t hesitate to adjust it again until you get the desired results.
Step 6: Re-adjust if Necessary:
If necessary, repeat steps 3 and 4 until you get the desired result for both headlights. If you’re still having trouble, you can always take your car to a local mechanic and have them adjust your headlights. Although, with a little bit of patience, it’s easy to do at home. Make sure to test it again before leaving.
Step 7: Park in the Garage or Alley to Check Beam Pattern:
Once you think that you have adjusted the headlights correctly, park your vehicle in a garage or alley to further check their beam pattern. Look closely at the illuminated area on walls or other objects to see if you need to make any more adjustments. While doing this, be sure to turn your car off and proceed with caution.
Step 8: Adjust the High Beam Headlights:
If your vehicle has a high beam setting, then you will also want to adjust it with the same method as described above. Try to keep the high beam level with the low beam, but slightly higher. Make sure the high beam is not too bright and won’t blind any oncoming vehicles.
Step 9: Secure the Screws:
After completing all the necessary adjustments, make sure that the screws are tightly secured so that they don’t move in the future. Sometimes, it’s best to apply a bit of thread locker or lock tight so that they don’t become loose. Try to check them from time to time, especially if you find yourself driving a lot at night. Although, if you do not have the necessary tools, it’s best to take your car to a mechanic.
Step 10: Enjoy Improved Visibility:
Now that you have adjusted your headlights for better visibility enjoy safer and brighter driving! It is important to perform this task regularly, as headlight settings can change due to regular use or weather conditions. Make sure to check them periodically and adjust them as needed. With a little bit of patience, you can make sure that your headlights are always shining in the right direction, allowing you to drive safely and with confidence.
Congratulations! You have now successfully adjusted your headlights for better visibility. Enjoy the improved safety and visibility on the road!
Now that you have learned how to adjust headlights, it’s time to put this knowledge into practice and make sure your headlights are always shining in the right direction. Have fun and drive safely.

You Can Check It Out To Change Shower Light Bulb
Things to Consider when Adjusting Ram Headlight
- Check your vehicle’s manual for specific instructions on adjusting the ram headlight. This may include details about the type of lightbulbs used and other information that is necessary for a successful adjustment.
- Make sure all surfaces around the headlight are clean, dry, and free of dirt or debris before beginning any adjustment.
- Park your vehicle in a safe place and switch off the engine before beginning any adjustments, as you will be working with electricity. If necessary, use a ladder to ensure a comfortable working height.
- Check your headlight aiming device or an alignment tool that can help you to properly adjust the headlights. These devices are available at most automotive stores and have easy-to-follow instructions for proper adjustment techniques.
- Make sure both headlights are adjusted symmetrically. They need to be set at the same height in order to provide adequate illumination on the road ahead of you while driving at night.
- Test out your new headlight adjustments once they’re finished by taking a short drive in a dark area; this will give you an idea as to how well the headlights are performing.
- If you’re not satisfied with your adjustments, repeat the process until you get the desired result. Make sure to check the headlight aim regularly and adjust as necessary for optimal visibility on the road.
You Can Check It Out To Adjust Morimoto Headlights
How Far Should Your Headlights Shine while on High Beam?
Your headlights should be set so that their beams light up the road for at least 250 feet ahead of your car. This distance is important to ensure that you have enough time to react and avoid potential hazards in the roadway. It is also important to make sure the top portion of your beam does not shine higher than eye level, as this can create a dangerous glare for oncoming drivers.
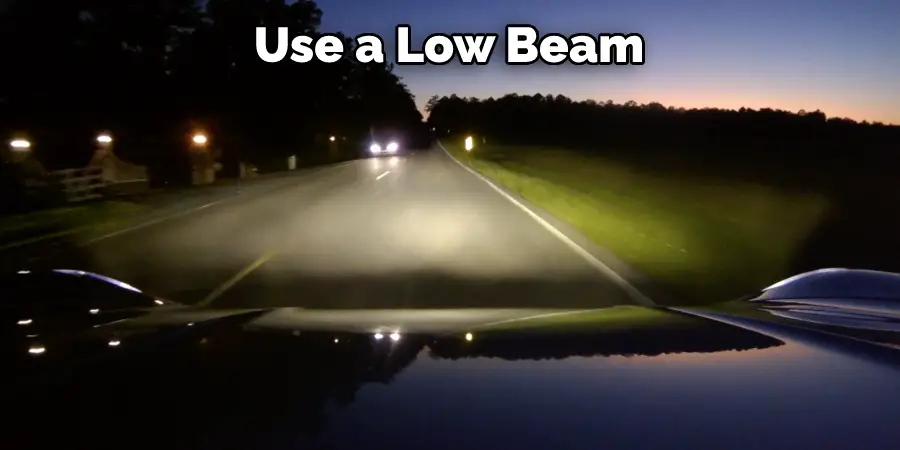
Make sure you adjust your headlights regularly in order to keep them properly adjusted. Lastly, always remember to use a low beam when driving near other vehicles or when visibility is otherwise limited. By following these tips and staying aware of your surroundings, you can help ensure a safe and enjoyable journey every time you hit the open roads.
Frequently Asked Questions
Does a Dodge Ram Have Projector Headlights?
A Dodge Ram has projector headlights, which use a light source that is placed behind the headlight to generate an intense beam of light. This type of headlights is popular among truckers and other drivers who need high-quality visibility while driving at night or in low-light conditions.
What Are Ram Projector Headlights?
Ram projector headlights are a type of headlight that uses a projector to generate light. They are popular among car enthusiasts and truckers because they provide a high level of visibility in low-light conditions, making them ideal for use on long drives or when driving at night. Ram projector headlights typically have a brighter and more visible beam than other types of headlights, making them easier to see in both day and night conditions. Additionally, they are less likely to blind other drivers or cause accidents.
Do I Need to Adjust Led Headlights?
Depends on the make and model of your headlights. Many modern headlights use LED lights, which are more energy-efficient and require less maintenance than traditional halogen or incandescent headlights. If your headlights are equipped with LED lights, it may not be necessary to adjust them regularly. However, if your headlights are older or use halogen or incandescent bulbs, you may need to adjust them occasionally to ensure they are producing a bright and consistent light. To adjust your headlights, first identify the adjustment screw or nut that controls the brightness of the light. Next, turn the screw or nut until the light is at the desired level. Be sure to do this every time you change your driving conditions (e.g., when it starts getting dark outside or when the weather changes).
Conclusion
Now that you know how to adjust ram headlights, you can ensure that your vision is clear while driving at night. This simple fix will make a big difference in your ability to see the road ahead.
Although many people don’t realize it, properly adjusting your Ram headlights is an important part of routine maintenance.
Not only does it improve your visibility while driving, but it also ensures that you’re not blinding other drivers on the road. The next time you wash your truck, take a few minutes to adjust your headlights and enjoy the improved safety and clarity they provide.