Replacing a gas boiler is a big task, but it’s one that most homeowners can tackle. When it comes to choosing a new boiler, there are many factors to consider, but the type of boiler you choose is probably the most important. If you’re thinking about replacing your old gas boiler with a Crown Boiler, here are some tips on how to light it.

If you are looking for a reliable and efficient way to heat your home, a crown boiler may be the right choice for you. Crown boilers are known for their reliability and can provide ample heat for your home. In this blog post, we will give you a step-by-step guide on how to light a crown boiler. Keep reading to learn more.
Summary: Lighting a Crown Boiler is an important step to ensure proper functioning and heating of your home or building. The process may differ slightly depending on the specific model and type of Crown Boiler you have, such as gas or oil-fired units. Before attempting to light the boiler, familiarize yourself with the owner’s manual for your particular model and gather the necessary tools and materials, including a flashlight or headlamp if needed for better visibility. Additionally, ensure that the boiler is clean and well-maintained, as a dirty or improperly maintained boiler can cause malfunctions or reduced efficiency.
For gas-fired Crown Boilers, start by turning off the thermostat and waiting a few minutes for the system to cool down. Locate the gas valve on the boiler and turn it to the “Off” position, waiting approximately five minutes for any residual gas to dissipate. Turn the gas valve to the “Pilot” position, and press down on the red reset button or ignitor button, depending on your model. While holding the button, use a long match or lighter to ignite the pilot light, which is typically located near the gas valve.
Once the pilot light is lit, continue holding the reset button for about one minute before releasing it, allowing the pilot light to remain lit. Turn the gas valve to the “On” position and adjust the thermostat to the desired temperature.
For oil-fired Crown Boilers, locate the reset button on the burner unit and press it to activate the ignition sequence. The burner motor should start, and you should hear the oil pump and ignition system working. If the burner does not ignite within a minute, press the reset button again. If the burner still does not ignite, consult a professional technician for further assistance. By following these steps and adhering to safety guidelines, you can successfully light your Crown Boiler and enjoy efficient heating in your home or building.
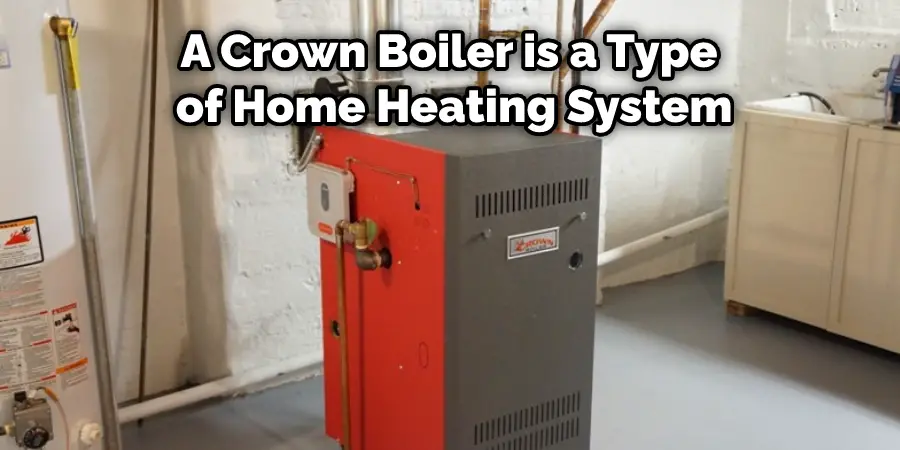
What Is a Crown Boiler?
A Crown boiler is a type of home heating system that uses natural gas or propane to heat your home. These boilers are very efficient and can save you money on your energy bill. If you have a Crown boiler, you may be wondering how to light it.
There are many benefits to having a Crown boiler in your home. Not only are they efficient at heating your home, but they can also save you money on your energy bill. If you have a Crown boiler, lighting it is simple and easy to do.
Step by Step Guide on How to Light a Crown Boiler
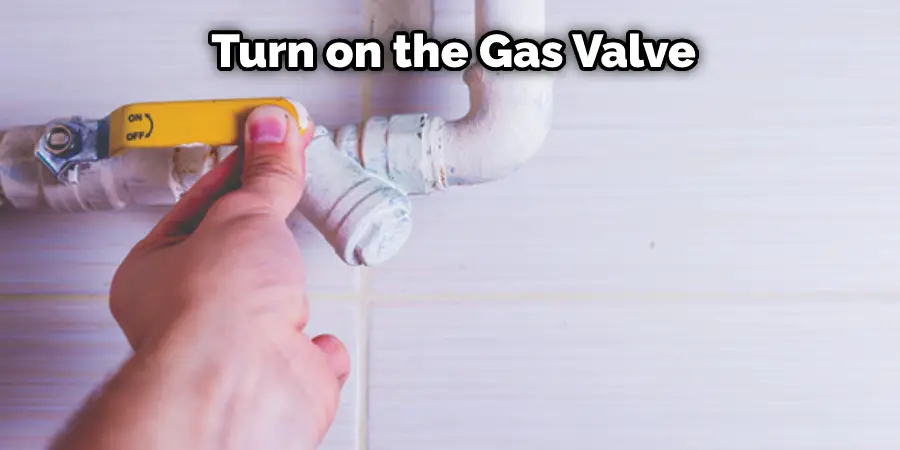
Step1: Locate the Gas Valve Handle.
It is usually on the front of the boiler. The knob will be in the “OFF” position and must be turned to the “ON” position. The pilot light should now be lit. If it is not, follow the manufacturer’s instructions for relighting the pilot light.
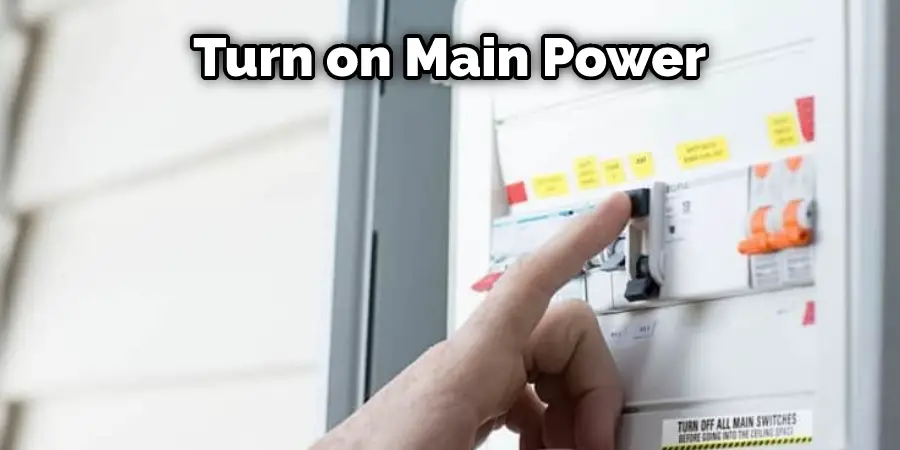
Step 2: Turn on the Main Power Switch.
The switch is usually located near the gas valve handle. Once you have turned on the main power, you will see a green light come on, knowing that the power is now running to the unit. If there is no green light, check your breaker box to make sure that the power is on and that the breaker for the boiler has not been tripped.
Step 3: Prime the Pump.
The pump is located on the side of the boiler. There is a knob or lever that you can turn to prime the pump. Once you turn the knob or lever, water will start flowing through the pump. This is normal. Continue priming the pump until water starts coming out of the bleed valve.
Step 4: Open the Water Feed Valve.
The water feed valve is a knob near the bottom of the boiler. You turn it slowly to open the valve and let water into the boiler. You may need to open the valve all the way to get water flowing into the boiler. If you have a Crown boiler with an automatic water feeder, the water feeder will open the water feed valve for you.
Step 5: Push and Hold the Reset Button.
The reset button is a button near the main power switch that you have to hold down for a minute before releasing. If the boiler doesn’t reset, you might need to look in the owner’s manual for more directions.
Step 6: Check the Water Pressure.
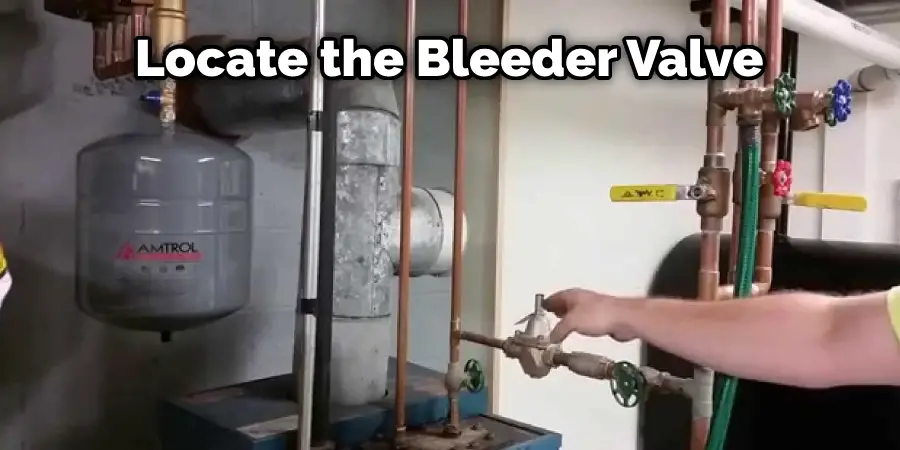
Once the boiler has started up, check the water pressure gauge to make sure that it is reading between 12 and 15 psi. If the pressure is too low, you will need to bleed the air out of the system.
To do this, locate the bleeder valve on one of the radiators and open it until water starts to come out. Once water is coming out steadily, close the valve and check the pressure gauge again. If the pressure is still too low, repeat this process until the desired pressure is reached.
Step 7: Set the Thermostat.
Once the boiler is up and running, you will need to set the thermostat to your desired temperature. The thermostat controls the boiler’s heating cycle, so it’s important to set it to a comfortable level. You can find the thermostat on the side of the boiler unit.
To sum it up, lighting a Crown Boiler is easy as long as you follow the proper steps. First, make sure that all the power switches are turned off. Then, open the boiler’s door and remove the burner assembly.
Next, clean out the burner area and add the proper amount of fuel. After that, reattach the burner assembly and turn on the power switches. Finally, set the thermostat to your desired temperature. By following these steps, you’ll be able to enjoy a warm and comfortable home
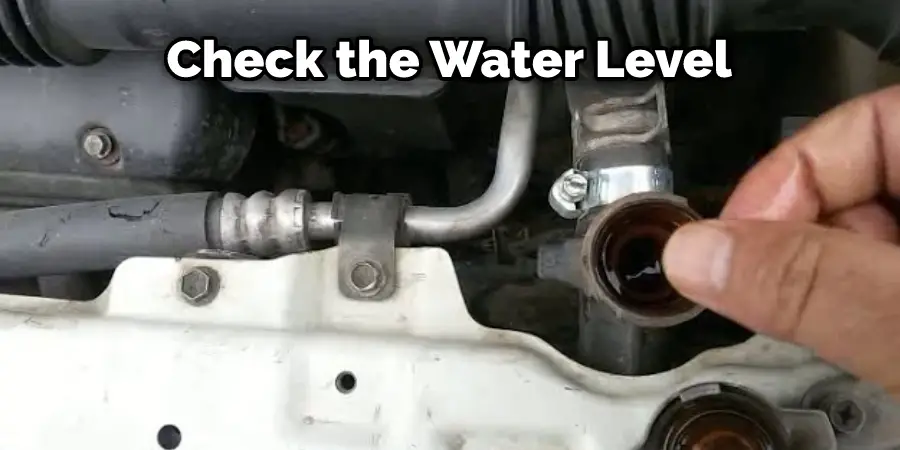
Step 8: Check the Water Level.
It is important to check the water level in the boiler on a regular basis. The water level should be between 1/2 and 2/3 full. If the water level is too low, it can cause the boiler to overheat and shut down. On the other hand, if the water level is too high, it can cause the boiler to operate inefficiently.
To check the water level, simply look at the sight glass on the side of the boiler. If the water level is too low, add more water until it reaches the proper level.
Step 9: Adjust the Air Damper.
The air damper is a lever on the front of the boiler that controls the amount of air that is allowed into the combustion chamber. If the air damper is set too low, it can cause the boiler to overheat and shut down. On the other hand, if the air damper is set too high, it can cause the boiler to run inefficiently and use more fuel than necessary.
To adjust the air damper, first, locate the lever on the front of the boiler. Then, turn the lever to the left to decrease the amount of air entering the combustion chamber. Next, turn the lever to the right to increase the amount of air entering the combustion chamber.
Step 10: Check the Pressure Gauge
The pressure gauge is located on the front of the boiler, just below the air damper lever. The pressure gauge shows the amount of pressure inside the boiler. If the pressure is too high, it can cause the boiler to overheat and shut down. If the pressure is too low, the boiler will not be able to generate enough heat.
To check the pressure gauge:
- Set the mode switch to the “Off” position.
- Wait for the boiler to cool down. The boiler must be cool before you can open the pressure relief valve.
- Open the pressure relief valve. The pressure relief valve is located on the top of the boiler, just to the right of the mode switch.
- Place a bucket under the pressure relief valve to catch any water that may be released when you open the valve.
- Slowly turn the pressure relief valve counterclockwise until water begins to flow from the valve.
- Allow the water to flow until it is clear. You may need to wait a few minutes for the water to become clear.
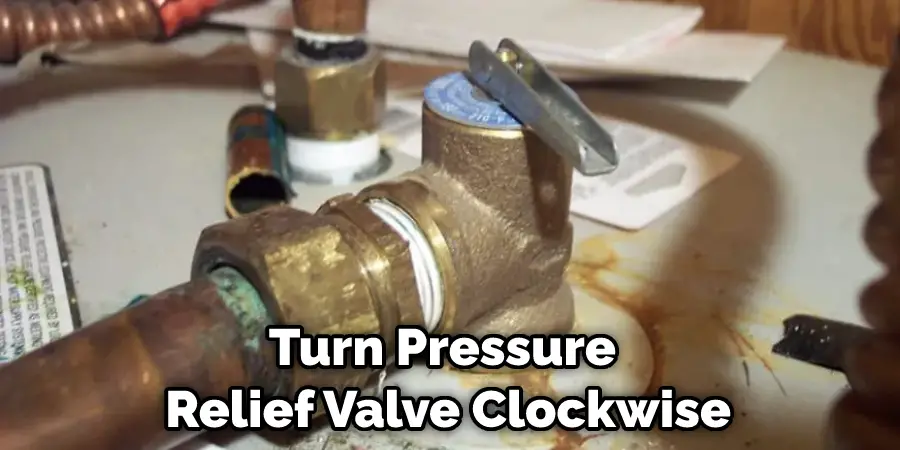
- Close the pressure relief valve by turning it clockwise. Ensure that the valve is closed tightly so that no water can escape.
- Set the mode switch to the “On” position.
- Check the pressure gauge. The pressure should be between 12 and 15 psi. If the pressure is not within this range, you will need to adjust the pressure relief valve.
- If the pressure is too high, turn the pressure relief valve clockwise until the needle on the pressure gauge is in the 12-15 psi range.
Some Tips & Suggestions on How to Light a Crown Boiler
- Crown boilers are one of the most popular types of boilers on the market.
- If you have a boiler that is starting to show its age or if you are having difficulty lighting it, there are a few things that you can do to make the process easier.
- The first thing you need to do is identify the problem. For example, if you are having difficulty lighting the boiler, there is likely a problem with the pilot light.
- The next thing you need to do is find the pilot light. This is usually located near the bottom of the boiler.
- Once the pilot light is on, you need to wait for it to heat up. This can take a few minutes.
- Once the pilot light is heated up, you need to turn on the gas valve. This is usually located near the top of the boiler.
Frequently Asked Questions
Why is the Boiler Not Firing Up?
The boiler not firing up can have a number of possible causes, and it is important to identify and correct the issue as soon as possible. The most common reason for the boiler not firing up is an obstruction in the pipe system. This could be caused by debris or objects that have lodged themselves in the pipes, making them difficult or impossible to use.
Other reasons for the boiler not firing up include blocked flues, defective fans, clogged filters, or worn-out valves. In order to determine which part needs replacement, you will need access to diagnostic tools such as gauges and probes. If any of these parts are malfunctioning, repairs will need to be made as soon as possible in order for your boiler to properly function.
Does My Boiler Have a Pilot Light?
Yes, your boiler does have a pilot light. A pilot light is an electric light that is used to test the functionality of the boiler. By turning on the pilot light, you can check to make sure that the boiler is working properly and that there are no gas leaks.
Is a Boiler Safe if the Pilot Light Goes Out?
A boiler is available to heat your home, but if the pilot light goes out, it may not be able to operate correctly. This could lead to dangerous situations in your home such as high heating costs or electrical fires. If you experience any unusual symptoms with your boiler, like it being very loud or making strange noises, please contact an expert for inspection and repair.
Do All Combi Boilers Have a Pilot Light?
As the pilot light will depend on the models and specifications of each boiler. However, most combi boilers do require a pilot light in order to function properly. Without a pilot light, it may be difficult to get your boiler started and maintain consistent temperatures. Additionally, a lack of heat can lead to water heating up too quickly or becoming too hot for certain types of appliances like dishwashers or clothes washers.
Why is My Boiler on but No Heating?
To test for this, you can turn on the cold water in the house and see if the boiler kicks on. If it does not, then the problem may be with the heating unit itself. If you do not see any signs of a clog, it may be that there is something blocking the flue or chimney from releasing heat. In this case, you will need to have a professional come and clear out whatever obstruction is causing the issue.
Conclusion
The article explains how to light a Crown boiler. A Crown boiler is a popular option for homeowners looking for an efficient and reliable heating system. Crown Boilers are a great option for those looking for an energy-efficient and reliable boiler. It is important to follow the instructions carefully in order to avoid injury or damage to the boiler.
A number of safety precautions must be taken when lighting a Crown boiler. If you are considering purchasing a Crown boiler, it is important to understand how to light it correctly. For more information on Crown boilers, let us comment bellow.