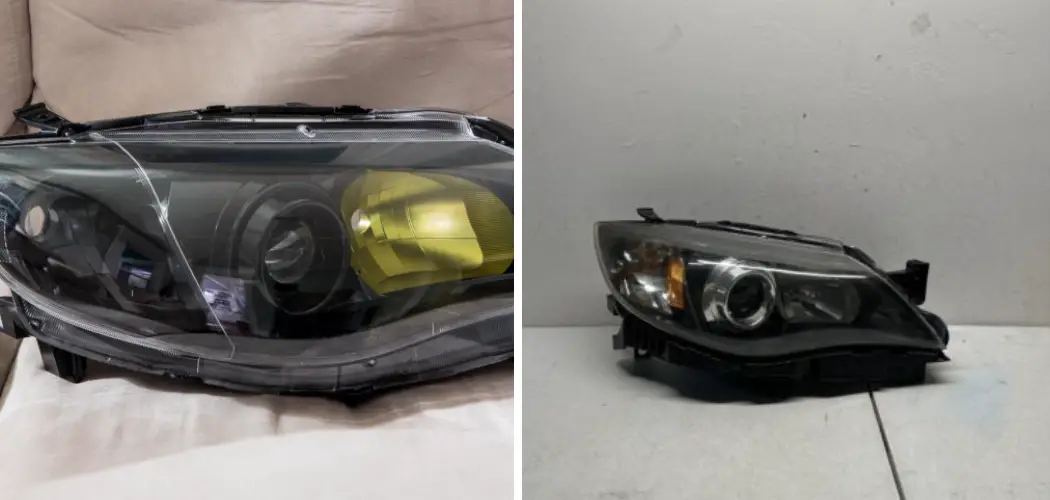
One way of doing this is by blacking out the headlights on your vehicle. While this may sound like a daunting task, it can be done easily as long as you follow the right instructions. In this blog post, we will provide step-by-step instructions on how to black out headlights – from preparation to completion!

Do you have a car with unsightly headlights that don’t reflect your style? Have you seen pictures of cars on the internet with blacked-out headlight covers and been envious? It turns out it’s easier than you think to get the same look for yourself–all it takes is a little know-how, some basic supplies, and the right approach. Here we’ll give a detailed rundown of what’s involved in blacking out your headlights so that you can spruce up your ride in no time flat!
Why May You Want to Black Out Headlights?
1. To Give Your Car a Unique Look
One of the reasons you may want to black out headlights is to give your vehicle a unique look. Blackout headlight covers are usually made of tinted or smoked plastic that adds a sleek, modern appearance to the car. This simple modification makes your vehicle stand out from others on the road and can be an inexpensive way to customize its appearance.
2. To Enhance Visibility in Bright Conditions
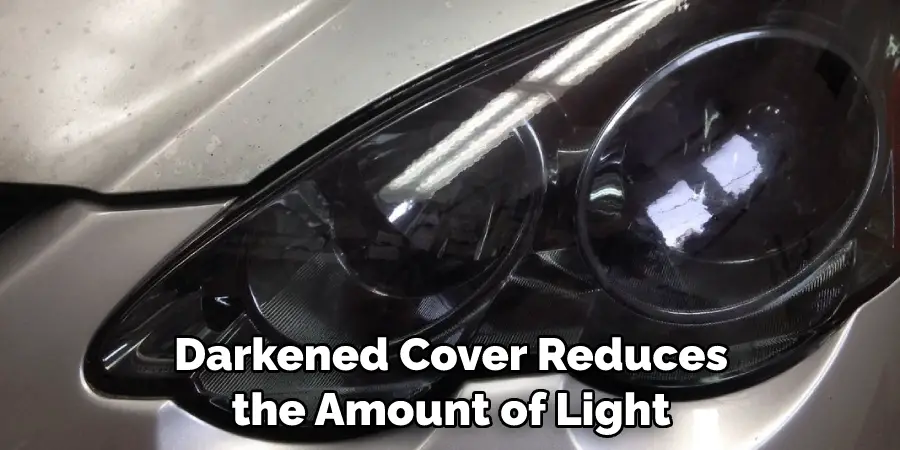
Blackout headlight covers also help to reduce glare when driving under bright conditions, such as during the day. This is especially helpful if you have an older car with headlights that are less powerful than newer models. The darkened cover reduces the amount of light that is reflected back at you and can make it easier for other drivers to see you on the road.
3. To Protect Headlights from Damage
Another benefit of blacking out headlights is that it adds an extra layer of protection to the headlight lens. The darkened cover helps to prevent small scratches and chips from forming on your headlights, which can improve their longevity and keep them looking great for longer. This prevents you from having to replace them as often, saving you money in the long run.
So, if you want to give your car a unique look and protect its headlights from damage, blacking out the headlights is an easy and inexpensive way to do so. With just a few tools and materials, you can quickly customize your vehicle’s appearance. Follow these steps to learn how to black out headlights!
How to Black Out Headlights in 6 Easy Steps
Step 1: Gather All The Tools
The very first step is to gather the necessary tools. You will need a pair of headlight covers, some masking tape, sandpaper, and black spray paint.
Step 2: Clean Your Headlights
Using a damp cloth, clean your headlights to remove any dirt or dust that may be on them. This will help the spray paint adhere better to the surface when you start painting. Also make sure to dry the headlights completely before continuing.
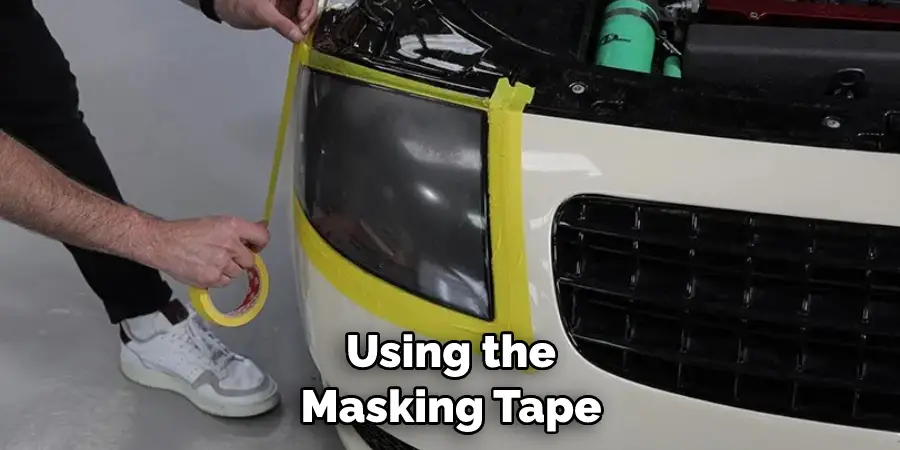
Step 3: Tape Off The Headlights
Using the masking tape, cover up any areas on the vehicle that should not be painted. This may include body panels or trim pieces around the headlights. Make sure to press down firmly with your fingers so that no paint will seep through later on.
Step 4: Sand Away Any Imperfections
Once the masking tape is in place, lightly sand away any imperfections or blemishes that may be on the headlights. This will help the paint adhere better and create a smoother finish when you’re done.
Step 5: Paint The Headlights Black
Using your spray paint, begin to cover each headlight with an even coat of black spray paint. Make sure to cover the entire surface and don’t forget to get inside the crevices and hard-to-reach areas.
Step 6: Let The Paint Dry
Finally, allow the paint to dry completely before removing the masking tape and enjoying your newly blacked out headlights! Make sure you give it plenty of time so the paint doesn’t chip or peel off.
Now you know to black out headlights in just a few easy steps! With a little bit of patience and some elbow grease, you can easily transform your vehicle into something unique and stylish. So why not try it out for yourself? You won’t regret it!
Some Extra Tips to Black Out Headlights
1. Do Not Use Acetone or Paint Thinner on Headlights
This is a very abrasive material and will damage your headlights over time. Acetone or any other paint thinner should never be used when blacking out headlights.
2. Use Masking Tape on Headlights
Masking tape is ideal for creating straight lines around headlights to ensure a clean, even look. It can also make it easier to apply the black-out solution.
3. Clean Headlight with Soap and Warm Water
This will ensure that the headlights are free of any dirt or debris before applying a black-out solution, which will give you better results. Also make sure to dry the headlights completely before applying any solution.
4. Reapply Solution as Needed
If you find that your headlights are fading after a few months, simply reapply the black-out solution in order to restore their original appearance. This will help ensure your headlights maintain their darkened look for many years to come.
5. Consider Protective Coating
You can add a protective coating to your headlights after blacking them out in order to keep them looking great for many years. A good quality wax or clear coat will help protect the headlights from fading and flaking over time.
Following these tips can help you achieve the perfect look when it comes to blacking out your headlights! With a little bit of patience and care, you can easily black out your headlights and enjoy their darker look for years to come.
Frequently Asked Questions
What Precautions Should I Take When Blacking Out My Headlights?
It is important to take proper safety precautions when blacking out your headlights. Always wear protective eye gear and gloves during the process, and use a respirator if you are working with spray paint or chemicals. Wear old clothing that can be safely discarded after the job has been completed.
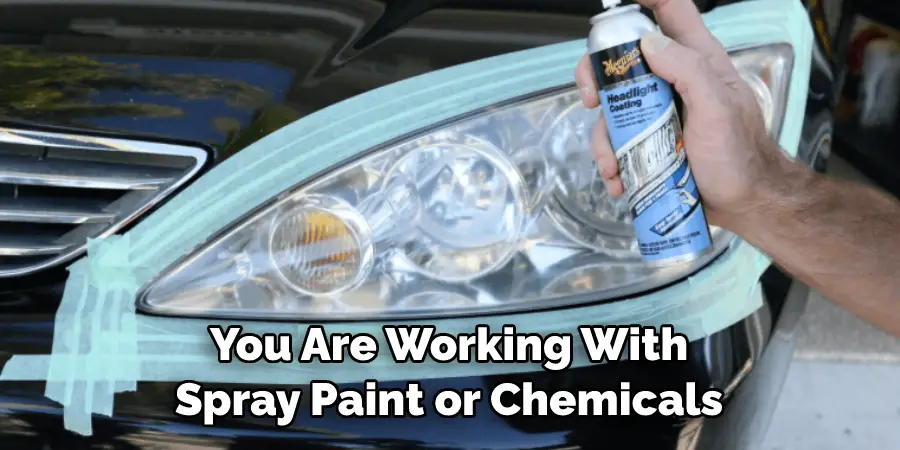
Additionally, make sure you are working in a well-ventilated area, away from any open flames and combustible materials. Read all instructions on the product you are using before beginning the job, and follow safety guidelines for handling chemicals.
What Is The Best Way To Black Out My Headlights?
The best way to black out your headlights is by using a headlight tinting film or vinyl wrap. This method is the easiest and safest way to black out headlights, as it does not require any special tools or chemicals and can be easily removed if desired.
If you are using paint for your headlight blackout project, make sure to use a high-quality automotive spray paint designed specifically for headlight applications. Also, take extra care when prepping the surface beforehand; this includes using a tape or masking material to cover any areas you do not want painted.
What Are The Benefits Of Blacking Out My Headlights?
Blackout headlights give your car an aggressive, customized look that many car enthusiasts love. Not only that, but blacked-out headlights can also make your car appear more intimidating on the road at night, helping to deter would-be thieves or vandals.
Blackout headlights may also reduce glare from the sun during the day, making it easier to see the road ahead. Lastly, blackout headlight kits are available in a variety of colors and can be removed without damaging your car’s factory finish.
What Is The Difference Between Headlight Tinting Film And Vinyl Wrap?
Headlight tinting film is a pre-cut adhesive paper that comes in a variety of colors. It is applied directly onto the headlight lens, and can be easily removed when desired. Vinyl wrap, on the other hand, is made from a durable plastic material and is designed to provide a more permanent solution for headlight blackout projects.
It is usually much thicker than tinting film and can be installed more quickly, but it is also more difficult to remove. Additionally, vinyl wrap is available in many different colors and finishes, making it a great choice for those looking for a custom look.
What Is The Best Way To Clean My Headlights Before Painting?
The best way to clean your headlights before painting them is by using an automotive headlight cleaner. This product is designed to effectively remove dirt, grease, and other contaminants from the lens surface. Additionally, you should use a microfiber towel or soft cloth to buff away any residue left behind by the cleaner. Make sure that your headlights are completely dry before applying any paint or tinting film.
Conclusion
Blacking out headlights can be a great way to give your car the look you’ve always wanted. Not only will it help protect your investment by preventing UV damage, but it is also relatively easy and inexpensive to do. Although there are more expensive methods such as professional tinting and paint rolling, using spray paint or plastic dip is an effective and affordable option for many people.
Now you know how to black out headlights! As with any DIY project, take the time to ensure everything is properly done and consult a professional if needed. Of course, don’t forget that blacking out headlights may not be legal in all areas and certain restrictions apply. With the right approach however, you can enjoy the stylish look of blacked out headlights without breaking local laws!