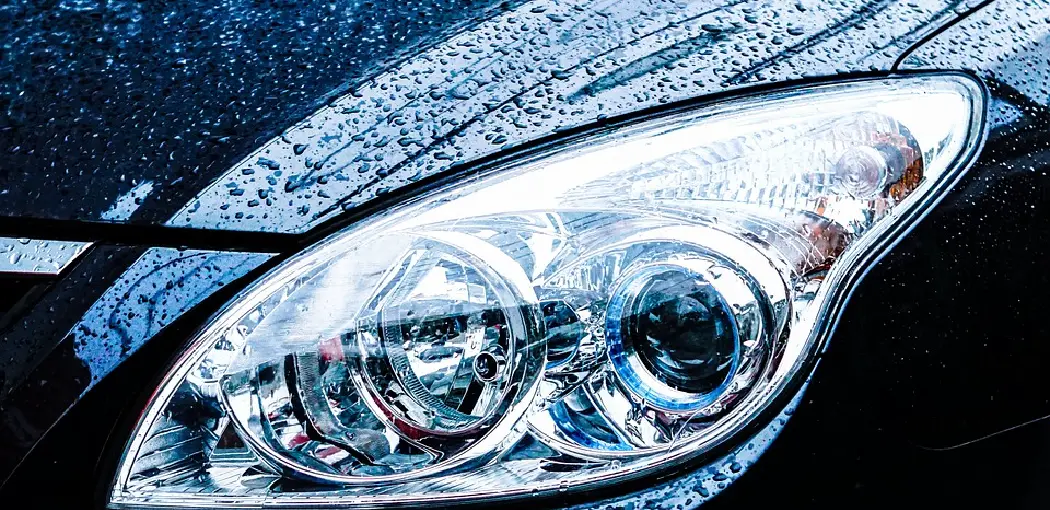
If you want to keep your car headlights shining bright for years to come, then it’s crucial to take measures to protect them from the sun’s punishing rays. UV radiation can cause the lenses on headlights to deteriorate over time, decreasing their light output. Fortunately, you can do a few things to help shield your headlights from the sun’s damaging rays. In this article, we will discuss how to protect headlights from UV damage!

Headlights are one of the essential safety features of your car. They help you see what’s ahead on dark, curvy roads and illuminate animals that might dart in front of you while driving at night. If your headlights do not function properly, it can be hazardous to go at night or even during dusk hours when visibility is limited.
Summary: Protecting your headlights from UV damage is essential to maintaining their functionality, appearance, and longevity. Over time, exposure to sunlight and ultraviolet (UV) rays can cause the plastic headlight lenses to become hazy, yellowed, or discolored, reducing their light output and affecting overall visibility. To protect your headlights from UV damage, you can take preventive measures, such as applying a UV-resistant sealant, using headlight covers, or parking in shaded areas whenever possible.
One effective method for protecting your headlights from UV damage is to apply a UV-resistant sealant or clear coat specifically designed for headlight lenses. These products can be found at automotive stores or online and are typically applied after cleaning and, if necessary, restoring the headlights to remove any existing haze or discoloration. Following the manufacturer’s instructions, apply the UV-resistant sealant to the clean and dry headlight lenses, ensuring full coverage and an even layer. This protective coating will help shield the headlights from harmful UV rays and can prolong the clarity and performance of the lenses.
Another option for protecting your headlights is to use headlight covers, which are removable and can be installed when the vehicle is parked in direct sunlight. These covers are typically made from durable materials that provide a physical barrier against UV exposure, helping to prevent damage and discoloration. In addition to these protective measures, consider parking in shaded areas or using a car cover to minimize direct sunlight exposure and further reduce the risk of UV damage to your headlights.
By taking these proactive steps, you can help maintain the appearance and performance of your headlights, ensuring clear and effective lighting on the road.
Things You’ll Need:
- Rubbing alcohol
- Waterproof sandpaper (medium and fine grit)
- Clean towel and microfiber cloths
- Heated towel rack
Optional: Bug and tar remover, cleaning solution for plastic surfaces, index them, waterless car wash
A Step by Step Guide on How to Protect Headlights From UV
Step 1: Determine How Badly Damaged Your Car’s Headlights Are
The first thing you need to do is determine how badly your headlights are damaged. If you’ve never cleaned them before, the car’s surface will be a lot smoother and a lot shinier than if it hasn’t been washed for years. The latter would require a thorough cleaning beforehand because there might be layers of dirt or grime that need to be removed before applying any protective coating. How bad the damage is may also determine how much money needs to be spent and the time required to restore headlight clarity and shine.
Step 2: Prepare Work Space and Headlight Cleaning Supplies
Prepare your workspace by laying down old newspapers or trash bags to avoid messes. Ensure there’s enough lighting so that you won’t need to use a flashlight when working on the project. If possible, work outside during the daytime with the headlights facing up to quickly see any grime or dirt. Get rid of bugs or bird droppings using bug and tar remover, following package instructions for best results.
The cleaning materials you’ll need for your headlight cover will depend on the severity of the damage. For lighter damage, you’ll likely only need water and car shampoo solution. However, for more severe damage such as oxidation caused by UV rays from sunlight exposure, you’ll need stronger cleaners.
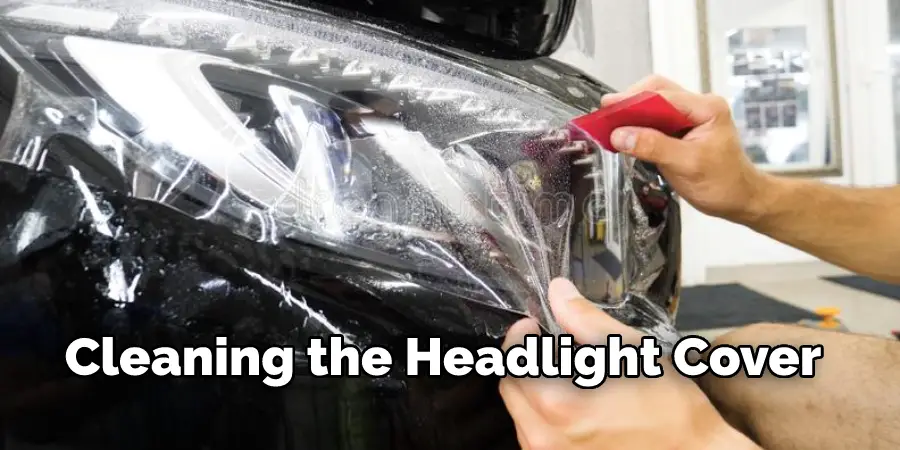
Step 3: Remove Headlight Covers
While there could be different methods used in taking off plastic headlight covers, we’ve listed the easiest way to do it:
To remove your headlights, you will need to open your hood and locate your engine. Locate where the battery is and follow the battery cables downwards. You should see two bolts on one of the engine brackets holding a metal support brace, which keeps your headlights in place. Remove these bolts using a wrench or socket wrench before gently sliding the support bracket outwards towards you.
Do this slowly so that you won’t accidentally break anything. Once removed, take out both of your old headlights, but note down how each of them is connected by color-coding them first for easy identification later on during installation time. How bad they look will determine how much work is needed from here.
Step 4: Clean Headlights and Remove Old Film
Start by washing and scrubbing both headlights with your car shampoo solution and water using a sponge or any smaller shape brush. Next, use the sandpaper to scrape off any tough dirt, grime, bugs, or tar before cleaning them again using the clean water and towel. Make sure that all traces of dirt are removed as well as possible.
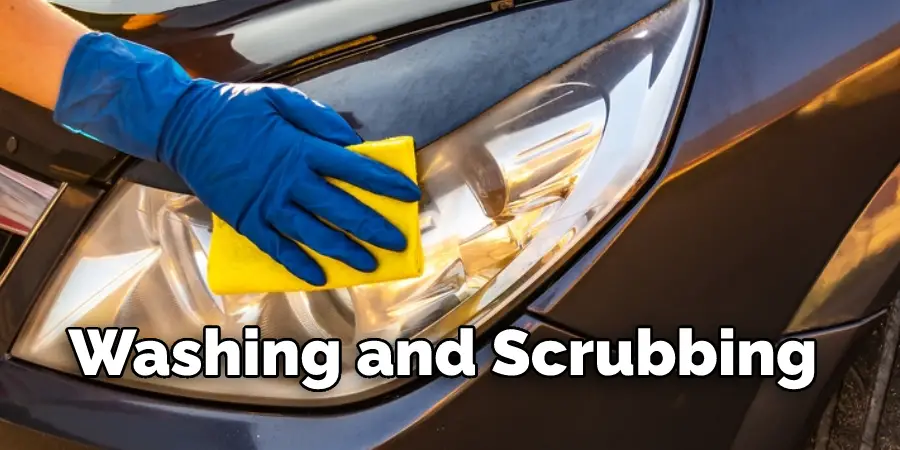
To clean a headlight cover, you will need different materials depending on the severity of the damage. For lighter damage, you will likely need water and car shampoo solution. For more severe damage, such as oxidation caused by UV rays from sunlight exposure, you may need stronger cleaners.
If there are still hazy patches, especially near edges where dirt often gets trapped, you’ll have to sand it down more until the entire surface is smooth and clean before applying any protective coating. You might want to use the same sandpaper for this step because it’s not necessary that you need to buy a separate one just for your headlights. During this step, how careful you are will determine how good the results are after cleaning, so be as cautious as possible when removing scratches or abrasions from headlight covers.
Step 5: Gather Supplies Before Applying Protective Coat
Ensure you have all the supplies required for this project by checking off each item on your checklist. This includes clean water and towel, car shampoo solution, index cards or tissues (in case of drips), rubber gloves (optional but recommended), clear coat protective spray, headlight restoration kit, and a dry towel or cloth. How much of each material you’ll need depends on how many cars you’ll be working on, so have enough for each while some extra just in case any accidents happen.
Step 6: Apply Protective Clear Coat
Start by applying a thin coating of your chosen headlight protection solution over the smooth surface using your index cards or tissues to avoid drips from spreading into unwanted areas. This will ensure that excess liquid is adequately absorbed onto the plastic covers instead of running off them, which can cause more problems instead of solving them later on when drying time comes.
How far along you are with this step depends again on how bad the condition of your headlights is because the more scratches there are, the longer you have to wait for this step. How long it will take before you can proceed depends on how much protective coating is applied to each coat. You should do at least two coats or more to ensure that your headlights are adequately protected from further damage.
Step 7: Let Dry & Reinstall Headlight Covers
Once done with applying a protective coating onto headlight covers, leave them alone to dry in a well-ventilated area free of dust and debris, which can scratch your newly treated surfaces while drying time comes.
How long it takes before they are ready again depends on the weather conditions where you are because warmer climates can help speed up the process faster than cold ones. Much time has passed by, depending on how much protective coating was applied in each coat.
How careful you are with this step also depends on your level of patience. How you pick up the newly treated headlights affects their finish, so be as gentle as possible when removing them from an installation surface.
Step 8: Enjoy Your Newly Treated Headlights!
Once installation is complete, check if any cloudy patches or scratches still appear on your new headlight covers, then repeat steps 4 through 6 again until they’re all gone before moving on. How shiny and smooth your headlights will look after this process depends on how well it was done, so take pride in what you’ve just achieved by restoring clarity onto cloudy, scratched surfaces using only household items found around the house. These steps will help in how to protect headlights from UV.
Avoid Future Damage From UV Rays
Headlights can accumulate a lot of damage over time, especially from uv rays. However, you can protect your headlights with some primary care and maintenance to keep them safe for years to come.
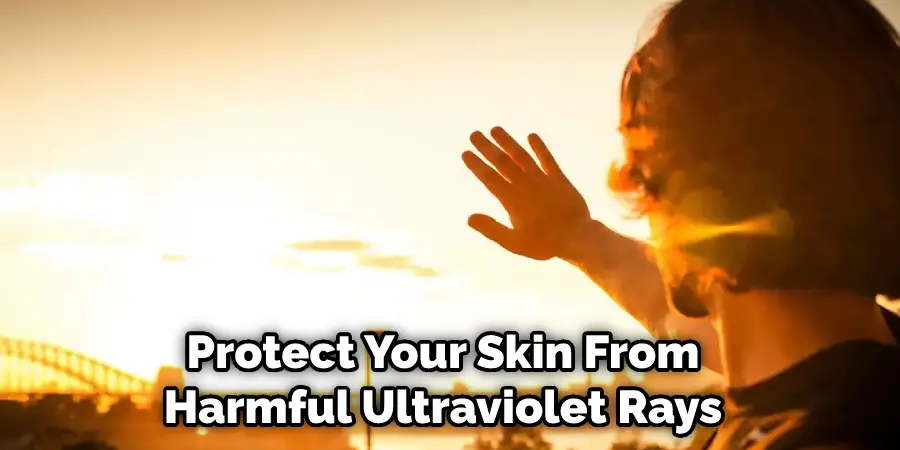
Uv radiation affects us every day, whether we are aware or not. Our daily life exposes us to many different forms of this damaging radiation, including the sun’s natural rays, tanning beds, sun lamps, even outdoor lights at night! How you spend your time and the products you use can make a difference in how your skin reacts to sun exposure. Below are some tips to help protect your skin from harmful ultraviolet rays.
If headlights are outfitted with plastic or glass covers or not correctly treated shells, they may accumulate damage much faster than regular clear plastic pieces. In addition, protecting headlights from uv is even more critical for these coverings because the uv rays cannot be blocked as quickly by regular scratch-resistant treatments on these surfaces.
To avoid this type of damage altogether – you should take care of your car’s exterior lights by either protecting them with a special coating or applying some sealant regularly. This is the best way to go if you’re going for a more environmentally-friendly approach.
Car covers are another option though they aren’t recommended if you plan on driving your car regularly because they can trap moisture and dust under there, which can cause damage over time.
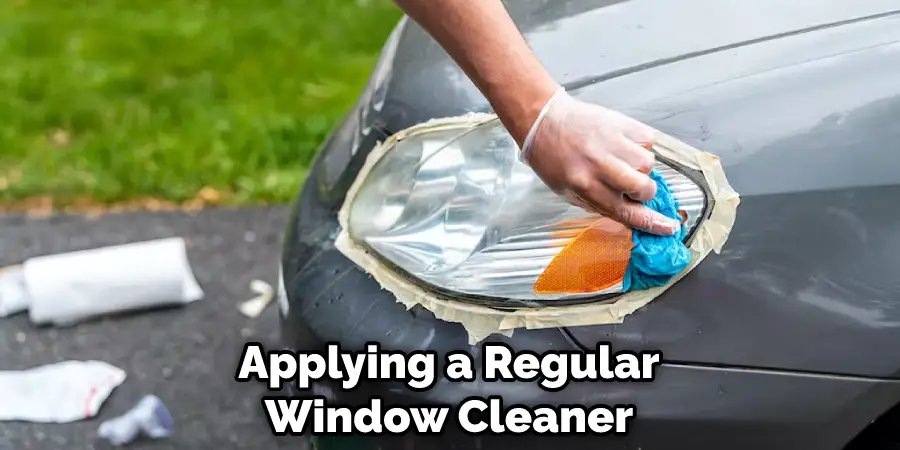
Another thing to note is that it’s best to check the type of plastic your headlights are made out of before investing in a special coating or sealant. It can be as simple as applying a regular window cleaner with UV protection (a lot of them now do) and leaving them out in the sunlight for a few hours each day. But, then, protecting headlights from uv may not take much effort!
You Can Check It Out to: Use Fog Light Bulbs as Headlights
Frequently Asked Questions
What to Put on Headlights to Protect Them?
There are a few things that you can put on your headlights to protect them from the elements. One option is car wrap, which is a vinyl or paper product that is applied to the exterior of your vehicle’s headlights. This will help keep them clean and Scourge-free while also providing protection from UV rays and rain.
Another option is headlight covers, which are essentially reflective stickers that you place over your headlights. These clips onto the front of your vehicle and provide extra protection against road debris, sunlight, and ice/snow buildup on your lights.
And finally, if you want something more permanent (and possibly pretty), there are headlights lenses shields available that fit over both the light bulb AND lens of your headlights in order to offer maximum insulation and glare prevention
Can I Spray Clear Coat on My Headlights?
No, you should not spray a clear coat on your headlights. The clear coat is a type of paint that is designed to protect the surface it is applied to from the elements. It can be brittle, which can lead to cracks in the clear coat.
If cracks form, the clear coat may come off in large pieces, which would then allow water and other substances to get inside the headlight and damage it further.
Does Wax Protect Headlights From Yellowing?
There is some evidence that Wax may protect headlights from yellowing. One study showed that when headlight lenses were treated with a layer of wax, the light output was unchanged, but there was less yellowing and more clarity in the light.
Additionally, other studies have shown that using Headlights made with high-quality materials will not cause them to age faster or lose their luster over time due to oxidation.
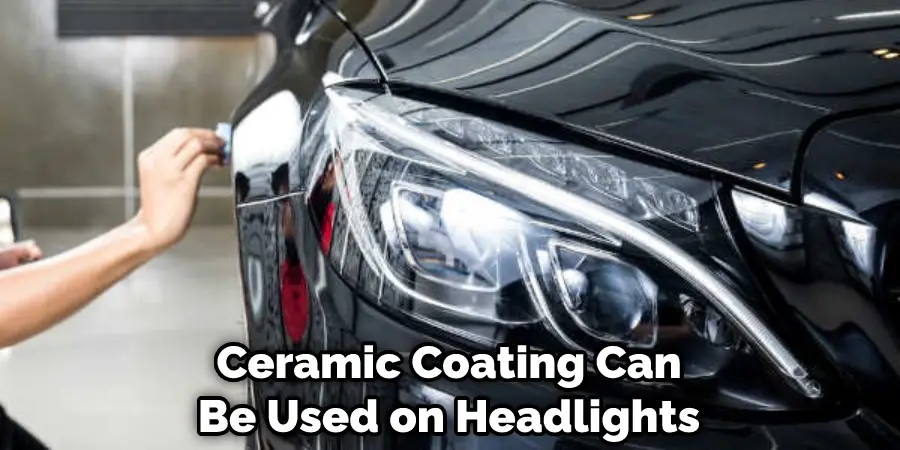
Can Ceramic Coating Be Used on Headlights?
Ceramic coating can be used on headlights if the coating is properly applied and cured. The application process typically involves spraying a mist of Cerium oxide (a ceramic compound) onto the area to be coated, followed by the application of heat and pressure.
This causes the ceramic particles to aggregate together into a protective film that sheds water and oil droplets, protecting the lights from oxidation and abrasion.
Conclusion
Headlights are an essential part of your car, and it’s important to keep them in good condition. They help you see better while driving, but they can also help you avoid getting pulled over. By following a few simple steps on how to protect headlights from uv, you can save your headlights from UV damage and keep them looking new for years to come.
You may read also How to Remove Check Engine Light Bulb