
Are you ready to add a dynamic splash of color and light to your home? Are you looking to upgrade the lighting in your home or business? Philips has made it easy with its new LED Strip Wiz system. Philips Hue products make it easy to transform your space with creative lighting. With the Philips LED Strip Wiz, you can add stunning accents of LED light throughout your living spaces – behind furniture, under cabinets, in closets—just about anywhere!

In this article, we’ll walk you through step-by-step instructions on how to connect philips led strip wiz and enjoy endless possibilities for customization. We’ll also give you the tools necessary to set up and customize your own light strips so you can start enjoying creative atmosphere-making today! If you’re ready to get started lighting up your life with smart technology, let’s dive right into all the necessary preparations!
Things to Consider While Connecting Led Strip Wiz
There are a few steps to take before you can start connecting your Philips LED Strip Wiz:
1. Type of LED Strip Wiz
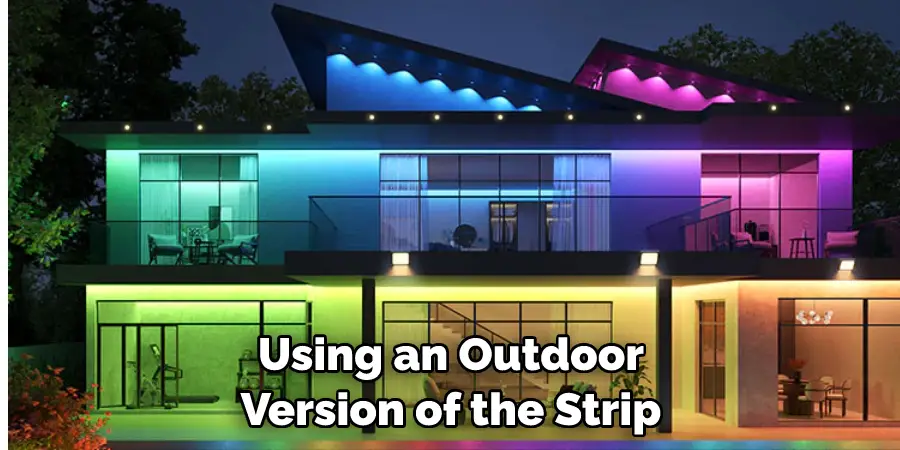
There are two types of LED Strip Wizes: the Outdoor version and the Home & Living version. Make sure you have the right one before getting started. Also, be aware that the Outdoor version is not compatible with standard wall dimmers.
2. Power Source
Before you start connecting your LED Strip Wiz, make sure you have a suitable power source nearby. The strip needs to be connected to an electrical outlet in order for it to work properly. Power adapters are available if you don’t have an outlet nearby.
3. Battery-Operated Wizes
If your LED Strip Wiz is battery-operated, make sure that it has enough power before getting started. Most Philips Hue products require either 2 or 3 AA batteries to function properly.
Connecting the LED Strip Wize
Now that you’ve prepared your LED Strip Wiz, you’re ready to connect it.
Required Items
- Philips Hue Bridge
- LED Strip Wiz
- Power Source (an electrical outlet or battery)
10 Ways How to Connect Philips Led Strip Wiz
1. Plug-In
Plug the Philips Hue Bridge into your router or modem using an Ethernet cable and plug it into a power source. Also, make sure that the bridge is within range of your Wi-Fi router. Plugging in the bridge will power it up and establish a connection to your router.
2. Connect LED Strip Wiz
Once the bridge is plugged in, take the LED Strip Wize and plug it into a suitable power source. If you’re using an Outdoor version of the strip, make sure that you have a weatherproof power outlet or adapter at hand before plugging it in.
3. Connect Bridge to App
Once the bridge and LED strip are properly connected, you can now connect them to the Philips Hue app on your phone or tablet. Open up the app on your device and select “Add Light” from the main menu. Then, select “LED Strip Wiz” as your light type and follow the on-screen instructions to add it to your Hue system.
4. Sync Lights
Once the light is added to your Hue system, you’ll need to sync it with the bridge. To do this, open up the app and select “Sync Lights” from the main menu. Then, press and hold the power button on your LED Strip Wize for 2 seconds and follow the on-screen instructions to complete the sync process.
5. Test Lights
Once synced, press the power button on your LED Strip Wize again to turn it on and check that all lights are functioning properly. If everything looks good, you can now start customizing your light settings or creating lighting scenes with the Philips Hue app.
6. Choose a Theme
In the Philips Hue app, you can select from a variety of lighting themes to customize your LED Strip Wize. These themes will change the color and brightness of the lights depending on what you choose. You can even set up multiple themes to switch between them easily!
7. Create Scenes
The Philips Hue app also lets you create your own lighting scenes to suit your mood or activities. Choose from pre-made scene templates or create your own using the sliders in the app.
8. Set Timers
You can even set timers for when you want your lights to turn on and off automatically. This is a great way to conserve energy if you’re not using the lights.
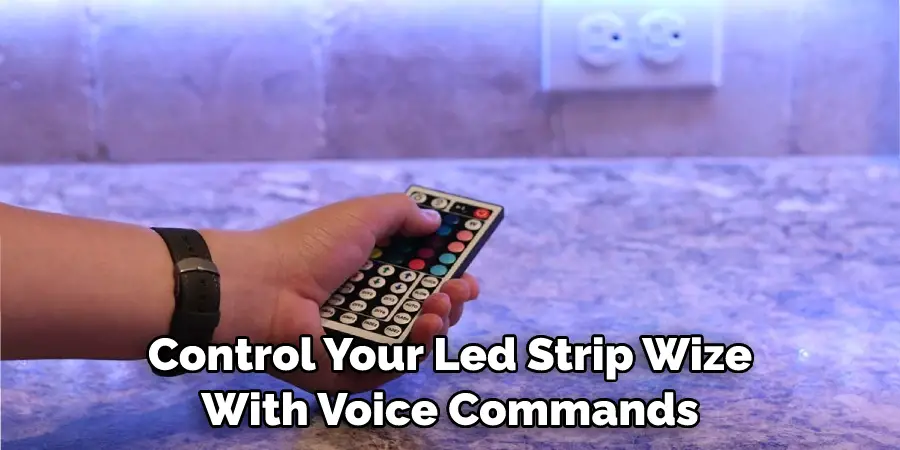
9. Connect with Alexa or Google Home
If you have an Amazon Alexa or Google Home device, you can also control your LED Strip Wize with voice commands. This makes it easy to turn your lights on and off or change themes without having to open up the app every time.
10. Enjoy!
You’re all set to enjoy your new LED Strip Wize! Now you can add a beautiful splash of color and light to any room in your home or business. Have fun exploring all the possibilities with Philips Hue lighting products!
Now that you know how to connect philips led strip wiz, you’ll be able to transform your space and create stunning lighting scenes with just a few clicks. Experiment with different themes and explore creative ways to customize your space. With so many possibilities, you’ll never get bored of playing around with your LED Strip Wiz!
8 Safety Measures to Take Before Connecting Your Philips LED Strip Wiz
- Make sure that the power supply is unplugged before beginning your connection. The last thing you want is to have an electrical fire or shock when connecting your Philips LED strip wiz! Also, remember to wait at least 30 minutes after unplugging the power supply before starting the connection process.
- Check that all of your wires are in good condition and not damaged in any way. If you see any signs of damage, replace them immediately before continuing with the connection process.
- Make sure that all of the components you’re working with are compatible with your Philips LED strip wiz. If you’re not sure, consult the product documentation or contact customer service. This is especially important when using third-party components such as dimmers and controllers.
- Wear safety glasses to protect your eyes from any debris that may become airborne while connecting the LED strips.
- Make sure that you have the appropriate tools for the job, such as pliers, wire cutters, and screwdrivers. It’s also a good idea to use protective gloves while working with wires or electrical components.
- Keep your work area free from any combustible materials such as cloth, paper, or other flammable materials.
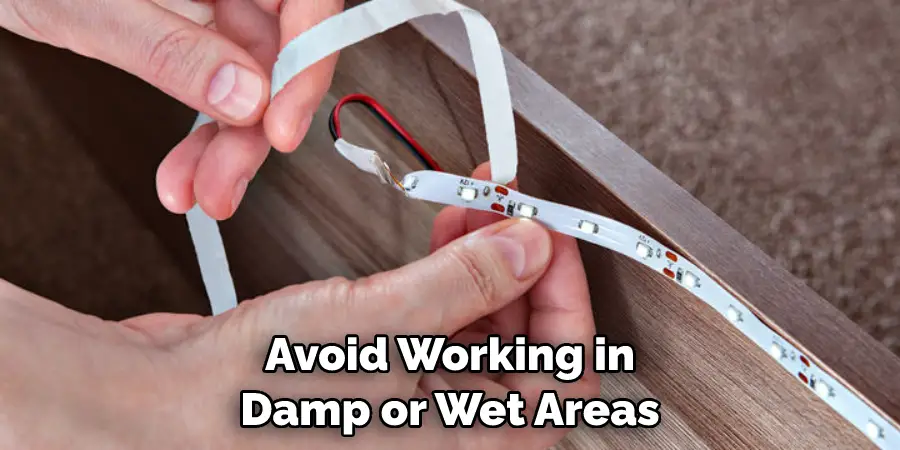
- Avoid working in damp or wet areas, as this could create a risk of electric shock. If you must work in a damp environment, make sure to use Ground Fault Circuit Interrupters (GFCIs) for safety.
- Make sure to double-check your connections before turning on the power supply and testing your LED strip wiz. Once everything is connected, it’s a good practice to inspect your work area to ensure that you haven’t left any loose wires or other items lying around.
By taking the time to review and follow these safety tips before connecting your Philips LED strip wiz, you can help reduce the risk of electric shock or fire. Be sure to always use the proper tools for the job and consult the documentation or customer service if you have any questions. With a bit of extra preparation, you can help ensure your project runs smoothly and safely!
Frequently Asked Questions
How Often Do You Need to Repair Philips Led Strip Wiz?
The Philips Led Strip Wiz is generally very reliable and doesn’t require frequent repairs. However, if you notice any issues with the lighting strip or the connections to it, you should contact a professional electrician to assess the problem and determine what repair is needed. In some cases, they may only need to replace an individual part of the device instead of needing to completely replace the entire system.
How Do You Connect Philips Led Strip Wiz?
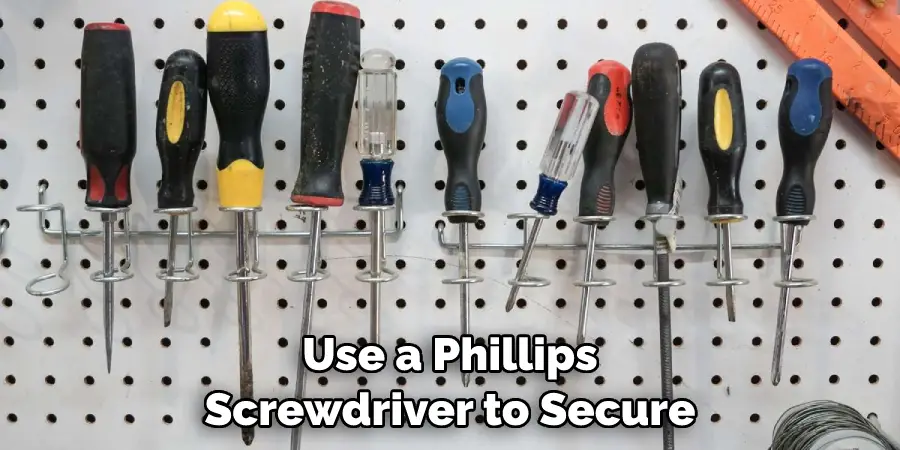
Connecting your Philips Led Strip Wiz is easy and can be completed in a few simple steps. First, make sure you have all the necessary components, such as the LED strip, power cable, and controller. Then, attach one end of the power cable to an electrical outlet and the other end to the controller.
Next, plug in the LED strip at one end and attach it to the controller on the other end. Finally, use a Phillips screwdriver to secure the connections between all components. Once everything is securely connected, you can enjoy your Philips Led Strip Wiz lighting system!
Conclusion
Providing step-by-step instructions on how to connect philips led strip wiz, this blog post gave you a clear understanding of how to connect the Philips LED Strip Wiz to your light system. This can make it easier to control lighting accent colors, brightness, and other features with digital precision. With a few simple steps, you’ll now have complete control of your lighting system for any mood or atmosphere that you desire.
Even if this is the first time you’ve connected an LED strip, the process really isn’t too daunting and soon comes naturally; before long, it’ll just become part of your daily routine! For those looking for smart home solutions that are easy to use yet truly adaptive with personalized settings, Phillips’ has done it again – the LED Strip Wiz has proven itself to be one of their most innovative creations yet.