If you are looking to change up the lighting in your home, but don’t know how to reach those high ceiling light fixtures, Don’t worry, we’ve got you covered.
In this article, we’ll show you how to quickly and safely reach those light fixtures without having to strain or risk hurting yourself. So, whether you’re looking to do a simple DIY upgrade or need to replace a light fixture, read on for some information on how to reach high ceiling light fixture.

If you’re looking to install a high-ceiling light fixture, there are a few things to keep in mind. First, ensure the light fixture is compatible with your ceiling height and type. Second, ensure that the fixture reaches the highest point on your ceiling. And finally, make sure that the light fixture is installed properly and securely.
High ceiling light fixtures can be challenging to reach, especially when they’re high up in the ceiling. As a result, you may feel stuck and feel like you’re going to hurt yourself while trying to get a good grip on a ladder. Not only is this dangerous, but it can also be highly frustrating.
A Stepwise Guide on How to Reach High Ceiling Light Fixture
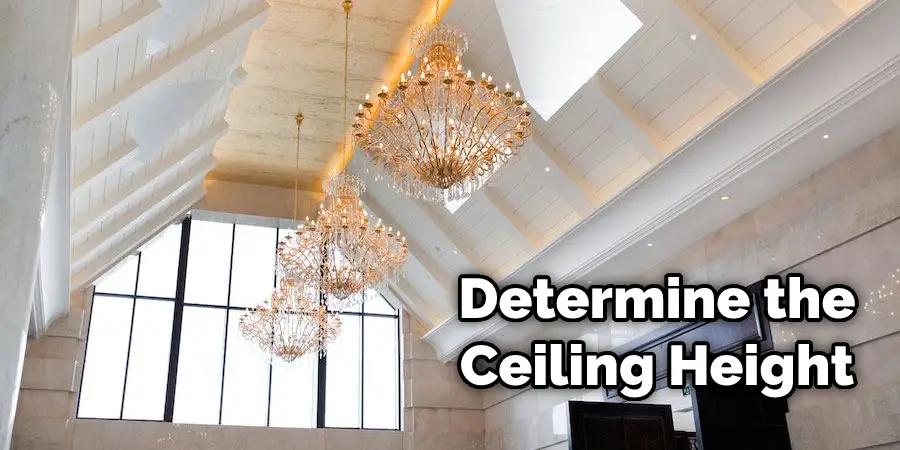
Step 1: Determine How High the Ceiling Is
The first step is to determine how high the ceiling is. You can do this by standing on a ladder or a chair and looking up at it. You can ask someone else to help you measure if that is more convenient. This step will affect the next few steps and what equipment you will need, so it’s best to get this right first.
Step 2: Measure Your Reach
The second step is to measure your reach. Use a measuring tape, hold one end of it against a level surface that is as close as possible to your natural height, and then hold out your arm straight out towards an object. Mark the spot where your fingers end and measure how far this is in feet. Round to the nearest foot if necessary. This will be used to pick what equipment you need to do this safely.
Step 3: Get an Electrical Safety Power Strip
The third step is to go out and get a power strip with safety shutters on it that cover all of the plug prongs when something goes into them. How high up you can reach will also dictate what safety precautions you need when trying to do this; if it’s too high, for example, that may mean using staples or nails instead of screws or bolts because screwdrivers or wrenches might not fit at an awkward angle, which makes it harder for you to hold them.
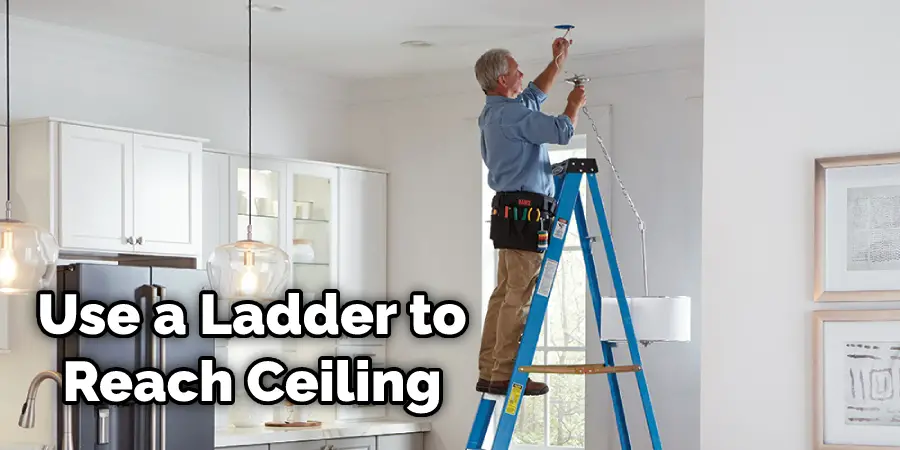
Step 4: Use a Ladder
The fourth step is to pick up your ladder. Make sure it is firmly planted against the wall because you will be standing on it at an angle. Depending on where the lighting fixture is located about the nearest entrance or exit, this may also mean taking another person along so they can help guide you down.
Step onto the bottommost steps of your ladder, and begin climbing up it until you are about as far as your reach was described as being plus one foot more (for example, if your reach was five feet, stand six feet from the floor). Step off onto the ceiling for more safety; you do not want to fall off the ladder. Read the measurement you got from your reach, and mark a spot approximately on the ceiling.
Step 5: Drill Into It
The fifth step is to climb back down the ladder. You should have a drill with a drill bit that matches the size of the bolts or screws you will be used to hang up this lighting fixture. Ensure that they are long enough to go through both pieces of wood, so leave an extra half an inch safety margin if necessary.
If there is insulation between them or anything else in the way, knock it out before drilling so there won’t be any unexpected problems later on. Next, drill into one piece of wood (either the ceiling or its plate) and then into the other at your marked hole; use glue or a screwdriver to ensure the bolt is secure.
Step 6: Get the Lighting Fixture You Need
The sixth step is to go out and get your new lighting fixture. How high up you can reach will affect where you put it (and therefore what kind of lighting fixture you choose), but most people generally like to aim for hanging at eye level or slightly above. Ensure that wires inside the box are connected to the part of the light that hangs down; this is necessary for connecting it properly. Consider getting a different model (or perhaps an extension cord) if there aren’t any.

Step 7: Attach the Lighting Fixture
The seventh step is to climb back up your ladder and attach your new light. If you need someone else to help you, they should be standing by when you get halfway up in case there’s a problem with it, and you need their assistance. If there is nothing in the way (such as insulation), put the bolts or screws into the ceiling or plate through its hole; tighten them until firm but not too tight.
How high up this lighting fixture goes will determine what kind of safety precautions are necessary from here on out: if it’s close to eye level, for example, using a cord cover will likely suffice, but if it’s too high, staples might be necessary instead so that your screwdriver doesn’t slip.
Step 8: Plug-In the Lighting Fixture into an Extension Cord and Turn It On
After you have finished hanging up your new lighting fixture, the eighth step is to use an extension cord (if it will be plugged in) and plug in the light. How high up this light goes will affect how long and thick your extension cord needs to be (it should easily reach from wherever it’s going). Ensure that the switch works, then turn on all the controls if there are multiple ones.
How far above head level this light goes will determine what kind of safety precautions you need when turning it on; if it’s too high, for example, you might need a fire-resistant cover or else maybe put your hand in a bucket of sand when doing so. How high this lighting fixture goes will also affect how bright the light is.
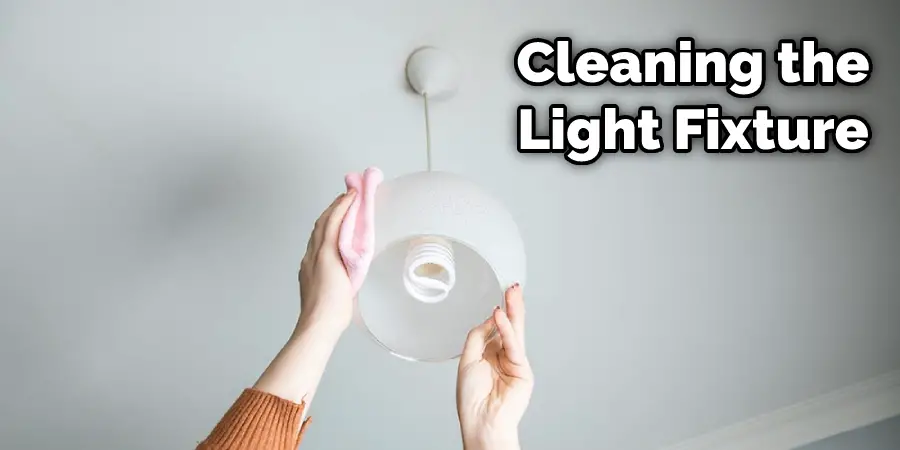
Step 9: Clean It Up
The ninth step is to clean up any messes you made during installation. If your insulation was knocked out in the process, replace it and force all of the air bubbles out so that it looks nice and smooth. Take apart any parts of this lighting fixture that may have been put together to make it easier to store away when not in use; for example, removing its hardware could be necessary.
How high up this lighting fixture will determine how much damage could be done if something were to fall onto the ladder or cause other problems; consider these when cleaning up because things such as dust falling from above could result in a tripping hazard or maybe even electrocution if there are cords nearby. These steps will help in how to reach a high ceiling light fixture.
Precautions
Several precautions need to be taken when reaching high ceiling light fixtures. Here are some of them:
- Be sure to use a sturdy ladder, especially if the high ceiling. Avoid using stepladders or chairs unless they’re steady on top of the surface of the ground. Otherwise, you might get injured due to falling.
- Always have someone support you by holding your waist or legs for safety precautions while reaching high towards the ceiling fixture. This way, there’s no risk of accidents occurring because you won’t lose your balance quickly, and knowing that another person will help out keeps you more secure even on your ladder on top of that. So make sure that someone is always around when doing this kind of work.
- Make sure that you have a sturdy grip on the ladder or your body when near the ceiling fixture. Have a good grip so you will not fall if trying to screw in a bulb, replace an empty socket, or install a new light fixture below.
- Be careful while working around high ceiling light fixtures with exposed wiring. If there’s any, make sure it’s turned off and unplugged properly before touching anything, including the switch itself; else, it might cause some electrical accidents, which can be very dangerous. So ensure safety first before doing this type of work.
- Always wear gloves for extra protection because you won’t be able to hold something without them on at all. Also, gloves will keep your hands protected from injuries due to some glass pieces.
You Can Check It Out to: Replace Under Cabinet Light Bulb
Frequently Asked Questions
Do You Need an Electrician to Fit a Ceiling Light?
The most common reason people think this is because they picture an electrician as someone who fixes things that go “bang,” like broken pipes or blown fuses. In reality, the average electrical contractor does not work on installing and repairing ceiling lights – that’s typically a job for the home inspector or plumber.
That said, if you’re concerned about making sure your new light fixture meets all of your safety requirements (like being able to support its own weight), then by all means, have your installer check it out before installation! But otherwise, just be sure to follow any instructions that come with your replacement bulb/light fixture.
What Is the Difference Between Canless and Can Recessed Lighting?
Canless and can recessed Lighting are two types of light fixtures that use cans instead of traditional electrical bulbs. Canless Lighting is typically used for areas where it is difficult or impossible to install regular light fixtures, such as ceilings or stairs. Can recess Lighting, on the other hand, allows you to adjust the height of the fixture from a distance using standard remote controls.
Canless lights are also known as pendant lights because they hang down like a pendant in your ceiling orifices. This type of fixture saves space since there isn’t an extra piece hanging overhead. They come in various shapes and sizes, so you can find one that fits your specific needs and décor.
Are Led Recessed Lights a Fire Hazard?
When not properly installed and maintained, these lights can contain flammable materials that could easily spark a fire. Additionally, they may also create an obstruction in the windpipe if they are located near high-traffic areas or ceilings.
What Is the Difference Between Canless and Can Recessed Lighting?
Canless Lighting is a newer style of light that uses hidden CFLs or LEDs to create a statute effect. Can Recessed Lighting, on the other hand, uses recessed cans filled with light fixtures to illuminate surfaces. Both styles are popular options for residential and commercial projects because they provide an affordable way to add brightness and elegance to any room in your home or office.
Canless Lighting is often used in contemporary settings because it can be sleek and unobtrusive. It also has the ability to change colors depending on the time of day or mood you’re trying to set. Can Recessed Lighting, on the other hand, is perfect for areas that require more attention-grabbing appeal (like entrances).
Both styles tend to be more durable than traditional incandescent lights and are resistant to water damage. They also have low energy consumption rates, so you won’t have trouble keeping up with your monthly budget!

Why Are My Led Lights Getting So Hot?
There is not a definitive answer as to what is causing it. However, some of the most common causes include:
1. There may be a problem with the wiring in your home. If the wiring is old or poorly installed, it can cause your lights to heat up. In some cases, this can even cause fires.
2. There may be a problem with your light fixtures. If the wiring or fixtures are not up to code, they can also cause your lights to heat up.
3. There may be a problem with the light bulbs themselves. If they are not properly seated or if they are not of the correct wattage, they can also cause your lights to heat up.
4. There may be a problem with the thermostat in your home. If it is set too high or if it does not have enough range, it can also cause your lights to heat up.
Conclusion
We hope you have learned how to reach high ceiling light fixture. There are two ways to achieve high ceilings. The first is by using a ladder, and the second is by hiring professionals who specialize in home remodelings, such as roofers or electricians. Use this guide to help you choose which option will work best for your needs. We also need to remember that we must be careful and mindful of how we make our ceilings. If we make some mistakes, it might result in a fatal accident.
You may also read it: How to Change Light Bulb in 20 Ft Ceiling