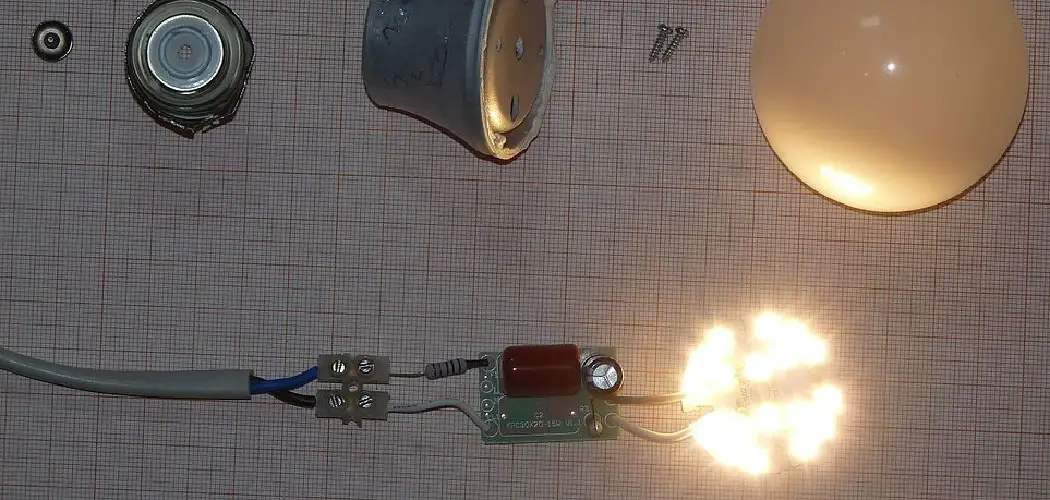
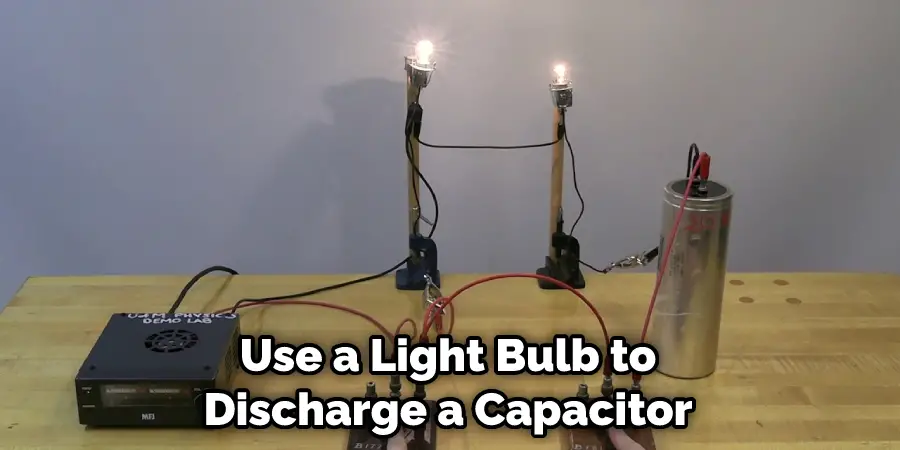
In this article, you will learn how to charge a capacitor with a light bulb. This is a great way to learn about capacitors and how they work. You will need an LED light bulb, a resistor, and a capacitor. The resistor will limit the current through the light bulb, while the capacitor will store the energy.
If you have a light bulb that doesn’t work and you need to charge your capacitor, there is an easy way to do it. Just connect the two wires from the light bulb to the two wires on the capacitor, and turn the power on the capacitor. The light bulb will glow and the capacitor will start to charge.
Once you have assembled the circuit, please turn on the light bulb and wait for it to reach its brightest point. Then, touch the leads of the capacitor together and watch what happens!

The capacitor is one of the electronic components in an electrical circuit. It can store electric charges in its dielectric material. The electricity in electric circuits is essentially made up of positive ions, or protons, always trying to go from atom to atom. Since they have the same charge, the ions repel each other.
Tools and Materials
- Screwdriver
- Wires
- DC power jack with plug for your wall wart (where you plug in your AC adapter)
- Soldering iron
- Solder
- Voltage meter or multimeter
- Wire cutter and stripper
- Capacitors: 1x 470 uF electrolytic capacitor (voltage rating should be 16V or more significant, max voltage is OK) 1x 0.1 uF ceramic disc capacitor (rated for 50 V or more)
- 2 alligator test leads with clips on the ends
A Stepwise Guide on How to Charge a Capacitor With a Light Bulb
Step 1:
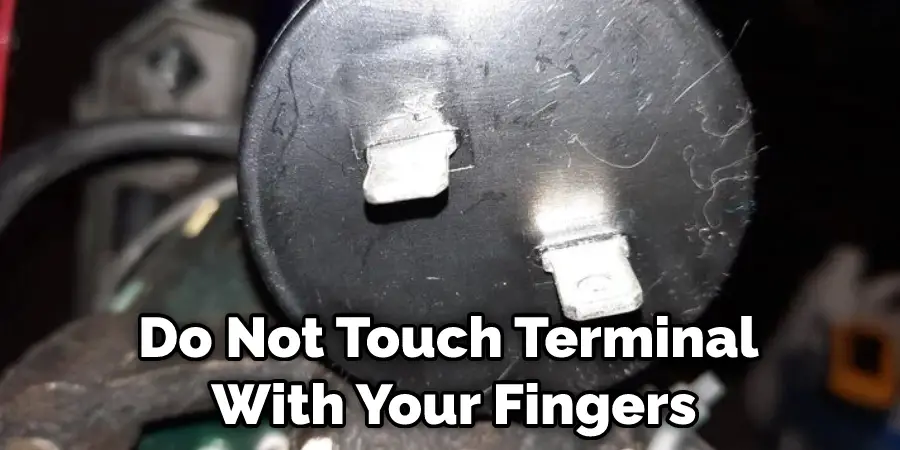
Figure out what your capacitor looks like. The positive lead should have a raised bump, which is the positive terminal. If there are two bumps, one will be bigger than the other; that’s the negative or ground side. Avoid touching these with your fingers at any time, as they may conduct electricity and give you a shock.
Step 2:
Cut off about 3 inches of one of your test leads and strip away some insulation from both ends to expose the metal wire inside. Twist this wire together with one end of an alligator clip to make an electrical connection and leave about 1 inch of exposed wire at the other end (without stripping). Repeat for the second test lead/alligator clip set, so you have two sets.
Step 3:
Locate the positive terminal on your wall wart, usually red or has a plus sign next to it. Strip the insulation from one end of the two test lead/alligator clip sets you just made so that 1 inch of wire is exposed, and twist this together with the positive terminal on your power adapter. Now strip about an inch of insulation off each end of one of your wires (not both) and solder them into place with your soldering iron. You can also twist these ends around each other if you cannot fuse them, but make sure they are securely fastened together because touching these bare wires later will cause a shock hazard. Repeat for second set solder/twist both bare wires together.
Step 4:
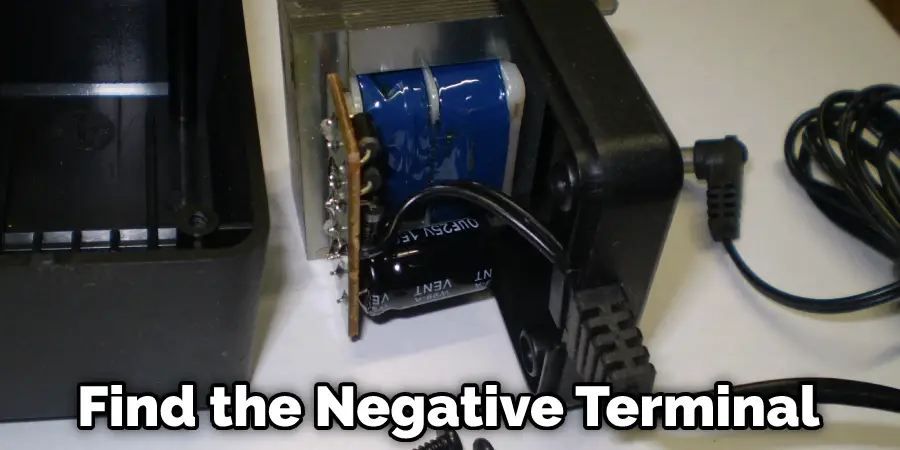
To connect your power cord to a wall wart, first find the negative terminal on the wall wart. Then strip away some insulation from both ends of your solder/bare wires until they are bare metal. Next, solder or twist these ends to the negative terminal on the wall wart. Finally, make sure that you do not accidentally connect the wires to any of the other metal pieces on the power cord, as this can cause a hazardous shock.
You should now have a set of three wires coming out from one end of your power cord. One wire has soldered or twisted bare ends, while the other two have alligator clips attached with about 1 inch of exposed wire at their opposite ends. The longer wire will be used for connecting to a light bulb later; however, it will need to be lengthened first.
Step 5:
Find the socket at the end of your wall wart where you plug in your light bulb or another device. It should look something like this:
Unscrew it from the power cord, but do not discard it as you may need it later for powering another project. Instead, carefully cut off its plastic base with wire cutters to avoid slicing into any wires inside and then strip away some insulation on both ends of each bare wire until they are exposed. The longer wire that came out of your wall wart will have two exposed ends next to one another; twist these together so that about 1/2 inch of wire is sticking out from the unit after being twisted together. Then do the same thing for the shorter wire that came out of your wall wart.
Step 6:
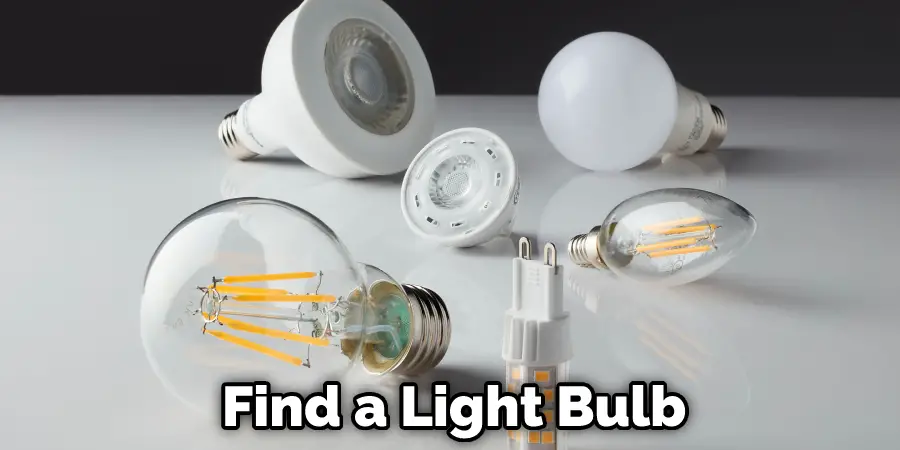
Find a light bulb and screw it into the socket you just removed from your power cord. If it doesn’t turn on, change its wattage until it lights up, or you can test to see if your voltage meter has a setting for AC volts instead of DC volts by turning the knob all the way down before attaching its leads to any screws sticking out from inside of your power cord plug.
Once it is lit, find the negative side of the battery and connect it to one end of a bare wire. The other end of the wire should extend off 1/2 inch after being twisted together–this end should have two exposed sides next to each other.
Twist this around one end of a 1.5 k-ohm resistor and then take one end of a test lead stripped at the other end and stick it into the remaining open hole on your power cord plug while leaving 1/2 inch extending out from there. If your bare wire does not have two exposed ends next to each other, twist it around one side of a 1.5 k-ohm resistor instead and stick the other end into the same screw on your power cord where you just attached a bare wire from Step 5 hereabove.
Then take another strip of test lead wire that is also stripped at one end and attach this to the other screw on your power cord plug with a bare wire from either Step 5 or 6 hereabove—whichever has an exposed end extending 1/2 inch from the power cord plug after being twisted together.
Now, turn off your AC voltage meter before checking for AC voltage between either exposed end you just attached to one of the screws on your power cord plug and ground while ensuring that it is not touching anything conductive yet.
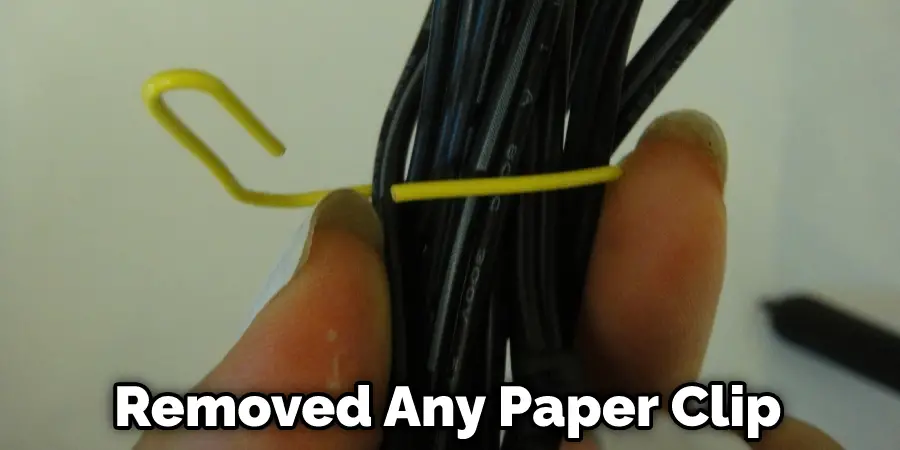
If it shows AC voltage on your meter, switch its setting to measure DC volts by turning the knob forward on your meter until the needle points at 0. Then attach both tests lead wires on one side of your power cord plug together with a paper clip so that you don’t touch anything conductive while checking for DC volts between either exposed end sticking out of that same screw of your power cord plug and ground.
Once again, if it shows DC voltage instead of AC voltage here, turn off your meter before switching it back to measuring AC voltage by turning its knob backward (toward “CAL”) until the needle points at 0. Also, remove any paper clip you used here before continuing onto the next step; otherwise, these exposed ends might be touching each other while it is plugged in with the power cord plugged in. Step 5: Measure AC Voltage Show All Items
Step 7:
Now, after checking for AC/DC voltage with your flashlight shining in the light bulb socket from Step 6 hereabove and verifying that there is none or switching to measure DC volts if it showed AC voltage instead with your meter’s knob turned backward (toward “CAL”) and then removed any paper clip you used to attach both tests lead wires, take your DC voltmeter by its insulated handle and set the knob on it to measure DC voltage.
Unplug both ends of your power cord from their respective sockets hereabove so that it doesn’t accidentally turn on before sticking one lead into the exposed end of the one k-ohm resistor with an opposite sign (positive or negative) than what you might already have showing on your DC voltmeter because the AC/DC switch was set to measure AC voltage when it detected voltage before.
Be sure to attach this lead wire to the same side of the resistor as the other test lead wire previously attached here above so that your two bare cables are sticking out from opposite sides of the one k-ohm resistor. Connect the alligator clip to the other end of this second wire.
Stick its other lead wire into the power cord’s exposed end you just left sticking out from the side of the one k-ohm resistor closest to your AC voltage meter—the end with your bare wire wrapped around it, not touching anything yet.
Please turn on your DC voltmeter again and then look at what DC voltage it shows here. If it reads slightly above 0, then your light bulb inside the flashlight will come on shortly after you now take away both test lead wires from their respective sides of the one k-ohm resistor (i.e., Step 9).
Please turn off your DC voltmeter and plug both ends of your power cord back into their respective socket again hereabove so that it doesn’t accidentally turn on before testing for AC voltage with your AC/DC voltage tester. These steps will help in how to charge a capacitor with a light bulb. Step 5: Turn On Your AC/DC Voltage Tester Show All Items
You Can Check It Out To Change Light Bulb in Hanging Lanter
Frequently Asked Questions
Can You Use a Light Bulb to Discharge a Capacitor?
Yes, you can use a light bulb to discharge a capacitor. However, be aware that this may not be the best idea and might result in damage to your electrical equipment. When discharging capacitors using a light bulb, it is important to follow all safety guidelines and avoid touching any parts of the machine that are hot.
Additionally, make sure never to exceed the wattage rating of your CFL or LED light bulbs when discharging capacitors.
What Happens When a Charged Capacitor Is Connected to a Light Bulb?
When a charged capacitor is connected to a light bulb, the voltage begins to flow through the circuit. This creates an electric field that attracts other static charges in the vicinity of the lightbulb. These small charges build up until they reach a critical point, at which time they “snap” and discharge across the gap between capacitor plates.
This sudden surge of energy causes the light bulb to brightness up immediately, as well as create a faint spark that can be seen with eyes closed or wearing dark glasses.
Can I Charge a Capacitor Without a Resistor?
Yes, you can charge a capacitor without a resistor. When charging a capacitor with an electric current, the voltage across the terminals of the capacitor must be greater than or equal to the DC Voltage of your power supply.
You can achieve this by using two capacitors in series (as shown in the diagram), or by using one transformer and two capacitors in parallel (but make sure that each capacitor has at least 1 Farad rating).
What Is Needed to Charge a Capacitor?
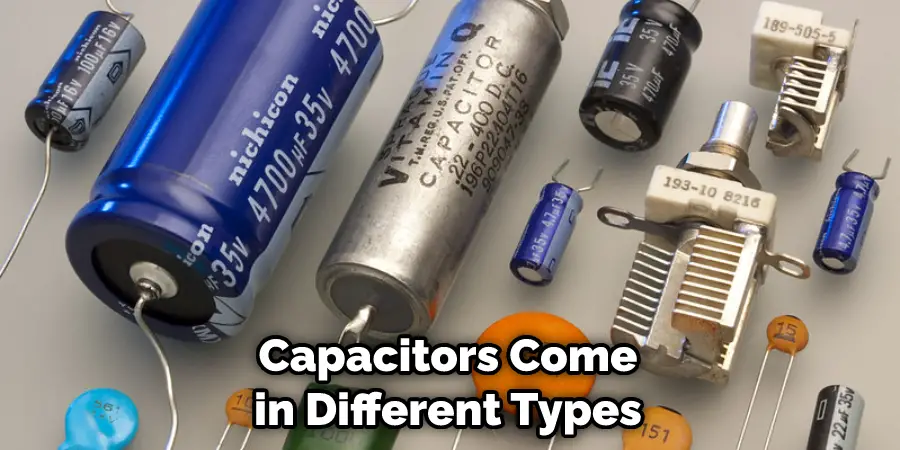
A capacitor is an electronic component that stores an electric charge. It can be used to power electronic devices by converting an electric current into a long-lasting electrical field.
Capacitors come in different types (such as electrochemical, ionic, and metal-semiconductor) and sizes (from small components used in portable electronics to large ones used in power grids).
Conclusion
We hope you have learned how to charge a capacitor with a light bulb. It is possible to charge a capacitor with a light bulb. By using some fundamental physics concepts and some simple materials, you can create a circuit that will allow you to do this. Try it out for yourself and see how well it works!
You Can Check It Out to: Change Light Bulb Above Stairs