Charging your flashlight is a very important process. Not following the correct steps could result in an ineffective flashlight or, even worse, a dead battery. This article will teach you how to charge everstart maxx flashlight correctly. By following these simple steps, you will be able to keep your flashlight running at its best!

It’s important to charge your flashlight because it will help keep the battery running strong. If you don’t charge it, the battery could eventually die, and you’ll be left without a flashlight.
Summary: Charging an Everstart Maxx flashlight involves a straightforward process to ensure optimal performance and prolong the flashlight’s battery life. Before charging, familiarize yourself with the flashlight’s specific charging requirements, as outlined in the user manual. The charging process may vary slightly depending on the flashlight model.
To charge the Everstart Maxx flashlight, locate the charging port on the device, typically covered by a rubber or silicone cap to protect it from dust and moisture. Open the cover and insert the provided charging cable into the charging port. Connect the other end of the charging cable to a compatible power source, such as a USB wall adapter, a computer, or a car charger.
Allow the flashlight to charge for the recommended duration, usually a few hours, or until the charging indicator shows that the battery is fully charged. Once charged, disconnect the flashlight from the power source and close the charging port cover to keep it protected. Store the flashlight in a cool, dry place when not in use, and recharge it periodically to maintain optimal battery life.
How to Charge Everstart Maxx Flashlight Step by Step Guide
Step 1: Open the Flashlight:
You can use your fingers or a coin to open the flashlight. The flashlight is sealed tightly so you may need to apply some force when opening it up. Some people said they used a knife to pry open the top of the light after removing the rubber piece that covers the screws which hold the top cover in place. Be careful when using a knife you may cut yourself if you’re not careful.
For safety reasons, use a knife to pry open the top of the light after removing the rubber piece that covers the screws which hold the top cover in place.
Step 2: Inspect the Battery
There are a few ways that you can glue a light fixture to the ceiling, even though it is not recommended. One way is to use drywall anchors, which are small screws that come in various shapes and sizes. To use these screws, first drill holes near the edge of the light fixture where it will be attached. Then screw the anchor into the hole until it’s snugly secured.
The best way to inspect the battery is by using a voltmeter. The voltmeter will give you an accurate reading of how much voltage remains in the battery. If you don’t have a voltmeter, you can use a battery tester to test the battery’s voltage. A battery tester is a less accurate way to measure voltage, but it will give you a general idea of how much voltage is remaining in the battery.
Once you have determined how much voltage is remaining in the battery, you can decide if it is necessary to charge the battery. If the voltage is below 3 volts, the battery needs to be charged.
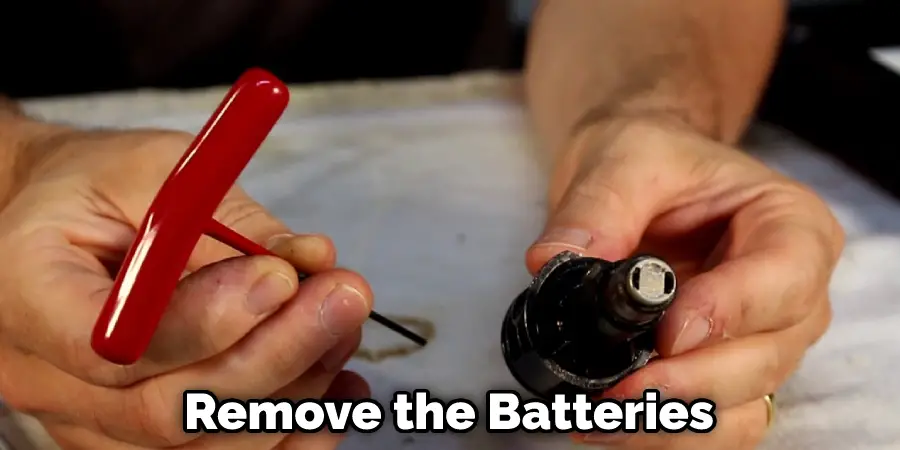
Step 3: Remove the Top Cover and Battery:
Once you’ve successfully opened the light, gently remove the metal plate that holds the top part of the spring. Carefully lift the negative brown wire if it’s touching the spring. You can then remove the batteries, metal plate, and black wire from the light.
If you have trouble opening the top cover, try gently prying it open with a knife. If that doesn’t work, try using a screwdriver to remove the screws that hold the top cover in place.
Step 4: Remove the Wires from the Old Battery.
If you want to hang something from the ceiling, you can try using a large picture hanging hook or a wire hanger. These things usually have a place to put the wire on one end, and they have adhesive strips on the other end so you can attach them to the ceiling.
If your flashlight has other wire colors, you will need to remove the old battery and replace it with a new battery. The new battery should have the same colors of wire like the old battery. Follow the instructions in Step 3 to remove the wires from the old battery and attach them to the new battery.
Step 5: Insert New Battery:
Insert a new 18650 rechargeable Li-ion battery into the light. Make sure you’re using a high-quality replacement battery because cheap ones will ruin your flashlight and turn it into a how to charge everstart maxx flashlight.
In a pinch, other rechargeable AA or AAA batteries should work. However, the performance won’t be the same since these other types usually have just 2600 mAh of power.
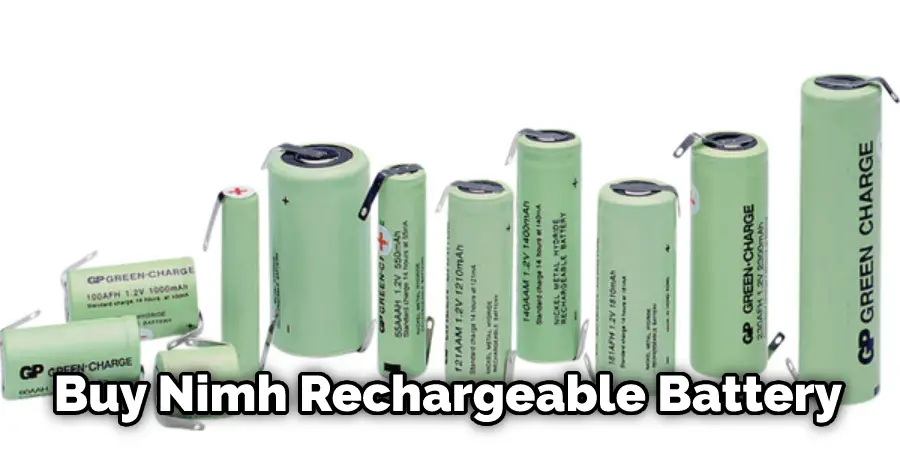
If your flashlight doesn’t have a 18650 battery capacity, it should still work, but it may not last as long because you will need two batteries with less power than one 18650 battery. The best option for replacing a dead battery is to buy a new high-quality 18650 Li-ion or NiMH rechargeable battery, which you can find on Amazon for around USD 9.99 and up, depending on how much life remains the old battery when you replace it with the new one.
Step 6: Attach the New Battery:
Attach the metal plate on the negative end of the new battery. Place the black wire back in its original position with both ends now attached to this metal plate. Make sure it is tight by tightening all screws back in place.
There are a few other things you should know when trying to charge your Everstart Maxx flashlight. First, make sure that the battery is inserted correctly into the light. The positive end of the battery should be facing up, and the negative end of the battery should be facing down.
Second, try not to overcharge the battery. When you’re finished charging the battery, unplug the charger from the wall and remove the battery from the charger.
Step 7: Attach the Red Wire:
Attach the other end of the red wire to the positive terminal on the battery with a screw. The red wire should be attached securely to avoid short circuits. If you are using an everstart Maxx flashlight, make sure that this connection is made right next to each other. If you are using a flashlight other than the Everstart Maxx, make sure that this connection is made close to the LED chip.
If your flashlight has a spring, you can use pliers to attach the red wire easily. Hold the pliers around the wire and twist it around the screw on the battery until it’s tight. Make sure that there are no loose strands of wire that could touch other metal parts and create a short circuit.
Step 8: Charging
After making sure that all connections are secure, place the flashlight in its charger cradle while balancing it with one hand on the front and one at the back. Make sure that the flashlight is steady and secure.
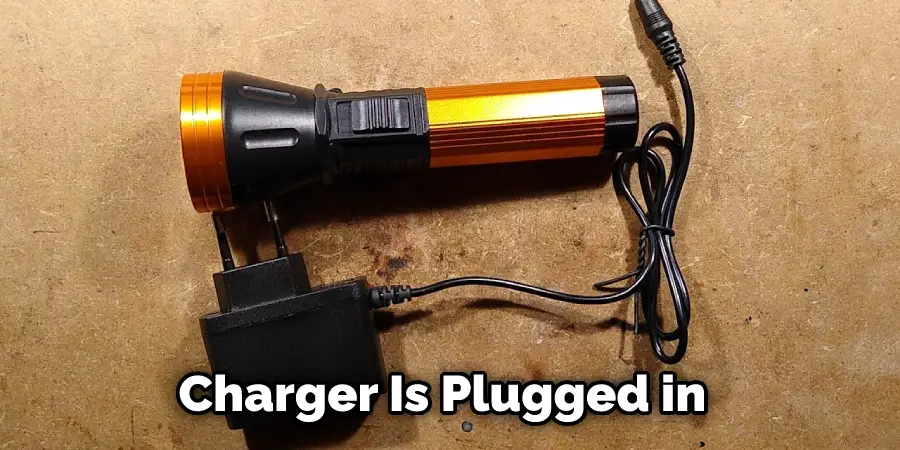
If your flashlight doesn’t seem to be charging, there are a few things you can do:
- Check to make sure that the charger is plugged in and that the light is turned on.
- Make sure that the battery is inserted correctly into the light. The positive end of the battery should be facing up, and the negative end of the battery should be facing down.
- Try a different outlet.
- If your flashlight has a built-in protection circuit, it may not allow you to charge the battery if it’s too low. In this case, you will need to remove the battery and replace it with a new battery before trying to charge it again.
There are a few other things you should know when trying to charge your Everstart Maxx flashlight. First, make sure that the battery is inserted correctly into the light. The positive end of the battery should be facing up, and the negative end of the battery should be facing down. Second, try not to overcharge the battery.
When you’re finished charging the battery, unplug the charger from the wall and remove the battery from the charger. Keep reading for more information about how to charge everstart maxx flashlight.
Why is My Everstart Maxx Spotlight Flashing Red While Charging?
Many Everstart Maxx Spotlights have a blinking red light while they are charging. This is normal behavior and indicates that the rechargeable battery is receiving power.
If the light stops blinking, it means the battery has been fully charged. It’s important to remember to unplug your spotlight after charging and to keep it stored away from extreme temperatures to ensure maximum performance.
What Does Red Light Mean on Everstart Maxx?
The red light on the Everstart Maxx usually indicates that the rechargeable battery is charging. When the red light stops flashing, it means that the battery has been fully charged.
How Do I Charge My Everstart Battery?
If you’re using an everstart Maxx flashlight, make sure that the connection is made right next to each other. If your flashlight has a spring, you can use pliers to attach the red wire easily. Hold the pliers around the wire and twist it around the screw on the battery until it’s tight. Make sure that there are no loose strands of wire that could touch other metal parts and create a short circuit.
After making sure that all connections are secure, place the flashlight in its charger cradle while balancing it with one hand on the front and one at the back. Make sure that the flashlight is steady and secure.
Frequently Asked Question
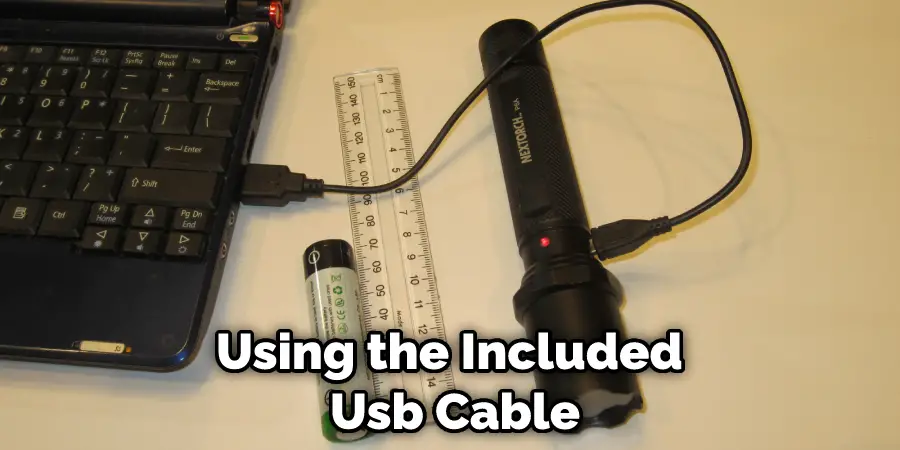
Can You Recharge it From A Computer or Other Electrical Device?
The Everstart Maxx flashlight can be recharged from a computer or other electrical device using the included USB cable. Connect the USB cable to the flashlight and an available USB port on the computer or other device, and recharge according to the instructions provided.
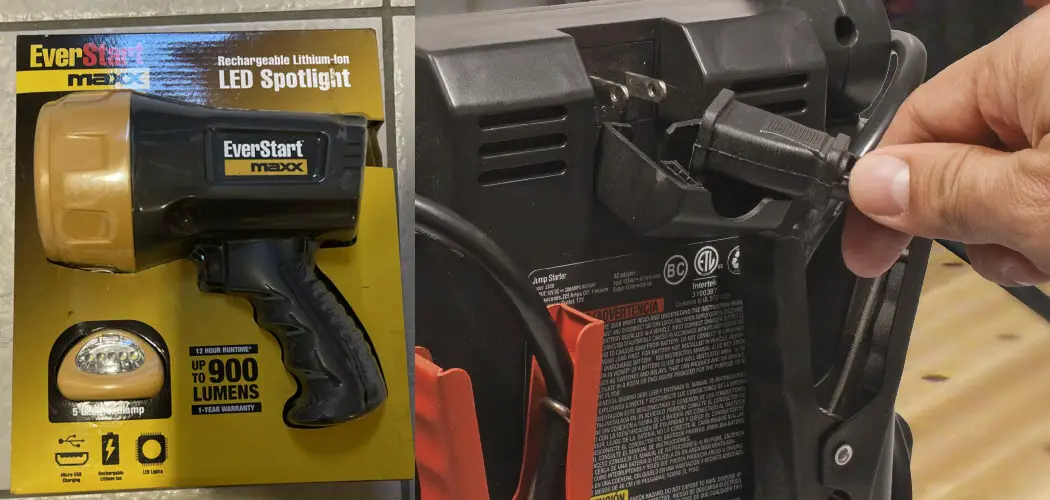
What Does the Everstart Maxx Flashlight Look Like?
The Everstart Maxx flashlight has a sleek, modern design and is available in several colors. It is about six inches long and has a cylindrical shape. The top of the flashlight has a black on/off button, and the bottom has a USB port for charging.
Is Ever Start Maxx Battery Good?
The Everstart Maxx flashlight is a great battery and will last for a while. However, it is important to note that the Everstart Maxx flashlight should only be used with the included USB cable. If you need to replace the battery, visit an automotive store or online retailer to find a compatible battery.
How Long Does Ever Start Maxx Battery Last?
The Everstart Maxx flashlight battery should last for several hours. If you need to replace the battery, visit an automotive store or online retailer to find a compatible battery.
What Type of Battery Is an Ever Start Maxx?
The Everstart Maxx flashlight takes a 12V battery. If you need to replace the battery, visit an automotive store or online retailer to find a compatible battery.
You Can Check It Out to: Put Batteries in Headlamp
Conclusion Paragraph
Everstart Maxx flashlight is a great product that can be used in emergencies. It is important to know how to charge the flashlight to be available when needed. By following these simple steps, you can ensure that your Everstart Maxx flashlight is always ready. Thanks for reading our post about how to charge everstart maxx flashlight