
There’s nothing quite like the satisfaction of taking something apart and putting it back together again. Especially when something is a complex piece of technology like a Bushnell flashlight, in this blog post, we’re going to show you how to take a Bushnell flashlight apart and put it back together again. And trust us – it’s not as hard as you might think! Let’s get started!
There are a few reasons it’s important to take a Bushnell flashlight apart. Firstly, it allows you to clean all the individual components and get rid of any dirt or debris accumulated. Secondly, it helps you check for any damage or wear and tear that may have occurred and fix it if necessary. Finally, taking a flashlight apart can also be a fun way to learn more about how it works – and who knows, you might even be able to fix it yourself if something goes wrong!
Summary: Taking apart a Bushnell flashlight involves disassembling its various components to troubleshoot or repair the device. Before starting, ensure the flashlight is switched off and remove the batteries to prevent any potential hazards. Place the flashlight on a clean, flat surface, and gather any necessary tools, such as a small screwdriver or pliers.
Begin by unscrewing the head of the flashlight to access the bulb assembly. Carefully remove the reflector and the lens, setting them aside. If the flashlight has a tail switch, unscrew the tail cap to expose the switch mechanism. Some Bushnell flashlights may have additional screws or clips securing the internal components; in such cases, use the appropriate tools to remove them.
Be cautious while disassembling the flashlight to avoid damaging any internal parts. Once the flashlight is taken apart, you can inspect, clean, or replace the components as needed. Remember to reassemble the flashlight in reverse order, ensuring all parts are correctly aligned and firmly secured.

Things Youll Need
- Patience. Resist the urge to hurry the process, and take your time in removing pieces carefully
- A thin, flat head screwdriver
- Tweezers or small pliers, if necessary during disassembly
- a) A bowl; it’s handy for when you accidentally drop or lose scre b) Fine grit sandpaper (optional). The more worn the flashlight gets, the more likely it is that some parts will become stuck together. Sanding them down before reassembly can help solve this problem
- Small piece of cloth at hand – most often, an old t-shirt works best. This is not only for wiping away any dirt off individual parts before assembly but also for preventing any small pieces from falling into the wrong place and becoming lost forever.
How to Take a Bushnell Flashlight Apart Step by Step Guide
Step 1: Remove the Battery
The first thing you need to do to fix your flashlight is to take out the batteries. Then, turn it upside down and look for a small, round rubber cover on the bottom. Once you find it, use something else that can fit in the hole in the center of the cover and pry it off. Once you do that, you should be able to see the inside of the flashlight.
Before taking your flashlight apart, be sure to remove the battery first. This will prevent the light from turning on and avoid any accidental shocks.
Step 2: Open the Tube
Now that you can access the inside of your flashlight, take a look at how it’s constructed – it should look like a pill capsule. To open this capsule, you need to separate the two halves. This might take a while, but eventually they should come apart. This is how you’ll be able to access the wiring and other components that run through the center of your flashlight.
The best way to open the tube is to use a flathead screwdriver or other object that can fit into the small hole on the side of the tube.
Step 3: Remove the Head and End Cap
If there is anything dirty or wet inside the rubber cover, take it out. Then, use a wrench (it’s best to use an adjustable one) to take off the metal ring that is holding the head in place. Now the head of your flashlight should be able to come off. To take off the end cap, do the same thing but use a regular screwdriver instead of a wrench.
Step 4: Remove the Reflector
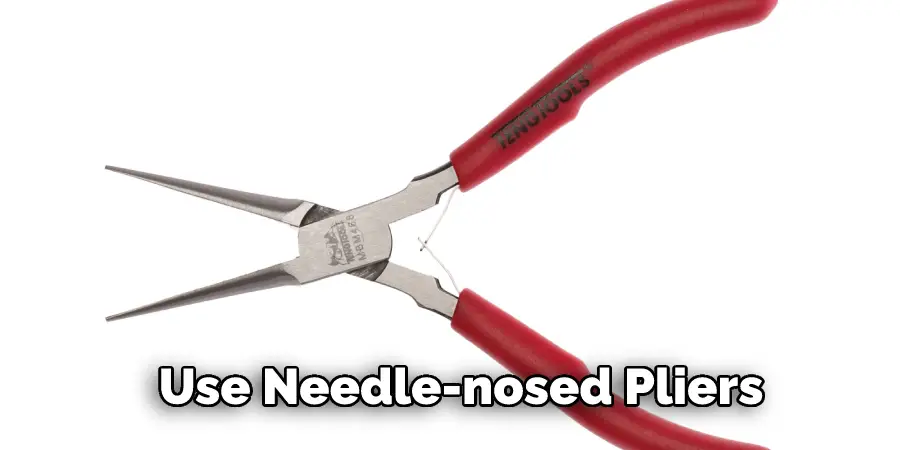
Next, remove the lens. Many flashlights like this one have a rubber O-ring around the edge that holds them in place. You will need to work it loose with your fingers and pull it out. If there is no rubber ring or it can’t be removed, you’ll have to use needle-nosed pliers. Once the lens is out, look at the inside of the reflector. You will notice some dirt or grime here. It’s important to clean it off so that your light will shine as bright as possible.
You can use a soft cloth or cotton swab for this. Just wipe the dirty areas until they are clean.
Now that the lens is gone remove the reflector by taking your screwdriver and prying it out of its holder. Don’t worry about damaging the reflector or how hard you have to pull on it to get it out; just do whatever it takes. You should now have a clear view of how your flashlight works.
Step 5: Remove the Circuit Board and Switch
To remove this final layer of cover, you will need to pop the metal bracket that holds everything in place out of its slots.
This should be the hardest step involved with how to take a Bushnell flashlight apart, so you may need to apply some force. From here, slide out the circuit board and switch assembly. The heads on your multi-tool can be used for this step if necessary. Now you have access to how this flashlight works.
Step 6: Clean it Out
The last thing you need to do is take a tool of some sort and dig all the dirt and grime out of the reflector, lens, and inside the casing. If there is any water in there from when your flashlight was submerged, now it would be a good idea to try and remove it. Then you’re done! Now put everything back together and enjoy how clean your flashlight is.
The steps to take a Bushnell flashlight apart were not that difficult, were they? If you got stuck or something didn’t work, there are message boards that can help with how to take a Bushnell flashlight apart. If you don’t feel like taking this Bushnell Flashlight apart, the links below will definitely help with how to clean it out.
Step 7: Remove the Lens
The final step in how to take apart a Bushnell flashlight is to remove the lens. You can do this by simply unscrewing it with your fingers, or you may need pliers to grip the edge of the lens tightly enough for it to twist off without falling apart. The reason behind removing the lens is so that you can pop the light into a brighter mode.
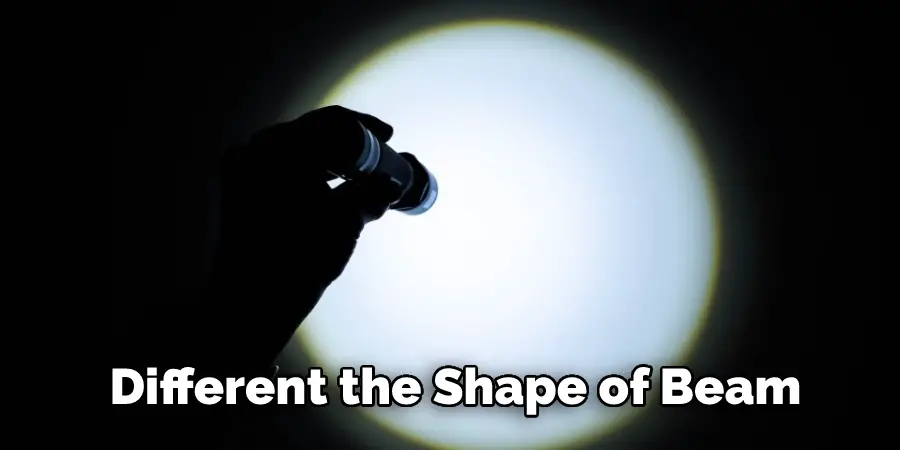
The lens is how the beam shape changes from a circle to a square or rectangular one. Sometimes this can happen by accident, but most of the time, users don’t realize how much it has changed until they see how much different the shape of their Bushnell flashlight’s beam looks without its lens on—removing the lens.
Fixing the lens back onto can be slightly challenging as well, but it is doable with some patience and effort. Put the lens back from scratch or from another focusing mode. You may have already been working with this mode before you tried changing how a Bushnell flashlight works.
Sometimes if there is a break, the lens will fall off and get mixed up with pieces. You may have noticed how it is round instead of square or rectangular at this point, but don’t worry because you know how to put it back together now.
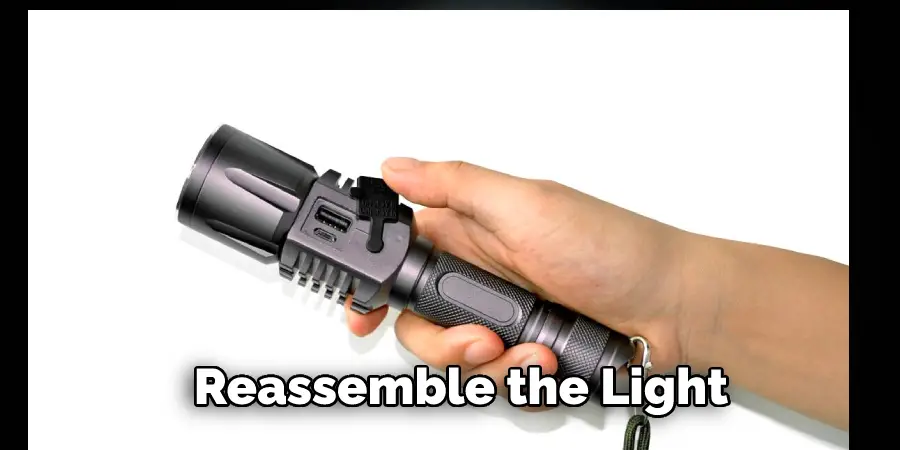
Step 8: Reassemble
Now that you have everything on how to take a Bushnell flashlight apart, all laid out in front of you, it should be easy enough to put everything back together. It is possible that the circuit board and the switch assembly may need some adjustment before going back into place. Otherwise, reverse steps 2 and 3.
Your Bushnell flashlight is now disassembled and ready for modification. Once the switch has been replaced, you can use it however and whenever you like.
Why Is My Rechargeable Flashlight Not Charging?
The first thing you should do is make sure the battery is still functioning properly. Check if it holds a charge when connected to another device, like a phone or laptop. If it doesn’t hold a charge, then chances are the battery needs to be replaced.
You’ll also want to check the power source of your flashlight’s charger. Make sure it is connected securely and that the outlet works properly by testing it with another device like a lamp. If everything looks okay on the power side, then you may need to inspect the charger cable itself for any signs of damage.
If there are any visible problems with the cable, such as frayed wires or exposed insulation, then it would be best to replace it before attempting any further troubleshooting steps. Finally, check if there are any loose terminals or connections on the flashlight itself that could be causing an issue.
If all else fails, you can try charging your flashlight using a different charger and see if that helps resolve your problem. These are just some possible solutions for why your rechargeable flashlight might not be charging properly.
Frequently Asked Question
How Do You Charge a Bushnell Flashlight?
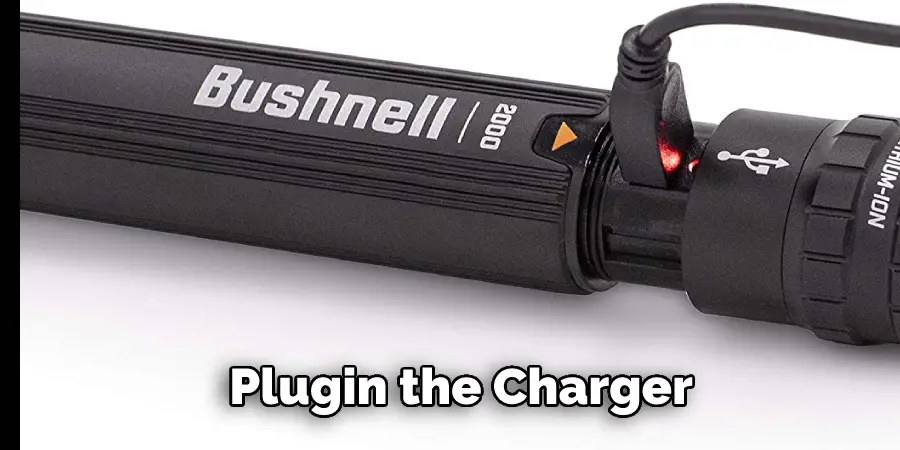
To charge the flashlight, first remove the end cap. There is a small hole on the side of the light where you can insert the charging cable. Plugin the charger and wait until the light turns green. Replace the end cap, and you’re good to go!
Are Bushnell Flashlights Any Good?
Bushnell flashlights are some of the most popular on the market. They are known for their durability and brightness, as well as their long-lasting batteries. Many people choose Bushnell flashlights for everyday use because they know they can trust them to perform well in any situation.
How Long Does It Take to Charge a Bushnell Flashlight?
It usually takes around 4-5 hours to charge a Bushnell flashlight. However, it may take longer if the battery is completely drained.
What Kind of Batteries Does My Bushnell Flashlight Take?
Bushnell flashlights use AA batteries. You can find these at most convenience stores or drugstores.
How Do You Charge the Bushnell 2000 Flashlight?
To charge the flashlight, first remove the end cap. There is a small hole on the side of the light where you can insert the charging cable. Plugin the charger and wait until the light turns green. Replace the end cap, and you’re good to go!
Conclusion
As you can see, it’s not too difficult to take a Bushnell flashlight apart. All you need is a screwdriver and some patience. Just be careful when taking the light apart not to lose any of the small screws or parts. Once you have the light completely taken apart, you can give it a good cleaning and reassemble it using our guide.
By following these simple steps, you should be able to fix any issues that your flashlight may be experiencing and get it working like new again. Have you ever taken a Bushnell flashlight apart? If so, we would love to hear about your experience in the comments section below. Thanks for reading our post about how to take a Bushnell flashlight apart.
You Can Check it Out to Fix a Nebo Flashlight