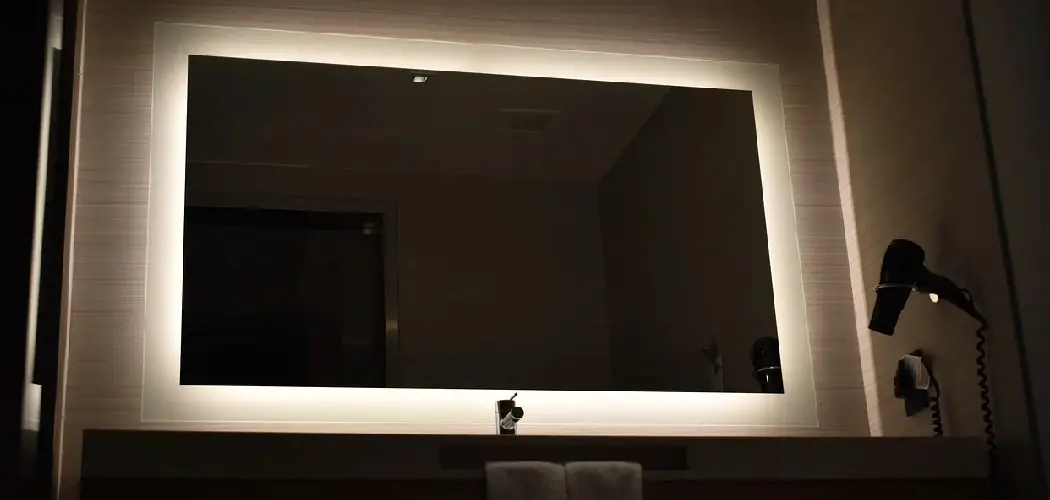
If you want to add extra ambiance to your next movie night, consider connecting some LED lights to your TV. It’s an easy process that can be completed in just a few minutes, and it’s a great way to spice up your viewing experience. Plus, it’s affordable, so there’s no reason not to try it out! This article will discuss how to connect led lights to tv. Here are the steps you need to take to get started.
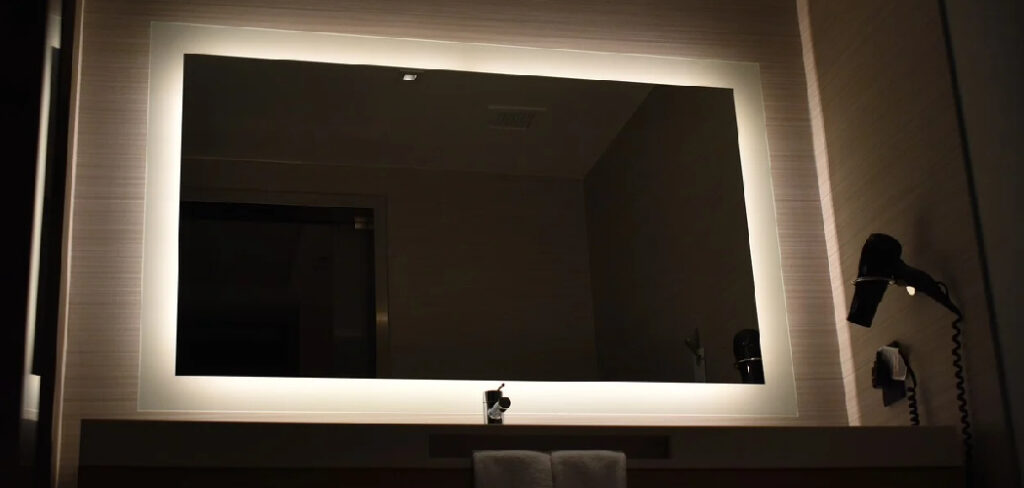
Led lights are really fun to put behind TVs because they can provide another aesthetic element that amps up the quality of your viewing experience. It’s also a great way to save money on your electricity bill if you’re constantly running your TV and don’t want to raise the brightness any higher than necessary.
Summary: If you have a TV with an HDMI port, you can connect LED lights to it to create a beautiful display. First, find the LED light that you want to use and buy a HDMI cable long enough to reach from the LED light to the TV. Next, connect the LED light to the TV by connecting the HDMI cable to the TV and the LED light. Finally, change the input on the TV to HDMI and select the LED light.
Tools and Materials
- Power drill with 1/4″ masonry bit or 1/8″ masonry bit for plastic
- Measuring tape or ruler
- Arrow saw or coping saw, tin snips, or keyhole saw
- Pencil
- Sharpie marker
- Candle and match, propane torch, heat gun, or hairdryer
A Step by Step Guide on How to Connect Led Lights to Tv
Step 1: Determine How Long to Cut the Cable
Cutting the cable to fit different lengths of lights isn’t difficult, but doing so requires you to measure how long it should be accurate. So the first thing you’ll need is a measuring tape or ruler that measures in feet. You will then have one person hold each end of the light string while another reads off how many feet are between them, ensuring no slack for an accurate measurement. Next, measure five feet down from where they’re holding and mark it with masking tape or pushpins for reference later.
Step 2: Prepare Your Drill
The drill bit must be smaller in width than the cable in order to cut it properly. If the drill bit is too big, it may damage the wire or break it entirely.
Step 3: Drill Your Hole
Now is the time to mark where you want to drill your hole on whatever surface you choose. This can be done by placing pieces of masking tape where each light will go, or by using pushpins for keeping against walls. Drill holes are only about 3 inches deep, so they won’t break through what you’re attaching them to, but have enough room inside to accommodate the insulation around the wire.
Next, let gravity do its work by pulling the melted insulation apart and removing it from the inside of the drilled holes. If you’re drilling through a wall, be sure to drill into a stud for this step.
Step 4: Strip Cable Insulation
You will probably want to wear work gloves for this next part so that your hands don’t get cut on sharp edges from stripping the insulation from the cable with either scissors or wire cutters. Once you have all of your lights stripped, please give them a final check by plugging in your power source to ensure they work correctly.
Step 5: Insert Wire Into Hole
Once it’s confirmed that everything works, push one light through each hole at a time and feed the cable inside up to where you measured five feet down from. You’ll need a friend or family member to hold one end of the cable while carefully feeding it into each hole on your end. Be extremely careful if you’re attaching lights through brick, stucco, or another material so that you don’t cause any cracks or damage to form around the wire.
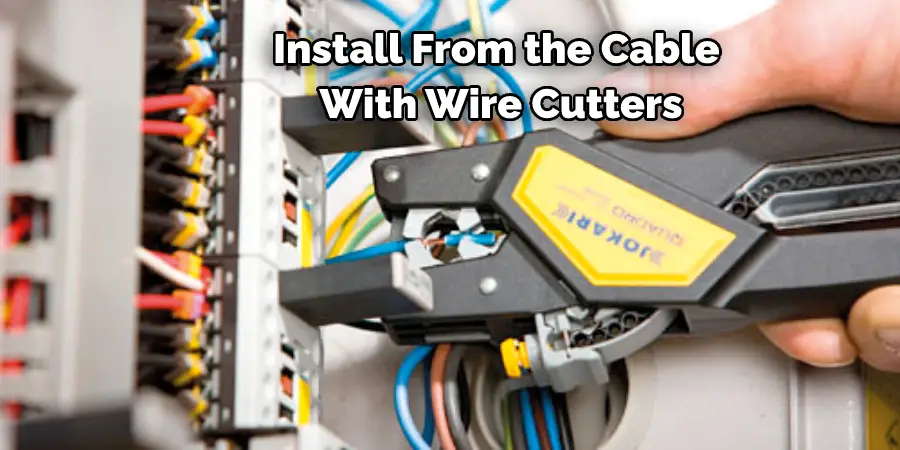
Step 6: Cut the Cable and Connect Your Power Source
After all of your lights have been pushed through their holes, cut off both ends about an inch beyond each drilled hole with either tin snips or a sharp pair of scissors. Ensure that there’s no excess wiring sticking out above the insulation just in case they get pinched during installation. Once you have all of the insulation stripped off, connect your power source by stripping the ends of each wire with either a utility knife or wire strippers. Twist all exposed wires so they stay out of the way and don’t get in the way when plugging it into an outlet.
Once all exposed cables are twisted together, insert them into their hole and cover them with hot glue. Ensure no loose wires are sticking out before plugging it in because you could damage your lighting or outlet if they get pinched. These steps will help in how to connect led lights to tv. Connecting LED Strips to TV: Step 4- Setting up Controller
Now that the lights are attached, it’s time to set up your controller. The controller is what allows you to turn on/off your LED strips and change the colors of your lights. There are many different types of controllers, but we’ll be using an IR remote with a receiver for our setup.
Precautions
- Be sure to turn off the TV and the power strip before beginning. Never make the mistake of working with electricity when you are wet. If there is any question about whether you should be doing this, do not attempt it. It is better to be safe than sorry.
- Be sure that you are working on a wooden or plastic table and that there is nothing on the surface that could get ruined by water. Better yet, work outside if possible.
- If you have been using power tools, make sure they are turned off before beginning this step. Also, do not wear loose clothing while working with tools. This can cause you to accidentally strangle yourself in an instant if your garment gets pulled into the saw blade.
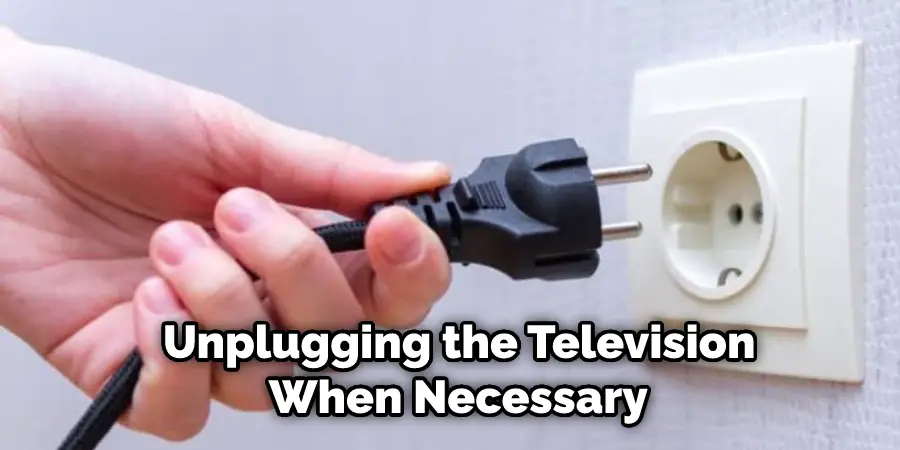
- Keep in mind that everything in this project involves electricity and water. Therefore, you will want to keep one hand dry so that it is always available for unplugging the television when necessary.
- Never touch the plug with your wet hands, or you could electrocute yourself.
- This project involves drilling holes in a television set. Unfortunately, there is no way to make this step 100% safe, so make sure that children are not present when working on it. If you have never done anything like this before, it might be best to hire an expert to do the job for you.
What Are the Benefits of Connecting Led Lights to TV?
There are many benefits of connecting led lights to tv. For example, when the television only has one scart socket left free for plugging in other devices like game consoles, DVD players, and Satellite boxes, you can use it to connect your LED strip light instead. This frees up space on power sockets for other appliances that need more electricity than the LED TV lighting system. You can also save money on your electricity bill because LED TVs typically consume less energy than their LCD counterparts. It is economical because you will not have to replace it soon (3-5 years).
When you connect LED lighting strips (also known as flexible tube lights and LED tape) to your television, they create an impressive light display that increases the entertainment value of watching your favorite film or TV show. In addition, your friends and family will be impressed with this lighted TV installation.
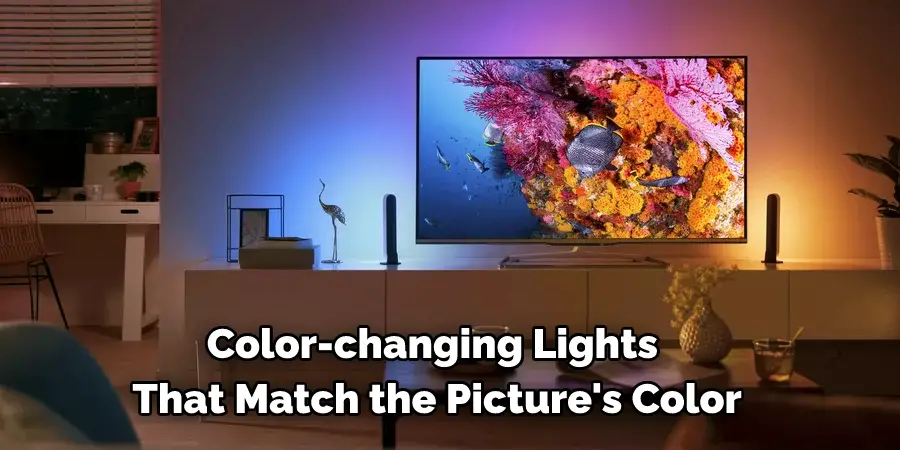
You can n add color-changing lights that match the picture’s color. If you have a plasma screen or LCD TV, this may become the trend for people who want to have their entertainment room look fantastic.
You can also do this with a projector screen LED light connected via USB to your TV or HTPC system. Perhaps you have wondered how you could light up the wall behind your LCD television set to look much larger than it is. You can place them on either side of the Tv and ensure that they are farther away from the wall to avoid blocking out any light.
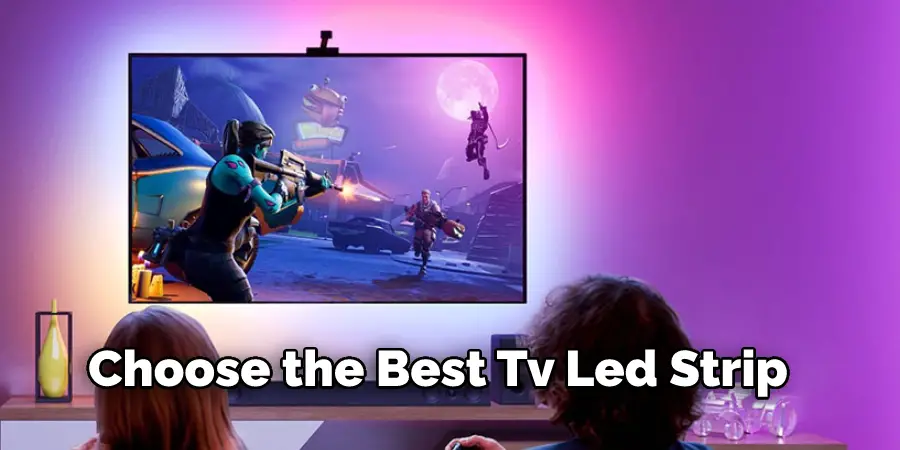
How to Choose the Best Tv Led Strip Light?
There is a wide range of television strip lights on sale; how do you know which will be best for your new LED TV?
First, it’s essential to choose the right light strip length. This depends on the size of your TV and how much ambient light you want to eliminate from around the edges. You’ll need to measure carefully before buying or doing your DIY project to ensure a flawless installation.
LED Strip Lights for TVs come in various shapes and materials, but not all are suitable for use around TV screens – some aren’t even adhesive!
Firstly, make sure it has an adhesive backing (this is mainly the case for very narrow strips). The best-LED TV Strip lights will have at least 3M VHB double-sided tape. This means that the glue is both sticky and strong enough to keep the light in place yet still removable perfectly, so you can fix it before turning it on!
Next up, consider the brightness of your light strip. Again, various factors will affect your decision here. You’ll need to choose a light strip that can dissipate enough quantity of light so everyone in the room can see it. Too much brightness diminishes its effectiveness and results in eye discomfort, so we recommend staying within the 100-300 lumen range for LED Tv lights.
Lastly, think about power consumption! We all want our led Television Strip Light and equipment to be energy efficient and safe for the environment. There are various ways to calculate power use: consider wattage (W) or lumens per watt (Lm/W). However, it’s important to point out that low wattage does not necessarily mean it will consume less energy.
You Can Check it Out to Keep Led Lights on When Tv Is Off
Frequently Asked Questions
What Is the Purpose of Led Lights Behind Tv?
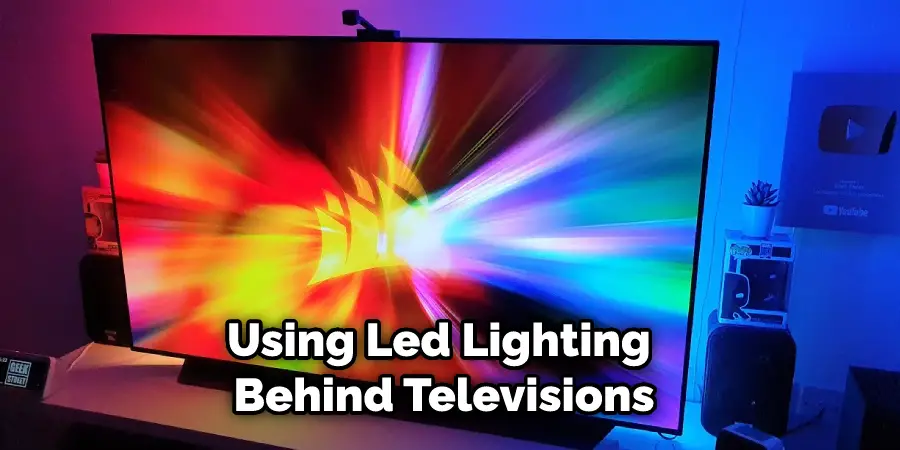
LED lights emit less light than traditional incandescent or fluorescent bulbs, which allows you to use smaller-sized LEDs that turn more quickly. This saves both time and energy and makes backing up much easier.
LED Lighting also comes in handy when using multiple TV screens. By installing separate rear projection systems, you can connect multiple TVs back-to-back without having to run cables all over the room. You can even create a “wall of television” by mounting two or more large flat panels on the wall behind your couch!
There are other benefits to using LED Lighting behind televisions; however, these are just some of the most common uses currently available. So if you’re looking for ways to save money or improve efficiency in your home theater setup, then LED Lighting may be right for you!
Why Do You Need Connectors for Led Lights?
A connector is a component that helps to connect two wires together. They come in different shapes and sizes, and are used in a variety of applications, including LED lights. LEDs emit light when they’re turned on, but they don’t generate enough brightness to be used as indicators or streetlights. Connectors help to increase the wattage output of an LED light by connecting it directly to another larger-wattage LED light bulb or fixture. This makes the lights brighter and more habitable for use outdoors or indoors.
Connectors also play a role in HID (high-intensity discharge) lighting systems. These types of lights have several tubes filled with electrical contacts that create bright flashes when power is applied.
Is It Better to Watch Tv With the Lights on or Off?
Watching tv with the lights on can give you an immersive experience that feels more like reality. This can make shows, movies, or gaming more enjoyable. However, it also increases your risk of being distracted while watching and may affect your ability to focus in dim lighting conditions.
On the other hand, turning off all electronic devices before bedtime has been shown to significantly improve sleep quality (among other things). Studies have found that reducing exposure to blue light late at night helps promote better sleep quality and reduces anxiety levels in adults.
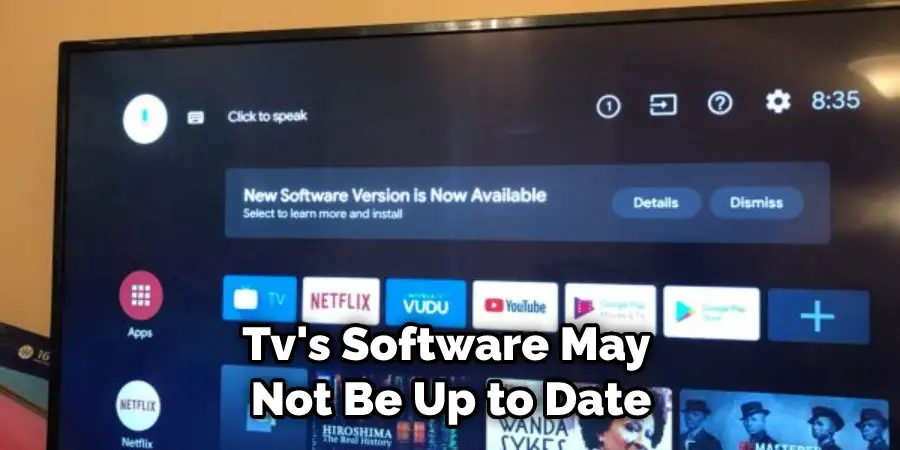
Why Does My 4k Tv Look Blurry?
If you’re noticing that your 4k TV is looking blurry, there are a few potential reasons. You may have a poor connection to the network, your TV may not be able to handle the resolution, or your TV’s software may not be up to date.
To check your connection, try using a streaming service like Netflix or Hulu instead of using your cable provider. If you’re still having problems, it may be time to consider upgrading your TV. If the issues are with the TV itself, it may be time to update the software.
Conclusion
If you are looking for an easy way to connect your LED lights to your TV, we have the perfect solution. With our simple guide, you can be watching your favorite shows and movies with dazzling LED light effects in no time. Follow these simple steps on how to connect led lights to tv and prepare to be dazzled!
You Can Check it Out to Fix Led Light Remote Wrong Colors