LEDs are a popular choice for lighting because they’re energy-efficient and long-lasting. However, if you have a LED light strip with a remote and the colors are not what you expect, don’t worry – you can fix it quickly! This article will show you how to fix led light remote wrong colors. Read on to learn more.
Summary: Fixing an LED light remote that displays the wrong colors can be a frustrating issue, but with a few simple troubleshooting steps, it is often possible to resolve the problem. The first step is to check the remote control and the LED strip lights themselves for any visible damage or defects. If the remote control is functioning correctly and the LED strip lights are intact, the next step is to confirm that the LED strip lights and remote control are compatible.
This can usually be done by referring to the manufacturer’s documentation or online resources. If the devices are compatible, try resetting the remote control and LED strip lights according to the manufacturer’s instructions, which typically involves turning off the power, waiting for a short period, and then turning the power back on.
If the problem persists after resetting the devices, the issue may lie in the connections or the LED controller. Check all connections between the LED strip lights, controller, and power supply, making sure they are clean, secure, and free from damage. If necessary, re-seat or replace any connectors that appear to be causing problems. If the issue still remains, the LED controller may be faulty and need replacement.
When purchasing a new controller, ensure that it is compatible with both the LED strip lights and the remote control. Once the new controller is installed, test the LED lights and remote control to verify that the correct colors are displayed. By following these troubleshooting steps, you can effectively resolve issues related to the LED light remote displaying incorrect colors and enjoy your vibrant, customizable lighting system.

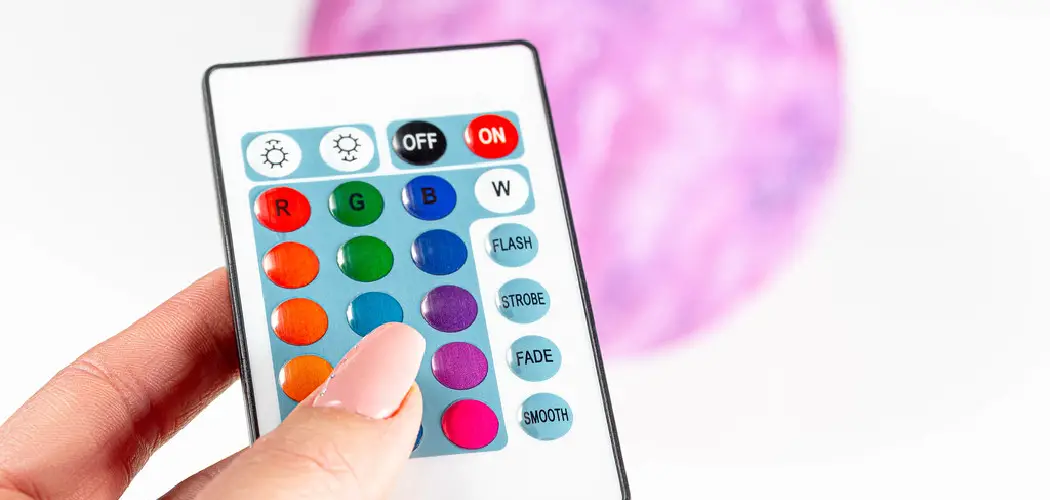
A led light remote is a great way to control the lighting in your home, office, greenhouse, or any other place you might have a LED light strip. The remote is very convenient, but it’s not uncommon for users to experience issues with receiving the wrong colors from the remote. Luckily, fixing the led light remote wrong colors is easy.
A Detailed Guide on How to Fix Led Light Remote Wrong Colors
Step 1: Determine How Many Colors are Wrong
Before you start playing with your LED light remote, you should figure out how many colors are wrong. If you see a color that you weren’t expecting, and the light doesn’t match the other lights in its set, you’ll need to adjust it.
If two different colors appear where they shouldn’t, such as two different shades of purple or red, then this procedure should be performed twice, once for each incorrect color.
Step 2: Check Plugs Inside Remote
The first thing you want to do is check the plugs inside of your LED light remote. Next, unplug the lights from their power source and look at the other cords. The names of these cords will be on a small label either on the cord itself or attached with a sticker. This should tell you which color goes into which slot on the remote’s board.
If there are any colors in the wrong place, they need to be moved to the correct location before continuing. If all of the colors are in the right place, then skip ahead to Step 4.
Step 3: Removing Chips
To remove the colored chips from your remote, disconnect the power from your light set and use an exacto knife or something similar. Most LED lights are contained in a plastic casing which can be opened easily with any sharp object.
Once the colored chips have been removed, set them aside and do not touch or handle them further because oils from your hands can damage these delicate lights and ruin their color output. If you accidentally get some of this oil on one of the chips, wipe it off immediately with a soft cloth or paper towel and let it sit for at least an hour before continuing with the article below.
Step 4: Putting Colored Chips Back Into Place
Now that all of your chips have been removed, it is time to put them back they belong. You may want to set these chips on a clean white or light-colored surface, where they will not get lost or mixed up. It’s a good idea to put your chips back in the order they were in when you removed them. You may also want to set your chips out in a way that makes sense to you. For example, you may want to put all of your black chips together, or you may want to put your green chips in the middle of your chip stack.
Stack each color’s chips together in the correct order so that the one with the most extended cord is on top and the chip with no cord is on the bottom. Make sure that all of your chips are facing in the right direction so that the unplugged end is towards you at eye level.
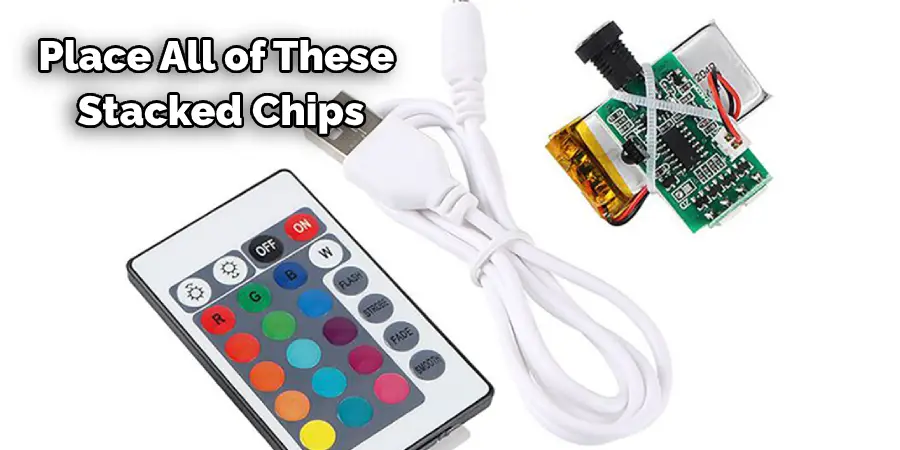
Place all of these stacked chips into your LED light’s remote control board, starting at one side and working your way across until all is filled. The larger chip should be closest to where its corresponding plug plugs into the remote, while more minor colors should go below.
If there are any spaces between your colors or chips, fill them in with the shortest colored chip available. If you are unsure which one to use, then pick the color closest to where it should be rather than an exact match for this project’s results.
Step 5: Replacing Chips into Lights
Now that all of your chips have been repositioned and filled with any space in the controller board, it is time to place them back inside your lights. With power disconnected, carefully line up each color’s chip with its socket on the LED light’s casing, ensuring that the unplugged end is pointing towards the lens.
Carefully press each chip down into its corresponding socket until it does not feel like it will come out when handled. Each chip should sit securely inside of its socket but still be able to be pressed down into place.
Step 6: Reconnecting Lights to Power
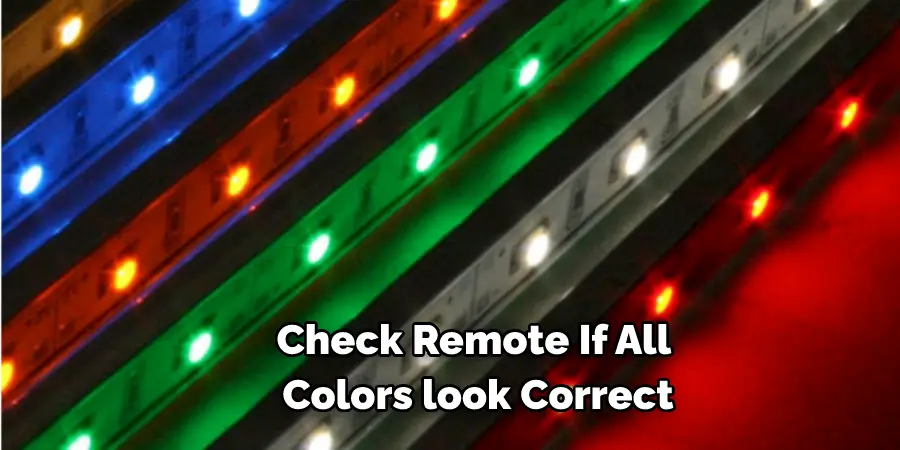
Once all of your chips have been placed back where they belong, it is time to reattach each color’s plug back into the remote control board and turn them on. Check each LED light one at a time by turning it on from the remote or the power switch located directly on top of the lights themselves. If you see any colors that do not match their intended hue, then repeat this article for those specific lights only. The article can be repeated as many times as necessary until you are happy with how your LED lights look under normal and abnormal lighting conditions.
Step 7: Test Complete
Now that all of your lights are looking correct, it is time to turn the power off and check out how they look in their normal lighting conditions. If any changes need to be made or any light’s colors that still do not match up correctly, repeat the How-to guide for those specific lights only. Once you are 100% satisfied with your LED light set’s color output under its normal lighting conditions, pat yourself on the back because you have just fixed a common problem without spending any money at a repair shop or buying new replacement parts.
Step 8: Check Settings and Reset Remote If All Colors look Correct
Now that your project is complete and you are satisfied with the results check the settings on your remote control board or LED lights themselves. Reset any incorrect colors to something that looks more appropriate and make sure there isn’t a setting for “warm white” and “cool white” because these can change how colors look under different lighting conditions. Once you have done all of this testing, go back over this article once more to make sure or troubleshoot any possible problems before or after its completion.
Step 9: Buy Another Controller Board
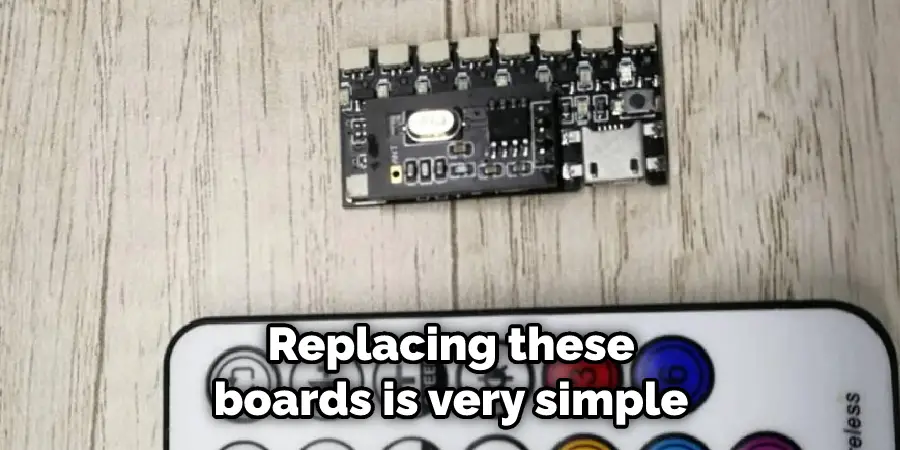
If you are still unable to get all of your colors working correctly because one or more lights malfunctioned during the project, then it is time to invest in a replacement remote control board from your LED light set. These can be bought directly from the manufacturer or at most hardware stores that sell LED bulbs and related products. Replacing these boards is very simple if the article was followed correctly, so follow this article’s instructions again where necessary until all of its chips have been replaced.
Step 10: Buy New Lights If Remote Controler Board Replacement Failed
If How-to Guide failed at fixing any colors on your LED lights, but the controller board replacement also failed, then it is time to invest in a new set of LED lights. These lights can be found to match your current setup or any other type of lighting you desire. Buying new replacement lights is very simple, so check the How-to Guide for those specific steps if they were not followed before the controller board replacement.
Step 11: Troubleshooting
If this article fails at fixing a few colors on your LED light set, but the remote control board replacement also failed, then it is essential to troubleshoot and figure out what went wrong that caused the article to fail both times. Try following steps one more time with each color having power disconnected from its corresponding plug inside its socket on the controller board. This way article can be followed step for step without having to do any guesswork and wasting time by continuing with faulty parts that will continue to malfunction after the report is completed. These steps will help in how to fix led light remote wrong colors.
You Can Check it Out to Fix Gap Around Light Switch
How Do You Reset Led Lights Without Remote?
Several reasons could happen, and one of them is if you’ve unpacked the lights and not put in the batteries. The battery case has a button on it (it will be labeled), and this turns all the lights off and saves your settings. Pressing the button again restores all your previous settings, which you can then adjust.
Another reason is that you may have set things up incorrectly at first, but now you want to change them back. You do it just how before by pressing the factory reset button on the battery case; there is usually an arrow pointing to where it is located.
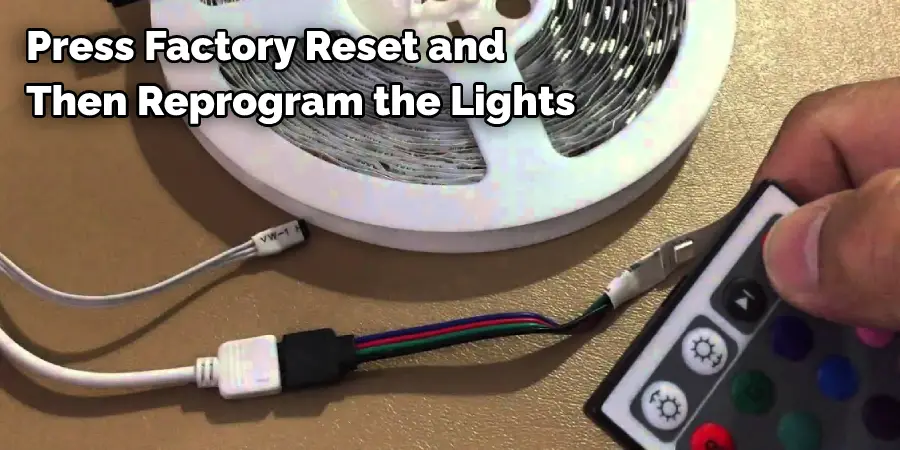
It would help if you remembered that when you press factory reset and then reprogram the lights, they all go back to the previous settings you had on them previously. If, for instance, you’d set it up so that one was blue and another red, but now you want both colored. It will not remember what each light had been set as, so if one had been blue and the other green originally, they will both be green when you press factory reset and start over again from scratch.
Frequently Asked Questions
Why Are My Led Lights Doing the Wrong Color?
One common issue is that the power supply may not be functioning properly. In order to check this, you’ll need to determine whether or not there is power going into the light fixture. If there isn’t, then you will need to replace the power cord.
If the problem lies with the LED module itself, it might be best to have it replaced as these units tend to fail relatively quickly. In some cases, replacing just one LED-equipped bulb can resolve issues related to colors being off-kilter or inconsistent overall.
Are There Black Led Lights?
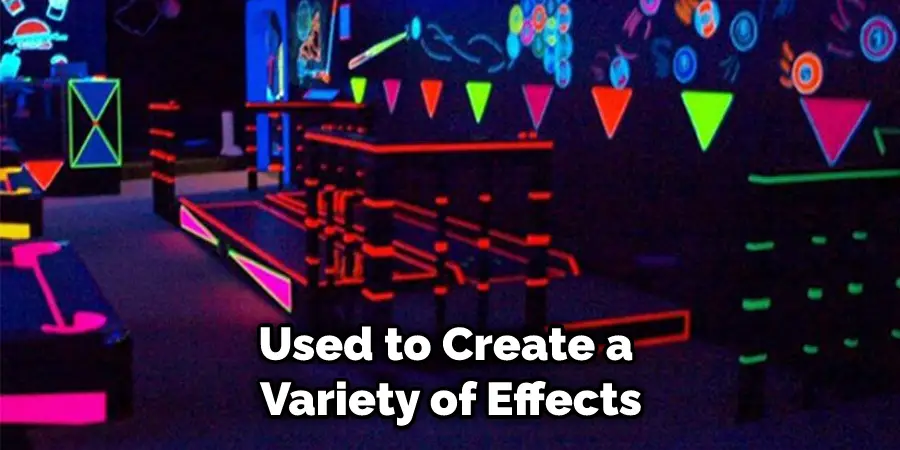
They come in a variety of colors and can be used to create a variety of effects. Some of the most popular uses for black LED lights include stage and theatrical lighting, DJ lighting, and bar lighting. They are also perfect for creating unique effects in photographs and videos.
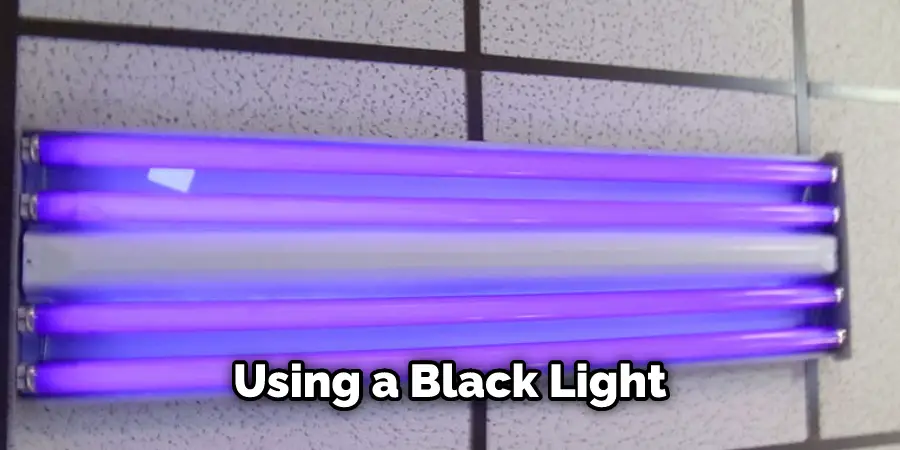
Can Blacklight Hurt Eyes?
Blacklight parties can be fun, but they should not be looked at as a way to party all night long. While blacklights are safe for the eyes if used properly, prolonged exposure to them can lead to eye fatigue and even temporary blindness. It is important that you use a light source with an appropriate wavelength (between 320-360 nanometers) and avoid looking into it directly for more than two seconds. Additionally, make sure that everyone in your group uses proper lighting etiquette by wearing protective eyewear and using shields when photographing or filming people posing near the light source.
Is It Ok to Sleep With a Black Light on?
Some people feel that sleeping with a black light on can help to promote better sleep, while others believe it is harmful. If you are unsure about the effects of using a black light at bedtime, we recommend speaking with your health care provider before making any decision.
Conclusion
If you’ve experienced the frustration of your TV remote changing colors, then this article is for you. Follow these easy steps on how to fix led light remote wrong colors and get back to watching your favorite shows!
You Can Check it Out to connect led lights to TV