
Many people have light switches that are just a little bit too high up on the wall for their comfort, or they may have one in a place where it’s difficult to reach. So if you find yourself needing to fix the gap around your light switch, don’t fret! It’s a quick and easy fix. In this blog post, we’ll give you step-by-step instructions on how to fix gap around light switch. So read on and get fixing!
There are a few reasons why it’s essential to fix the gap around your light switch. First of all, it can be dangerous to have a gap around your light switch. For example, if there’s a fire, you may not be able to get to the switch in time if there’s a gap. Additionally, it’s just more comfortable and convenient to have a switch that’s easy to reach. So if you’re noticing that your light switch has a gap, make sure to fix it as soon as possible!
Summary: If you are noticing a gap around your light switch, there is a simple solution. You can use a glue gun to close up the space around the switch. This will keep your light switch from catching on things and potentially breaking.
Things Youll Need
- Paint
- Filler
- Caulk Gun
- Screwdriver
How to Fix Gap Around Light Switch Step by Step Guide
Step 1: Safety First! Turn Off the Electricity:
Be sure to turn off the power to the light switch before attempting any repairs. This is a safety measure to prevent any accidents should something go wrong while you are working.
If you cannot turn off the power to the light switch, you will need to call a professional to help you with the job.
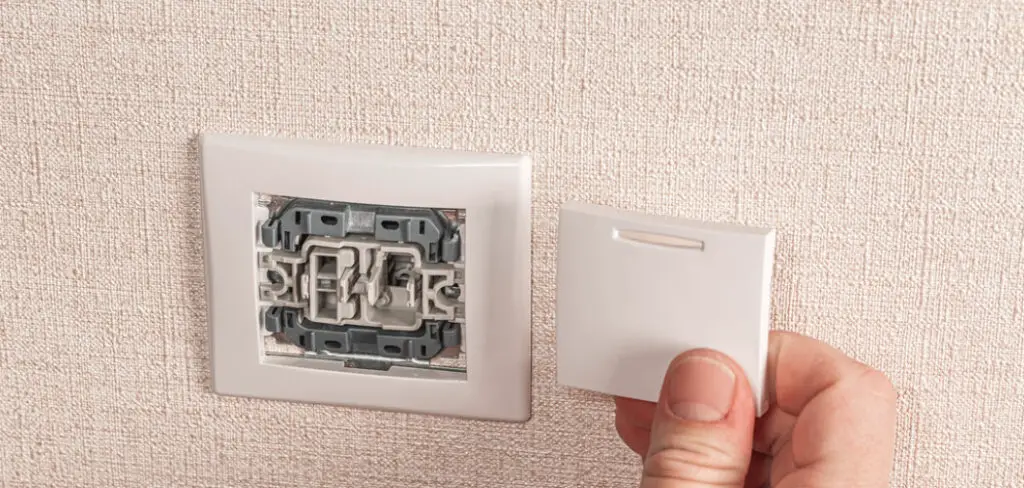
Step 2: Remove Face Plate:
To remove the faceplate on the light switch, start by turning off the electricity. This will give you access to the screws that hold the switch in place.
To remove a switch from a wall, first remove the screws. Then carefully pull the switch out of the wall. Be careful not to damage the wiring or the wall. If you’re having trouble removing the switch, you can try using a screwdriver to help loosen it.
Step 3: Loosen the Switch or Outlet Screws:
Once the switch is out of the wall, you’ll need to loosen the screws that hold it in place. There will be two if it’s a standard light switch and three if it’s an outlet. Once the screws are loose, you can pull out the switch and disconnect the wires.
You don’t want to remove these screws entirely; loosen them up slightly so they’re not tight. It would be helpful if you did this before removing the switch from the wall. It’ll make it much easier.
Step 4: Create a Spacer Using Paneling:
To fix the gap, you need to create a spacer that will hold the switch away from the wall. You can use drywall (also known as wallboard) or wood paneling cut into small enough pieces.
Pretty much any thin, flat material will work so long as it’s not too flimsy and is easy enough to cut.
You can make a spacer using scrap pieces of wood flooring, thin luan plywood (which we used), old paint stirrers, or anything else that will fit and work well. Just make sure it’s not too think and bendy and isn’t going to crumble apart easily.
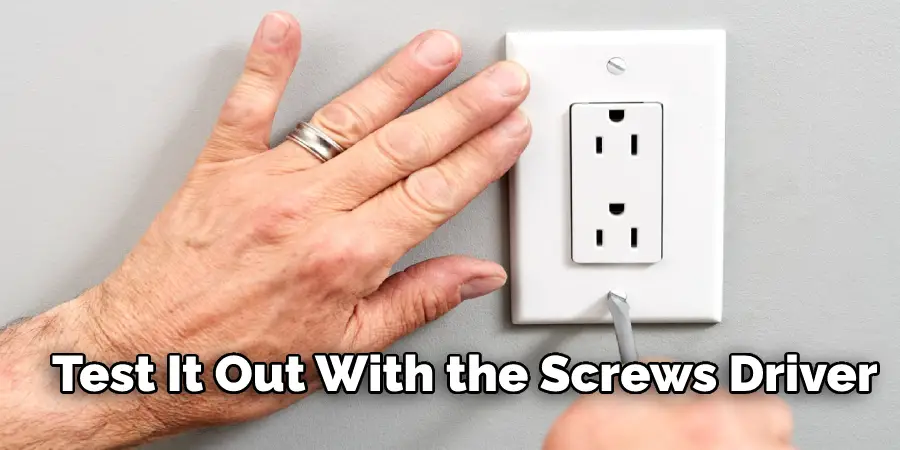
Step 5: Just Loose Enough:
Once you know what size and shape your spacer will be, you need to test it out with the screws.
The screws should slide in easily without much resistance at all. Make sure that they’re nice and snug as well. You don’t want them loose enough that they fall out but not so tight that it takes a lot of work to get them back in.
Step 6: Slip Your Shim Behind the Screw:
Once your spacer is nice and loose, you can slip it behind the screws. Doing this will hold the switch away from the wall so that there’s no gap between it and the switch.
There is more than one way to fix a gap around a light switch. Some people might choose to use a spacer, while others might try to reattach the button to the wall. If you’re using a spacer, you can either hold it in place with your fingers or use some adhesive to keep it in place. You can also use screws to secure it in place. If you’re trying to reattach the switch to the wall, you’ll need to make sure that the screws are nice and tight so that it doesn’t move again.
Step 7: Marking for Your Cuts Around the Outlet:
Once you have the spacer in place, use a pencil or pen to mark where it meets up with the switch or outlet on the faceplate. You can also mark where you want to cut the paneling as well if you’re using thicker spacers.
Once your markings are done, use a saw to cut out those shapes from the faceplate and paneling so that there’s no gap between them, and they’ll fit nicely together once it’s all put back in place.
Step 8: Finish Marking and Start Cutting:
Now that the measurements are done, you can mark where to cut for the screws.
Once you get your marks all made up, use a jigsaw or rotary saw to cut out the shapes, so they fit nicely back in place once it’s put back together. You may need to give the person at the hardware store some creative leeway if you’re using a paneling spacer.
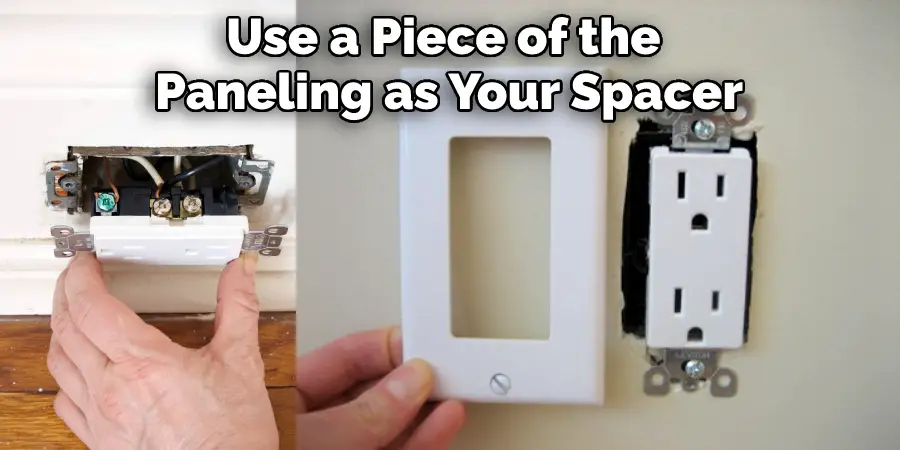
Step 9: Cutting Out Your Outlet:
If you’re using a piece of the paneling as your spacer, use a jigsaw or rotary saw to cut out the shape for where the outlet goes.
Try to keep it as close to the shape of the outlet as possible. Just don’t go too far outside of that shape so that it won’t fit back in place once you put everything back together.
Step 10: Finish Your Cut With the Grain:
You should always cut in the direction of the grain in a piece of wood. If you cut across it or against it, you’ll end up with a lot more splintering and chipping than if you go with it.
So long as you cut in the right direction, you’ll have a much easier time. It’ll also keep your saw blade from jamming up or getting stuck, which can be annoying.
Step 11: Finish Cutting and Snap Out Piece:
After you finish cutting, the piece should snap right out.
To make your life easier, you may want to drill a small starting hole before trying to pry it out. Then, gently tap on it with a hammer or rubber mallet until it breaks free. Keep reading for more information about how to fix gap around light switch.
Step 12: Dry Fitting Your Cut Piece:
Sometimes it’s hard to tell if your cut is the right size based on just looking at it, so you want to dry-fit it first.
Dry fitting means using your spacer without any glue or adhesives so that you can test out its fit. If you’re happy with how it fits, then move on to gluing it.
If you’re not happy with it, try cutting it slightly differently until you get the fit you want.
Step 13: Stick It!:
There are different types of wood glue that you can use for this project. They all do essentially the same thing, so it’s up to you which one to get.
You should choose whichever one is either cheapest or easier for you to get your hands on.
Step 14: Repeat for the Bottom Half of the Outlet:
Since you already have your spacer, all you need to do is dry-fit it to make sure that the size and shape are correct.
Then, once you’re confident of its fit, glue it down and let it sit and dry overnight.
Step 15: Reinstall the Face Plate:
Once the glue has dried, you can reinstall the faceplate.
Just line up where your cuts are and slide it back in place. If you cut close enough, there should be no gap between the wall and faceplate once it’s all put back together.
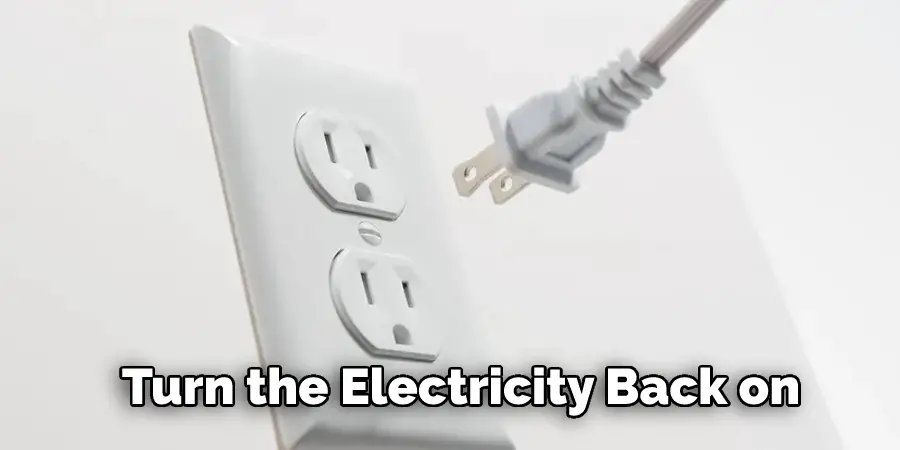
Step 16: Turn the Electricity Back on:
Once it’s all fit together, you can reinstall the cover plate and turn the electricity back on.
Now that your outlet is put back together, you’ll hopefully never have to look at another messy one again!
I hope this How-To article has been helpful in showing you how to fix gap around light switch.
You Can Check It Out to: Ground a Light Switch
Frequently Asked Question
Do I Need to Replace the Entire Electrical Box to Install a Dimmer Switch?
No, you usually don’t need to replace the entire electrical box. You should be able to just remove the cover plate, unscrew the old switch, and screw in the new one.
What Are the Benefits of Installing a Dimmer Switch?
There are a few benefits of installing a dimmer switch. One is that it can help you save energy. Dimmer switches allow you to use less light, which in turn will save you money on your electric bill.
They’re also great for creating ambiance in a room. Whether you want to create a relaxing atmosphere or a more energetic one, a dimmer switch can do the trick.
Plus, they just make things look nicer. They can add a touch of elegance to any room and are perfect for spaces like the bedroom or living room.
You Can Check it Out to Trace Light Switch Wiring
Conclusion
So there you have it – a few solutions for fixing the gap around your light switch. If you’re feeling handy, give one of these methods a try and see how it goes. And if you run into any trouble or have any questions, be sure to leave us a comment below! Thanks for reading our post about how to fix gap around light switch.