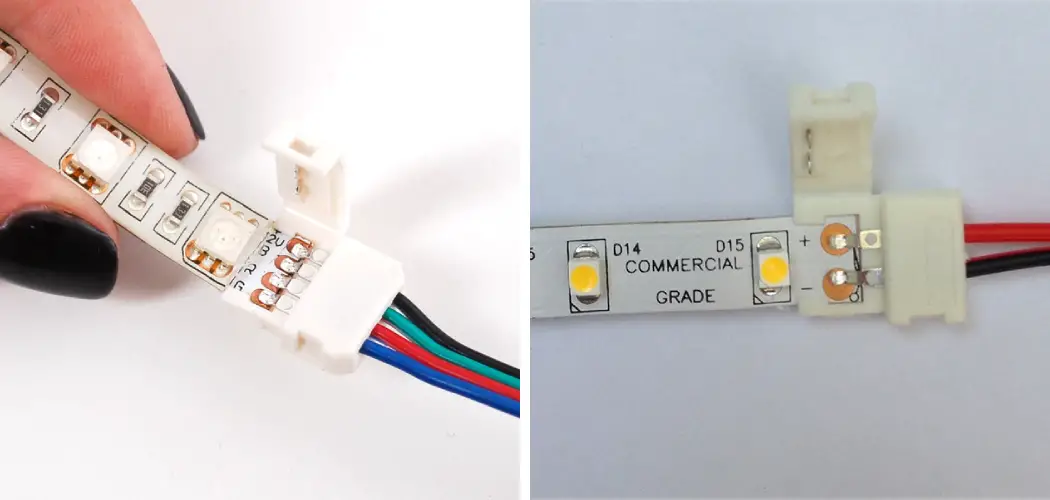
If you’re looking to add some extra light to your project, LED strips are a great option. But if you’re uncomfortable with soldering, don’t worry – there are other ways to connect them! In this blog post, we’ll show you how to connect LED strips without soldering using wire connectors. Read on for more tips on connecting LED strips.
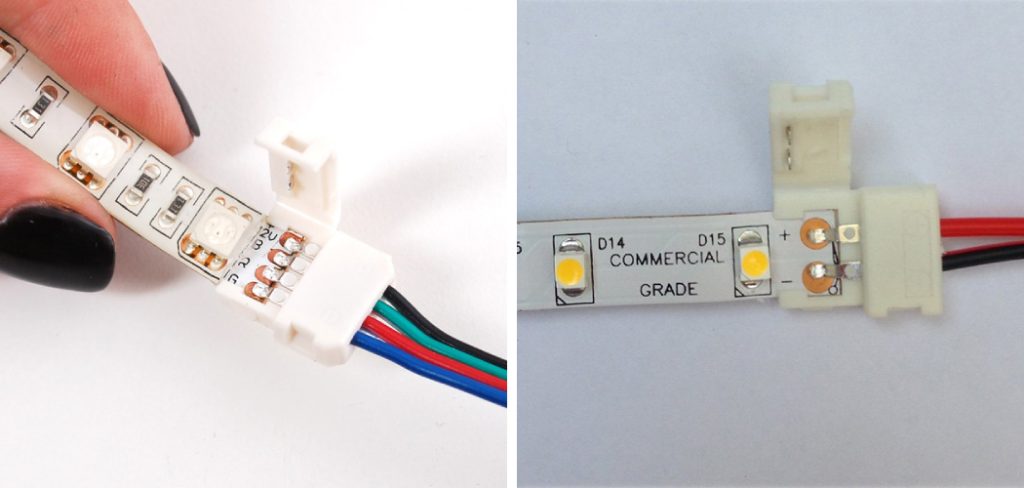
What Is the Advantage of LED Strips
LEDs are a versatile and energy-efficient way to add lighting to any space. One of the most popular ways to use LEDs is with LED strips. LED strips are flexible circuits that contain evenly spaced LED lights. They are popular for use in accent lighting, under-cabinet lighting, task lighting, and more. One of the advantages of LED strips is that they can be cut to size.
This means that you can customize your LED installation to fit your specific needs. Another advantage of LED strips is that they can be connected without soldering. This makes them ideal for do-it-yourself projects and for people who don’t want to deal with the mess and potential hazards of soldering.
What You’ll Need
- LED strips
- Wire strippers
- Screwdriver
- Cable ties or electrical tape
- Jumper wires (if needed)
7 Steps to Follow on How to Connect Led Strips Without Soldering
Step 1: Measure the Length of Your Project
Before you start connecting your LED strips, measuring the length of your project is important. This will ensure that you have enough LEDs to complete your project and that you do not exceed the maximum length for a single run of lights.
Step 2: Cut Your LED Strip
Once you have measured the length of your project, you will need to cut your LED strip to size. Most LED strips have a marked cutting line, making it easy to get a clean, even cut.
Step 3: Peel Back the Adhesive Backing
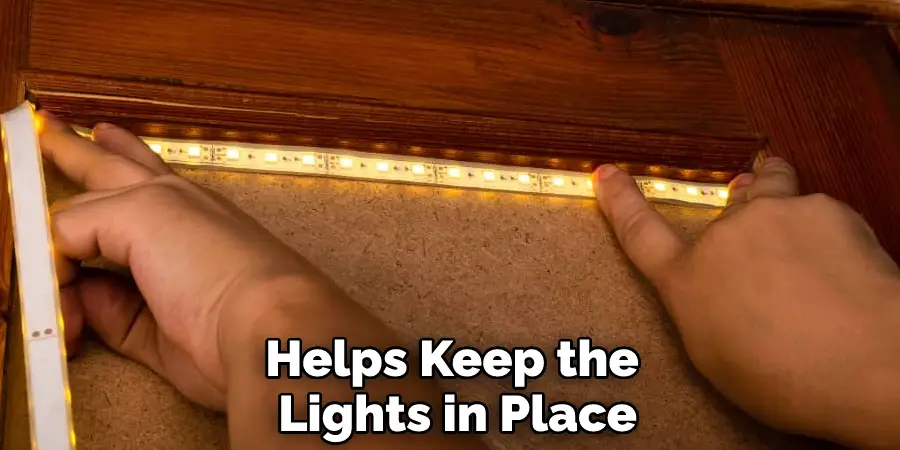
On the back of your LED strip is an adhesive backing that helps keep the lights in place. For this project, you will need to peel back a portion of the adhesive backing to expose the metal contacts.
Step 4: Align the Strip and Connect
Now you will need to align the LED strip with the power supply. Once the strip is lined up, you can press it into place and make sure that the metal contacts connect with the power supply.
Step 5: Repeat for Additional Strips
If you are connecting multiple LED strips, you will need to repeat steps 3-5 for each strip. Make sure you align the strips, so the light is distributed evenly.
Step 6: Test Your Connection
Once all of your LED strips are connected, you should test your connection by turning on the power supply. If everything is working properly, you should see the LEDs light up.
Step 7: Enjoy Your New Lighting
You have now successfully connected your LED strips without soldering! Enjoy your new lighting, and be sure to show off your handiwork to your friends and family.
That’s it! You’ve now learned how to connect LED strips without soldering. This process is quick, easy, and requires no special tools or skills. So go ahead and give it a try on your next lighting project.
5 Different Methods how To Connect Led Strips Without Soldering?
1. Use a LED Connector Kit:
This is one of the simplest and quickest ways to daisy chain your LED strips without soldering. The kit comes with a controller box and various lengths of connecting wires that you can use to join the strips together. Simply plug the strips into the controller box and then use the connecting wires to link them up. The kit also includes a power supply, so you must plug it in and switch it on.
2. Use 3M Adhesive Strips:
These thin adhesive strips are designed for use with LED strips. They are very easy to use – just peel off the backing paper and press the strip onto the LEDs. 3M adhesive strips are available in various widths to fit different types of LED strips.
3. Use Solderless Connectors:
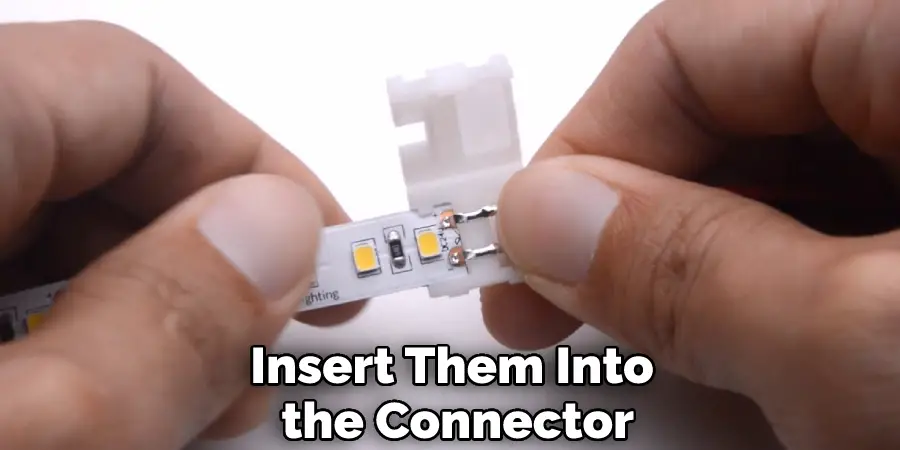
These are special connectors that have been designed for joining LED strips together without soldering. They are very easy to use – just strip back the insulation from the wires and insert them into the connector.
4. Use Electrical Tape:
This is a simple but effective way to join LED strips together without soldering. Just wrap the electrical tape around the connection point, ensuring good contact between the two surfaces. Electrical tape is available in various colors, so you can choose one that matches your décor.
5. Use a Hot Glue Gun:
This is another simple way to connect your LED strips without soldering. Just use a hot glue gun to adhere the two ends of the strip together. This method is not as reliable as soldering, but it will work in a pinch.
What Are Some Tips for Connecting Led Strips without Soldering?
While soldering offers a more permanent connection, connecting LED strips is not always necessary. If you’re looking for a temporary set-up or don’t have the tools for soldering, you can use a few alternative methods. One popular method is to use male and female 4-pin connectors. These simply clip onto the end of the strip and provide an easy way to connect multiple strips together.
Another option is to use electrical tape. This method is not as secure as soldering, but it’s still effective for temporary connections. Simply wrap the exposed wires around each other and then cover them with electrical tape. For a more permanent connection, you can also use twist-on wire connectors. These use screws to compress the wires together, creating a strong bond that won’t come undone easily.
No matter which method you choose, be sure to tuck any exposed wires away, so they don’t come into contact with metal surfaces. This will help prevent shorts and ensure a long-lasting connection.
What Are the Benefits of Connecting Led Strips without Soldering?
There are many benefits to connecting LED strips without soldering. First, connecting the strips without soldering is much quicker and easier. This can save a lot of time, particularly when working on large projects. Second, it eliminates the need for soldering equipment, which can be expensive and difficult to use.
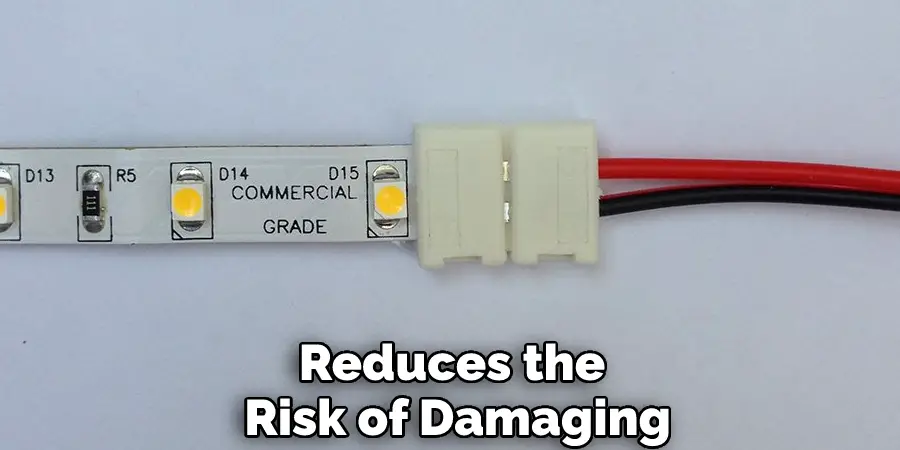
Finally, connecting the strips without soldering reduces the risk of damaging the LEDs. When soldering, there is always a risk of overheating the LEDs and causing them to break. By avoiding soldering, you can help ensure that your LEDs will last for many years.
Are There Any Risks Associated with Connecting Led Strips without Soldering?
While solderless connectors are a quick and easy way to connect LED strips, some potential risks are associated with their use. The most common problem is that the connection can become loose over time, causing the strips to lose power or flicker. In addition, the connectors can sometimes come loose on their own, which can be dangerous if the strips are being used in an area where people are walking or moving around.
For these reasons, it is generally recommended that LED strips be connected with soldering. While it is more time-consuming, it provides a more secure and durable connection that is less likely to cause problems down the road.
What Materials Do You Need to Connect Led Strips without Soldering?
When dealing with LED strips, the main thing you need to be aware of is the voltage. Most standard household voltage is between 110 and 120 volts, which is too much for LED lights. You will need to use a power supply to lower the voltage to 12 volts. This is accomplished by using a transformer.
You will also need two red and black wires to connect the LED strip to the power supply. The red wire is positive, and the black wire is negative. If you are not comfortable soldering, you can use quick disconnects or screw terminals to make the connection. Just be sure that whatever method you use can handle the amount of current that will be flowing through it.
How Do You Make a Connection Between Two Pieces of Led Strip without Solder?
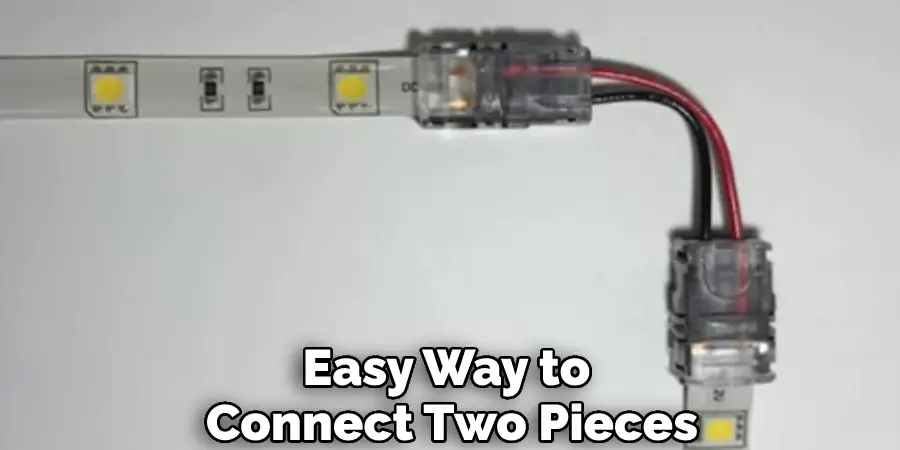
You will need a connector kit that is specifically made for soldering-less connection between two pieces of LED strip. The kit will have a female and male end, which you will need to line up and then screw together.
Once the two ends are connected, you can then use the provided wires to complete the circuit by connecting the positive and negative leads from one strip to the corresponding leads on the other strip.
This type of connection is not as secure as a soldered connection, so it is best used for temporary setups or areas where it would be difficult to sell. However, it is a quick and easy way to connect two pieces of the LED strip without having to solder.
Frequently Asked Questions
Do You Reconnect LED Strips Without Soldering?
Yes, you can reconnect LED strips without soldering. There are a few ways to do this, including using an electrician’s crimping tool or using pliers. Make sure that you determine the correct connector first and use the appropriate method for connecting it.
Can LED Light Strips Be Joined Together?
Yes, LED light strips can be joined together. However, it is important to follow the manufacturer’s instructions carefully to avoid any accidents or injuries. Additionally, make sure that all of your LEDs are equally bright and properly aligned before installing them.
Is It Better to Wire LEDs in Series or Parallel?
the best way to wire LEDs in series or parallel depends on the specific application and design of the circuit. However, wiring LEDs in series is generally considered to be a better choice because it leads to longer-lasting light output.
What Happens if You Wire a LED Light Backwards?
Your LED light could be hazardous if you wire it backwards. This is because when the current flows in the opposite direction, it can cause an electric shock that can damage your home or business. If this happens, don’t try to fix the problem yourself; call a professional who will be able to safely disconnect and rewire your lights without causing any further harm.

Conclusion
That’s all there is to it! By following these simple steps, you can easily connect LED strips without soldering. No messy fumes or dangerous equipment is required! Thanks for reading our post about how to connect led strips without soldering.
