
There’s something about LED light strips that makes everything look cool. From under-cabinet lighting to creating a spa-like atmosphere in your bathroom, they add a touch of luxury and style. In this article, we will show you how to install led strip on corners. So get your tools ready, and let’s get started!
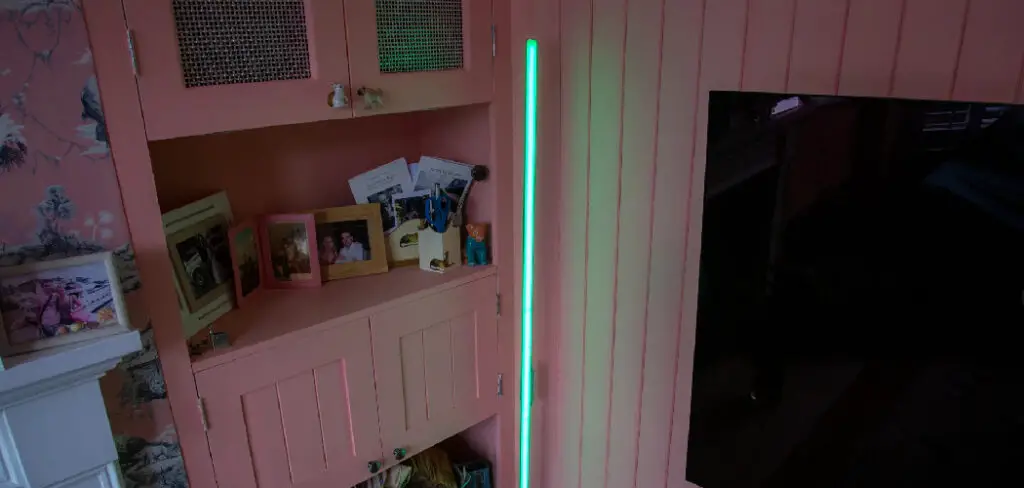
Led strips are very versatile, and you can use them in almost any house room. For example, you can fit a led strip on the corners of cabinets, under your kitchen or bathroom, behind furniture, picture frames, mirrors, etc. You’re good to go as long as you have an electrical outlet nearby to plug it into!
Summary: If you want to install a led strip on the corners of your room, follow these easy steps: 1. Measure the length and width of the corner you want to install the strip in. 2. Cut the desired length of the led strip. 3. Strip the end of the led strip so that it is even with the edge of the corner. 4. Solder the end of the led strip to the inside of the corner. 5. Trim the excess led strip off.
Things You’ll Need
- An Electric drill
- A Screwdriver
- Measuring tape
- A Pencil
A Step by Step Guide on How to Install Led Strip on Corners
Step 1: Pre-Planning
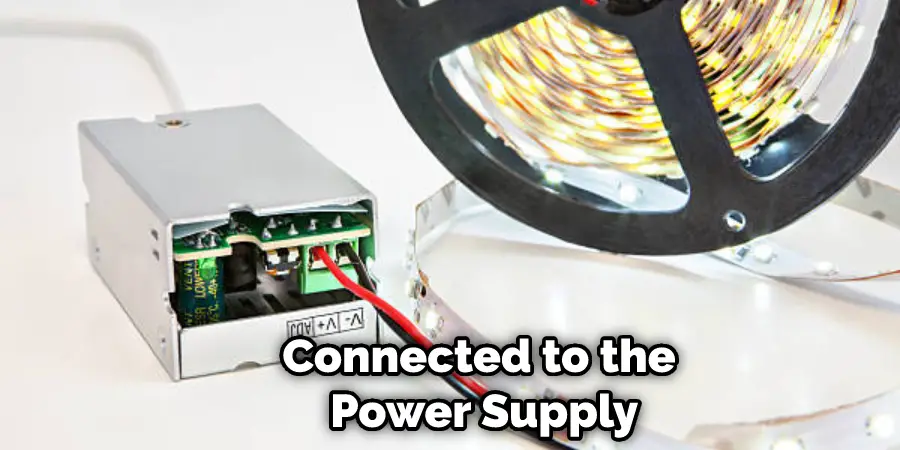
The end of the wire without anything attached to it will be connected to the power supply, and then plugged into the right spot for it. The side of the wire with the female connector attached will be plugged into the place where you want the strip lights to go, like under your kitchen cabinets or in a space in the ceiling.
Step 2: Preparation
Once you have decided on a good location for your LED strip, you want to prepare the area properly. This includes removing any old adhesives and cleaning up any dirt and debris that may be in the way of where your new adhesive will go. Once this is done, it should be easier to begin peeling off the backings and applying them as instructed in the manual.
Step 3: Prepare Surface for LED Strip
After preparing the area, it’s time to prepare the surface for your LED strip. This means ensuring that no foreign objects such as rocks or screws are in the way on the same plane as where your adhesive is going to go. Once this is done, you want to ensure there aren’t any air bubbles or gaps between strips and then attach them securely with electrical tape.
Step 4: Put on the Tape
Once your LED strip is securely attached, you’ll want to make sure there aren’t any sharp or uneven edges that could cut someone. To do this, put some electrical tape over the area and smooth it out evenly across the entire strip.
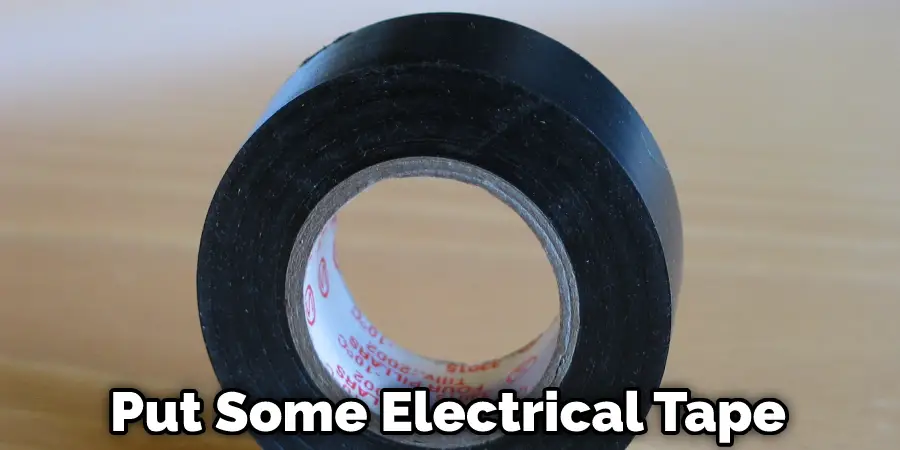
You will be able to run your hand or a roller smoothly over the surface without causing any damage to yourself or your decoration if nobody bothers trying to get through all of this tape at once.
Step 5: Mounting Track Light for Corners
After everything is ready and looking good with your LED strip installation on corners, it is time to install these fixtures.
Step 6: Placing Corners on Track Light
The purpose of this tape is to protect surfaces from damage. Once applied, the tape will create a smooth, barrier that will prevent people from accidentally damaging the surface.
Step 7: Attaching the Corners to the Track Light
After everything is in place and looking nice, you now want to make sure that your corners are securely attached as well as possible. This means making it such that there aren’t any gaps or bubbles between where this adhesive has been placed and how the corner fixtures sit on top of it.

How much pressure it will take to ensure a secure hold should be included with your LED strip fixture manual along with other installation guidelines. You must follow these instructions carefully until your fixtures are correctly attached to the track light system.
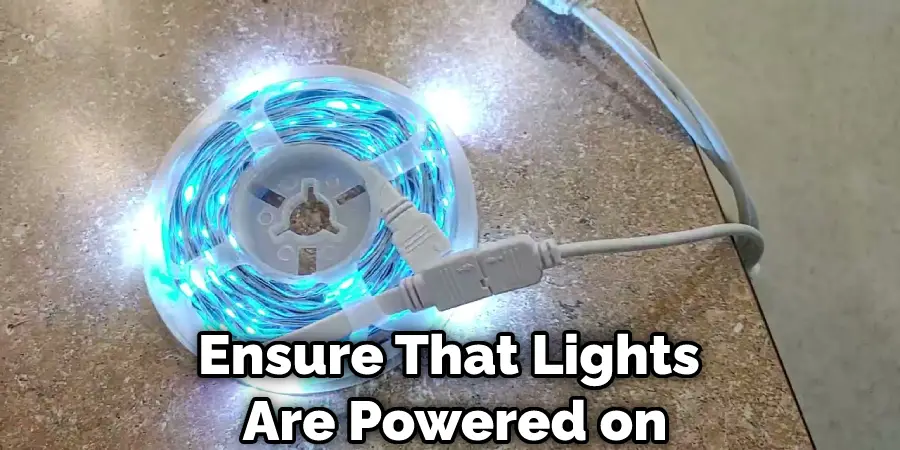
Step 8: Powering
Finally, you will want to ensure that your lights are powered on and ready to go. They should be placed where they will do the most good once they are turned on so you can see how it all looks when lit up properly before covering up any of your hard work with things like baseboards or doors. Then, once everything is set into place, you can simply turn these fixtures on and marvel at what a fantastic job you’ve done.
Step 9: Inspect your Work
To ensure that nothing is wrong or will be shorting out the power supply, you should turn them off and inspect your work. How things look once turned off can tell a lot about whether your lights will be secure throughout the night while not in use.
If something is going on with these fixtures after they’ve been turned off, it may indicate an issue with how they were installed and need to be looked into before using them properly for lighting up any area. How you inspect these tracks and what you’re looking for will depend entirely on instructions from your LED strip fixture manual, so follow those instructions carefully until everything is perfect.
Step 10: Clean Up
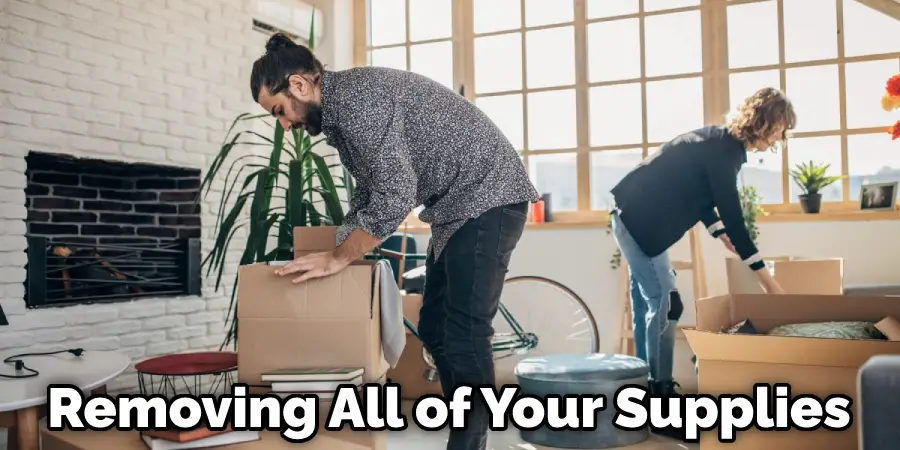
Upon completion of installation, it’s time to clean up. This means removing all of your supplies and carefully putting everything back where it belongs, so you don’t have to worry about being confused about what goes where in the future when working on setting things up for this particular project.
How much work you have left will depend entirely upon which LED strip fixtures you choose to use for this installation. According to any manual that came with them or other guidelines set by their manufacturer, getting them to put away correctly should be easy enough.
Step 11: Decorate away!
After all of this is done and you have your lights set up and ready to go, it’s time to decorate. How you decide to organize this particular space will entirely depend on your needs and where you would like these fixtures placed. If everything is working correctly and you know how to make your LED strip work with the track light system, anything goes!
How long your installation takes should be way less than 30 minutes if everything has been done correctly. How long it takes beyond that depends on how much time you spend getting things perfect or finding out why something isn’t giving off enough light for a specific area of concern.
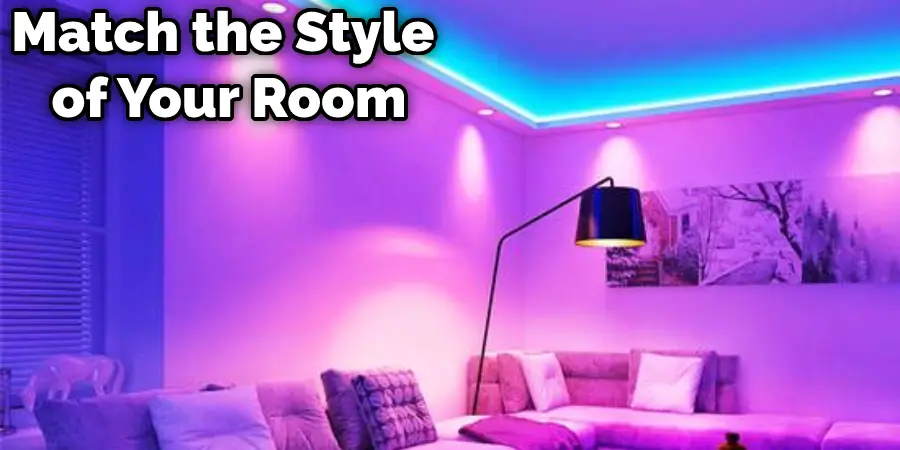
These steps will help in how to install led strip on corners. Once installed correctly, the corners might not look right if they do not match the style of your room because most people are looking for a design to match their home décor rather than an industrial one. I’m sure you would want to create a stylish glow around your room at this point.
You Can Check It Out to: Bend Led Lights Around Corners
Tips and Warnings
Tips:
- When tightening the screws, be careful not to over-tighten them. Doing so can strip the screw holes and damage your LED light strips.
- You may want to use some rubbing alcohol with a cotton ball to wipe off the wire connectors after disconnecting one of them to ensure that no dirt or stains get on any of the lights when they are unplugged.
- If you plan on cutting your lights, make sure you know where all six wires (positive/negative) are located inside each connector housing before cutting each end of the strip. This will help you avoid damaging any of the internal wires while trying to remove it from its housing if you need to reuse part of this strip.
- If you’re using the connectors provided with your lights and it’s difficult to strip the wires, try stripping a smaller section of each wire before inserting them into their respective housing. This will make it easier to push them in and ensure that no cables are damaged.
Warnings:
- The wire connectors will get very warm. Be careful not to touch them or anything flammable within a short distance of the lights while they are turned on and running for an extended period (more than 10 minutes).
- LED light strip can be positioned horizontally and vertically and is adhered with 3M adhesive backing (provided with each strip), allowing you to install it virtually anywhere inside your computer case or another surface without drilling any holes.
You Can Check It Out to: Install Daybetter Led Strip Lights
Frequently Asked Questions
Can Led Strip Lights Go Around Corners?
It is important to keep in mind that they may not be as bright as traditional light bulbs and you might experience a longer installation time due to the decreased brightness levels. That said, if you’re looking for an affordable way to add some personality or lighting enhancement to your spaces, Led Strip Lights are a great option!
Where Do You Put Led Strips?
Strip lighting has a number of uses in retail, including illuminating artwork or product displays, adding excitement to an area, and providing enhanced security for customers.
When choosing which type of strip light to install, it is important to consider your needs and goals. Incandescent lights provide a warm glow that can add accessibility and charm to areas such as entrances or hallways. These types of strips also have limited options for brightness adjustment so make sure you choose the right one for your specific application. Compact fluorescents (CFLs) offer more flexibility with their various brightness levels but may be less ideal if you want accentuated colors at certain times of the day or year.
Should You Sleep With Led Strip Lights on?
If you find that you are always awake during the night because of anxiety or other sleep problems, then adding light therapy to your routine may be a good solution for you. However, if you generally enjoy a peaceful sleep and do not experience any issues with insomnia, then there is little reason to add light therapy into your schedule. Ultimately, it’s important to listen to your body and experiment until you find what works best for you.
Can Led Lights Cause a Fire?
When a light is turned on, the electric current running through it will start a fire if the light is not properly protected. This is because the electric current creates heat, which can create a spark that sets off the fire.
There are a few ways to prevent this from happening: by using a light bulb with a safety shutter that blocks the electric current from going to the bulb, by using LED lights that are specifically designed to not create sparks, or by using flammable materials such as cloth or paper to cover the LED light.
Conclusion
We hope you have gone through the article on how to install led strip on corners.
You Can Check It Out To Make a Led Bucket Light