
Do you want to know how to connect rope lights to each other? It’s a lot easier than you might think! In this article, we will teach you the basics of connecting rope lights so that you can create beautiful displays for your home or business. Keep reading to learn more!
Summary: To connect rope lights, follow these simple steps: 1. Twist the light cord around the spool until it forms a loop. 2. Hold the loop between your thumb and first two fingers. 3. Thread the light cord through the loop from front to back. 4. Tug on the light cord to tighten the connection.
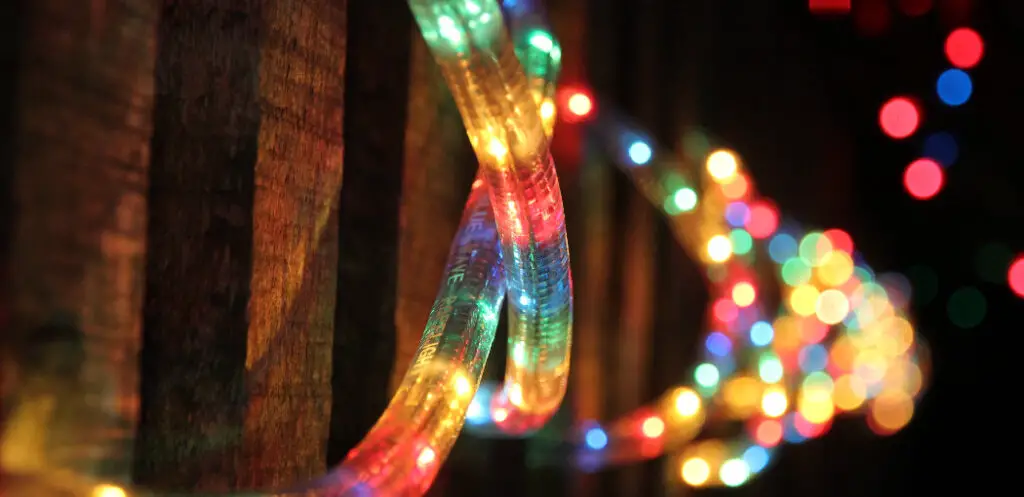
When you connect rope lights, it creates a more seamless and uniform display. This is especially important when using rope lights to create a sign or logo, as it will be more visually appealing. Additionally, connecting the ropes lights helps keep them in place, which can be helpful if you are using them outdoors.
Things You Will Need:
To connect rope lights, you will need the following items:
- Rope lights
- Screwdriver
- Wire cutters
- Stapler
- Ladder (optional)
How to Connect Rope Lights to Each Other Step by Step
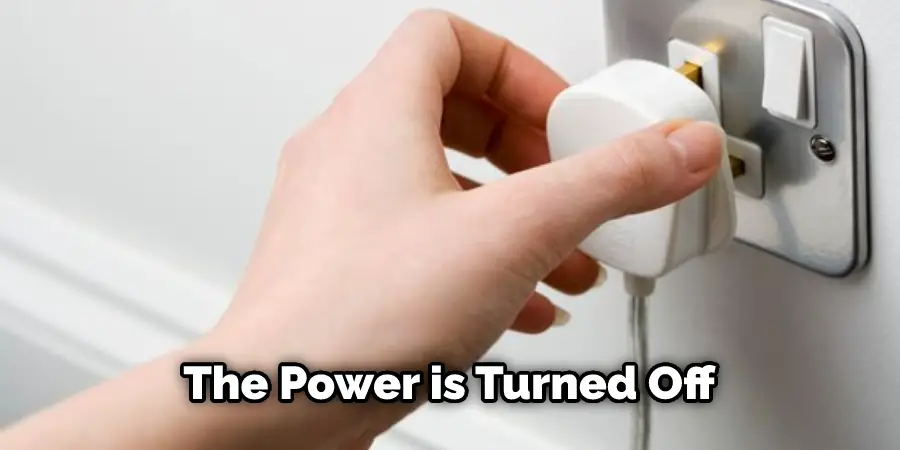
Step 1: Turn Off the Power
Before connecting your rope lights, make sure that the power is turned off. This will help to prevent accidents or injuries. You can turn off the power at your circuit breaker or fuse box. If you are not comfortable turning the power off yourself, consider contacting an electrician.
Step 2: Remove Protective Covering
Once the power is off, carefully remove the protective covering on each of the lights. You can use your hands or scissors to do this. You might need to unwrap multiple layers of covering at once. There should be some insulation between each strand, so you don’t want them tangled together.
Step 3: Cut the Rope Light
Once the protective covering has been removed, cut the rope lights in half. You can use wire cutters for this step. If you are connecting two different rope lights, make sure that they match up correctly by looking at the number of wires on each strand.
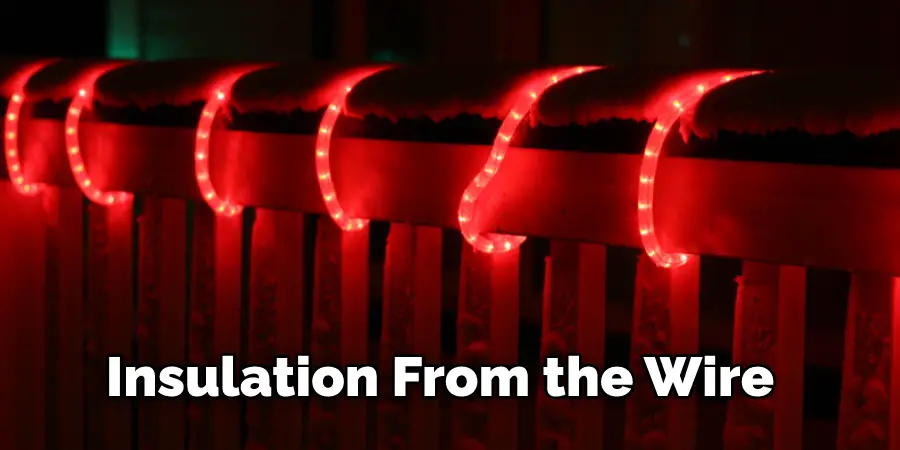
Step 4: Strip Insulation From The Wire
You will need to strip the insulation from the wire on both ends of each of these individual strands. You can use your screwdriver, a set of pliers, or even your fingernails for this step.
Step 5: Twist Bare Wires Together
Twist the two bare wires together at one end of both ropes lights. This connection is very tight, so the wire doesn’t slip off. Use your screwdriver or pliers to twist the wires together if you don’t want to do it by hand.
Step 6: Connect Two Rope Lights
To connect two rope lights, you need to link their bare wires together. You can use a screwdriver or pliers to help you with this. If you want to connect more than two rope lights, you need to repeat steps five and six until all of the lights are connected.
Step 7: Repeat Steps Four to Six
Repeat these same steps at each of the cut ends of the rope lights. Try to connect the ropes lights so that each cut end has one loose strand on each side. This will help keep your lights in line, rather than having some loose ends and some tight ends. Step 5: Connecting the Rope Lights to a Power Supply Show All Items
Find a flat surface and lay all of your rope lights out in a long line.
Step 8: Zip Tie in Place
After you connect the ends of both ropes lights, zip ties them in place. This will keep your lights from sliding apart. You can use a zip tie gun to do this quickly and easily. It is very tight since this is how the lights will stay!
Step 9: Turn on Power!
Your rope lights should now be connected and ready to shine! Turn the power back on at your circuit breaker or fuse box. Enjoy how beautiful they look, and show off your handiwork to everyone you know!
Different Types of Led Rope Light Connectors
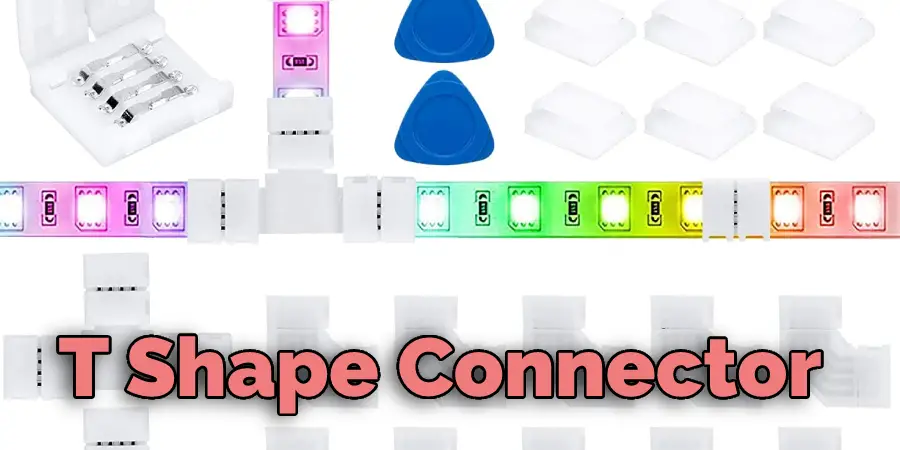
1. T Shape Connector:
The T Shape Connector is the most basic connector for LED rope lights. It is simply a plastic piece with three holes in it, designed to connect three strands of LED rope lights. To use it, you will need to twist the wire strands around each other and then insert them into the holes in the connector. Make sure that they are tight so they don’t come loose.
2. Straight Line Connector:
The Straight Line Connector is a more advanced connector designed to connect four strands of LED rope lights in a straight line. It has two metal pins on each side, which help to hold the wires in place. To use it, you will need to twist the wire strands around each other and then insert them into the slots on either side of the connector. Again, make sure that they are tight so they don’t come loose.
3. Y Shape Connector:
The Y Shape Connector is another connector designed to connect three strands of LED rope lights. It is shaped like, you guessed it, a Y. To use it, you will need to twist the wire strands around each other and then insert them into the two holes on the top of the connector. Again, make sure that they are tight so they don’t come loose.
4. Splice Connector:
The Splice Connector is a more advanced connector designed to connect two strands of LED rope lights. It has a metal connector on each side, which helps hold the wires in place. To use it, you will need to twist the wire strands around each other and then insert them into the slots on either side of the connector. Again, make sure that they are tight so they don’t come loose.
5. End Cap Connector:
The End Cap Connector is the most advanced connector, designed to connect two strands of LED rope lights. It has a metal connector on each side, which helps hold the wires in place. To use it, you will need to twist the wire strands around each other and then insert them into the slots on either side of the connector. Again, make sure that they are tight so they don’t come loose.
6. X Connector:
The X Connector is designed to connect three strands of LED rope lights in an X pattern. It has two metal pins on each side, which help to hold the wires in place. To use it, you will need to twist the wire strands around each other and then insert them into the slots on either side of the connector. Again, make sure that they are tight, so they don’t come loose if you want to know more about how to connect rope lights to each other, keep reading.
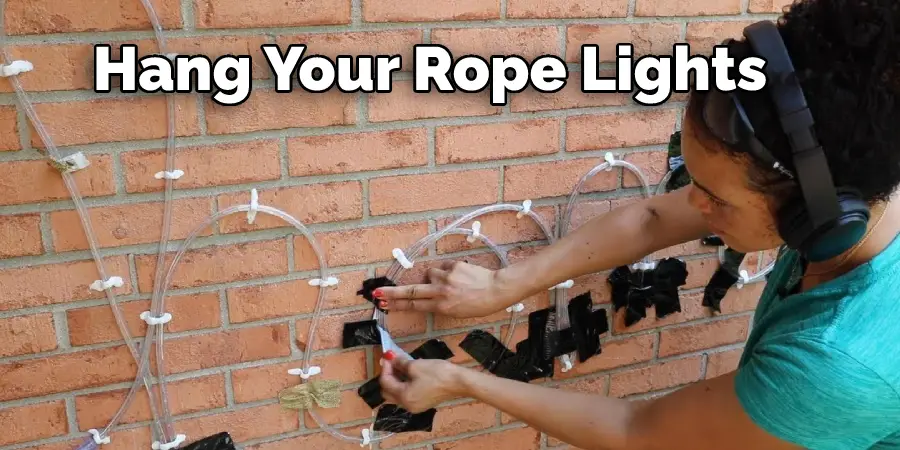
How To Hang Rope Lights On A Wall Without Nails (5 Easy Ways)
1. Use Transparent Tape:
If you don’t want to use nails to hang your rope lights on the wall, you can use transparent tape. This is a less permanent solution, and the tape can be removed without damaging the wall. Plus, it’s easy to use – stick the tape to the wall and attach the rope lights to it!
2. Use Command Strips:
Command strips are a great way to hang things on walls without nails. They are a temporary adhesive, so they won’t damage the wall or leave marks. Plus, they’re easy to use – stick them to the wall and attach the rope lights to them!
3. Use Rope Light Clips:
Rope light clips are easy to hang your rope lights on the wall without using nails. They are simple to use – attach them to the back of your rope lights and then clip them onto nails or hooks in the wall.
4. Adhesive Hooks And Clips:
Adhesive hooks and clips are an easy way to hang your rope lights on the wall without nails. They are simple to use – attach them to the back of your rope lights and then stick them to the wall.
5. Brick Clips
Brick clips are an easy way to hang up your LED lights. They’re simple to use – attach them to the back of your lights and then stick them anywhere you want on a brick or block wall. Keep reading for more information about how to connect rope lights to each other.
You Can Check It Out to Attach Rope Lights to Concrete
Why Should You Use Rope Lights?
There are several reasons why you should use rope lights to decorate your home. Here are some of the benefits:
1. Rope lights are versatile – they can be used to decorate any room in your home, in any style you choose.
2. Rope lights are easy to use – they’re simple to install and can be attached to any surface without nails or screws.
3. Rope lights are affordable – compared to some other types of LED lighting, rope lights are very affordable.
4. Rope lights are energy-efficient – LED rope lights use very little energy and last for a long time.
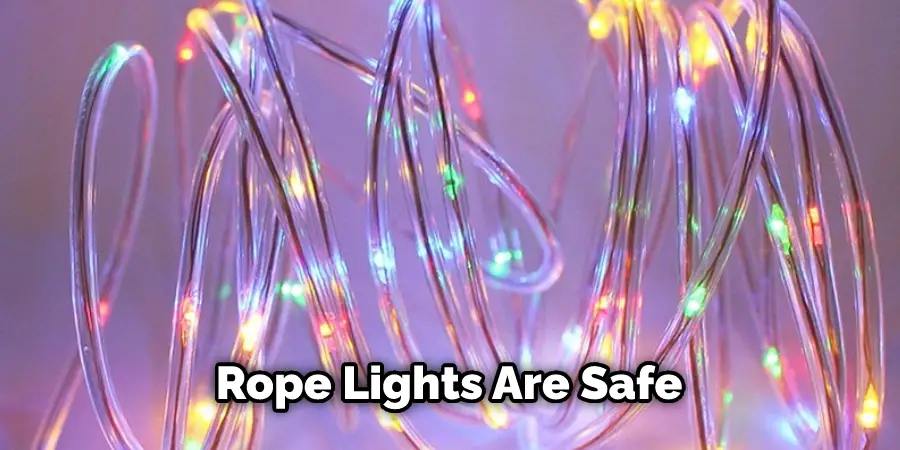
5. Rope lights are safe – they don’t get hot like some other types of lights.
Frequently Asked Question
Can You Connect Two Rope Lights?
Yes, you can connect two rope lights using a connector. There are several different types of connectors available, so make sure you choose one compatible with your rope lights.
How Many Can Rope Lights Be Connected?
Using the appropriate connectors, you can connect as many rope lights as you want. Make sure to choose the connectors that are compatible with your rope lights.
What Is the Difference Between Electric Rope Lights and Battery-Powered Rope Lights?
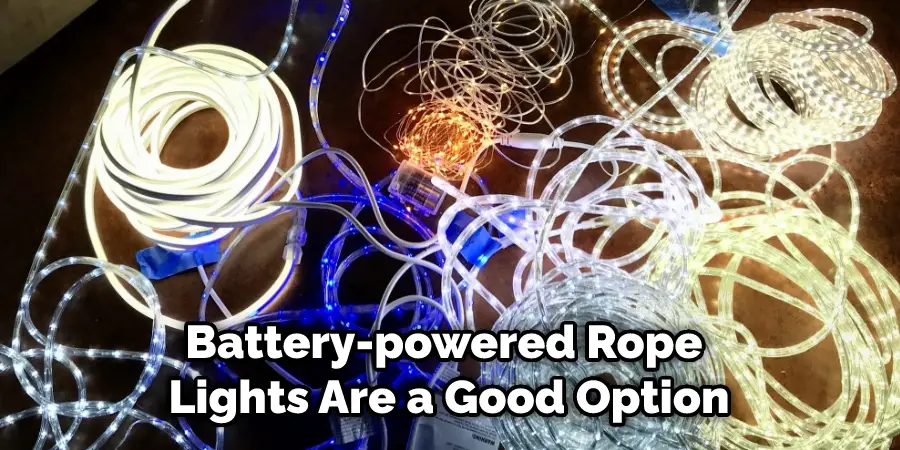
Electric rope lights are powered by an electric current, while batteries power battery-powered rope lights. Battery-powered rope lights are a good option if you want to use rope lights in a location where there is no access to power.
How Do I Connect Rope Lights to Each Other?
There are a number of different connectors available to connect rope lights to each other. The X connector is a type of connector designed to connect three strands of LED rope lights together in an X pattern. It has two metal pins on each side, which help to hold the wires in place. To use it, you will need to twist the wire strands around each other and then insert them into the slots on either side of the connector. Again, make sure that they are tight so they don’t come loose.
What Is the Best Way to Connect Rope Lights to Each Other:
There are a number of different connectors available to connect rope lights to each other. The X connector is a type of connector designed to connect three strands of LED rope lights together in an X pattern. It has two metal pins on each side, which help to hold the wires in place. To use it, you will need to twist the wire strands around each other and then insert them into the slots on either side of the connector. Again, make sure that they are tight so they don’t come loose.
You may read also How to Open Half Lantern Outside Light
Conclusion
Connecting rope lights to each other It’s easy! You can use a “daisy chain” or “string” method. Simply connect the end of one string to the beginning of another, and then repeat until all ropes are connected. This is great for connecting multiple sets together in a row if you’re not sure which wire goes where try matching up colors on two different strings before joining them together so that red wires go with red wires and black wires with black. Good luck! Thanks for reading our post about how to connect rope lights to each other.
You Can Check It Out To My Security Light Keep Flashing