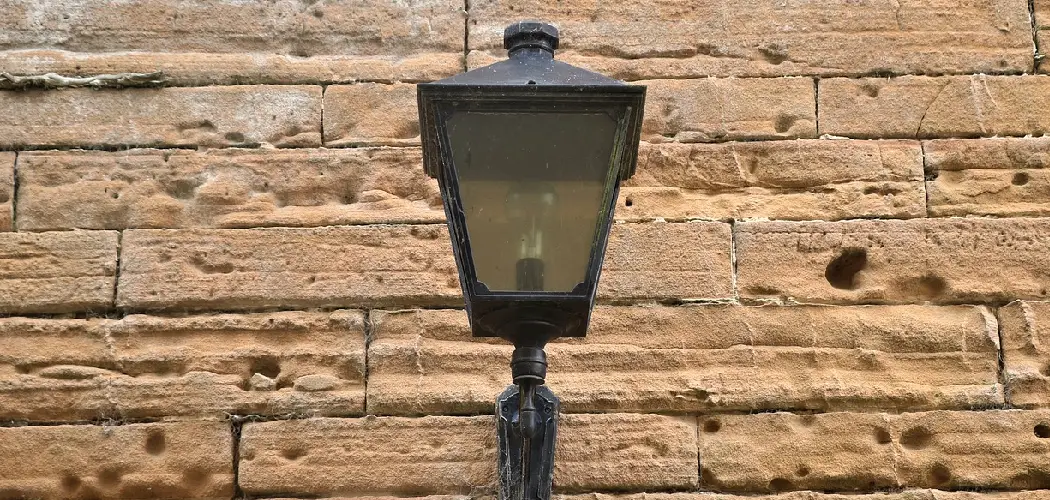
Outdoor lighting can be a great way to add beauty and security to your home. However, installing outdoor light on a brick wall can be tricky. In this blog post, we’ll show you how to install outdoor light on brick wall to enjoy your new lighting without any hassle.
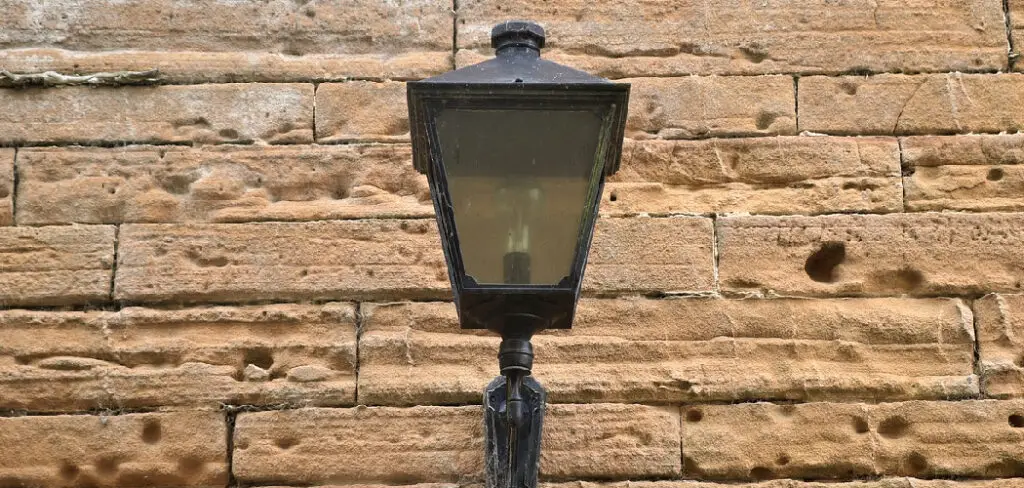
Summary: Installing an outdoor light on a brick wall involves careful planning, selecting the right light fixture, and using the proper tools and techniques to ensure a secure and long-lasting installation. Begin by choosing a suitable location on the brick wall for the light fixture, considering factors such as accessibility, wiring, and aesthetics.
First, gather the necessary tools and materials, including a masonry drill bit, a power drill, a hammer, wall anchors designed for brick or masonry, screws, a screwdriver, a level, and the light fixture. Turn off the power to the circuit where the new light will be connected, and consult local electrical codes and safety guidelines for proper wiring practices. Drill a hole in the brick wall for the electrical wiring, ensuring the hole is large enough to accommodate the wiring and any conduit or junction box required by local codes.
Use a masonry drill bit and a power drill to drill holes for the mounting hardware, following the manufacturer’s instructions for the light fixture. Use a level to ensure proper alignment of the holes. Insert masonry wall anchors into the drilled holes, tapping them gently with a hammer until they are flush with the brick surface. Feed the electrical wiring through the hole and connect it to the light fixture, following the manufacturer’s instructions and adhering to local electrical codes.
Attach the light fixture to the brick wall using screws, ensuring a secure and level installation. Once the light fixture is installed, turn the power back on and test the outdoor light to ensure proper function and alignment. Properly installed outdoor lighting on a brick wall can enhance the safety and visual appeal of your property.
Why Install Outdoor Light on Brick Wall?
There are many reasons why you might want to install outdoor light on a brick wall. Some of the most common reasons include adding beauty and security to your home. Outdoor lighting can also make your home more inviting and add a touch of elegance. Additionally, installing outdoor light on a brick wall can help improve your home’s security by deterring potential burglars.
Why Is It Tricky to Install Outdoor Light on A Brick Wall?
Brick walls are not the easiest surface to work with when installing anything. They’re hard and uneven, making it difficult to get a good grip or secure hold. This is especially true for an outdoor light, which needs to be mounted securely to function properly.
Required Materials
- Outdoor light
- Drill
- Masonry bit
- Level
- Pencil
- Hammer
- Chisel
- Safety glasses
- Gloves
How to Install Outdoor Light on Brick Wall Step by Step Guide
Step 1: Choose a Location for The Fixture
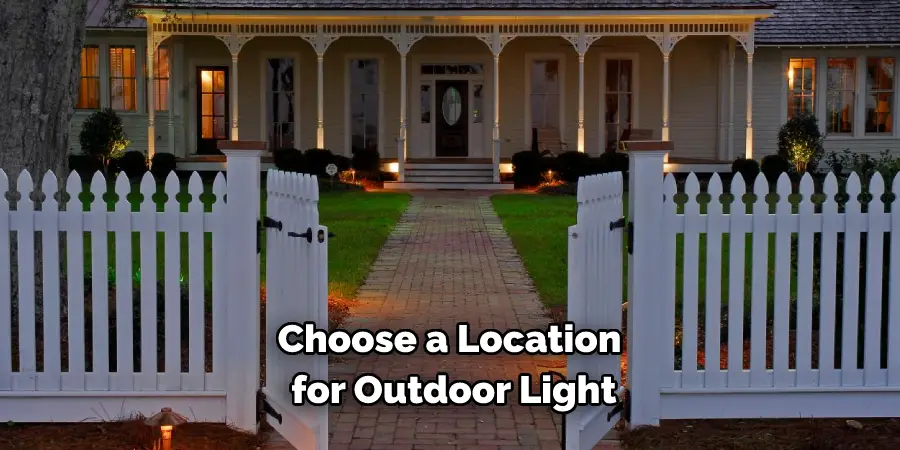
When choosing a location for your outdoor light fixture, keep in mind that it will need to be near an outlet. You’ll also want to ensure that the spot you choose has enough clearance for the fixture and any cords or wires.
Step 2: Nail an Electrical Box
Once you have chosen the spot for your outdoor light, it is time to install the electrical box. This will provide a safe and secure place for your light fixture to be attached.
Begin by measuring the height and width of the space where you would like to install your light. Once you have those dimensions, purchase an electrical box that is the appropriate size.
Next, use a hammer to nail the electrical box to the brick wall. Make sure that it is level and securely in place. Once it is attached, you can then install your light fixture.
Step 3: Position a Surface-Mount Electrical Box(Optional)
Once you have chosen the location for your light, you will need to install a surface-mount electrical box. This is where you will attach the electrical wiring that will power your light. Please choose a location on the brick wall near an outlet and mark it with a pencil.
Use a drill to make a hole in the brick wall that is the same size as the electrical box. If you are not comfortable drilling into the brick wall, you can hire a professional to do it for you.
Once the hole is drilled, insert the electrical box into it and use screws to attach it to the brick wall. If you are using a metal electrical box, be sure to use screws made for metal.
Step 4: Position the Lamp
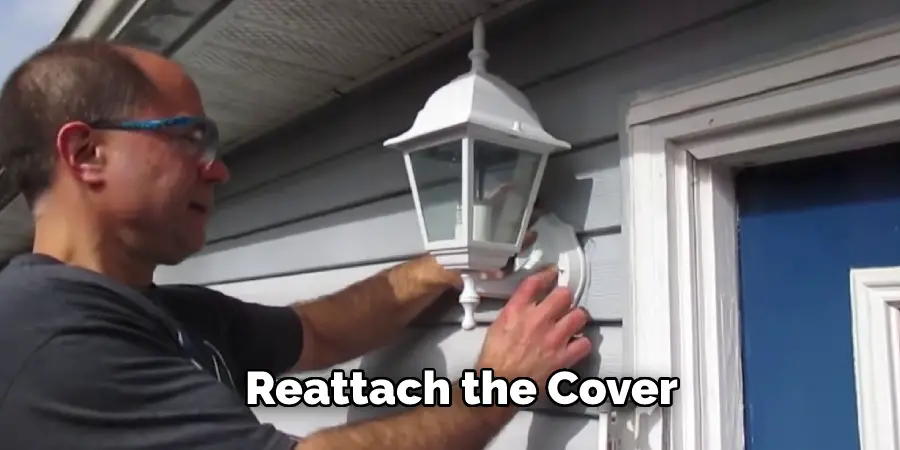
Once you have positioned the light where you want it, use the screws that came with it to secure it in place. Use a level as you screw in the light to keep it straight. If your brick wall has any mortar missing, use a putty knife or other sharp object to fill in the gaps before installing the light. Reattach the cover once the light is in place and screw it in tight. If you are using a timer switch, now is the time to install it.
Step 5: Drill a Hole Into the Brick
Now that you have found the spot on the wall where you want to install your light, it is time to drill a hole. This will create an opening to pass the wire and secure the light. Use a power drill with a masonry bit to drill into the brick. Be careful not to drill too deep, or you may damage the wall.
Step 6: Plan the Path of The Wiring
Once the light is mounted on the wall, you need to think about how you will get power to it. You can either run an extension cord from an outlet inside your home or garage or hardwire the light directly into your home’s electrical system. If you decide to hardwire the light, you will need to drill a hole in the brick wall and run the wiring through it.
If you are running an extension cord, you will need to find an outlet near the light that is not covered by a tree or other obstruction. Once you have determined the wiring path, use a drill to make a hole in the brick wall for the wire to pass through.
Step 7: Remove the Box and Drill
LED light strips are a type of light that can be mounted on a wall. They are not known to come off the wall, but if you plan on moving them around regularly it is best to use a mount or holder. This will help to keep the light strips from getting damaged.
Step 8: Feed Electrical Wire
Now it’s time to feed the electrical wire into the conduit. As before, be careful not to kink or damage the wire as you feed it through. Once the wire is fed through, you can connect it to your light fixture according to the manufacturer’s instructions.
Step 9: Anchor the Conduit to The Wall
You will need to use anchors to fasten the conduit securely to the brick wall. This can be done with either masonry anchors or metal straps. You must use the correct type of anchor for your specific application, as failure to do so could result in a dangerous situation. Consult with a professional if you are unsure which type of anchor to use.

Step 10: Screw the Mounting Bar
Now it’s time to take your new outdoor light and screw the mounting bar to the wall. Start by holding the light against the wall where you want it to go. Then, using a drill, screw the mounting bar into the wall. Be sure to use screws that are long enough to go through both the brick and the mounting bar. Now it’s time to screw the light onto the mounting bar. Start by holding the light against the wall where you want it to go. Then, using a drill, screw the light onto the mounting bar. Be sure to use screws that are long enough to go through both the brick and the light.
Now that you’ve installed the mounting bar installing the light is time. First, hold the light against the wall where you want it to go. Then, using a drill, screw the light into the mounting bar. Be sure to use screws that are long enough to go through both the brick and the light.
Once the light is securely in place, it’s time to plug it in and test it out! Keep reading for more information about how to install outdoor light on brick wall.
Additional Tips When Installing Outdoor Light on Brick Wall
Installing outdoor lights on brick walls can be tricky, but with the right approach, it can be done safely and securely. Here are some additional tips to keep in mind:
- Pre-drill holes: To avoid cracking the brick, it’s important to pre-drill pilot holes where the screws will go.
- Use appropriate screws: Make sure to use screws that are appropriate for brick anchors. They should be long enough to go through the bracket and the anchor and into the brick but not so long that they damage the brick behind it.
- Choose the right light: Consider the size and style of the light fixture you want to install. Make sure it’s the right size for the space and that the design complements your home’s exterior.
- Check local codes: Make sure to check with your local building codes to ensure that the placement and installation of your outdoor light fixtures are up to code.
- Use a level: Make sure to use a level when installing your light fixture to ensure that it is installed straight.
- Turn off the power: Before installing your light fixture, turn off the power to the area where you’ll be working.
How Do You Install Exterior Light on Brick?
There are many reasons why you might want to install exterior light on a brick wall. Perhaps you want to add extra lighting to your home’s exterior for safety or security purposes. Or, maybe, you want to add a bit of curb appeal to your property. Whatever your reasons, installing an outdoor light on a brick wall is relatively easy.
The first step is to choose the right light fixture. Many different types of outdoor lights are available, so you should be able to find one that will suit your needs. Once you’ve chosen a fixture, ensure it’s rated for outdoor use. Most outdoor fixtures are, but it’s always best to check.
Next, you’ll need to determine where to install the light. Most exterior lights are mounted either on the wall or the roof. If you’re mounting the light on the wall, you’ll need to find a spot out of the way of people and vehicles. The light should also be high enough to provide adequate lighting.
Once you’ve determined where to install the light, it’s time to start drilling. Most outdoor light fixtures come with a mounting bracket that will allow you to attach the fixture to the wall. If your fixture doesn’t have a bracket, you can use a masonry drill bit to make some holes in the brick.
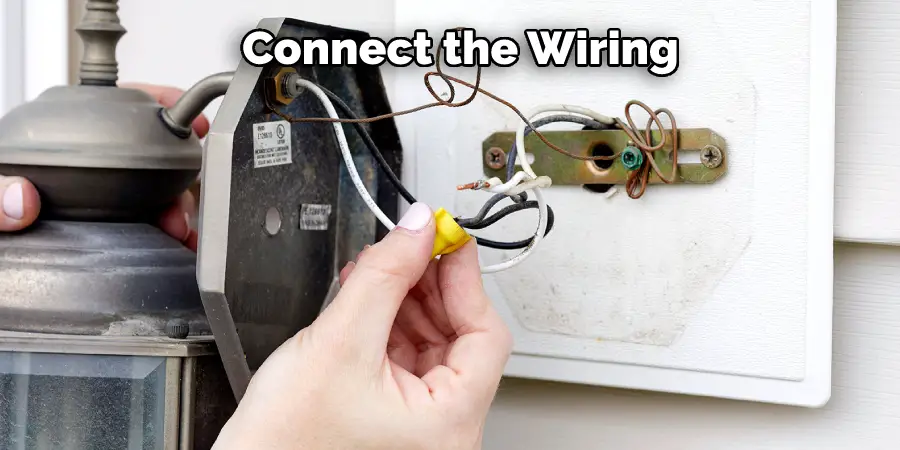
Once the fixture is securely attached, you have to connect the wiring. Most outdoor light fixtures come with instructions that show you how to do this. In most cases, you’ll need to connect the black wire to the black wire, the white wire to the white wire, and the green wire to the green wire. If you want to know more about how to install outdoor light on brick wall, keep reading.
Frequently Asked Question
Do Exterior Lights Need a Box?
There is no definitive answer as to whether or not exterior lights need a box. However, most electricians will install a box for exterior lights to ensure that the wiring is properly protected from the elements.
Can You Install a Light Fixture without A Junction Box?
Yes, you can install a light fixture without a junction box. Instead, you will need to use a surface mount electrical box. This type of box is designed to be installed directly onto the wall’s surface.
What Kind of Box Do You Use for Outdoor Lighting?
You will need a weatherproof box for your outdoor light. This box should be made of plastic or metal and have a gasket or seal to keep out moisture.
Conclusion
Installing outdoor light on brick walls can be a daunting task. However, by following these simple steps and using the right tools, you can have your light installed in no time! Have you ever installed outdoor light on a brick wall? What tips would you add to this list? Thanks for reading our post about how to install outdoor light on brick wall.
