
Are you looking for a way to make your home or office brighter? LED lighting is becoming increasingly popular, not only because it lasts longer and is more energy efficient, but also due to its modern look. A great option for maximum light output would be to wire two LED tubes directly into the power source.
While it may sound intimidating at first glance, this process is surprisingly straightforward if you have some basic electronics knowledge. Keep reading this blog post on how to direct wire led tubes to learn how to direct wire two LED tubes as well as other important safety considerations that need to be taken when performing this task.
What is Direct Wiring?
Direct wiring, also known as hardwiring or bypassing the ballast, involves removing the ballast from a fluorescent light fixture and connecting the LED tubes directly to the power source. By doing this, you eliminate the need for a ballast altogether and can achieve maximum lumen output from your LED tubes.
Things to Consider Before You Start
Before you begin the process of direct wiring, there are a few things that you need to keep in mind:
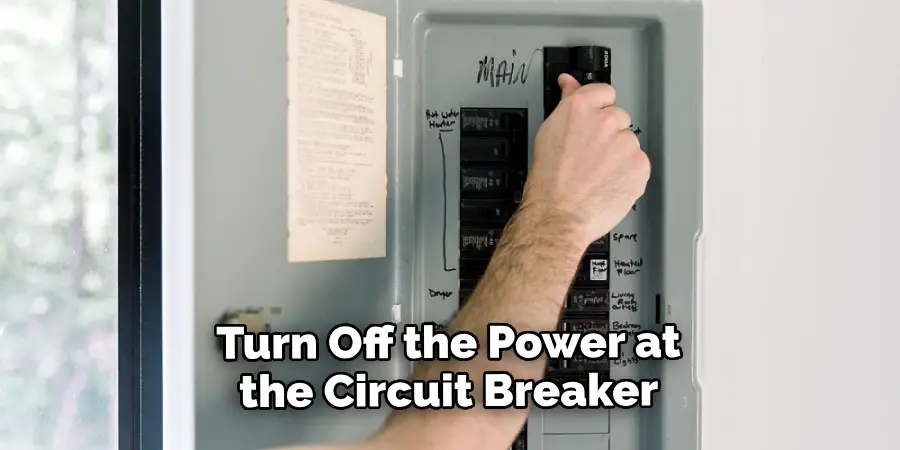
- Safety Should Always Be Your Top Priority. Make Sure to Turn Off the Power at the Circuit Breaker Before Starting Any Electrical Work.
- Familiarize Yourself With Your Light Fixture’s Wiring Diagram and Understand How It is Currently Wired.
- Make Sure the Led Tubes You Are Using Are Compatible With the Direct Wiring Method. Not All Led Tubes Can Be Directly Wired, So Be Sure to Check the Manufacturer’s Instructions.
- If You Are Not Confident in Your Electrical Skills, It is Best to Hire a Professional Electrician to Handle the Installation for You.
10 Easy Step-by-step Guides on How to Direct Wire Led Tubes
Step 1: Turn Off the Power
Always remember to turn off the power at the circuit breaker before performing any electrical work. If possible, it is also recommended to use a voltage tester to ensure that the power is completely shut off. You can never be too careful when it comes to electrical work. This step is crucial for your safety. So, do not overlook it.
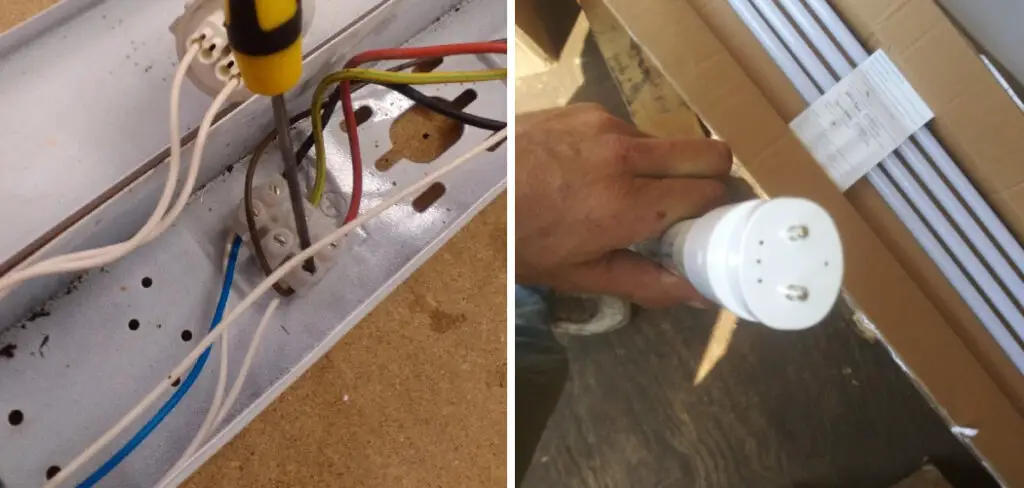
Step 2: Remove the Old Ballast and Starter
The next step is to remove the old ballast from your fluorescent light fixture. You will also need to remove the starter if your fixture has one. Be sure to follow the manufacturer’s instructions for proper removal. Otherwise, you may damage the fixture or harm yourself. It is recommended to take a picture of your fixture’s wiring before removing any components for future reference. So, you can easily rewire the fixture once you are done.
Step 3: Identify the Power Source Wires
Next, identify which wires are coming from your power source. Usually, there will be a black (hot), white (neutral), and green or copper (ground) wire. If you are unsure which wires to use, consult an electrician for assistance. But, if you feel confident, you can use a voltage tester to identify the live wires. Be sure to follow all safety precautions while handling electrical tools. Otherwise, you may risk electrocution.
Step 4: Connect the LED Tubes
Once you have identified the power source wires, carefully connect them to the corresponding input wires on your LED tubes. The positive wire (marked with “+” or red) should be connected to the black/hot wire and the negative wire (marked with “-” or black) should be connected to the white/neutral wire. Do this for each LED tube that you are installing. You can also use wire connectors to secure the connections.
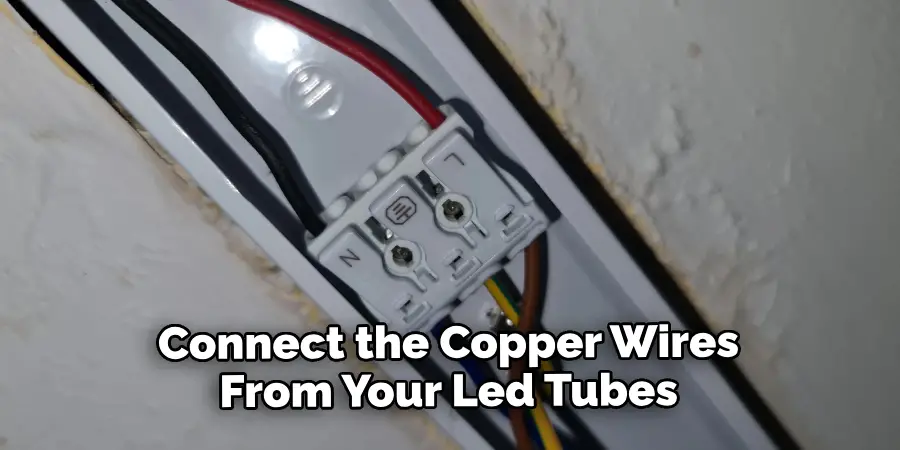
Step 5: Ground the Fixtures
Now, it is time to ground your fixtures. This step is essential for safety purposes. Connect the copper wires from your LED tubes to the grounding screw on your fixture or directly to the metal of the fixture itself if it does not have a grounding screw. This will prevent any potential electrical hazards in the future. It is recommended to use wire connectors or grounding clips for a secure connection. You can also wrap electrical tape around the connections for added protection.
Step 6: Test the Connections
Before closing up your fixture, it is crucial to test all of your connections. Use a voltage tester to make sure that the wires are connected correctly and there are no live wires. If everything checks out, you can proceed to the next step. If not, double-check your connections and consult a professional if needed.
Step 7: Reassemble the Fixture
Now that all of your connections have been tested, you can reassemble your fixture. Follow the manufacturer’s instructions to properly reattach the fixture cover and any other components that were removed earlier. You can also refer back to the picture you took in step 2 if needed. Therefore, you can rewire everything correctly.
Step 8: Turn on the Power
Once your fixture is fully assembled, turn the power back on at the circuit breaker. If everything was done correctly, your LED tubes should now be lit up and ready to use. If not, turn off the power and double-check all of your connections. It is better to be safe than sorry. This is also a good time to make sure that your LED tubes are producing the desired level of brightness.
Step 9: Enjoy Your Direct Wired Led Tubes
Congratulations, you have successfully directly wired your LED tubes! Now, you can enjoy all the benefits of maximum lumen output and energy efficiency from your new lighting system. But remember to always exercise caution when handling electrical equipment. You can never be too careful. If you experience any issues with your LED tubes, consult a professional for assistance.
Step 10: Dispose of Old Ballast Properly
Lastly, it is essential to dispose of the old ballast properly. Fluorescent light fixtures contain hazardous materials that can harm the environment if not disposed of correctly. Some recycling centers may accept old ballasts, but it is best to check with your local waste management facility for proper disposal methods. This will ensure the safety of both you and the environment.
Following these steps on how to direct wire led tubes will guide you on how to safely and correctly direct wire LED tubes. Remember, safety should always be your top priority when working with electricity.
Do You Need to Get Help From a Professional?
If you are not confident in your electrical skills or do not have prior experience with electrical work, it is best to hire a professional electrician to handle the installation for you. This will ensure that the job is done correctly and safely. Also, bear in mind that not all LED tubes can be directly wired, so it is essential to check the manufacturer’s instructions beforehand. If you have any doubts or questions, do not hesitate to seek professional assistance. Your safety is the most important thing.
Happy lighting!
Frequently Asked Questions
Q1) Can I Direct Wire Led Tubes to Any Fluorescent Light Fixture?
A1) It depends on the type of LED tube and the compatibility with your fixture. Some LED tubes are specifically designed for direct wiring, while others may require a ballast for operation. It is essential to check the manufacturer’s instructions to ensure compatibility before attempting to wire your LED tubes.
Q2) Is Direct Wiring LED Tubes More Efficient Than Using a Ballast?
A2) Yes, direct wiring LED tubes eliminates the need for a ballast, making it more efficient in terms of energy consumption. This results in a longer lifespan for the LED tubes and also saves on energy costs in the long run.
Q3) Do I Need to Use Wire Connectors When Direct Wiring LED Tubes?
A3) Yes, it is recommended to use wire connectors when directly wiring LED tubes for a secure and safe connection. This will also ensure that the connections do not come loose over time.
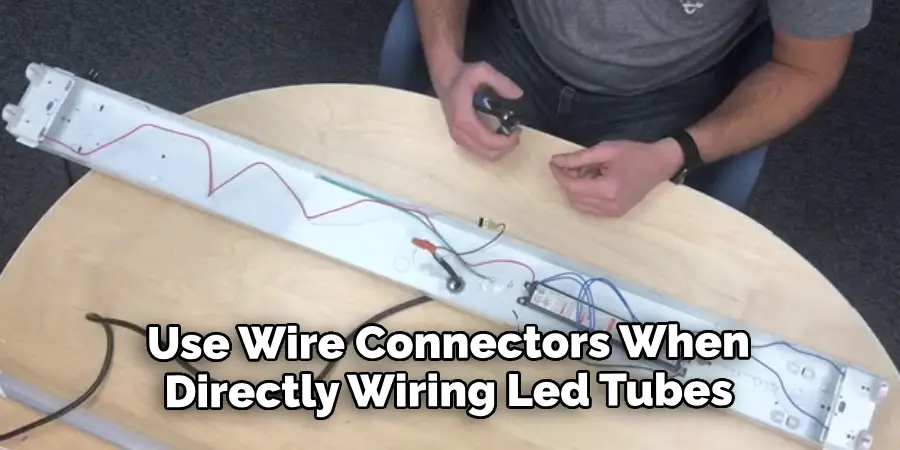
However, if your LED tubes come with built-in connectors, you may not need to use additional wire connectors. It is best to follow the manufacturer’s instructions for proper installation.
Conclusion
Having a bright and well-lit home or office is essential for a comfortable environment and to get the most out of your space. Now that you know the steps on how to direct wire LED tubes, you’ll be able to light up your life quickly and easily. So don’t wait – start saving money today with direct wiring LED tubes! Not only will this save energy, but also your pocketbook in the long run. Plus, you will help reduce emissions contributing to global warming while keeping your home safe during power outages.
All in all, the benefits can’t be beat when it comes to direct wiring LED tubes; it’s a win-win situation! By following these steps, you can have a better-lit home or office without breaking the bank. Don’t forget that with proper care and maintenance, you can significantly lengthen the lifespan of your LED lights for optimal performance and savings – so be sure to remember that when considering using them in any setting! So what are you waiting for? Start wire-directing those LED tubes today!