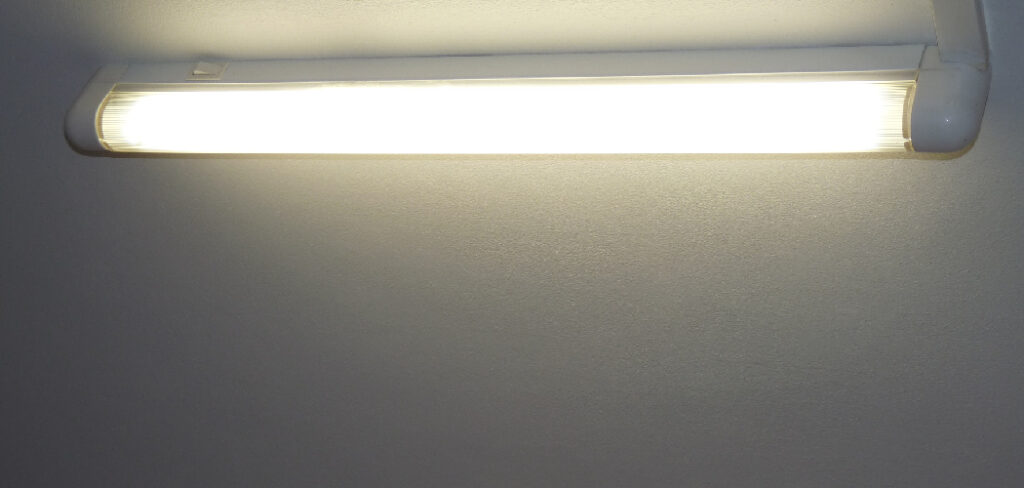
Grounding a fluorescent light fixture is an important safety step. Grounding protects you from electrical shock, but it also protects the light fixture itself. This article will show you how to ground a fluorescent light fixture. Read on for more.
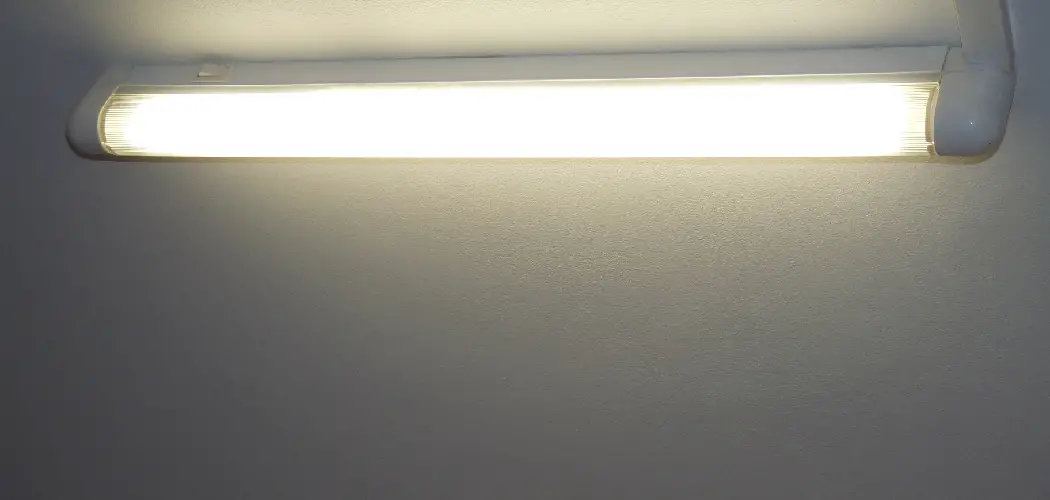
Fluorescent lights are great for basements, garages, and other areas that require a lot of illumination. However, if you ever touch the metal part of a fluorescent light while it is plugged in, you will get a strong shock. This is because a small amount of current runs through the wire. By grounding your lamp, you will protect yourself from this shock.
Summary: Grounding a fluorescent light fixture is an essential step in the installation process that ensures the safety and proper functioning of the light. A correctly grounded fixture can help prevent electrical shocks, reduce the risk of fire, and maintain the stability of the electrical circuit. Grounding involves connecting the fixture’s metal frame to the building’s electrical ground, which provides a safe path for any stray electrical currents that may be present due to malfunctions or wiring issues.
To ground a fluorescent light fixture, first, turn off the power supply to the installation area by switching off the appropriate circuit breaker or removing the corresponding fuse. Following the manufacturer’s instructions, mount the fixture to the ceiling or wall, ensuring that it is securely fastened and properly aligned. Locate the fixture’s ground wire, which is typically a green or bare copper wire. Connect the ground wire from the fixture to the ground wire from the electrical supply using a wire connector or wire nut.
If your fixture does not have a designated ground wire, you may need to attach one to a grounding screw or terminal on the fixture’s metal frame. After connecting the ground wire, complete the installation by connecting the remaining wires according to the manufacturer’s guidelines and the color-coding system (black or red wires for live, white for neutral). Once all connections are secure, restore power to the installation area and test the fluorescent light fixture to ensure proper operation. By grounding the fixture, you can create a safe and reliable lighting system that minimizes the risk of electrical hazards.
Things You’ll Need
- non-contact voltage tester (or a volt/ohm meter)
- Screwdriver
- flat blade and Phillips head screwdrivers
- wire nuts and electrical tape (or another tool for attaching the green ground wire to the light fixture, like a crimp or twist connector)
- a ladder
- gloves, safety glasses, and other personal protective equipment as recommended by your local building code.
A Stepwise Guide on How to Ground a Fluorescent Light Fixture
Step 1: Get Ready
Before starting a project, always make sure to do a quick check with a non-contact voltage tester. This is an inexpensive tool that you can buy at any hardware store for under $20. It contains a light sensor and will beep when it senses electricity.
Step 2: Turn off the Power
Please make sure to turn off the power at the switch on the wall before beginning work on your light fixture. This will help to prevent any electric shocks while you are touching wires or screws.
Step 3: Remove Cover of Light Fixture
To access the wiring inside your light fixture, you’ll need to remove its cover. The easiest way to do this is by rotating it counterclockwise with a screwdriver. However, if it feels stuck, there may be a ball bearing under each end cap—in this case, use a flat blade screwdriver to pry up one side and then rotate it out. You can also spray a little bit of WD-40 between them, which will make them easier to remove.
Step 4: Test the Wires
Test both wires inside the light fixture using your non-contact voltage tester and set it to AC voltage, as fluorescent lights require 120 volts. If either of them reads as “hot”, repeat this step until you find a wire that is not live —you may need to do this for each letter on the fixture.
Step 5: Remove Light Bulb and Ballast
If you want to replace a ballast or clean out your light fixture, you should unplug it from its power source and remove any old wiring. To do this, lift the glass cover (if there is one) and unscrew the light bulb and ballast.
Step 6: Attach Green Wire to Ground Screw on Fixture
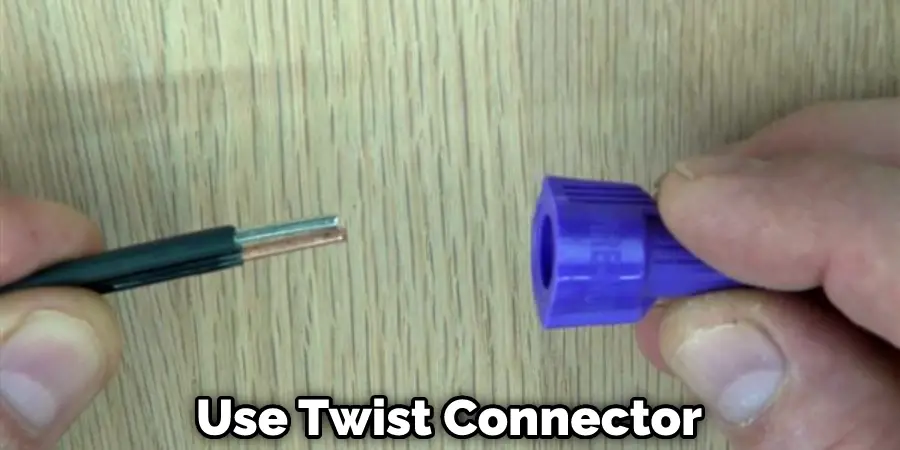
The green wire should be long enough to reach from your light fixture to your electrical panel, even if it’s in another room. If you need more than 7-feet of wire, get a single strand that will provide less resistance than a stranded one. How to attach the green wire: Wrap each end around a flat head screwdriver, then twist together with pliers. You can also use an appropriately sized crimp or twist connector (which is better).
Step 7: Connect Wires and Reattach Bulb and Ballast
Pull back any insulation that might be blocking access to the screws inside the light fixture. Then, twist the white wire coming out of your electrical panel onto one of the screws, and the black wire onto the other screw. If your wires don’t fit, use a pair of pliers to clamp them down firmly.
To install your new ballast, first screw it in. Then, to attach new wiring: cut both ends off the green wire, strip about an inch of insulation off each end with your flat blade screwdriver, twist together each bare wire with its matching color (white-to-white, black-to-black), then wrap those connections with electrical tape or wire nuts. Finally, screw the new light into place, screw in the new bulbs, and put the ballast cover back on.
Finally, reattach the glass cover and test it by turning on your wall switch. Make sure you put on safety goggles, gloves, and other personal protective equipment before touching any parts in your light fixture. Double-check that no wires are live by testing with your non-contact voltage tester when you’re done. These steps will help in how to ground a fluorescent light fixture.
You Can Check It Out To Hang Lights Around Garage Door
Precautions
- If you smell gas or hear a hissing noise, immediately turn off the power and open windows and doors to ventilate the room. DO NOT try to repair anything yourself, and DO NOT use “electric bug zapper.” If you feel that your life is in danger, call 911 for help.
- For safety purposes, if you should experience shocks from touching other metal objects after the wiring has been complete, there is still electrical current running through the wire (not necessarily as high as 120 volts), and it should be turned off the circuit breaker immediately.
- Ensure all lighting fixtures are correctly installed by licensed professional electricians who follow all electrical codes for your specific city/state/region/country.
- Do not service any electrical wiring without turning off the power to that circuit at the breaker box.
What if My Light Fixture Has No Ground Wire
A fixture that is not grounded generally does not have a ground wire. This means that it may not work properly and could be dangerous. You should replace it with a fixture that does have a ground wire.
If your light fixture has no ground wire and is made up of only the fixture wires (no white neutral wire), you can attach an approved grounding adapter to make it grounded. These adapters come in many forms – they may be pigtails that accept both plugs, like the ones below:
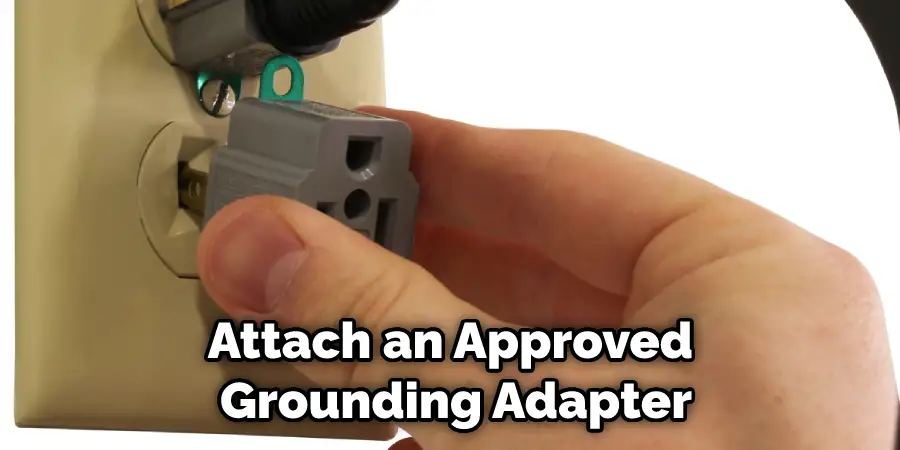
You should not screw in this type of light adapter into a lamp with an exposed metal base because it could cause someone to become electrocuted if they touch both parts of the lamp while they are wet.
Frequently Asked Questions
Where Does Ground Wire Go on Fluorescent Light Fixture?
When fluorescent light fixtures are installed, the ground wire is typically plugged into a junction box on the ceiling or wall. It’s important to make sure that this wire is connected properly and has no gaps or breaks in it so that electricity doesn’t leak out and cause a dangerous fire.
Do Fluorescent Lights Need to Be Earthed?
Generally, the consensus seems to be that they do not. However, there are a few cases where it might be necessary. For example, if you have a fluorescent light fixture that uses mercury as part of its lighting unit (an old style), then it may need to be earthed in order for the mercury to break down and release its toxic fumes into the air.
What if There Is No Ground on Light Fixture?
If the light fixture doesn’t have a ground, you’ll need to use an extension cord. You can plug this into a power outlet, and then connect the light fixture to it using a plug adapter or switch.
Do Fluorescent Lights Need a Neutral Wire?
There are some benefits to having one – they can help to reduce energy costs, and they can improve the light quality of your fluorescent lights. If you’re unsure whether you need a neutral wire, or if you just want to be extra sure, you can contact your local electrician or home improvement store to ask them.
Conclusion
When it comes to hanging a fluorescent light fixture, there are a few things you need to know to do it safely and correctly. By following the steps outlined in this article on how to ground a fluorescent light fixture, you can rest assured that your new light will be securely fastened and won’t cause any safety hazards.
You Can Check It Out To Use a Regular Bulb for A Basking Light