Led lights are a popular choice for home lighting because they are energy-efficient and durable. Unfortunately, while these lights are generally cheaper to operate and last much longer than incandescent bulbs, they can also be prone to problems. However, they can be frustrating and challenging to fix when the colors are wrong.
In this post, we’ll go over some tips on how to fix LED lights when the colors are wrong. We’ll also provide information for choosing the right led light bulbs for your home. Thanks for reading!
Summary: If your LED lights are giving you trouble with their colors, there are a few things you can do to fix the issue. First, make sure that the light is getting enough power. Next, check to see if the light is connected properly to the wire. Finally, if all of these things are checking out and the light is still giving you trouble with its colors, you may need to replace the light bulb.

Led lights are available in various colors, which can help create different moods or effects in a room. However, some people may find that the colors are not quite right and want to know to fix the LED lights when the colors are wrong.
Required Materials
- Screwdriver
- Pliers
- Wire cutters
- Soldering Iron
- Desolder Pump
- Rosin Core Solder
- Electrical Tape
- New LED Lights
- Magnetic Wedge Bulb Puller
Whether you’re trying to fix LED lights or choose the correct bulb, it’s essential to understand how LEDs work. However, they appear similar to incandescent bulbs. An electric current is used to charge up the semiconductor layer of materials inside the LED.
How to Fix Led Lights when The Colors Are Wrong Methods
Method 1: Selecting LEDs and Power Supplies
Close Up the Led Strip Looks
You can find out how many LEDs are on each row of lights by looking for a metal tab at one end that attaches to the power source. There are usually 22 or 24 LEDs per row.
To use an LED light strip, you need to remove it from the packaging and then identify which wires are connected to which LEDs. You can do this by using electrical tape or a marker or pen. Once you have identified the wires, you can then begin to use the LED light strip.
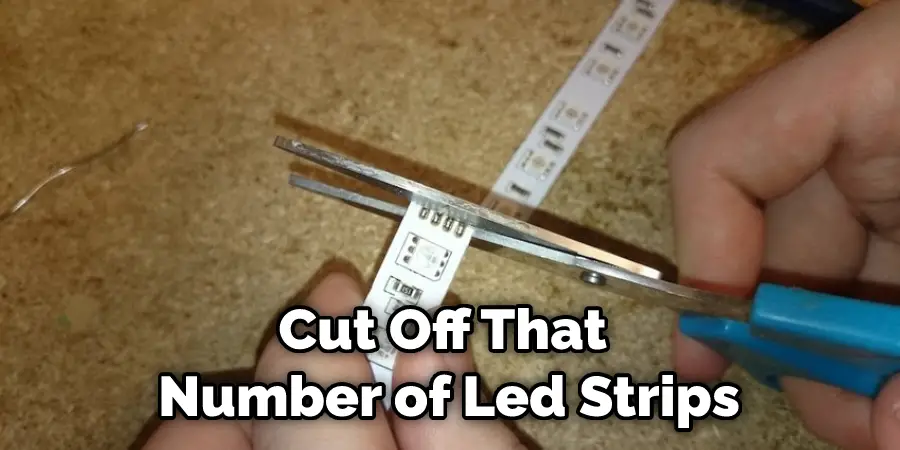
If you want to change the number of LEDs per row that is displayed, then cut off that number of LED strips from the beginning or end of your strip. For example, if you have eight rows of lights, but you want it to be 10, then cut two rows away from the strip.
The finished product with an LED per row changed from 8 to 10.
Method 2: Connecting LED Strips and Power Supplies
Before you start working on fixing your LED lights, make sure that the power supplies are unplugged. If the power supply is plugged in, your LEDs will not work.
Locate many LEDs are on each row of lights; you will be able to tell is that there will be a metal tab at one end that attaches to the power source. There are usually 22 or 24 LEDs per row. So, for example, if there are 24 LEDs per row, there are six rows of lights.
To attach LED strips, simply connect the metal tabs on one end of the strip to those on another strip. For example, to attach two LED light strips, connect the tabs on one strip to those on the other. If you have three LED light strips, connect them all together until you have the desired number of connected strips.
Connect your LED light strips together using electrical tape, a marker, or a pen. For example, if you have three LED light strips and two power supplies, connect them using your choice of color. Make sure that none of the wires are crossing over each other. If they are, the LED lights won’t turn on and will burn out faster. Keep reading to learn more about how to fix LED lights when the colors are wrong.
Method 3: Soldering LED Strips Together.
This method is fix led lights when you have two wrong colors. This only works if the strip has an incorrect connection between one color and another. You can fix this by soldering them together until they match up with the wire in the working LED strip.

By soldering the LED strip together, you are essentially creating new wires between each of the connections. The negative wire can be connected to either of the two sides, and the positive has to match with the working strip’s positive line. You cannot solder anything else to this point, or it will short out your circuit.
If this doesn’t solve your problem, it will likely be the LED strip itself. There are only so many connections that can go wrong in an LED strip. It’s possible that two colors are reversed, or there is a gap where no connection exists because the wire broke away from its solder point. Fortunately for this method, color does not matter, so you can try and remove the faulty LED strip and solder it to a new, working LED strip.
If this doesn’t solve your problem, it is likely to be the LED strip itself. There are only so many connections that can go wrong in an LED strip. It’s possible that two colors are reversed, or there is a gap where no connection exists because the wire broke away from its solder point. Fortunately for this method, color does not matter, so you can try and remove the faulty LED strip and solder it to a new, working LED strip.
Method 4:Placing Adhesive LEDs
After applying heat and twisting the LED, there is a chance that it will come apart. There is little intelligence to this method, but you can avoid placing LEDs too close to each other or at odd angles.
Materials:
- Double-Sided Adhesive Tape
- 3mm LEDs (options below)
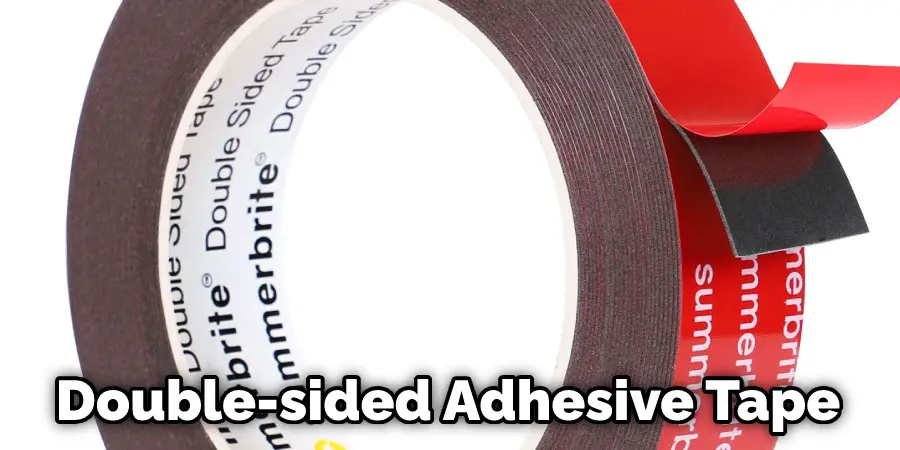
After purchasing the double-sided adhesive tape, it is essential that you use a clean cloth to wipe the area where the LED will be placed. This will remove any dust and dirt and allow the adhesive tape to stick properly.
The adhesive tape will come with two sides; the bottom side is where the LED will be placed.
1. Make sure you line up the LED how you would like it to look before continuing on to step 2. As you can see in this picture, there are three different colors that are not correct.
2. Once you have the LED that you would like, lower the top of the adhesive tape and place one side of the LED onto the adhesive tape.
3. Slowly remove the backing from the bottom paper to make sure that your work is how you want it, and then press down on both sides simultaneously. This will ensure that all LEDs are firmly in their correct position.
4. While the LED is still in place, use a hobby knife to cut away any extra adhesive tape that may be present.
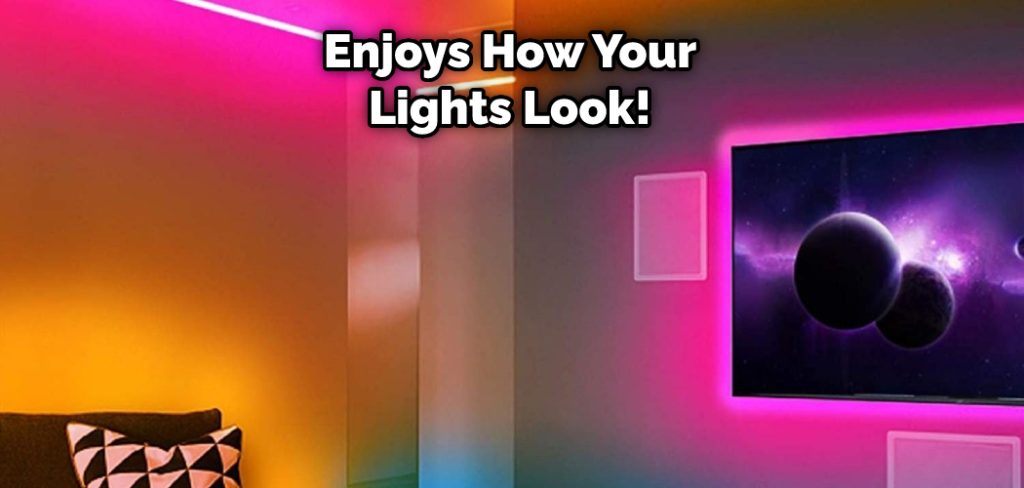
5. Repeat steps 1-4 for the remaining LEDs, and enjoys how your lights look! Keep reading to know more about how to fix led lights when the colors are wrong.
How to Cut LED Strip Lights
Step 1: Measure the Length of the Led Strip Light You Need
Since it is not very hard, cutting LED strip lights is quite easy. First of all, you should know how long your LED strip light is needed. If you do not know how many feet of LED strip lights you want, the first step is measuring the length of your room, which has been covered with the LED strip light.
Step 2. Look for the Scissors Logo on the Light Strip
The second step how to cut LED strip lights is finding the scissors logo on the lights. Generally, this logo appears near the end part of LED strip lights where there are two arrows joining together in an X shape.
Step 3. Cut With a Pair of Scissors
The third step how to cut the LED strip light is cutting the lights, using the scissors to cut off the small pieces of strips that have been marked by the logo. You can then install the LED strip light you want and use only the correct length of strip for this job.
How to Fix LED Strip Lights When Cut
Step 1. Buy a suitable 4Pin connector
The first step is to buy a suitable 4Pin connector. This will allow you to join two LED strips together in order to extend the length. You can find suitable connectors in the LED strip section of any hardware store.
Step 2: Open the Connector
To open the connector, use a small flathead screwdriver to pry open the two halves. You will be able to see the wires are connected inside.

Step 3. Place the Light Strip Into the Connector
Take your LED strip light, and place it into the connector you would like to join them. Pay attention and make sure to connect your strips, then you can join them together.
Step 4. Cover the Connector With the Provided Cap
Once you are satisfied to join your LED strip lights together, take the provided cap and attach it to the other half of the connector. To ensure that your connections are strong, make sure you snap both halves together securely before letting go. This process will hold the wires firmly inside for a good connection.
You Can Check It Out to: Keep Led Lights on When Tv Is Off
How to Use LED Strip Lights After Cutting
Step 1.
Make sure the wall is dry and clean. Then, position the LED strip if you want it to be before sticking.
Step 2.
Paste the LED light strip along the wall; then it should be lighted.
Step 3.
Cut off extra lights on the LED strip if needed. Then turn on your led strip lights to make sure they work after cutting correctly.
If you are satisfied with the results of when the colors are wrong to come out, continue to stick around the led strip lights.
Step 4.
Connect the LED light strip to the power supply if you want to make it glow brightly after led lights when the colors are wrong. If your led strip light is not lit, or you find any flaws in led lights when the colors are wrong, please stop using it for safety purposes.
Step 5.
Plugin the power and turn on the LED light strip if you want to make fixed led lights when the colors are wrong glow brightly.
Step 6.
If fixing led lights when the colors are wrong is not suitable for you, please cut off the power supply. Unplug it before fixing led lights when the colors are wrong again.
What’s the Difference Between Leds and Cfls?
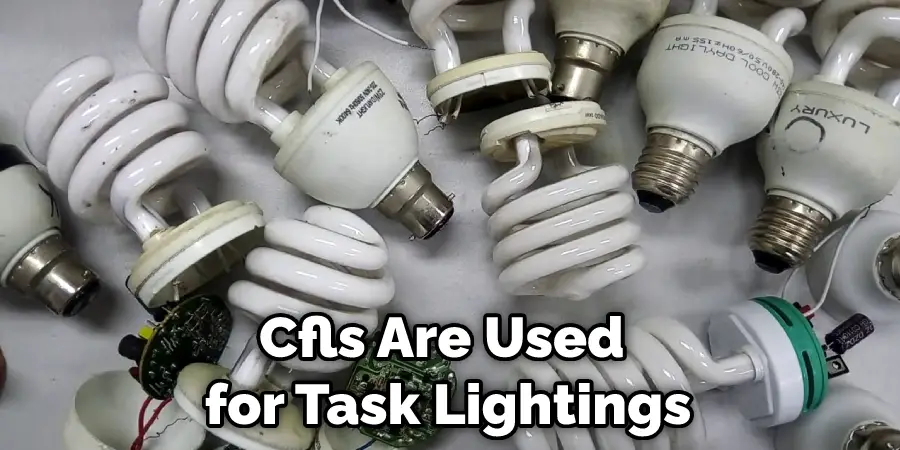
LEDs and CFLs are both types of light bulbs, but they have different purposes. LEDs are used for general illumination, while CFLs are used for task lightings, such as reading or close work.
LEDs also have a longer lifespan than CFLs; LEDs can last up to 50,000 hours, while CFLs typically last about 10,000 hours. Finally, LEDs are more energy-efficient than CFLs; they use about 75% less energy and generate less heat.
Which Led Bulb Is Right for Me, Warm White or Cool White?
When choosing an LED, it is important to consider the type of light you want. Warm white LEDs give off a softer, more relaxing light, while cool white LEDs are brighter and more energizing. LED lights can also be found in a range of hues, allowing for how to fix led lights when the colors are wrong.
The most common types of LEDs are standard SMD LEDs and Bridgelux LEDs. SMD LED is less expensive than Bridgelux LED, but it emits light at a wider angle. Bridelux LEDs can be found in how to fix led lights when the colors are wrong.
You Can Check It Out to: Pair Led Light Remote
Frequently Asked Questions
Why Are My LEDs Showing the Wrong Color?
. This can range from an issue with a single light fixture to a whole home system that’s in need of replacement.
When it comes to investigating and resolving the problem, it’s important to take notes on everything you observed when the issue first occurred. This will help you pinpoint exactly what needs to be done in order for the lights to function correctly again. After taking all of this information into account, it may also be helpful to schedule an appointment with a qualified electrician so that they can come out and assess your situation further.
Depending on the extent of the damage, repairing or replacing damaged components might be necessary in order not only to fix the problem at hand but to prevent future occurrences as well. Hope this helps!
Are Led Black Lights Safe?
Unfortunately, one of the most common issues homeowners face is caused by defective or malfunctioning light fixtures. This can range from an issue with a single light fixture to a whole home system that’s in need of replacement.
When it comes to investigating and resolving the problem, it’s important to take notes on everything you observed when the issue first occurred. This will help you pinpoint exactly what needs to be done in order for the lights to function correctly again. After taking all of this information into account, it may also be helpful to schedule an appointment with a qualified electrician so that they can come out and assess your situation further.
Depending on the extent of the damage, repairing or replacing damaged components might be necessary in order not only to fix the problem at hand but to prevent future occurrences as well. Hope this helps!
Where Should Led Strip Lights Be Placed in a Bedroom?

Yes, a pool light can be repaired. Depending on the damage, a pool light may need to be replaced altogether or just have its bulb replaced. There are a few things you will need to keep in mind when repairing a pool light:
1. Make sure to have the correct parts – Sometimes, a pool light will just require a simple bulb replacement, but other times it may require more extensive repairs, like replacing the entire light fixture. Make sure you have the right parts before starting any repairs so that you don’t end up spending more money than necessary.
2. Be very careful when working with electricity – Pool lights are electrically-powered devices, and even small missteps can result in serious injuries. Make sure to use caution when working with electricity and never try to repair a pool light by yourself – hire an expert instead!
3. Clean up after yourself – Once you’ve completed any repairs, be sure to clean up all the debris so that there is no chance of another electrical mishap. This will help prevent any further damage and ensure that your pool light is in perfect condition for next time!
You Can Check It Out To Turn on Mercedes Logo Light
How Long Do Led Light Strips Last?
There is some concern that using white LED black lights may increase the risk of cancer, but this has not been scientifically proven. While there may be small increases in cancer rates when exposed to high levels of light over a prolonged period, these concerns have yet to be substantiated. In fact, many doctors believe that wearing blacklight clothing can actually promote good health by helping people identify and treat physical ailments early on.
Conclusion
This blog post has been a complete guide to troubleshooting LED lights. We hope that you have found this information helpful and feel confident in the next time your LEDs need some fixing up! If not, please let us know below or on our social media pages what we can do better for future posts so we can keep improving. Thanks again for reading our blog post about how to fix led lights when the colors are wrong and happy lighting!