
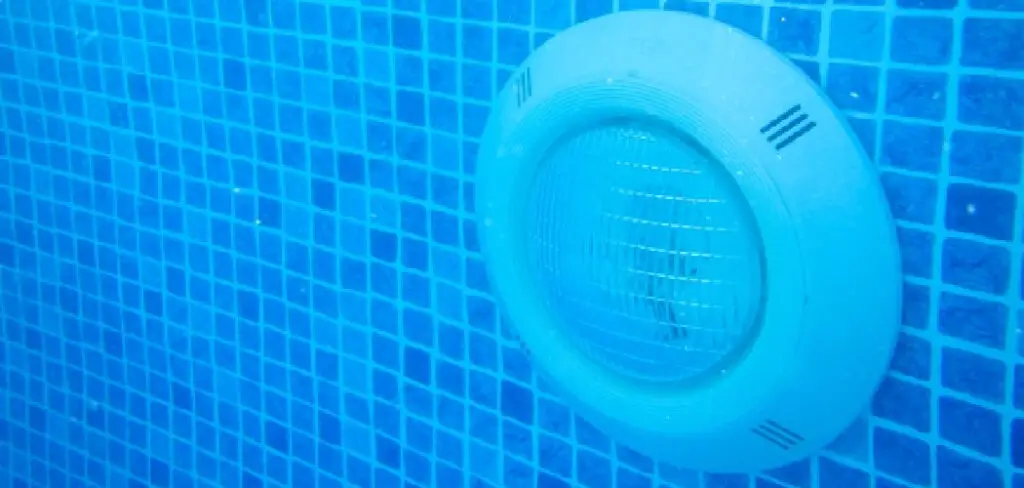
If you have a swimming pool in your backyard, then you know that it’s a great way to cool off during the summer. And, if you have a pool light, then you know that it can also make your pool much more enjoyable at night. However, if your pool light isn’t sealed correctly, water can get inside it and cause damage. So, in this article, we will show you how to seal a pool light. Keep reading for more information. Pool lights are a great addition to any pool, but if they aren’t sealed properly, water can get inside and cause damage.
Summary:Sealing a pool light is crucial to ensure the safety and longevity of the light fixture and to prevent water intrusion that could lead to short circuits or damage. Proper sealing techniques vary depending on the type of pool light and its installation, so it’s important to follow the manufacturer’s instructions for the specific pool light you’re working with.
In general, sealing a pool light involves checking and maintaining the integrity of its gasket or O-ring. This component creates a watertight seal between the light fixture and the pool wall or niche. First, turn off the power to the pool light to ensure safety. Remove the pool light from its housing by loosening the screws or fasteners that secure it in place. Inspect the gasket or O-ring for signs of wear, cracking, or damage. If it appears compromised, replace it with a new gasket or O-ring of the appropriate size and material.
Before reassembling the pool light, clean the sealing surfaces on both the light fixture and the housing or niche to remove any debris or buildup that could compromise the seal. Apply a thin layer of silicone lubricant to the gasket or O-ring to help it seat properly and create a watertight seal. Reinstall the pool light, ensuring the gasket or O-ring is properly positioned and the fixture is securely fastened. Finally, turn the power back on and test the pool light to ensure it is functioning correctly and there is no sign of water intrusion. Regularly inspecting and maintaining the seal on your pool light will help prevent issues and prolong the life of the fixture.
Things you will need
- A screwdriver
- A light seal kit (available at pool supply stores, hardware stores with pool supplies, and most aquatic retailers)
- Rubber Gloves
- Safety Goggles
- Chemical Resistant Gloves
- Spray Bottle with Clean Water
- Clean Wet Sponge or Towel (for wiping chemicals off your skin)
A Step by Step Guide on How to Seal a Pool Light
Step 1: Preparation
Be sure to budget enough time to work on the project – a pool light can leak in just a few hours if not properly sealed. Always shut off power from the breaker or fuse box before starting work, and never turn your back on the switch! If you’re unsure, always err on the side of caution and call an electrician.
Use a putty knife to remove old sealant from around the base of the fixture housing. Then use denatured alcohol to clean the base bottom of the fixture. Be careful to go around the pool and clean any algae or other deposits that could clog up the new sealant.
Step 2: Prepare Work Space
To remove a pool light, first place a towel on your work surface. Then, remove the pool light from its housing. Next, locate the rubber gasket surrounding the threaded ring of the fixture base. Pry this off with a screwdriver and discard it. Finally, using denatured alcohol, carefully clean the area surrounding the ring of old silicone adhesive (or putty) residue.
Step 3: Prepare Fixture Base
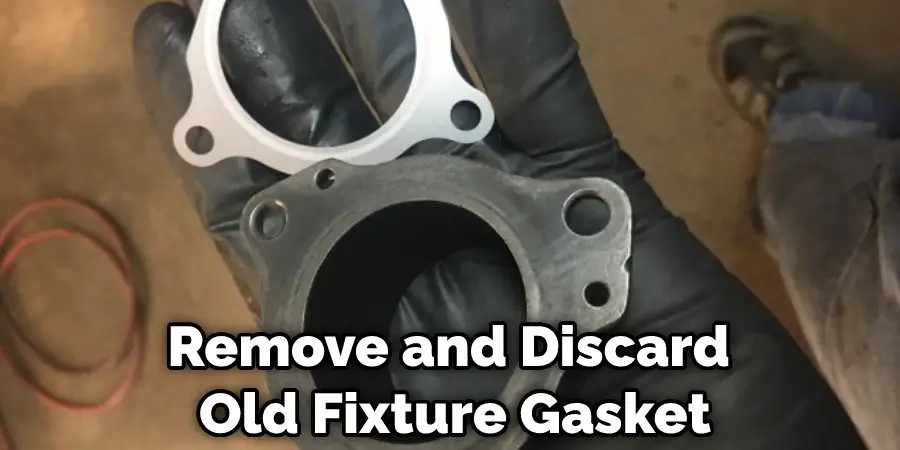
Remove and discard old fixture gasket, if any. If the pool light has a base held on by adhesive (putty) or sealant, remove all traces of this material using denatured alcohol and Q-tips. Do not be concerned if the threaded ring protrudes past the edge of the fiberglass surface; it will sit inside of the new sealant after installation.
Thoroughly clean around the entire opening until you get down to bare glass or gel coat finish with your cleaning materials; wipe down at least two inches beyond any visible silicone residue. This will ensure that there is nothing in the way of the new adhesive sealant when it cures properly. Never use bleach for this because it will damage fiberglass or pool finish.
Step 4: Prepare New Sealant
To remove a pool light, first place a towel on your work surface. Then, remove the pool light from its housing. Next, locate the rubber gasket surrounding the threaded ring of the fixture base. Pry this off with a screwdriver and discard it. Finally, using denatured alcohol, carefully clean the area surrounding the ring of old silicone adhesive (or putty) residue.
To install a new seal on your bathroom sink, start by applying a layer of sealant around the entire edge of the sink. Then, use your fingers to smooth out any air bubbles. Next, wet your hands with denatured alcohol and smooth down the sealant until the entire rim is covered. Finally, don’t forget to apply sealant around the perimeter of the sink where the rubber gasket rests on the tile deck.
Step 5: Apply New Gasket
Replace the black rubber gasket inside the fixture base. This will seal the top and bottom fixtures when you re-install them later. Seat the fixture by gently tapping around the circumference with a rubber mallet or rawhide hammer to assure proper fit before lining up the actual threaded base with threaded ring protruding from the underside of pool surface; set in place gently, don’t force it.
Step 6: Install New Fixture
Replace the new pool light fixture, tightening by hand only until you feel it make firm contact with the surface. Do not overtighten, or you may break top of pool light housing. Leaving a gap between the threaded ring and the tile deck will allow room to tighten without breaking glass. If there is any question about the installation strength, consult your local pool professional for assistance.

Step 7: Clean Up
If there is any adhesive sealant material left on your fingers or hands, carefully wash it off with cold water and dish soap. Then, wipe down the entire work area with paper towels or rags to remove all traces of residue. Allow about an hour for the pool light fixture to cure fully before returning power to it.
Step 8: Filling Pool
Place conduit over the threaded ring of the new fixture base if you are not planning on filling the pool immediately. This will prevent damage caused by vibrations from nearby pumps or motors while water is supplied. Fill pool slowly until halfway full, ensuring all air pockets are removed from plumbing lines and skimmer opening where light would usually be installed into the gasket. Wait about an hour after this point before installing the light fixture into the base. These steps will help in how to seal a pool light.
Precautions
- Wear protective gear such as rubber gloves and safety goggles, as the chemicals used to seal a pool light may cause irritation or injury.
- Sealing a pool light is not complicated, but it can be messy depending on the type of light you have installed. If you are sealing a new pool light, make sure you first test your steps with an old bulb to avoid damaging your actual new bulb.
- If the instructions on this page do not work for your specific model of pool light, contact someone at your local swimming pool supply store for advice before proceeding.
What Happens if Water Gets Into Pool Light?
When water gets into a pool light, it can cause a variety of problems for both the lights themselves and the surrounding electrical systems. For starters, even a small amount of water inside the light fixture can cause it to short circuit or malfunction. This can lead to flickering lights, complete failure of the light, or even electrocution if the water has made contact with any live electrical components.
Additionally, if the water has made its way into the surrounding electrical system, it can cause damage to other components as well. This can result in costly repairs or replacement of the entire electrical system. Ultimately, it’s important to address any water intrusion into your pool lights immediately to prevent further damage and ensure safe and efficient lighting for your pool area.
What Kind of Sealant Is Best for My Particular Application
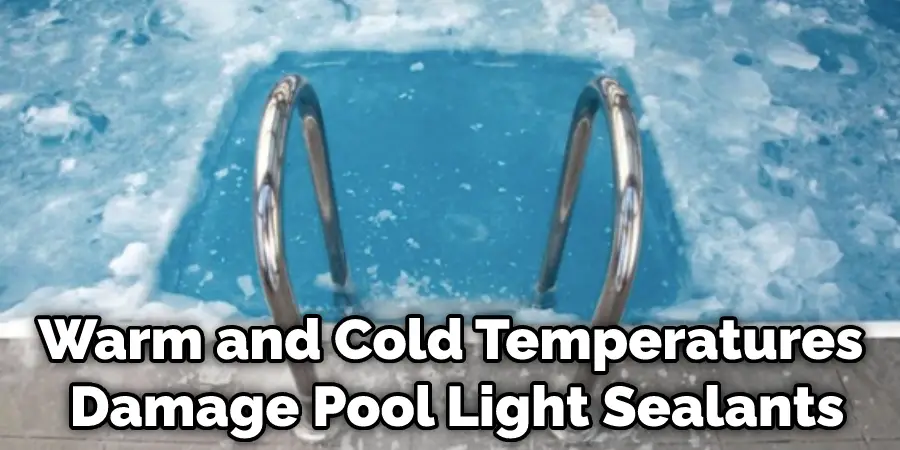
In general, a high-performance urethane pool light sealant is recommended for any situation where you want your application to last more than a year or so. These formulations go beyond water tightness and can be engineered to give longer life under harsh conditions – exposure to ultraviolet rays from sunlight, for instance – as well as warm and cold temperatures and other factors that can degrade or damage pool light sealants.
In addition, a warranty period usually indicates how long the formulation will last (also called a shelf-life). If you’re not sure which product to buy, ask your dealer if they have a “life expectancy” on their products.
Frequently Asked Questions
Can a Pool Light Be Repaired?
Yes, a pool light can definitely be repaired. Depending on the damage, a pool light repair may involve replacing the light housing, ballast, or both. In some cases, simply tightening the screws that hold these components in place may be enough to fix the issue. If the entire light needs to be replaced, a pool service technician will typically be able to do this at a fraction of the cost of buying a new one.
Should I Lube Pool Light Gasket?
While it’s generally not necessary to lube pool light gaskets, if you have a difficult time getting the lid off or your pool light keeps leaking, it may be worth trying some water-based lubricant. However, make sure to read the packaging and test the product in an old gasket before using it on a new one.
What Happens if Water Gets Into Pool Light?
If water gets into a pool light, it could potentially cause a fire. It’s important to keep pools and spas clean – especially during the summer when the humidity is high. Make sure to check the pool lights often and if you notice any water or debris getting into them, take them out and clean them ASAP.
Can You Change a Pool Light Without Draining the Pool?
It’s important to be aware of some potential risks associated with doing so. First and foremost, if there is moisture present in the ballast or circuit board, an electrical current will travel through that water and cause an explosion. Second, if water enters the light fixture itself, it can short-circuit parts of the circuitry and cause an outage.
Finally, changing a pool light without first turning off power to all devices in your system isn’t advisable because this could create a dangerous situation where lights are turned on unexpectedly while Pool equipment is operating. In general, speaking though, changing a pool light shouldn’t be too complicated or risky; just take care when working around electricity!
Conclusion
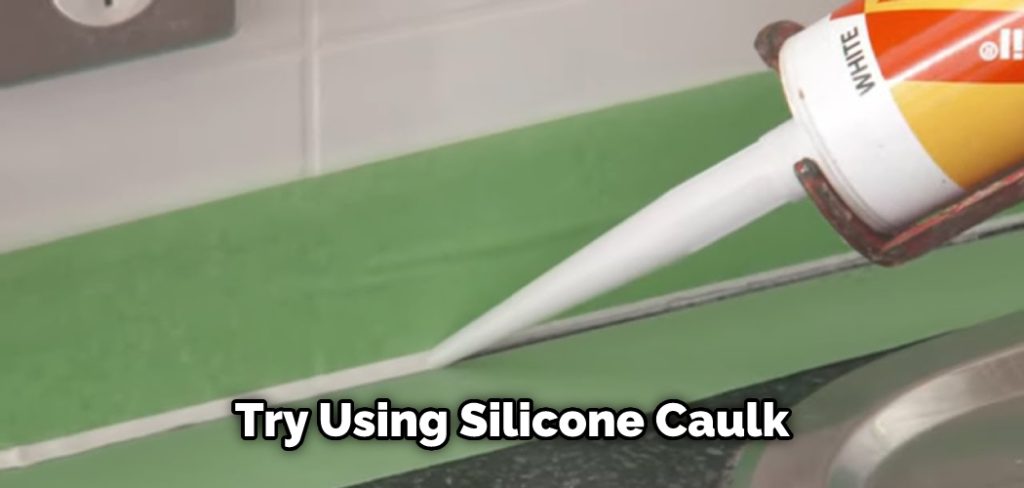
If you’re looking for a quick, easy fix to seal your pool light, try using silicone caulk. It is durable and waterproof, so it won’t break down or leak over time. Silicone caulk usually comes in white but can be found in other colors if that suits your needs better. This simple solution will save you the hassle of replacing an expensive part while also saving you money! We hope you have learned how to seal a pool light!