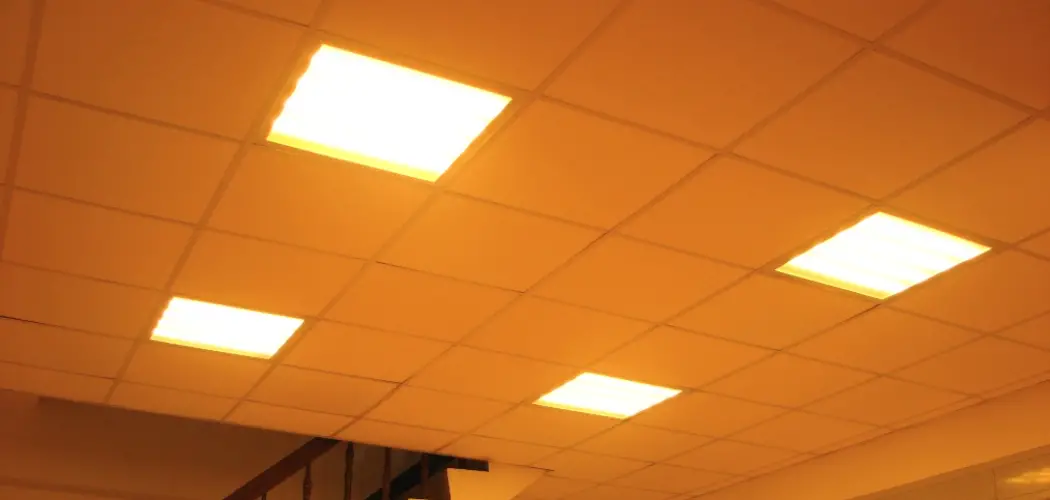
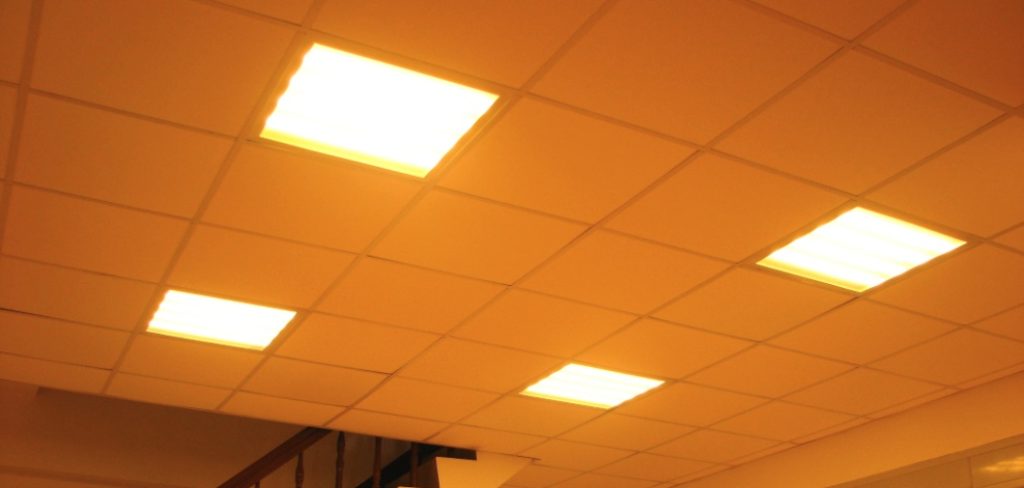
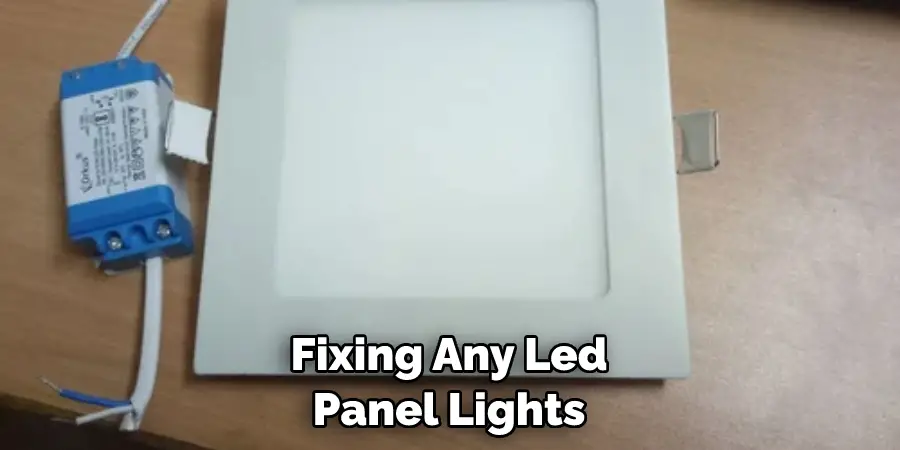
Led panel lights have become a popular choice for many homeowners and businesses alike, as they offer an energy-efficient way to brighten up any space. Whether you use them as ceiling lights or cover or decorate other items with them, plenty of creative uses can bring your home’s style into the modern age.
Unfortunately, when led panel lights don’t work right, it can be tricky to figure out how to fix them properly. Luckily we’re here today to give you the information needed on how to fix led panel light.
So buckle in and get ready — let’s take a look at how easy it is for anyone from beginners all the way up through experienced handymen (or women) to troubleshoot faulty LED panels!
What are the Causes of LED Panel Light Faults?
The most common cause of LED panel light issues is a bad connection. This could be due to incorrect wiring, damaged or loose connectors, or even simply because the power source isn’t supplying enough voltage.
Faulty lights may also occur if the driver (that is responsible for converting AC current into DC current) is no longer working correctly. This could be caused by a worn-out or defective driver or because it has been exposed to too much heat.
Finally, LEDs may malfunction if the power supply isn’t providing enough voltage (if there is an overload, for example). Also, LED panel lights may simply not work if they are damaged in some way, including cracking of the plastic casing around them or physical damage to their components.
What Will You Need?
First and foremost, make sure that you have all the necessary tools to perform maintenance on LED panel lights. This includes as follows:
- Volt meter
- Screwdriver
- Electrician’s tape
- Wire cutters and strippers
- Soldering iron
- Heat gun or hair dryer
- Replacement parts (if necessary)
Once you have all the necessary tools, the first step to fixing a faulty LED panel light is to check that it’s connected properly. Keep reading to learn more!
10 Easy Steps on How to Fix Led Panel Light
1. Check for Loose Connections:
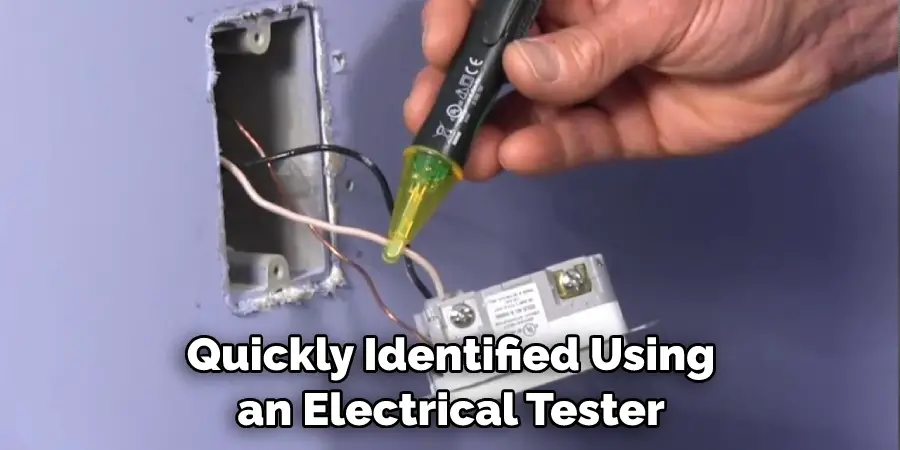
If there are any loose wires or incorrect wiring, this will be quickly identified using an electrical tester or simply by visually inspecting the connections before manually fixing them yourself. You can use the screwdriver to tighten any loose connections. There should be no exposed wires or missing parts.
2. Check Voltage:
Using a voltmeter, you can easily measure the voltage being supplied to the LED panel light. The correct voltage should be written on the light itself, and if it’s not within this range, you may need to adjust the power supply accordingly. Don’t forget also to check the fuses and circuit breakers.
3. Check for Damage:
If your LED panel is physically damaged in any way, you will most likely need to replace it entirely. If there are no visible signs of damage but something still seems off with how it functions, check the wiring and connectors once more before moving on to other steps. Be careful when inspecting not to cause any further damage!
4. Clean Components:
It is possible that dirt or dust built up inside the casing could be interfering with its operation. So try using a vacuum cleaner to remove any debris from around the areas where wires have been connected and from the back of the panel itself. If this doesn’t fix the problem, you can move on to the next step.
5. Check Driver:
If your LED panel isn’t working, you may need to check if its driver is functioning correctly. This can be done by using either a multimeter or a heat gun/hair dryer to test the temperature at which it operates (the correct temperature should be written on the light). If your driver is too hot, then this could indicate that it needs replacing.
6. Replace Components:
If any components are not working properly, such as the power supply or any other part within the fixture, you will need to replace them with new ones before re-installing and testing again. You can easily find replacement parts at any hardware store. You may also want to add wiring or connectors to create a secure connection.
7. Solder Connections:
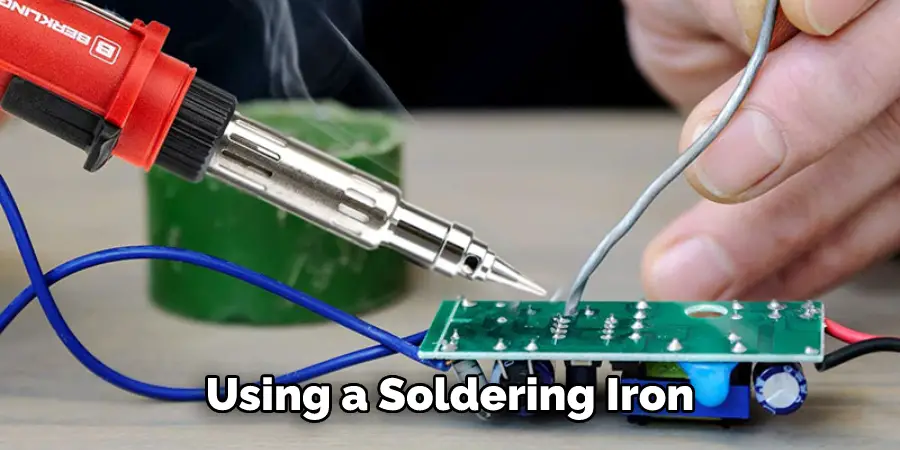
It is possible that loose connections may be the cause of your LED panel light not working, so if you have identified any, you will need to solder them in place. This can be done using a soldering iron and electrician’s tape. Moreover, always double check the wiring with a voltmeter to make sure there is no risk of an electric shock.
8. Re-Install:
Once all components are secure and soldered, it is time to re-install the LED panel lights. Make sure that all wires are connected correctly before turning on the power supply again and testing for correct operation. If the lights still aren’t working, you may need to go through the troubleshooting steps again.
9. Test Voltage:
Using a voltmeter once more, check that the voltage supplied is appropriate for your LED lights, ideally within the range specified on their label or packaging. You may need to adjust the power supply accordingly if it isn’t. If possible, measure the voltage at both ends of the wire.
10. Final Check:
Now that everything is connected and your LED panel light is powered, the final step is to test for correct operation. This can be done by either leaving it on for a time or using an electrical tester to ensure all connections are secure and functioning correctly. Don’t forget to give it a visual inspection too.
By following these ten easy steps, you should have no problem fixing any LED panel lights that may not be working correctly. However, after trying all of the above steps and you still experience issues with them, it’s best to contact a professional electrician who can help diagnose and repair any problems quickly and safely.
5 Additional Tips and Tricks
- If a LED panel light is flickering, it might be due to overdriven power supply. To fix this issue, try reducing the current going to the light.
- Poor contact between a LED panel light’s power connectors can cause it to be intermittent or non-functioning. Ensure that all connections are tight and secure.
- If the LED panel light is not producing any light at all, check if its fuse has gone blown due to an overload of current going through it.
- When replacing LED bulbs in your LED panel lights, ensure that you use the correct wattage specified by the manufacturer for optimum performance.
- Dust and debris can also affect how well a LED panel light functions, so clean it regularly and inspect for any dirt buildup on its components.
Following these additional tips and tricks will help you fix your LED panel light in no time!
5 Things You Should Avoid
1. Don’t Use a Ladder: This can be dangerous and should not be done. Try to access the LED panel light from a safe place, such as the floor.
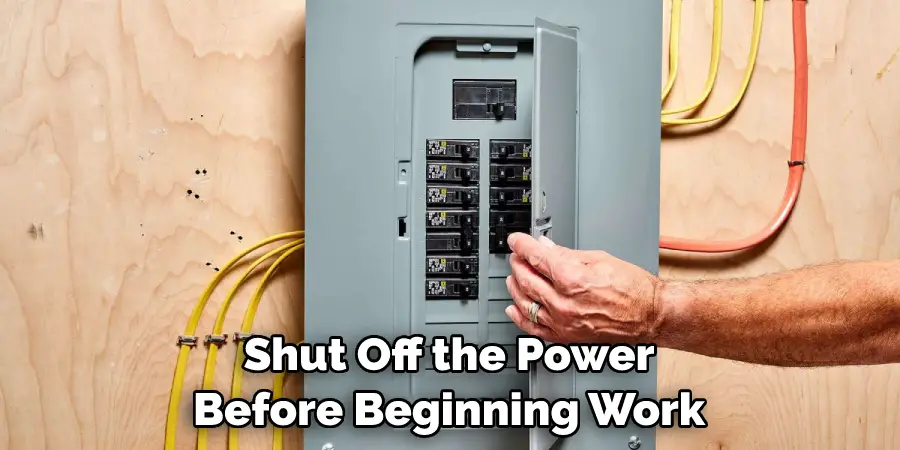
2. Don’t Touch Any Wiring: Before attempting to fix an LED panel light, ensure you know what type of power supply it runs on and shut off the power before beginning work.
3. Don’t Attempt Repairs Without Proper Safety Measures: Make sure all safety measures are in place before beginning work on an LED panel light. Wear safety glasses, gloves, and other protective gear when working with electrical components.
4. Don’t Use Damaged Parts: If there is any damage to the parts of your LED panel light, don’t attempt to repair them yourself. You should take the light to a professional for repair or replacement.
5. Don’t Forget to Check Connections: Check all connections, wires, and power cords for damage before attempting any repairs on an LED panel light. If there is any damage, replace them immediately with new parts.
If your LED panel light isn’t working properly, don’t panic! With some patience and knowledge, you can easily troubleshoot and repair the problem yourself in no time. Follow these simple steps to help diagnose the issue and get your LED panel light up and running again quickly and safely.
Conclusion
To conclude, when it comes how to fix led panel light there are many options available. It can be complicated, but with the right knowledge and tools, any homeowner can repair their light panels. For those who prefer someone to do the work, there are always professionals that specialize in lighting repair and installation.
Understanding which component has failed is the key to success. Knowing how the components within a lighting fixture work will help you determine what needs to be replaced or repaired. After finding a reliable source of parts and completing simple steps, your LED panel lights will soon work as they should.
Even if you need professional assistance, tackling this project yourself may prove rewarding by doing something self-sufficient and saving a bit of money in the process.