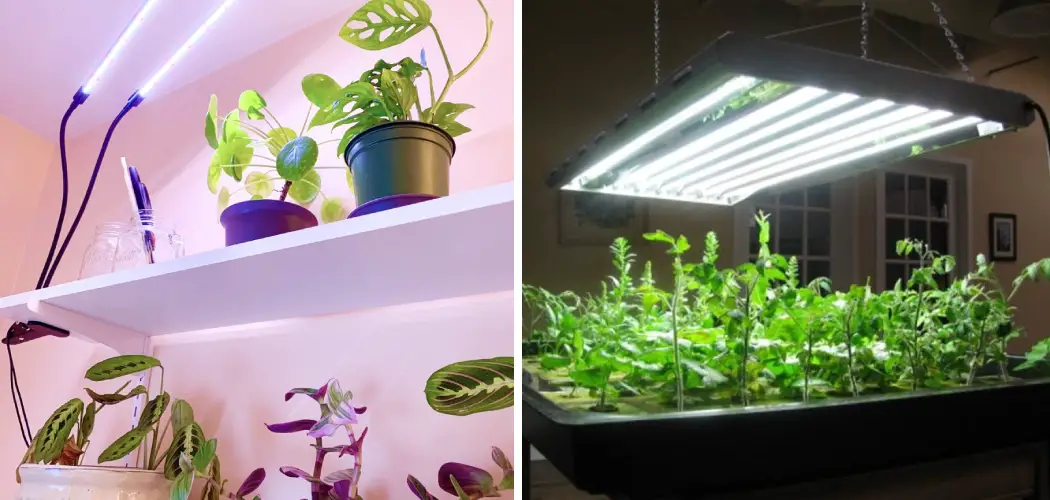
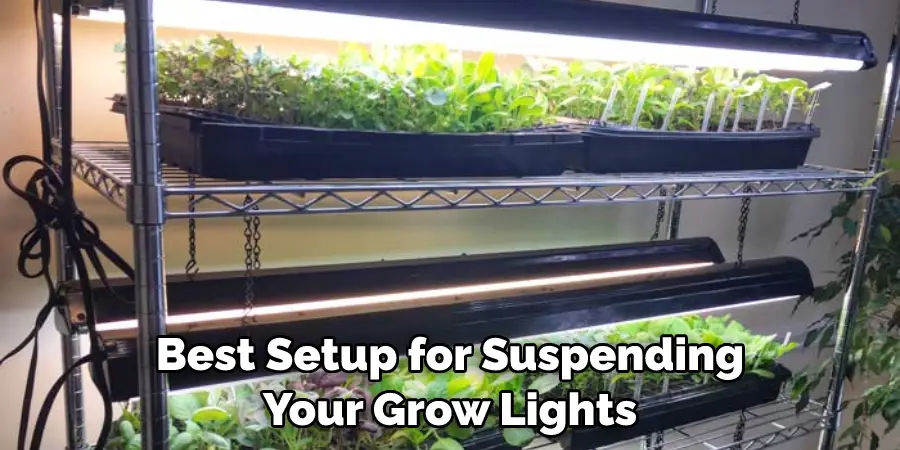
Do you find yourself constantly frustrated when it comes to hanging your grow lights? We understand the struggle of finding just the right way to suspend a light fixture in your home or garden. Whether it’s for a small houseplant or a larger commercial crop setup, suspending grow lights can be tricky – and expensive if done improperly.

That’s why we’ve put together this guide on efficiently and affordably suspending your grow lights so that you get the best results from them! Grow lights are an essential tool for indoor gardening and plant cultivation enthusiasts. Properly suspending your grow lights can maximize light exposure for your plants to ensure optimal health and growth. Read on to find out how to suspend grow lights and secure them with ease!
Why Should You Suspend Grow Lights?
Suspending your grow lights can help you avoid any potential fire risks in the area. Unsecured grow lights that are too close to combustible materials like wood or paper can lead to a safety hazard, so suspending them properly is important.
Additionally, suspending your grow light will allow for better air circulation around the fixture to keep it cool and prevent fire hazards. Moreover, by suspending your grow light at a certain height, you can also ensure that your plants are receiving an even amount of light coverage.
What Will You Need?
Before you begin, you’ll need some supplies to ensure a successful installation. Here’s what you should get:
- Grow light system
- Extension cords
- Hanging hooks or clamps (depending on the grow light system)
- Wire cutters or scissors
Once you have all of your supplies, you can begin the process of suspending your grow lights.
10 Easy Steps on How to Suspend Grow Lights
Step 1: Measure the Area
First, you’ll need to measure the area where you want to hang your grow light fixture and make sure there is enough space for it. Use a tape measure or ruler to make sure you have the right measurements. This will help ensure that your grow light is properly suspended and won’t be too close to any combustible materials.
Step 2: Assemble the Hanging Hooks or Clamps
Depending on what type of grow light system you have, the next step will be to assemble the hanging hooks or clamps that come with it. This is an important step to make sure your grow light is securely suspended. Additionally, make sure to install the hooks or clamps at evenly spaced intervals for better stability.
Step 3: Attach Hanging Hooks or Clamps to Grow Light System
After assembling the hanging hooks or clamps, attach them to the grow light system and ensure they are firmly secured. Ensure they are evenly spaced apart so your grow light can hang properly. If you grow light system comes with additional mounting hardware, use it as well.
Step 4: Connect Extension Cords
Now you’ll need to connect the extension cords from your power source to your grow light fixture. Ensure all connections are secure and double-check for potential hazards like frayed wires or exposed parts. As a safety precaution, it’s important to make sure the cords are securely attached to the grow light fixture.
Step 5: Secure Wires with Wire Cutters or Scissors
Once all the connections are made, use wire cutters or scissors to secure the wires and make sure they’re safely out of reach. This will help prevent any potential tripping hazards. If you find any exposed wires, be sure to cover them with electrical tape for extra protection.
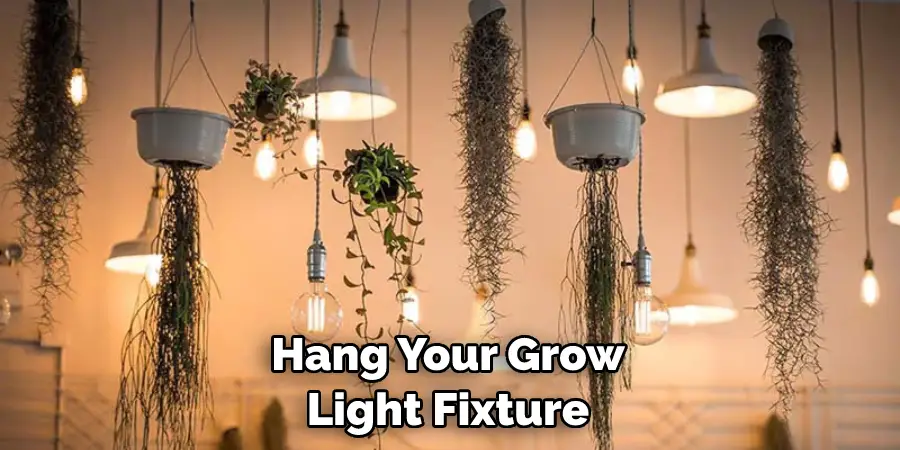
Step 6: Hang Grow Light System
Now that everything is connected and secured, you can begin to hang your grow light system. Ensure it’s properly suspended at the desired height so that all your plants get an even amount of light exposure. Be careful not to hang it too close to any combustible materials. Because the grow light system will be heavy, make sure that you have adequate support to hold it in place.
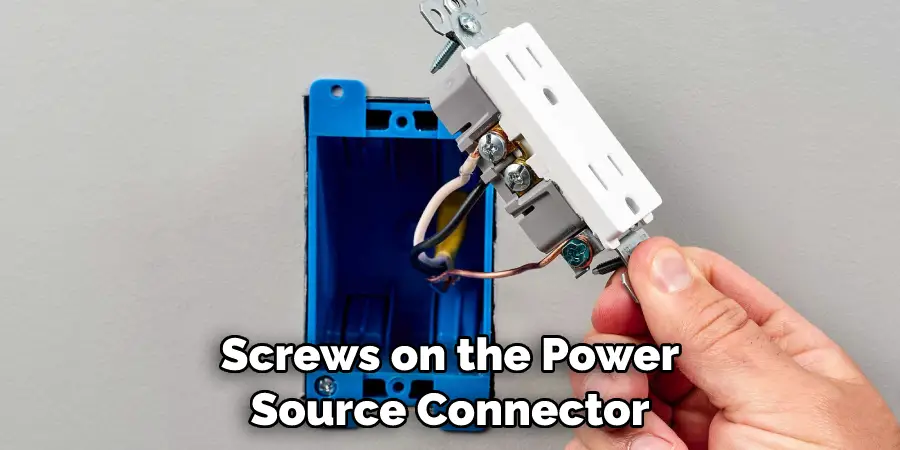
Step 7: Connect Power Source
Using a screwdriver, twist the screws on the power source connector until it’s firmly in place. Make sure this connection is secure before turning on you are grow lights. Otherwise, you may experience a power surge and cause damage to your system.
Step 8: Check Connections and Height
Once everything is connected, double-check your connections to ensure they’re secure. Also, ensure that you grow light fixture is suspended at the desired height. It is important that your grow lights are evenly spaced and not too close to any combustible materials.
Step 9: Turn on Grow Lights and Monitor Plants
Now you can turn on your grow lights and monitor them for a few days to ensure the plants get an even amount of light exposure. If any adjustments need to be made, now is the time! You can adjust the height of your grow lights or move them to another location if needed.
Step 10: Enjoy!
Your grow light fixture is now securely suspended, and you can enjoy watching your plants flourish! Make sure to check on your grow lights routinely and adjust the height or connections if needed. Remember, with proper care, your grow lights can last you for many years. Have fun!
By following these easy steps, you can easily suspend your grow lights and ensure that they are safely installed. This will help prevent potential fire hazards while ensuring that your plants get the light exposure they need to thrive!
5 Additional Tips and Tricks
1. Use a Chain Link: Use a chain link or other strong material to hang your lights. You should always use something that’s rated for the weight of your light fixtures.
2. Install an Anchor: To make the installation process easier, you can install an anchor in the ceiling or wall to suspend your lights. Ensure the anchor is securely screwed into place so it won’t pull away from the surface.
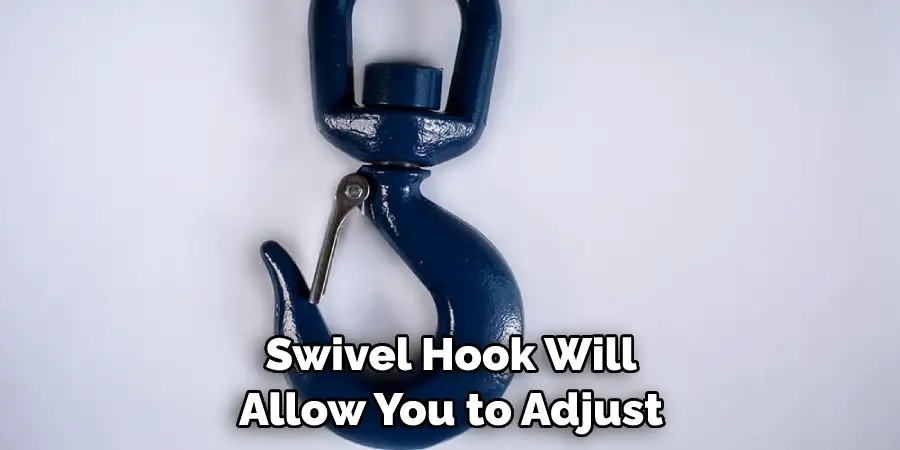
3. Use a Swivel Hook: A swivel hook will allow you to adjust the angle of your lights for better coverage of your plants and direct light where it needs to go.
4. Check Regularly: It’s important to check your suspended grow lights on a regular basis for any wear and tear that may have occurred over time. Make sure all connections are secure and if needed, replace any worn parts with new ones that are rated for the same weight as your lights.
5. Opt for a Timer: A timer can be used to automatically turn your lights on and off at specific times of day, which is especially helpful if you’re unable to check them every day. This will ensure that your plants are getting the right amount of light regardless of whether you’re home or away.
By following these simple tips, you can easily and safely suspend grow lights in any indoor space! Your plants will thank you by providing lush and beautiful greenery all year round. With proper care, maintenance, and attention, you can enjoy your own oasis right in the comfort of your home!
5 Things You Should Avoid
1. Don’t hang your grow lights too close to the plants. This can cause them to become scorched and not get enough light, leading to stunted growth or worse.
2. Don’t hang your grow lights too far away from the plants. If the lights are too far away, they won’t be able to reach all of the plants and provide them with sufficient light for proper growth.
3. Avoid using too much weight when suspending your grow lights, as this can cause the structure to become unstable and potentially break over time.
4. Do not use hooks or spring clips that are made of metal or other materials that corrode easily due to high humidity in a grow room, as they may eventually break down and need to be replaced often.
5. Never use a hanging system that isn’t rated for the weight of your grow lights. This could cause the system to break and put your plants in jeopardy.
Following these tips can help ensure you use the best setup for suspending your grow lights, providing enough light, and keeping them secure. For more information on how to suspend your grow lights, contact a professional at your local garden center or hydroponic store. Their expertise can help you find the right setup for your particular needs.
Conclusion
In conclusion, suspending grow lights is an important part of the hydroponic garden setup process. The plants will be positioned at an optimal height, and their quality may also increase. The important point is to take time to research and understand your type of lighting as well as the safety precautions associated with it before you purchase and install it.
Get creative, and don’t forget to consider the weight load of your lights and how they attach to your ceiling or other support. When you’ve finished setting up, you can start worrying about things such as settings for efficient coverage, how far away from each plant your lights should hang, and how much light your setup will produce.
With a solid understanding of the basics of how to suspend grow lights, you are well on your way to a successful hydroponic garden!