
Suppose your Cricut Explore Air is giving you a hard time. The solid red light keeps you from using your machine, don’t worry. This article is here to help. In this article, we will discuss how to fix solid red light on cricut explore Air. So, if you are having trouble with your machine, make sure to keep reading. We will help get it up and running in no time!
Circut explores air is a machine that allows you to create custom designs and cuts for your crafting needs. However, it can be quite frustrating if the machine is not working correctly. One common problem with the explored air is the solid red light. This light usually indicates a problem with the machine, and it will not operate until it is fixed.
Summary: A solid red light on a Cricut Explore Air can indicate several issues, such as an overheating problem, a firmware issue, or a malfunction with the machine’s internal components. First, ensure that the device is placed on a flat, stable surface with proper ventilation to prevent overheating. Turn off the Cricut Explore Air and unplug it from the power source. Allow the machine to cool down for a few minutes before plugging it back in and powering it on.
If the solid red light persists, the issue may be related to the firmware or internal components. Check for firmware updates through the Cricut Design Space software by connecting the Cricut Explore Air to your computer via USB cable. Follow the on-screen prompts to update the firmware if an update is available.
If the problem remains unresolved after attempting these steps, contact Cricut customer support for further assistance or to inquire about warranty options. It is essential to use only authentic Cricut accessories and materials to ensure optimal performance and minimize the risk of malfunction.
What is Solid Red Light Occurs on Circut Explore Air
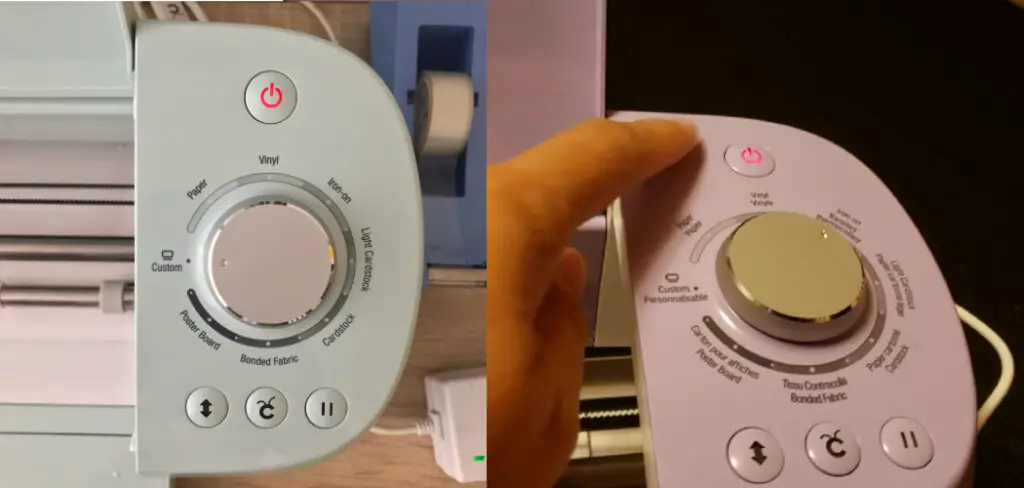
There is a possibility that you may see the Solid Red Light on your Cricut Explore Air. This light indicates an error with the machine and will need to be fixed to resume its normal function.
What Are Some Causes of the Solid Red Light
A few different things can cause the solid red light on the Cricut Explore Air to come on. One of the most common is an issue with the power supply. If the cord or outlet is not providing enough power, this can cause the machine to malfunction.
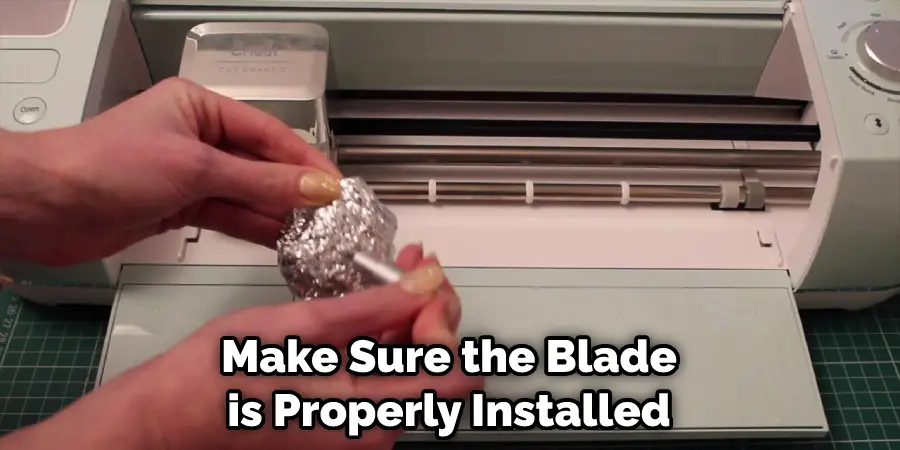
One other potential issue is when there is a problem with the blade. For example, if the blade isn’t correctly inserted into the cutter, or if it’s dull, this can also cause the solid red light to turn on. Finally, if something is obstructing the blade’s path, such as a piece of paper that was accidentally left in the machine, this can also cause problems.
Tools and Materials
- Phillips head screwdriver
- Flathead screwdriver
- Tweezers
- Isopropyl alcohol
- Cotton balls
A Detailed Guide on How to Fix Solid Red Light on Cricut Explore Air
Step 1: Determine the Problem
If your Cricut Explore Air displays a solid red light, the first step is to determine the problem. There are several reasons why this might be happening, so it’s essential to identify the specific issue before fixing it.
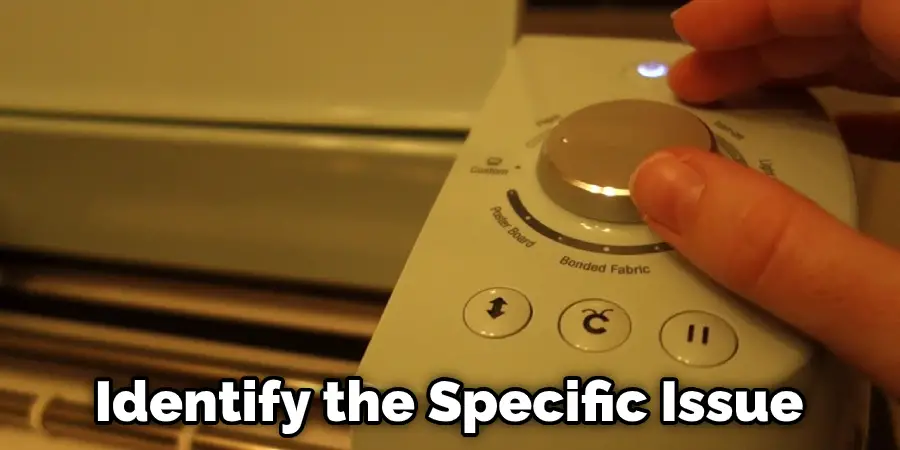
Some of the most common causes of a solid red light on the Cricut Explore Air include a low battery, a firmware update failure, or a corrupted file. If you’re not sure what’s causing the problem, check out our troubleshooting guide for more information.
Step 2: Unplug the Machine and Remove the Blade.
The first step is to unplug the machine and remove the blade. To do this, use a Phillips head screwdriver to remove the screws on the back of the machine. Once the screws are removed, you can lift off the cover. Be careful not to lose any of the screws, as they are small and easy to lose.
You can unplug the machine once the cover is off and remove the blade. The blade is located in the back left corner of the machine. To remove it, hold onto the black tab and pull it out. Be careful not to cut yourself on the blade.
Step 3: Clean the Machine.
The next step is to clean the machine. This can be done by removing the screws on the side of the machine with a flathead screwdriver. Once the screws are removed, you can lift off the cover. Be careful not to lose any of the screws, as they are small and easy to lose.
Once the cover is off, you can use a cotton ball and isopropyl alcohol to clean the blades and sensors. You can also use tweezers to remove any debris that might be blocking the blade’s path. Be sure to clean all of the surfaces inside and outside the machine.
Step 4: Reattach the Blade and Cover.
Once the machine is clean, you can reattach the blade and cover. Hold onto the black tab and insert the blade into the machine to do this. Be sure to push it in so that it’s secure.
Then, use a Phillips head screwdriver to replace the screws on the back of the machine. Make sure that they are tight so that they don’t come loose.

Finally, use a flathead screwdriver to replace the screws on the side of the machine. Make sure that they are tight so that they don’t come loose.
Step 5: Plug in the Machine and Try Again.
Once everything is securely in place, you can plug in the machine and try again. If the solid red light is still displayed, a more severe problem might require further investigation. However, if the machine starts up usually, you’re all done!
Step 6: Check Battery Level
If your Cricut Explore Air displays a solid red light, it means there is a problem. One of the most common causes of this error is a low battery. So first, open the Cricut Design Space app and click on the “Settings” tab to check the battery level. Then, scroll down to “Machine Settings” and look for the “Battery Level” section.
If the battery level is low, you can either plug in the machine or replace the battery. To replace the battery, remove the screws on the back of the machine and lift off the cover. Be careful not to lose any of the screws, as they are small and easy to lose.
Once the cover is off, you can remove the old battery and replace it with a new one. First, make sure that the battery is inserted correctly and replace the screws on the back of the machine.
Step 7: Update Firmware
If your Cricut Explore Air machine is displaying a solid red light, the first step is to determine the problem. One of the most common causes of this error is a firmware update failure. First, open the Cricut Design Space app and click on the “Settings” tab to update the firmware. Then, scroll down to “Machine Settings” and look for the “Firmware Version” section.
If you’re not running the latest firmware version, you can update it by clicking “Update Now.” Be sure to have an internet connection and enough battery life before starting the update.
Step 8: Restore Factory Settings
If the steps above do not fix the issue, your machine may need to be restored to factory settings. To do this, follow these steps:
- Power off your machine.

- Hold down the power button and the home button simultaneously until the light on the front of the machine turns white.
- Release both buttons and press them again.
- Release both buttons and wait for the machine to start up.
- Once it’s started up, go to Settings > Restore Factory Settings.
- Follow the on-screen instructions to restore your machine to factory settings.
- Once it’s finished, go to Settings > Update Firmware and update your firmware (if available).
- Once it’s updated, try using your machine again.
Step 9: Contact Circut Support
If these steps do not fix the issue, please contact Cricut Support for assistance.
Cricut Support can help you resolve several issues with your machine, including problems with the power cord, USB connection, or software. They can also help you install new firmware (if available) and troubleshoot other issues. Cricut has a wide range of support options available to help you get the most out of your machine.
To contact Cricut Support, follow these steps:
1. Go to Help > Contact Us.
2. Enter your information and select the type of support you need.
3. Click Submit.
4. You will be redirected to the Cricut website, where you can chat with a support representative or call them for assistance. These steps will help in how to fix solid red light on cricut explore air.
You Can Check It Out to How to Remove Red Light
Tips and Warnings
Tips:
- Make sure that the machine is properly plugged in and turned on.
- Check that the blade holder is attached correctly and the blade is installed correctly.
- Ensure that the cartridge holder is fully inserted into the machine.
- Ensure that the materials you are using are compatible with the Cricut Explore Air.
- If you are having trouble cutting a particular material, try adjusting the blade height or speed.
Warning:
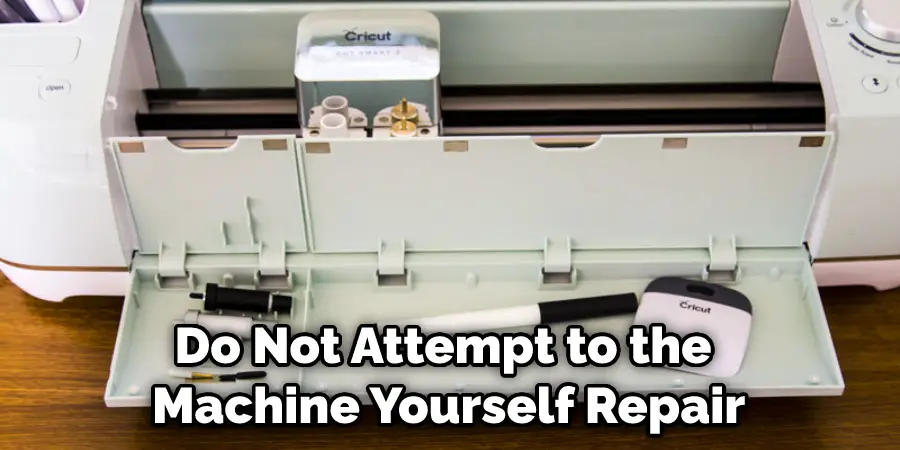
Do not attempt to open or repair the machine yourself. Doing so may void your warranty. If you have trouble fixing the machine, please contact Cricut customer service for assistance.
Why Is My Cricut Not Connecting
There are a few reasons why your Cricut might not be connecting. One reason might be that the machine is not turned on. Make sure that the power switch is in the on position. If the machine is plugged in and still not turning on, the outlet might have a problem. Try plugging the machine into another outlet.
Another common reason for a Cricut not connecting is that it’s not getting a strong enough signal from the computer. Ensure that both the machine and computer are close to each other and that there are no obstructions between them. If there are still issues connecting, you may need to update your firmware or drivers.
You Can Check It Out to: Open a Garrity Flashlight
Frequently Asked Questions
Why Does My Cricut Keep Turning Red?
This could mean that the machine is overheating, which can damage components and lead to malfunctions. Additionally, if there is dirt or other debris lodged in the blades, it will cause them to heat up quickly and turn Red. In order for your Cricut to run smoothly and avoid any issues, it is important to keep it clean, including taking care of the blades by regularly cleaning them with a blade cleaner.
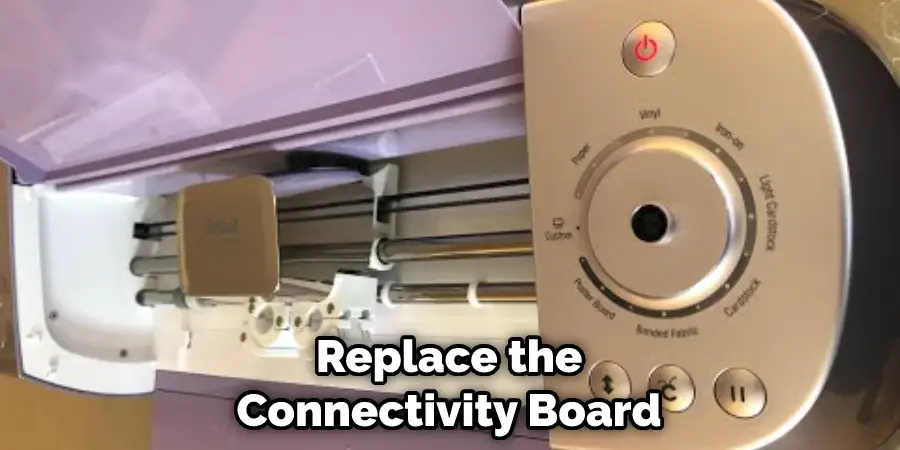
Why Is My Cricut Button Not Working?
The first thing you should do is check to see if there is power flowing to the machine. This can be done by pressing and holding down the on/off switch for about 5 seconds until the light turns off. If that doesn’t work, try plugging in an electrical cord into another outlet and verifying that it’s getting power.
If neither of these solutions works, then you may need to replace the connectivity board or motor assembly. To do this, you will need to remove the top cover of your machine, expose all components inside and unscrew them one by one.
Can a Deactivated Cricut Be Used?
You will need to make sure that the machine is fully erased and that all of its data has been cleared before using it. Additionally, please note that certain features may not work properly due to the firmware update process.
Why Is My Cricut Getting Stuck?
Some of which is likely due to user error, while others may be due to problems with the machine itself. Here are a few things you can do to troubleshoot and fix the issue:
1. Check the blade – Make sure that the blade is properly installed and in good condition. If it’s damaged or outdated, it can cause your Cricut to get stuck.
2. Check the power cord – Make sure that the power cord is plugged into an outlet and not just into a wall socket. If it’s not plugged in correctly, your Cricut may get stuck.
3. Check for misaligned buttons – If one or more of the buttons on your Cricut are misaligned, it can cause the machine to get stuck. Try adjusting the buttons by gently pushing them in from the back and then pulling them out again.
4. Clean up any debris – If there’s anything on the blades or inside of your machine that’s causing it to get stuck, you’ll need to take it apart and clean it up. This includes anything from dust to hairballs!
Conclusion
If your Cricut Explore Air is giving you a solid red light, there are a few things you can do to try and fix the issue. First, check that the power cord is plugged in securely and that the machine is turned on. If those steps don’t work, try unplugging the machine for a minute and then plugging it back in. If you’ve tried both of those things and your machine is still not working, contact Cricut customer service for help. We hope you have learned how to fix solid red light on cricut explore air.
You Can Check It Out to: Fix Blue Light on Juul