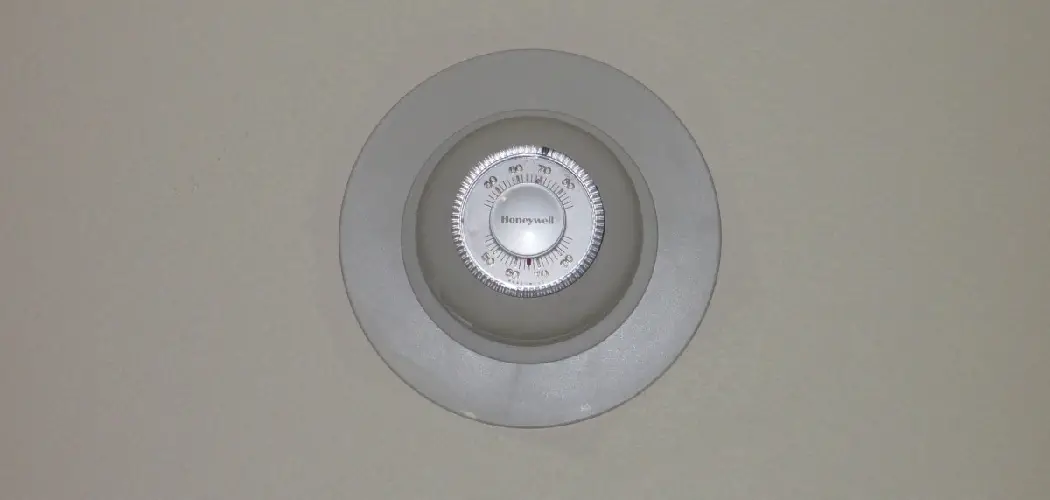
If you’re like most homeowners, you probably have a few old recessed light housings lurking in your attic or garage. Removing these outdated fixtures is pretty easy, and it’s a great way to update the look of your home without spending a lot of money.
In this blog post, we’ll show you how do you remove old recessed light housing in just a few simple steps. So if you’re ready to get rid of those unsightly lights, read on!
Summary: Removing old recessed light housing is necessary when updating, replacing, or repairing a lighting fixture. The process involves carefully detaching the housing from the ceiling without causing damage to the surrounding surface or electrical components. Recessed light housings are typically held in place by clips, springs, or screws, and identifying the specific attachment method is crucial for a safe and effective removal. It is essential to follow safety precautions and use appropriate tools during the process.
Before attempting to remove the old recessed light housing, turn off the power supply to the fixture at the circuit breaker to minimize the risk of electrical shock. Carefully remove the trim or cover of the recessed light by gently pulling it down or unscrewing it, as appropriate.
With the trim removed, examine the housing attachment method. If it is held in place by clips or springs, carefully disengage them using a screwdriver or your fingers. For housings secured with screws, use a screwdriver to loosen and remove the screws. Once the housing is detached, carefully lower it from the ceiling, taking care not to damage the surrounding surface or any electrical components. Disconnect the wiring by removing wire nuts or unscrewing wire connectors, as necessary.
With the housing removed, you can proceed with the installation of a new recessed light housing or make any necessary repairs to the electrical components. When replacing the housing, ensure that it is compatible with your existing ceiling cutout and electrical connections. By following these steps and exercising caution, you can successfully remove old recessed light housing and update or repair your lighting fixtures.
Why Do You Remove Old Recessed Light Housing
There are a few reasons why you might want to remove an old recessed light housing. First, maybe the light is outdated or no longer functions properly. Maybe you’re remodeling your home and want to replace the recessed lights with something new. Or maybe you’re just trying to clear out some extra space in your attic or garage. Whatever the reason, removing an old recessed light housing is pretty easy.
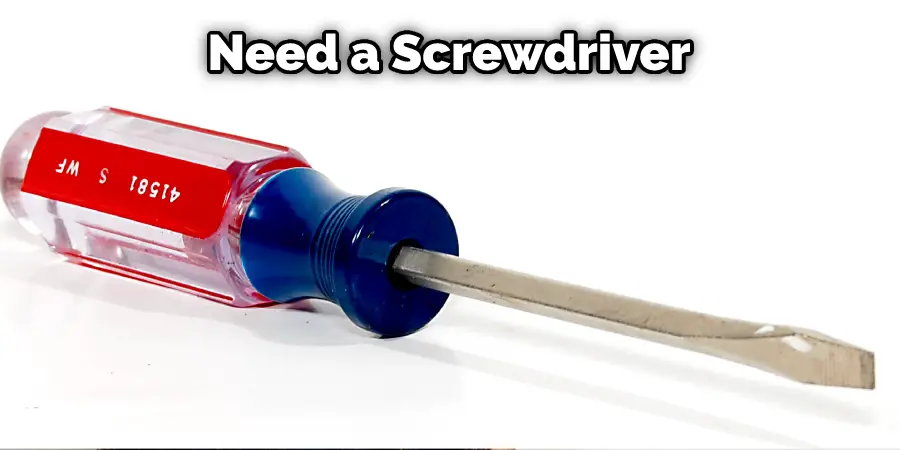
Required Materials
- Screwdriver
- Pliers
- Wire cutters
- Safety glasses
- Ladder (optional)
If you’re ready to remove an old recessed light housing, you’ll need a few basic tools and materials. You’ll need a screwdriver, pliers, wire cutters, and safety glasses. Depending on how high the light is installed, you may also need a ladder.
How Do You Remove Old Recessed Light Housing Step by Step Guide
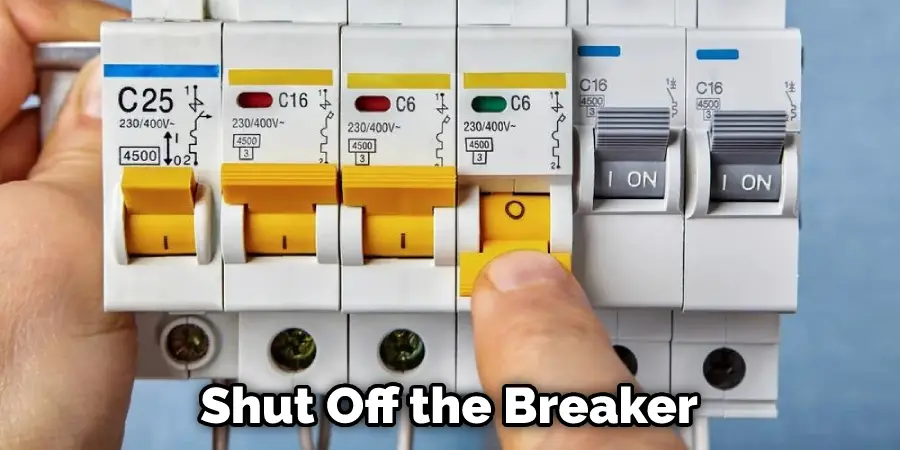
Step 1: Disconnect the Power
Before you do anything, it’s important to make sure that there is no power running to the recessed light housing. The last thing you want is to get electrocuted while working on this project!
Turn the power to the recessed light housing at the main breaker box. Use a voltage tester to ensure that there is no power going to the housing before you begin working on it.
Step 2: Prepare and Gather Tools
To remove an old recessed light housing, you will need a screwdriver and a ladder. You may also need a pair of pliers to loosen the screws.
Step 3: Take Apart the Trim
LED light strips are a type of light that can be mounted on a wall. They are not known to come off the wall, but if you plan on moving them around regularly it is best to use a mount or holder. This will help to keep the light strips from getting damaged.
Step 4: Determine the Light Housing Type
There are two types of light housing that you may encounter when changing a recessed light bulb: drop-ins and new construction.
New construction lights have a metal frame that drops down into the drywall, with the light housing held in place by screws that go through the framing and into the light housing.
If you are unsure which type of light housing you have, take a picture or measure the opening to see if it is either 6 or 8 inches in diameter. This will help you determine which instructions to follow.
Step 5: Loosen the Screws
To remove your old recessed light housing, first locate the screws on either side of the housing. In most cases, there will be two screws. Use a screwdriver to loosen the screws, being careful not to strip them.
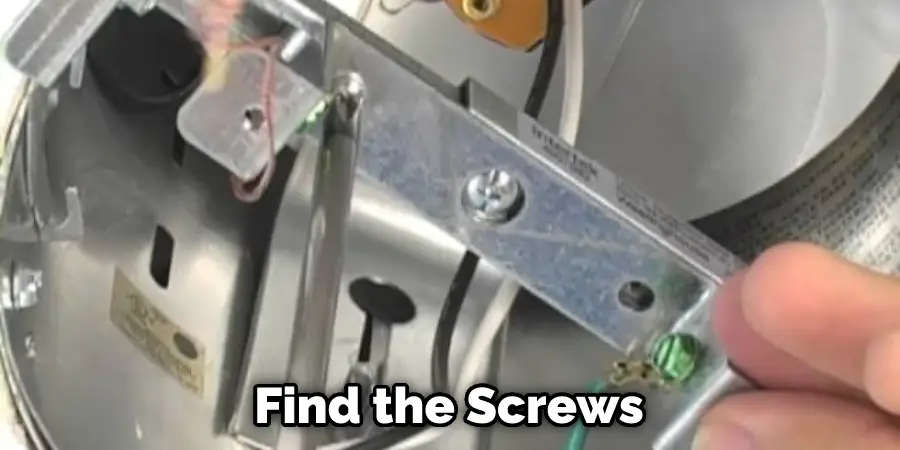
Step 6: Remove the Light Housing
To remove your old recessed light housing, first locate the screws on either side of the housing. In most cases, there will be two screws. Use a screwdriver to loosen the screws, being careful not to strip them.
Step 7: Remove the Bulb
Now that the light housing is removed, you can access the bulb. Reach in and unscrew it from the socket. If it’s difficult to grip, use a pair of pliers. Be careful not to touch the bulb with your bare hands, as it may be hot. Discard the old bulb and replace it with a new one.
Step 8: Deal with the Wire Connections and Recessed Light Hole
LED light strips are a type of light that can be mounted on a wall. They are not known to come off the wall, but if you plan on moving them around regularly it is best to use a mount or holder. This will help to keep the light strips from getting damaged.
If you have a recessed light hole bigger than the new housing, you can use a piece of drywall to fill in the space. Just cut drywall to fit the hole and screw it into place. You can then add a joint compound to the seams and paint them. If the hole is smaller than the new housing, you can use a piece of wood or foam to fill in the space. Just make sure that the material you use is fire resistant.
Once you have taken care of the wire connections and recessed light hole, you are ready to install the new housing. If you want to know more about how do you remove old recessed light housing, keep reading.
How to Safely Install Recessed Light Housing
Step 1: Turn Off the Electricity
Before you do anything, it’s important to ensure that there is no electricity running through the wires. The best way to do this is to shut off the breaker that controls the circuit for the room where you’ll be working. Then, test the wires with a non-contact voltage tester once the power is off to ensure they are safe to work with.
Step 2: Remove the Old Lighting Fixture
To remove the old lighting fixture, you will need to remove the screws holding it in place. Once the screws have been removed, you can pull the fixture out of the housing.
Step 3: Enlarge the Opening in Your Ceiling if Necessary
If the opening in your ceiling is too small to fit the new light housing, you will need to enlarge it. The first step is to measure the size of the opening and then use a saw to cut out an opening that is 1/4 inch larger on all sides. Be very careful when cutting, as you do not want to damage the framing or any wiring in the area.
Step 4: Wire Your Recessed Light
Now that the housing is removed, it’s time to wire your light. There are three wires in a recessed light – a black, a white, and a green. The black is the hot wire, the white is the neutral wire, and the green is the ground wire. Secure the wires to the electrical box with a wire nut. Then, connect the green wire to the green screw on the electrical box. Finally, connect the black wire to the black screw on the electrical box. Once the wires are connected, screw in your recessed light.
Step 5: Insert the Light Into the Ceiling
LED light strips are a type of light that can be mounted on a wall. They are not known to come off the wall, but if you plan on moving them around regularly it is best to use a mount or holder. This will help to keep the light strips from getting damaged.
Step 6: Attach the Baffle and Trim
After the new housing is in place, attach the baffle and trim. The baffle is a metal or plastic that fits between the housing and the lightbulb to direct the light. The trim is the decorative part that covers up the edges of the housing.
Step 7: Screw in Your Light Bulb
After removing the housing, it’s time to screw in your light bulb. Be sure to use a bulb with the correct wattage for your recessed light. Improperly using a light bulb can be dangerous and could cause a fire.
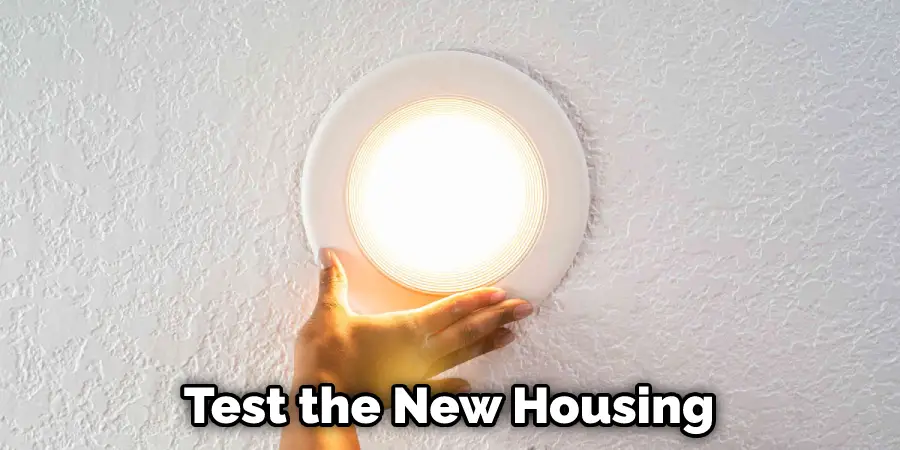
Step 8: Turn the Power Back On
Now that the new recessed light housing is installed, it’s time to turn it back on. Test the new housing before flipping the switch by using a circuit tester. Once you’ve confirmed that the new housing is working, enjoy your newly updated space! Keep reading for more information about how do you remove old recessed light housing.
Frequently Asked Question
How Do You Remove a Light Mounting Bracket?
Removing a light mounting bracket is relatively easy. First, remove the screws that hold the light in place. There should be two or three screws around the edge of the light. Once the screws are removed, the light should be able to be pulled out of the housing. If there is a metal band around the edge of the light, unhook it from the housing. Once the light is out of the housing, remove the screws that hold the mounting bracket in place and take the bracket off.
How Do You Remove Ceiling Light Covers?
When it comes to how you remove ceiling light covers, there are a few things that you need to consider. First, the type of light cover and the screws holding it in place will determine how easy it is to remove. If the screws are visible, they can be unscrewed with a standard screwdriver.
How Do You Remove a Light Fixture Cover?
Removing a light fixture cover is usually a simple process. However, it can vary depending on the type of light fixture. In most cases, you can remove the cover by unscrewing it.
You Can Check It Out to: Cut Hole in Drywall for Recessed Light
Conclusion
Now that you know how do you remove old recessed light housing, it’s time to get started. Be sure to have all of your materials ready before you start and take your time so that you don’t damage the new housing. Then, once it’s installed, enjoy the improved look of your room!
You Can Check It Out To Remove Old Recessed Light Trim