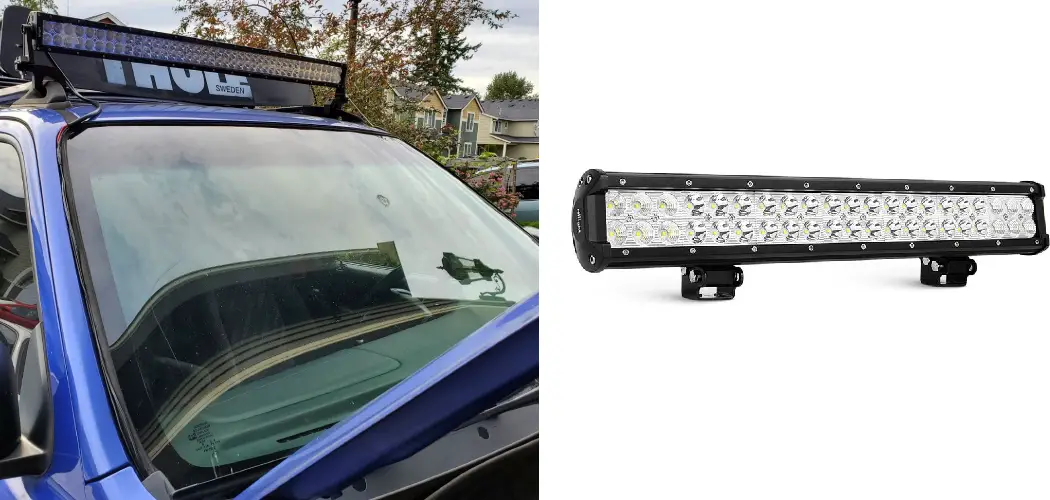
Are you looking to install a nilight light bar on your car or truck? If so, you’ve come to the right place! This blog post will show you how to install nilight light bar step-by-step. We’ll also provide tips and tricks to make the installation process as smooth and easy as possible. So whether you’re a first-time installer or a seasoned pro, this post is for you! Let’s get started.

Summary: Installing a Nilight Light Bar is an excellent way to enhance your vehicle’s lighting capabilities, providing additional illumination for off-road adventures or working in low-light conditions. The installation process involves several key steps, including selecting an appropriate mounting location, securing the light bar, and wiring it to your vehicle’s electrical system. Prior to starting, gather all necessary tools and materials, such as a drill, wrench, wire strippers, connectors, and a relay wiring harness.
Begin the installation by choosing a suitable mounting location for the Nilight Light Bar, such as the front bumper, grille, or roof rack, ensuring it provides optimal lighting coverage and does not obstruct any essential vehicle components. Attach the light bar brackets to the mounting location, following the manufacturer’s instructions and using the provided hardware.
Once the brackets are secured, attach the light bar to the brackets and tighten all fasteners to ensure stability. Next, wire the light bar using the relay wiring harness, which typically includes connections for the battery, switch, and light bar. Route the wiring harness along a concealed path, securing it with zip ties or adhesive clips to keep it out of sight and protected from damage. Finally, connect the wiring harness to the light bar, battery, and switch, ensuring all connections are secure and properly insulated. Test the light bar’s functionality to verify the installation is successful and make any necessary adjustments.
Why Install Nilight Light Bar?
There are several reasons why you might want to install a nilight light bar on your vehicle. Some of the most common reasons include:
- Increased visibility while driving, especially at night or in bad weather
- A more modern look for your car or truck
- Additional safety features for you and your passengers
How to Install Nilight Light Bar Step by Step Guide
Step 1: Choose Mounting Locations on Your Vehicle
Before installing your light bar, you’ll need to find two spots on your vehicle that will work for mounting. The light bar should be as close to the center of the vehicle as possible, and it’s important to make sure that there is enough space above and below the light bar to be mounted securely.
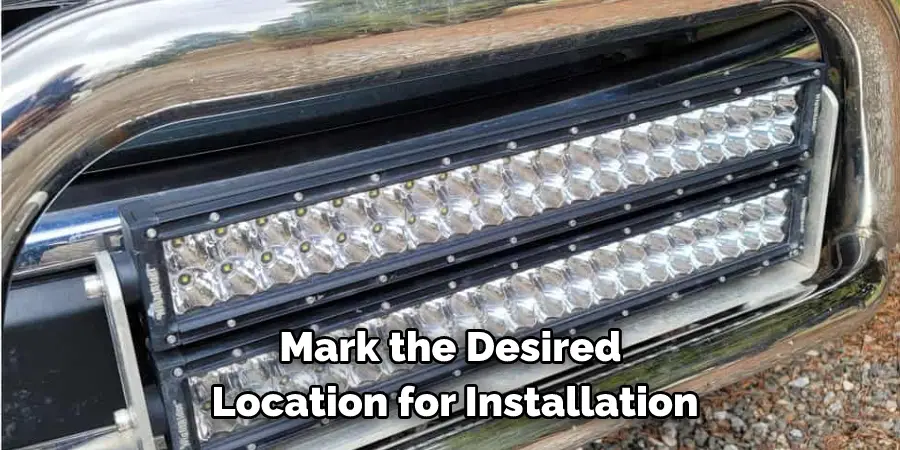
Step 2: Mark the Desired Location
It’s important to make sure that you mark the desired location for your Nilight light bar installation before you begin. This will help ensure that you have a clean and level surface to work with. You can use a pencil or other marking tool to draw a line around the area where you want to install the light bar.
Step 3: Measure the Height of Your Roof Rack
Now that you have the dimensions of your light bar, it is time to measure the height of your roof rack. This will ensure that the light bar will be at a height that is accessible and does not obstruct your view while driving.
Once you have measured the height of your roof rack, you can use this measurement to determine how to install nilight light bar.
Step 4: Determine the Height of the Mounting Brackets
You need to figure out how high to put the brackets for the light bar. The bottom of the light bar should be 1 inch below the top of the mounting surface. To do this, add 1 inch to the height you measured in the last step.
For example, if the distance between the light bar and the mounting surface is 4″, then the bottom of the light bar should be 3″ below the top of the bracket.
Step 5: Mount the Light Bar
Now that you have the light bar, it’s time to mount it. There are a few different ways to do this, so you can choose the one that works best for you. The most common way is to use the included brackets to attach them to the roof of your car. You can also use zip ties or screws and bolts if you prefer.
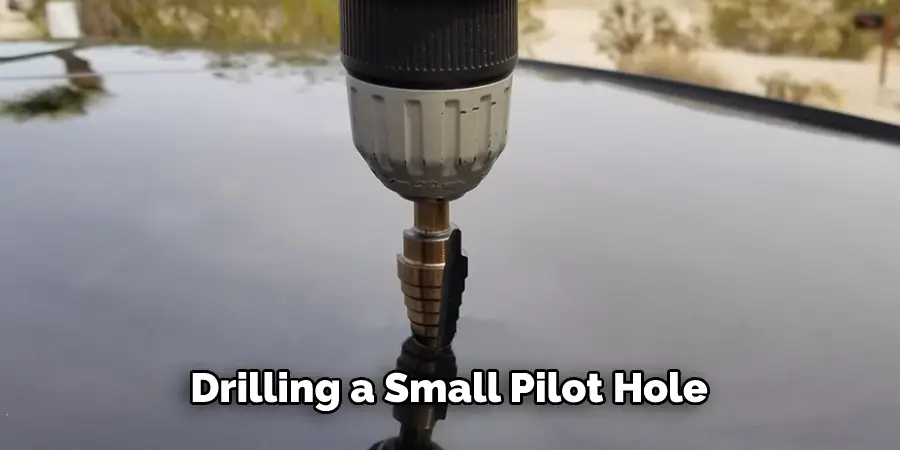
If you’re using the brackets, start attaching them to the light bar. Then, hold the light bar up to where you want to mount it on the roof of your car. Use a marker or pencil to make a mark on the roof, so you know where to drill.
Start by drilling a small pilot hole, then use a larger drill bit to enlarge the hole. Once the holes are big enough, feed the bolts through from the inside of the car. Then, add the washers and nuts and tighten them down. Be careful not to overtighten, as this can strip the threads.
Step 6: Secure the Mounting Brackets
Now that the light bar is mounted, you need to ensure it is secure. Depending on how you mounted the light bar, there are different ways to do this. For example, if you used U-bolts, you could tighten them down. If you use bolts and nuts, you will need a wrench to tighten the nuts.
Step 7: Check for Stability and Security
After the installation is complete, you will want to check the light bar for stability and security. Ensure that it is firmly attached to the vehicle and will not move around while driving. You should also test the lights to make sure they are functioning properly.
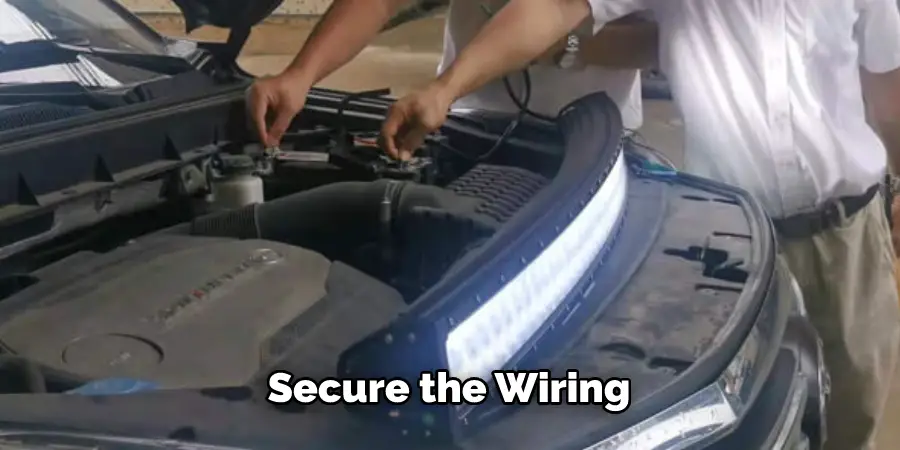
Step 8: Secure the Light Bar Wiring
After you check that the light bar is working, you need to secure the wiring. This means running the wires along the bottom of the car and using zip ties to keep them in place. Make sure there are no sharp edges near the wires that could damage them. Lastly, tuck any excess wire into the car’s interior.
Step 9: Secure Light Bar to the Mounting Brackets
Now that the light bar is in place, it’s time to secure it to the mounting brackets. This can be done with the included screws and washers. Place the washer on the screw, then insert it into the corresponding hole on the bracket. Do this for all four screws, making sure that the light bar is level before tightening.
Step 10: Connect the Light Bar Wiring to Your Vehicle’s Harness
This is the trickiest part of the entire installation. You’ll need to find a way to route the light bar wiring so that it doesn’t get in the form of anything else and is not visible. This will likely require some trial and error.
One method is to tuck the wiring underneath the dashboard. Then, you can use some zip ties to keep it in place.
Another option is to run the wiring along with the car’s frame. Make sure you use plenty of insulation tape to protect the wiring from getting rubbed raw.
Once you have the wiring in a suitable location, connect it to your vehicle’s harness. There should be a set of wires specifically for the light bar. If not, consult your vehicle’s owner’s manual.
Step 11: Test Your Light Bars
Now that you have installed your light bars, it’s time to test them out! Turn on your vehicle and check the brightness of the light bars. You may need to adjust the mounting brackets or the wiring depending on how they are positioned. Be sure to drive around at night and see how well they illuminate the road.
Step 12: Enjoy Your LED Light Bars!
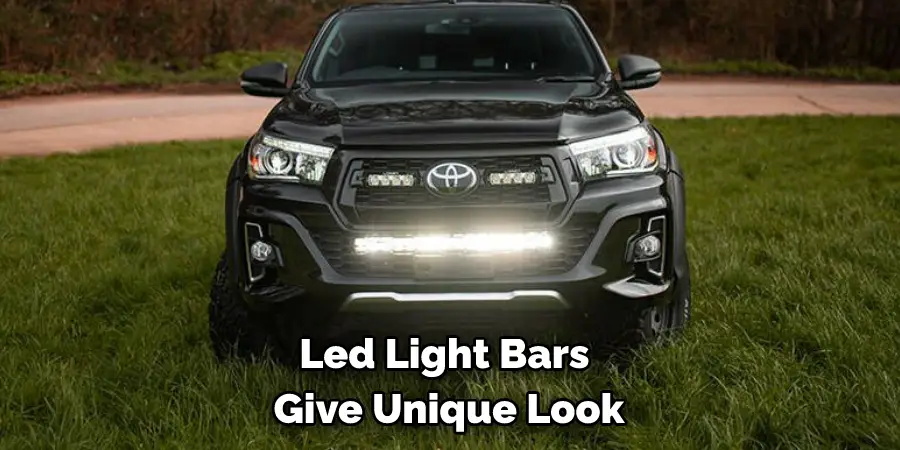
Now that you know how to install nilight light bar, you can enjoy the benefits of having them on your vehicle. With proper installation, they will provide you with improved visibility while driving, which can help you avoid accidents. In addition, LED light bars can also give your vehicle a unique look that will turn heads when you’re out on the road. So, if you’re looking for a way to improve your vehicle’s safety and appearance, be sure to install nilight light bar.
Are Light Bars Easy to Install?
Installing a Nilight light bar is a relatively easy process and can be completed in a few simple steps. Here are the basics on how to install your light bar:
- Locate a spot on your vehicle to mount the light bar. It is best to use a spot that is easily visible from the driver’s seat.
- Clean the mounting surface and remove any debris or dirt.
- Use the included screws or bolts to attach the light bar to the desired location.
- Connect the wiring to the light bar and test it out!
If you are not comfortable installing the light bar yourself, we recommend consulting a professional. They can help ensure that the light bar is installed correctly and safely.
Frequently Asked Question
Where Is the Best Place to Mount a Light Bar?
There are many different places to mount a light bar. Some people mount them on the roof of their car; others mount them on the front bumper.
The best place to mount a light bar depends on how you plan to use it. If you plan to use it for off-road driving, the best place to mount it is on the front bumper. This will give you the best visibility while driving off-road.
Do You Need a Relay for A Light Bar?
If you plan to use a Nilight light bar with a high-powered halogen or LED bulb, you need a relay. A relay is an electrical device that allows a low-power signal to control a high-power device. Without a relay, the light bar would be too bright and could potentially damage the wiring in your car.
What Is the Point of Light Bars?
Lightbars can provide additional lighting for vehicles, either for safety or aesthetic reasons. Nilight light bars are a popular choice for many drivers, as they are affordable and easy to install. Before purchasing a Nilight light bar, it is important to consider what size and type of light bar will best suit the needs of the vehicle. The size of the light bar will determine how much light it emits, while the type of light bar will dictate the beam pattern.
Do Light Bars Make a Difference?
When it comes to choosing what type of lighting you want for your car, there are many options to choose from. One option is a light bar. A light bar is a long, thin piece of metal or plastic attached to the top of a car. It is used to provide light for the driver and passengers.
Conclusion
So, there you have it! How to install nilight light bar. We hope this article was helpful and that you are now ready to get your new light bar installed. Be sure to check out our other articles for more information on automotive lighting and accessories. As always, thanks for reading, and happy installing!