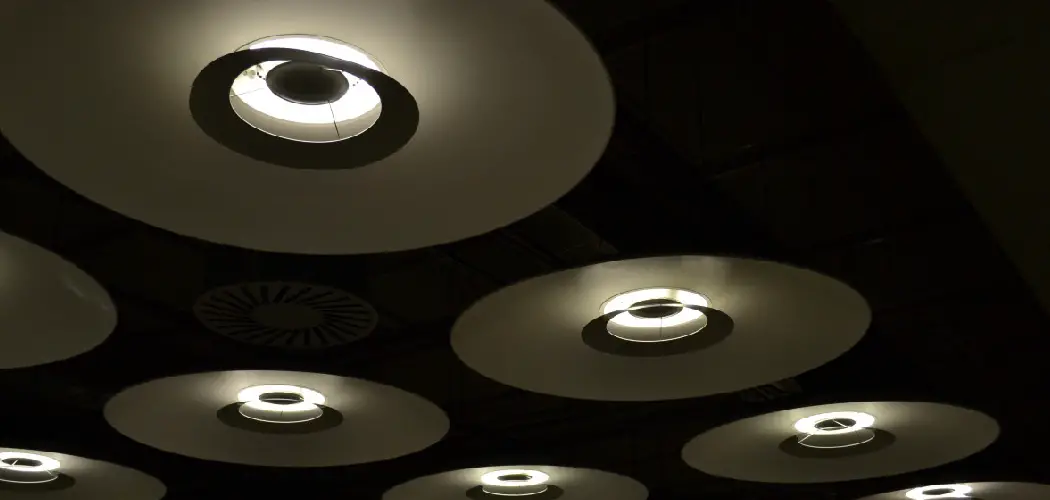
Are you looking for a creative and modern way to light up your home, office, or outdoor area? Led disc lights may be the perfect solution!
Lighting has become an increasingly important feature in home decor, both indoors and outdoors. LEDs, or light-emitting diodes, are becoming more popular than ever as a lighting choice due to their energy efficiency and long lifespan. LED disc lights offer an attractive option for indirect or spotlighting because of the “hidden” nature of their installation – they slip into holes drilled into walls or other items such as furniture – making them great to use if you want to create dramatic effects without compromising on aesthetics.

In this blog post, we will share with you some helpful tips on how to install led disc lights so you can add something special, like colorful illumination beneath kitchen cupboards, highlight features around fireplaces, and frame out staircases!
What are the Benefits of Using LED Disc Lights?
LED disc lights are an energy-efficient way to light up any room or outdoor area. This type of lighting has a longer life span than other traditional lighting options and uses less power which can help save you money in the long run
.
Additionally, as they emit little heat, they’re safer for children and pets. Disc lights can also be used to create a range of interesting lighting effects so that you can enjoy the full benefit of your decorative choices.
Tools You Will Need for Installation
Before beginning installation, it’s important to ensure you have all the necessary tools. These are:
- A drill or hole saw;
- Masking tape;
- An appropriate power supply (usually 12V);
- Philips head screwdriver;
- Cable ties;
- LED disc lights with connecting cables.
Once you have gathered all of these items, you’re ready to begin!
10 Easy Steps on How to Install Led Disc Lights
Step 1: Plan out the Layout of Your Lights
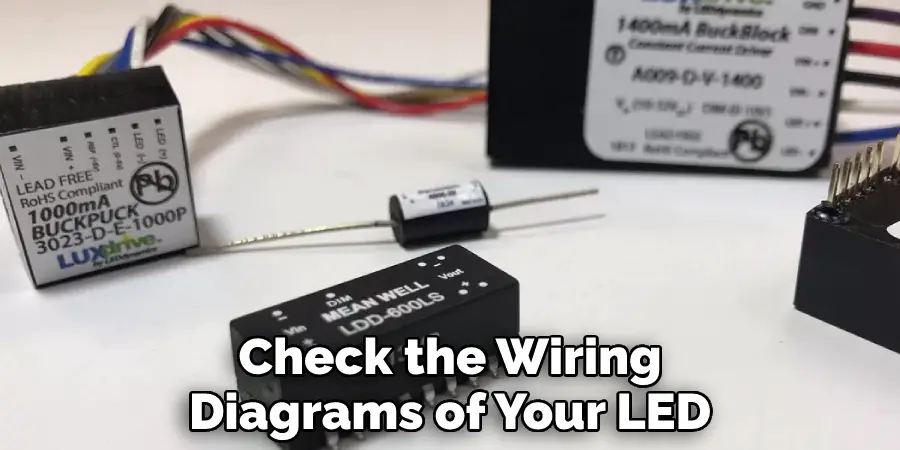
Think about where you want to install your disc lights and how many lights you will need. Mark out the installation points with masking tape so that you can easily identify them when it’s time to drill. Additionally, ensure that you check the wiring diagrams of your LED disc lights to make sure you are connecting them correctly.
Step 2: Drill Holes
Drill holes at the marked locations using a drill or hole saw. These should be slightly bigger than the size of your disc light screws. If you’re drilling into a wall, make sure to use a masonry drill bit.
Step 3: Insert Disc Lights
Place the LED disc lights into the drilled holes, making sure they are secure and won’t move around or become dislodged. Be careful not to damage the LED disc lights. Because they are often quite small, you may need to use tweezers or a similar tool to position them correctly.
Step 4: Connect Wires and Power Supply
Connect each light to its own wire and then connect all wires together using cable ties. Attach the power supply at the end of the wire. You can also connect the wire to a remote controller or switch if that is your preference.
Step 5: Make Necessary Adjustments
If you need to make any adjustments to your installation, such as adding or removing lights, you can do so now. As long as you have the correct tools, this should be relatively easy to do. If you do need to make adjustments, it is important to double-check all connections before proceeding.
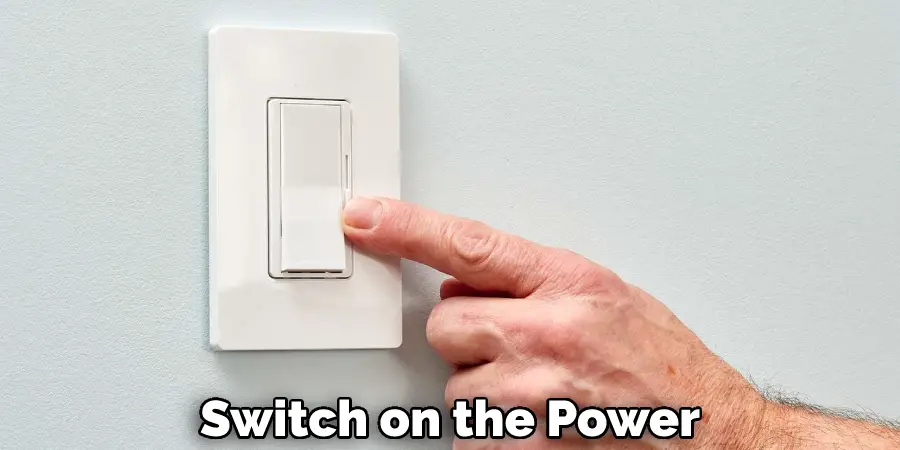
Step 6: Test Lights
Switch on the power and briefly test out all of the lights to ensure they are functioning correctly. Try out various lighting effects to get a better idea of how the lights will look in your space. There are many lighting options available, so take your time in choosing the ideal one for you.
Step 7: Secure Disc Lights in Place
Use Philips head screws to secure each disc lightly in place. This will prevent them from moving around or becoming dislodged again. You can also add a sealant around the edges of each light if needed.
Step 8: Check for Any Potential Dangers
Make sure all wires are out of reach and that the lights are securely in place to avoid any potential danger. Check that there are no exposed wires and that all connections are properly made. Keep the power supply away from any moisture or water.
Step 9: Clean Up
Remove any excess wires and tidy up the installation area as necessary. Use cable ties or similar items to keep cables out of the way. Another option is to invest in LED disc light covers, which will help to conceal the cables and keep them safe.
Step 10: Enjoy Your New Lighting!
Marvel at your handiwork – you’ve just installed your own set of LED disc lights! You can now enjoy the benefits of energy efficiency and modern lighting design in your home or outdoor area. Remember to switch off the lights when you’re not using them to make sure you save energy.
By following these simple steps, you can easily install LED disc lights in your home or outdoor area. This type of lighting is an attractive and energy-efficient way to add visual interest and highlight features around your home. With the right tools, you’ll be able to enjoy all the benefits LED disc lights offer!
5 Additional Tips and Tricks
1. Follow the Manufacturer’s Instructions: When wiring your LED disc lights, make sure to follow the manufacturer’s instructions. Pay attention to the voltage requirements needed for powering the lights as well as the wattage requirements for the disc lights.
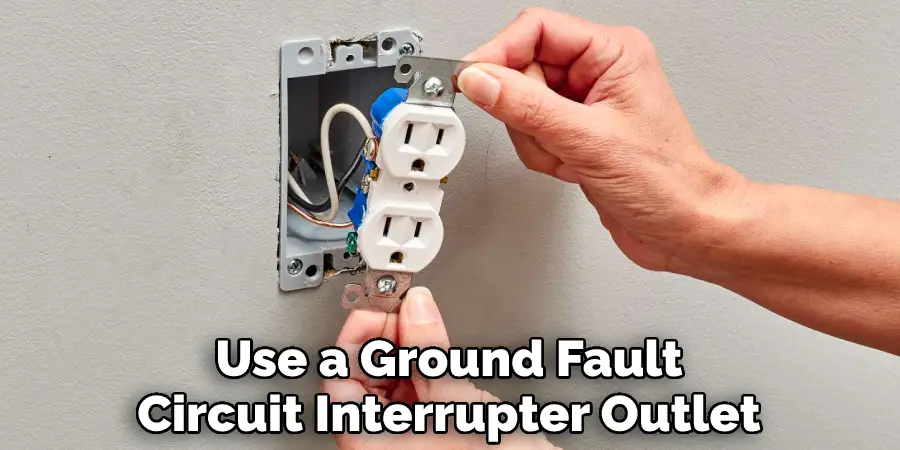
2. Use a GFCI Outlet: It’s important to use a Ground Fault Circuit Interrupter outlet when installing LED disc lights. This will help protect you from any electrical shock should a fault occur during the installation or usage of your lighting system.
3. Don’t Overload Circuits: Make sure not to overload circuits when wiring multiple LED disc lights together, as this can cause a fire hazard and could damage both your home and the fixture itself.
4. Install LED Dimmers: If you plan on using dimmable LED disc lights, make sure to install an appropriate LED dimmer switch that meets the requirements and specifications of the manufacturer’s instructions. This will help you to control the brightness, temperature, and color of your LED disc lights.
5. Test for Wiring Precision: Before testing the LED disc lights, make sure to test all wiring precision and ensure that everything is connected properly. This will help to prevent any potentially hazardous situations from occurring.
Following these tips and tricks ensures that your LED disc light installation goes smoothly and safely!
6 Things You Should Avoid
1. Don’t make the mistake of buying LED lights that don’t fit your ceiling. If you have a high ceiling, you should opt for longer LED discs to allow them to hang properly.
2. Never install LED disc lights on your own without proper safety equipment and tools around you. Electricity is dangerous and can cause serious injury if mishandled.
3. Don’t forget to turn off the electricity before starting the installation process or else there is a risk of shock or fire hazard!
4. Also, avoid using any harsh chemicals near the LED disc lights since this may cause damage or corrode over time.
5. Last but not least, do not use too many LED disc lights in the same area since this can create an overpowering lighting effect. Instead, choose wisely and use the appropriate wattage for each light fixture.
6. Don’t skimp on the quality of your LED disc lights either. Investing in good quality products can save you from potential problems down the line.
Installing LED disc lights can be a great way to improve your home’s lighting and overall look. However, it is important that you follow these tips to ensure a safe and successful installation process. By avoiding the mistakes listed above, you will be able to enjoy beautiful LED disc lights in no time!
Conclusion
Congratulations! You’ve completed the process of installing LED disc lights in your home and have upgraded the feel and atmosphere of the room. From the initial choice of fixtures to installations and programming the LED disc lights to fit your needs – it has all been a rewarding experience. LED disc lights open up limitless possibilities with many types of lighting effects to choose from.
You may want to experiment when it comes to different colors and brightness levels according to your preferences. You can play with colors and face shapes that add a whole new level of customization that can match your interior design perfectly! Let this project be an inspiration for more creativity in creating an ideal living environment for you and your family.
Hopefully, the article on how to install led disc lights has given you the knowledge and confidence to do it yourself. With these tips in mind, you should have no problem tackling your next LED disc light installation project! Good luck!