When it comes to installing a light bar on the roof of your vehicle, there are a few different ways to go about it. You can drill into the top and use screws or bolts to secure the light bar in place, or you can use a temporary mounting kit that doesn’t require any drilling.
Installing a light bar on the roof of your car can be a great way to improve your visibility while driving, but drilling into your car’s roof can be a time-consuming and challenging process.
This blog post will show you how to mount light bar on roof without drilling using a temporary mounting kit. Suppose you’re looking for an easier way to mount a light bar on your roof. Follow these tips.
Summary: Mounting a light bar on your vehicle’s roof without drilling is a desirable option for those who want to avoid permanent modifications to their vehicle while adding off-road lighting. To achieve this, you can use non-drilling mounting solutions such as suction cup mounts, magnetic mounts, or clamp-on mounts that are specifically designed for light bars.
Before purchasing a mounting system, make sure it is compatible with both your vehicle’s roof and the light bar you intend to install. Additionally, gather all the necessary tools and materials, such as wiring harnesses, connectors, and zip ties, to complete the installation.
Begin the installation process by placing the mounting brackets or suction cups on the desired location of your vehicle’s roof. Make sure the surface is clean and free from dirt or debris to ensure a secure attachment. Once the mounts are properly positioned, attach the light bar to the mounts, making sure it is properly aligned and secure. With the light bar in place, proceed to route the wiring harness from the light bar to the vehicle’s battery or switch panel, taking care to keep the wires hidden and away from any moving parts or sources of heat.
Secure the wiring with zip ties or adhesive cable clips to prevent it from moving or sagging. Finally, connect the wiring harness to the battery or switch panel according to the manufacturer’s instructions and test the light bar to ensure it is functioning correctly. By using a non-drilling mounting solution, you can install a light bar on your vehicle’s roof without causing permanent damage, while still benefiting from the enhanced visibility and aesthetic appeal it provides.
How to Mount Light Bar on Roof Without Drilling Step by Step Guide
Step 1 : Choose Mounting Locations on Your Vehicle
You will need to choose how many light bars you want and how to mount them. There are two basic options: permanent and temporary mounting. You can drill holes in your roof in the first case, preferably behind a rain gutter or similar protective device.
Quick mounts consist of suction cups and double-sided tape or an industrial-grade magnetic strip similar to those used by police to mount their flashing lights.
Step 2 : Mark the Desired Location for the Mount
Put your light bar on top of where you’re planning to mount it. Mark the location with a paint marker or tape.
This will help you see how your lights look from different angles. You can put as many as you want, but most people put them at the outer edges of their roof for maximum visibility from all sides.
Step 3 : Measure the Height of Your Roof Rack
To install lights on your car, you will need to measure how tall your roof rack is. This way, you can ensure that it’s high enough to house the lights without them being visible from outside the car. The size of your roof rack will depend on how many light bars you want, how big they are and whether or not there will be other equipment mounted alongside.
Step 4 : Determine the Height of the Mounting Brackets
Now that you know the height of your roof rack and how many lights will be mounted, it’s time to figure out the ideal height for your mounting brackets. You should allow around 4 inches between each light bar, and roughly half that distance for any additional CB radio or antenna equipment. This will ensure optimal visibility and performance for your off-road adventures!
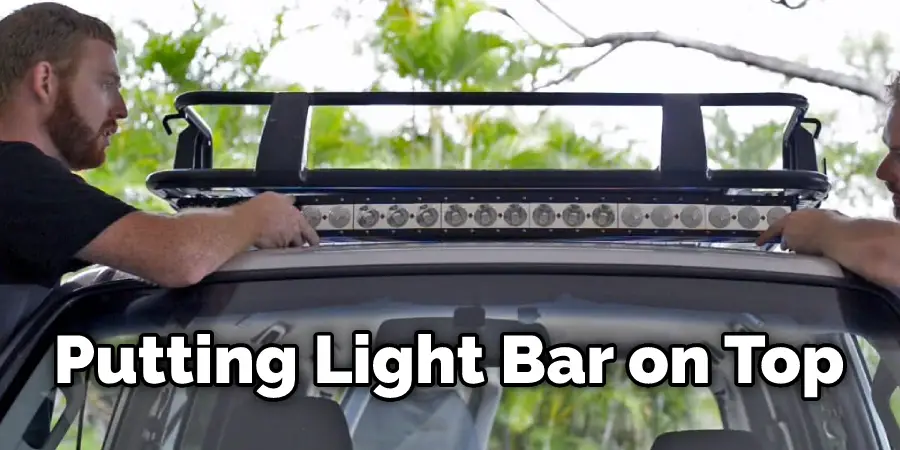
Step 5 : Mount Brackets on Your Roof Rack
Determine how high your brackets need to be, then secure them in place. You can do this by drilling holes and screwing them to the rack, or by attaching velcro strips or magnets. However, according to most mount manufacturers, the latter two options are less than ideal.
Step 6 : Mount the Light Bar
Once the brackets are in place, you can drill holes, stick-on velcro strips, or use magnets.
It’s important to make sure that the light bar is securely mounted because it may bounce loose when driving fast over bumpy roads. If using screws and bolts, use washers so as not to damage the roof of your car.
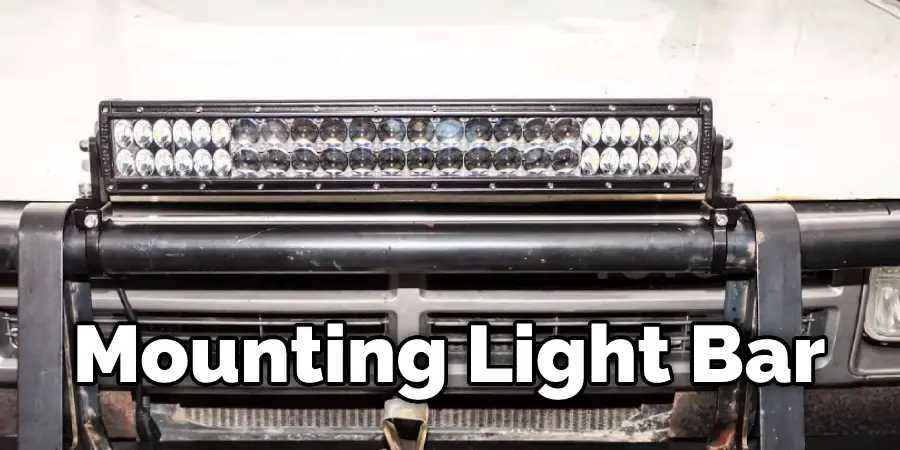
Step 7 : Secure the Mounting Brackets
Attach the mounting brackets with screws or bolts once you’re sure the light bar is securely mounted. This will keep them in place so they don’t swing loose when driving over bumpy roads.
Step 8 : Check for Stability and Security
Before heading out on the road, make sure that the light bar is securely mounted and cannot be removed easily by passersby. Also, check how it feels when driving. If there is a lot of bouncing or you feel any looseness, tighten your mounting screws or bolts more using a wrench.
Step 9 : Secure the Light Bar Wiring
In order to prevent short circuits, make sure the wiring is well secured. In some cases, it’s a good idea to run cables inside the vehicle instead of relying on double-sided tape or velcro strips.
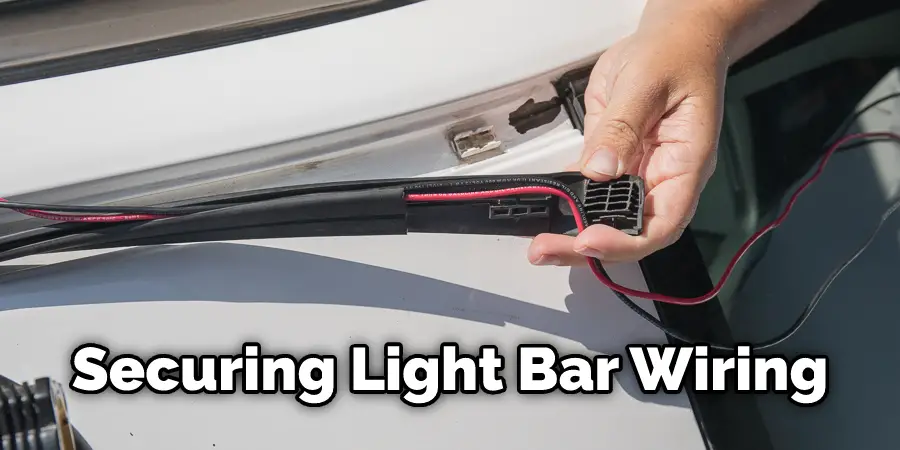
If this isn’t possible, use self-adhesive cable wraps and strap mounting brackets securely with zip ties. Read more to know about how to mount light bar on roof without drilling
Step 10 : Secure Light Bar to the Mounting Brackets
Your new light bar should be mounted on your roof rack and securely fastened to the brackets. Make sure you’ve plugged it incorrectly before testing how visible it is at night or how well it signals during the day. Be extremely careful not to blind oncoming cars with your new lights, especially if you live in an area where there are many commuters.
Step 11 : Connect the Light Bar Wiring to Your Vehicle’s Harness
In order to power your light bar, you need to plug it into the vehicle’s wiring harness. This applies both to vehicles that were made for lights and those which aren’t. In specific cases where there is no harness available, wire it up directly by joining its specific wires together or using an adapter.
Step 12 : Test Your Light Bars
Once your light bar is securely fastened, you can test how well it performs. You should see how visible the lights are and how they signal other drivers on the road.
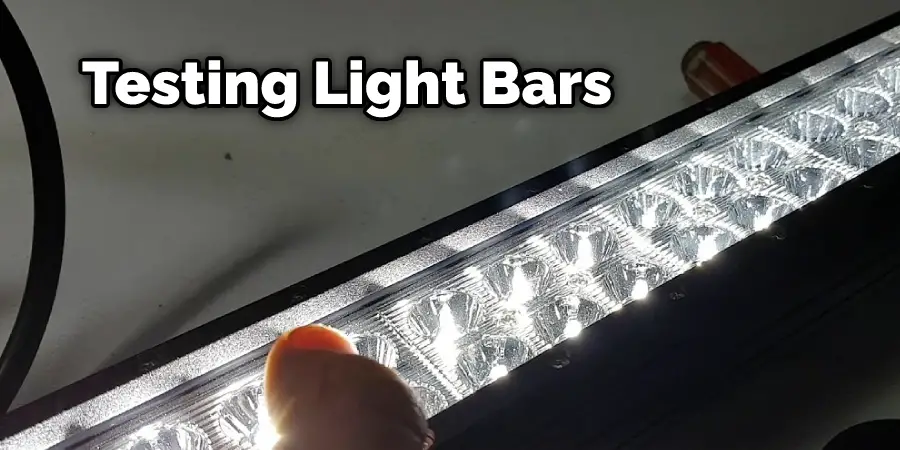
Be careful not to blind others with your new accessory, especially if you live in an area where there are many commuters.
Step 13 : Enjoy Your LED Light Bars!
Now that you’ve installed your LED light bars enjoy how better they make your vehicle look and how well they perform! Mounting them yourself ensures that everything is exactly how you want it and allows for customization.
You can check it out to Install Light Bar on Roof
Tips and Warning
Tips
If you are looking at mount light bar on roof without drilling, this is how I did mine. Mounted the lights about 1′ over my rear window. Used a 3/4″ x 2-1/2″ galvanized nipple for each light, TIG welded it in place, and used marine 1-1/4″ screws with 1/2″ rubber spacers to attach the light bar.
The marine screws will rust, but I don’t think it will ever be a problem, and you can always paint them if it does start to bother you. For about $150 at Home Depot, mount the light bar on roof without drilling. You can do the same thing.
Warning
somehow to mount a light bar on the roof without drilling might not be safe so do it at your own risk.
Note that most of the mount light bars on the top without drilling use the optimal spot for how to mount the light bar on the top without drilling, so be careful when doing a light mount bar on the top without drilling. By the way, mounting a light bar on the roof without drilling is an easy process.
Should You Mount Light Bar With Drilling or Without Drilling?
It is important to know how and where you plan on mounting your light bar before you drill. You will lose the warranty of your vehicle if the lights are drilled incorrectly. However, there are several ways of how to mount a light bar without drilling.
First Things First : A Light Bar is Not a Roof Rack!
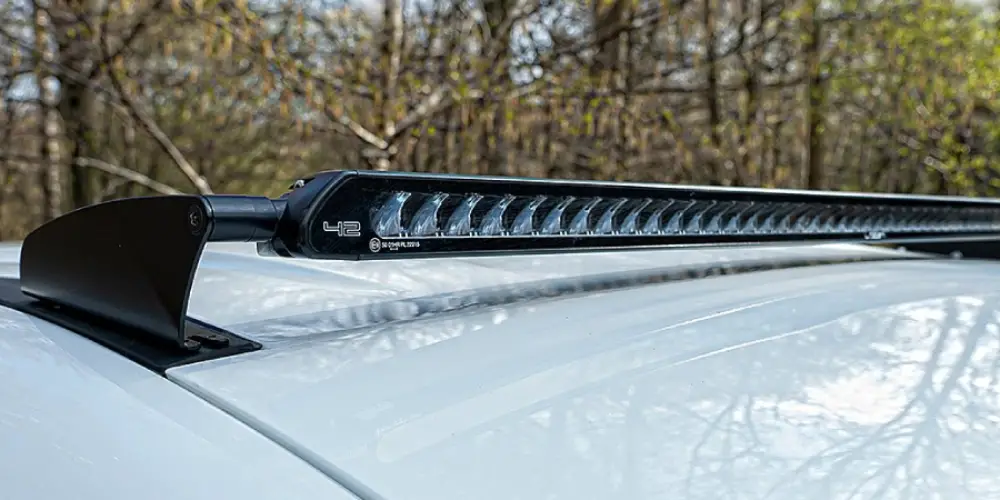
Many people think that you can mount the light bar to the roof rack. However, this is not how it works. The light bar attaches directly to the roof of your vehicle since it requires a lot more power than other LED lights.
Generally, light bars should be mounted on top of your vehicle. If you mount the lights underneath your car or truck, then the water and dirt from driving will get into the lights and cause problems later down the road.
Frequently Asked Question
Which Type of Mounting System Is the Most Secure and Durable?
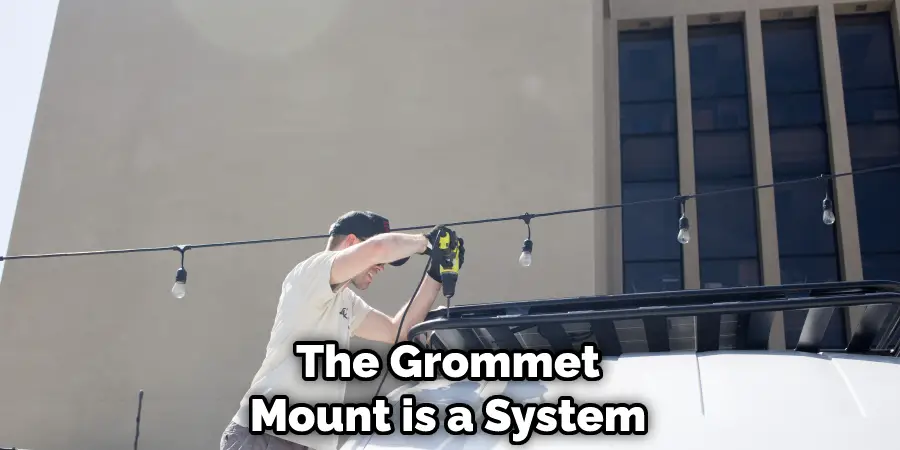
There are two types of mounting systems for light bars: the clamp mount and the grommet mount.
The clamp mount is a system that uses metal clamps to attach the light bar to the roof of your vehicle. This type of mount is very secure and can hold a lot of weight. However, it can also damage your car’s roof if not installed correctly.
The grommet mount is a system that uses rubber grommets to attach the light bar to the roof of your vehicle. This type of mount is not as secure as the clamp mount, but it will not damage your car’s roof.
What Is the Difference Between Ball Mounts, Clip-on Mounts, and Adjustable Brackets ?
Ball mounts are a type of adjustable bracket that connects your light bar to your vehicle. There are two types of ball mounts: the stud mount and the bolt mount.
The stud mount is a ball mount that uses a threaded stud to attach the light bar to your vehicle. The stud mount is very secure and can hold a lot of weight. However, it can be difficult to install and remove.
The bolt mount is a ball mount that uses bolts to attach the light bar to your vehicle. The bolt mount is not as secure as the stud mount, but it is easier to install and remove.
You Can Check It Out to: Open Half Lantern Outside Light
Conclusion
If you want to mount a light bar on your roof without drilling, we have found the perfect solution for you. The company that specializes in making and selling these brackets is called “Light Bar Brackets.
” They offer three different mounting options: surface mounted bracket, flush-mounted bracket, or vertical arm kit. All of their products are made from high-quality steel and powder-coated black, so they will not rust or corrode like other materials such as aluminum.
These brackets can be installed within minutes without any special tools because installation hardware comes included! We recommend this product if you do not want to drill holes into your car’s roof but still wish to install a light bar onto it! Thanks for reading our post about how to mount light bar on roof without drilling.
You may read it also – How to Remove Round RV Light Covers