
Led light strips are a great way to add some extra light to a room, and they can be entertaining to use. However, if you’re not careful, the led light strips can fall off very quickly. In this article, we’ll talk about how to keep led light strips from falling off, so you can enjoy their benefits without having to worry about them coming loose.
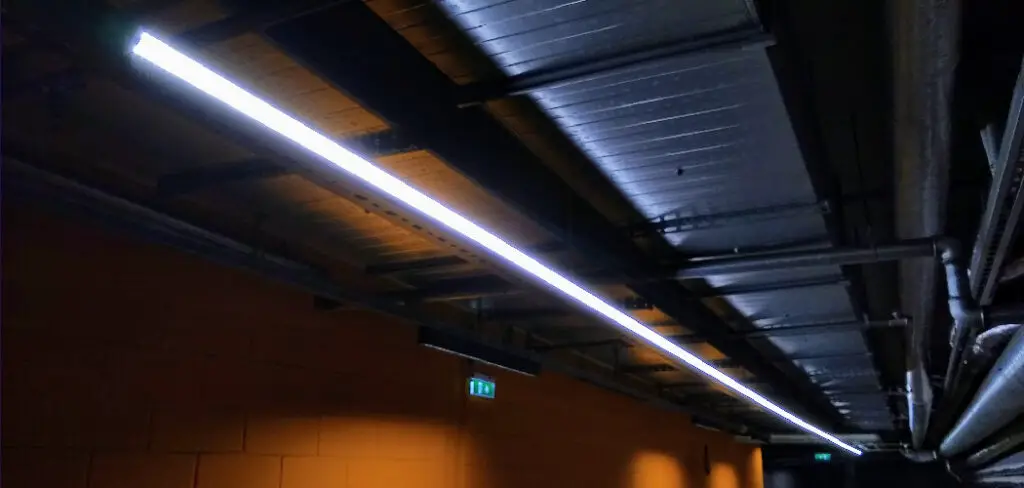
Led light strips are a straightforward way to add some extra light to any room. You can stick led light strips underneath cabinets, behind the sofa, even on top of certain surfaces – it’s all up to your imagination, and there aren’t many limits with led lighting!
A Step by Step Guide on How to Keep Led Light Strips From Falling Off
Step 1: Determine How You Want to Mount Your Led Strip
There are many ways to mount your led strip. You can use nails or gaffers tape-ins which you would attach the strip to the wall. Another way is to use a 3m double-sided adhesive which will enable you to stick your LED light directly onto any flat surface without using nails, screws, staples, or screwdrivers.
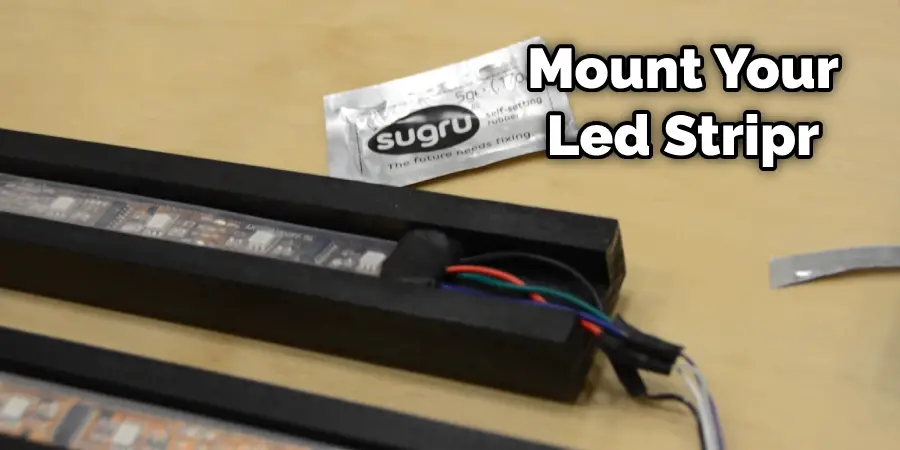
The last option is by using wood screws in which you would screw them into the back of your strip and then attach it on top of a wooden frame/surface for mounting purposes.
Step 2: Using Double Sided Adhesive Tape for Permanent Mounting
This is the quickest and most popular way to mount your LED strip. It requires no drilling or tools, making it quick and straightforward. In addition, this tape is pressure-sensitive, making it easy to adhere (stick) onto any area such as walls, windows, cabinets, furniture, floors, etc. The only limitation to using this adhesion method is that you can’t use it on unpainted surfaces such as newspapers or billboards.
Step 3: Using Wood Screws
First, you’ll need to find a wood frame or any other flat surface to mount it on. If you don’t have one at home, try going to Home Depot or Ace Hardware.
Once you find a place nearby where you can get wood screws, you will need to go in and talk to one of the associates, who are usually always around someone with some know-how.
First, you’ll need to find a wood frame or any other flat surface to mount it on. If you don’t have one at home, try visiting your local hardware store.
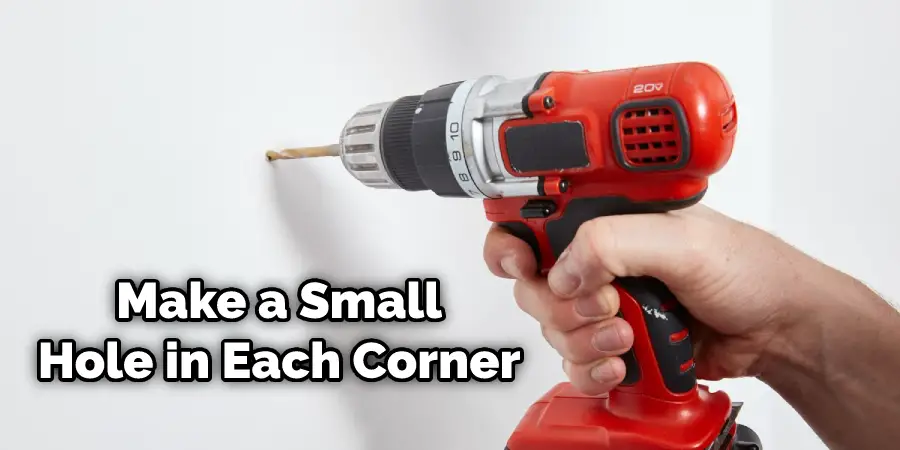
After making sure there are no issues with your drill, make a small hole in each corner of where you plan on putting your LED light strip onto. Now take one side of the wood screw and start twisting it into a piledriver motion until it’s entirely straight down below the surface of any frame.
Keep doing this for the other three sides where you plan to stick your led strip. Once finished, I’d recommend sealing up the small holes that you made with some wood filler to avoid any possible cracks or leaks that could happen.
Step 4: Use Gaffers Tape
Gaffers tape is great because it is very flexible and can be cut very easily without worrying about cutting into your LED light strip itself. How it goes is, first off, once again, make sure your strip isn’t plugged in or turned on before starting this whole process.
Now what you want to do is take your gafllers tape and measure out how long a piece you want to use so one side will go along the bottom side of the strip and the rest will go along the top of your ribbon. Now cut it into that size piece that you measured out.
Make sure everything is lined up before peeling off the backing paper on the side you plan on sticking the led strip onto. For example, once you get the tape to stick well enough onto the led strip, you want to make sure that both sides are well pasted down so there would be no problems with it coming off or even causing damage later on.
After it’s all successfully applied where you want it, take a pair of scissors and cut off any little pieces that are popping out from behind since this could cause potential damage in future uses.
Step 5: Use Electric Tape
There isn’t much to say about using electric tape besides that it is very flexible and easy to use. You would go about using this by once again making sure that your led strip is unplugged before proceeding with any further steps.
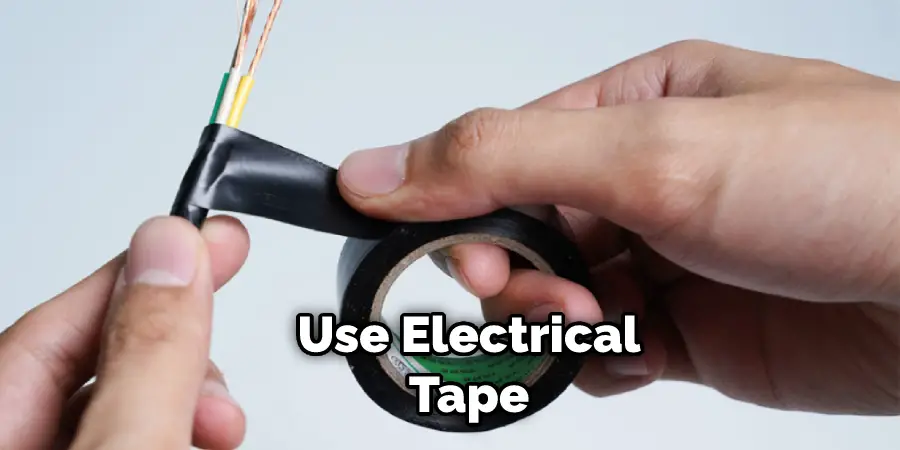
So what I did was find some electric tape in my toolbox, which ended up being thick, but worked out even better for my needs since I didn’t want the led strip moving around or having problems later down the line. Please make sure everything is excellent and cut straight and properly placed where you want it to be held together perfectly before starting with the adhesive process.
First, you would do this by grabbing some scissors and cutting the electric tape into pieces that are more manageable to handle. Now once you have it all sliced out where you want, take one part of your electric tape and place it on the bottom side of the led strip, so it covers up any exposed copper wiring underneath. Next, take another small piece of electric tape and stick it onto the edge of whichever color channel strip you plan on using for your lighting display.
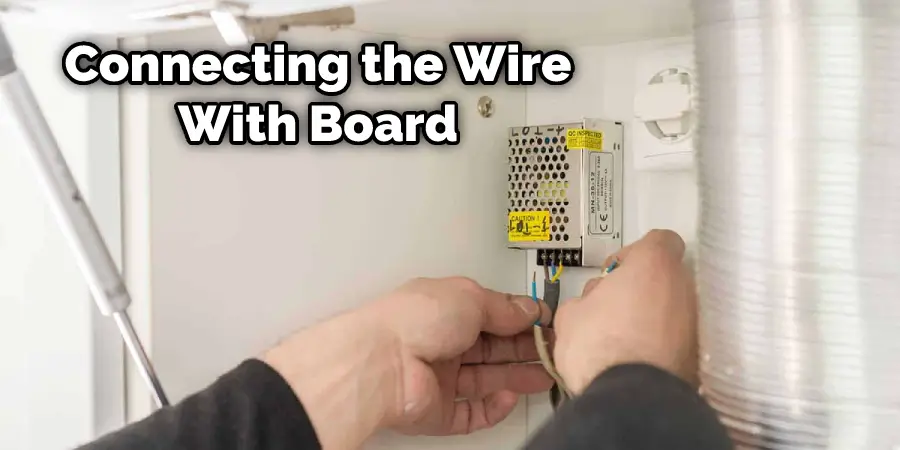
Step 6: Wire Everything Up
In order to put your LED light strip onto your color channel strips, you would first need to wire it up using tweezers and electrical tape. Once that is done, you would then put the strips onto an inverter, which we covered in our last tutorial.
Have one person hold the twizzes while another person tapes everything up and does any soldering if necessary. How it goes is by, first off, cutting both led strip wires, so they are all exposed on each side of the wiring.
Next, take two small pieces of electrical tape and stick them onto each side of your led strip where the exposed wires are. To do this, take one piece of tape and stick it in the center so it covers up all three sensitive wire connections, which will be coming from both sides.
After that, stick another small piece of electrical tape on top of one side while leaving the other exposed for now. Now take your tweezers and start twisting your wires together, so it starts looking like a big ball of wire.
You would go about doing this by taking the exposed wire on one side, which is now sticking out from underneath the tape, then you twist that with the other exposed wire until it eventually becomes too much to do with just your fingers.
I went about doing that by grabbing onto each loose end with the tweezer then twisting each one until both were all turned around itself perfectly fine. These steps will help in how to keep led light strips from falling off.
Additional Tips
If you’re having trouble keeping your LED strips from falling off, here are some additional tips for keeping them in place.
Using the Adhesive Pads:
The adhesive pads that come with your LED strip lights can be used to stay attached to almost any smooth surface like a computer case or even inside the car. With just a little bit of glue, they’ll hold tight and look great! You can also use these adhesive pads on led strip lights with no sticky back.
Of course, they will detach themselves if too much stress is put on them, but this is usually not an issue with office computers. Here are instructions on how to install led light strips without adhesive backing.
Using 3M Tape:
This is the adhesive tape you can find at any hardware store. It’s usually used to hang posters and works great with our LED strips. First, clean off the surface of your choice, then cut small pieces of the 3m tape and apply to your LED strip lighting where they would usually be adhered (front or back). Lastly, press down firmly for 5-10 seconds along each side of the LED strip lights.
You Can Check It Out to: Make a Blacklight With Led Light Strips
Frequently Asked Questions
What is the best way to secure LED strip lights?
There are a few different ways to secure LED strip lights.
The first way is to use a locking wire or cable tie to loop around the light fixture and pull tight. This will secure the light to the fixture.
Another way is to use a screwdriver to make a small hole in the light cover and then screw in a metal clip. This will hold the cover on while allowing you to turn the light on and off.
A final way is to use adhesive backed Velcro strips. These can be attached to either side of the light fixture and then secured with a second strip on top of the first. This will keep the lights secure while allowing them to be easily removed if needed.
How do you secure LED strip lights to the wall?
There are a few different ways to secure LED strip lights to the wall, depending on the type of installation and the type of strip light. One common method is to use mounting brackets, which can be attached to the wall using screws or nails. Other methods include using wireless receivers and clips, which allow the strip light to be easily attached and removed from the wall. It is important to choose a mounting method that is appropriate for the type of strip light and the installation location, as not all types of strip lights are compatible with every installation method.
Why do LED strips not stick?
LED strips do not typically stick because the adhesive is not strong enough. It is usually recommended that you apply the adhesive using a roller and then press the LED strip into place. If the adhesive does not adhere well, you can try spraying the adhesive onto the surface of the LED strip and then pressing it into place.
What are the disadvantages of LED light strips?
There are a few potential disadvantages of LED light strips, including the following:
1. They can be more expensive than traditional light bulbs or lamps.
2. They may require more maintenance than traditional light bulbs or lamps.
3. They may not be as versatile or adjustable as traditional light bulbs or lamps.
4. They may not be as energy-efficient as traditional light bulbs or lamps.
5. They may require more space to install than traditional light bulbs or lamps.
Conclusion
After reading this article, you will know how to keep LED light strips from falling off. This is perfect for when you need a quick fix to get back on the road and continue your day! We hope that these few tips will help in some way. If they don’t, feel free to reach out to chat more about what could be going wrong.
You may also read: How to Remove Led Light Strips From Wall