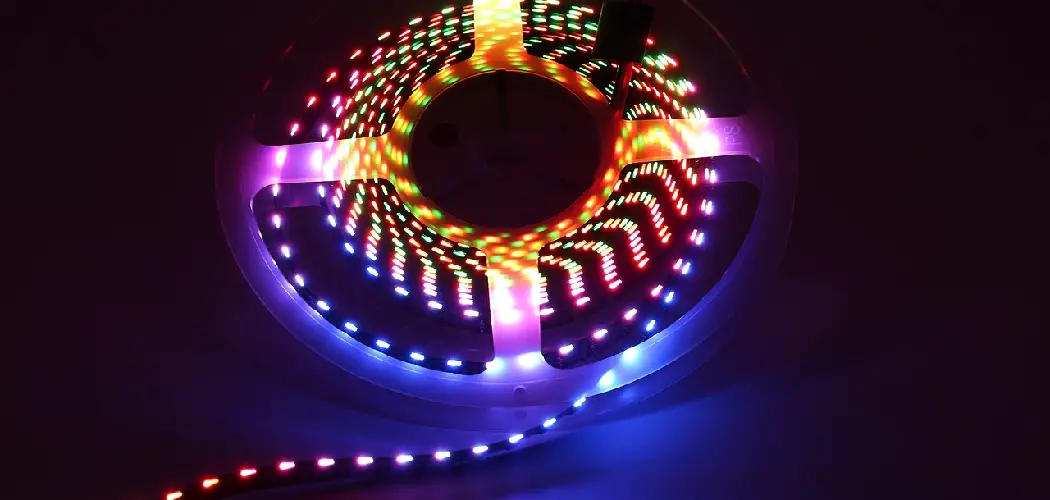
Led light strips are a great way to create a blacklight for parties, costumes, and other fun events. They’re easy to use and affordable, making them a popular choice for people looking to add some excitement to their celebrations. This article will show you how to make a blacklight With led light strips. L t’s get started!
Summary: Creating a blacklight effect using LED light strips is a fun and simple DIY project that can add an interesting and unique ambiance to any space. To get started, you will need UV LED light strips, which emit ultraviolet light that makes certain materials glow in the dark. These strips can be easily found online or at your local electronics store. You’ll also need a power supply that is compatible with the UV LED light strips, along with any necessary connectors or adapters. Make sure to read the manufacturer’s instructions and safety guidelines before starting the project.
Once you have gathered all the necessary materials, determine the desired location for your blacklight installation, such as around a room’s perimeter, behind furniture, or under shelves. Clean the surface where you plan to install the UV LED light strips to ensure proper adhesion. Measure the length of the area you wish to cover and cut the LED strips accordingly, being cautious to only cut along the designated cutting lines.
Peel off the adhesive backing and carefully attach the strips to the chosen location, making sure they are straight and secure. Connect the LED strips to the power supply and any required connectors, then plug the power supply into an outlet. Turn on the UV LED light strips to enjoy the blacklight effect, which will cause fluorescent materials and certain colors to glow vibrantly in the dark. This DIY project can be a great addition to parties, themed rooms, or artistic installations, adding a distinctive visual impact to any space.
What Can You Do With a Black Light
- Check if a document has been printed on a regular or special “fluorescent” paper. The fluorescent paper will have whitish names and numbers under the blacklight.
- Make fluorescent dyes glow. Many stores sell invisible non-toxic dyes that can be applied with a cotton swab to surfaces that need changing (such as hair coloring. Under a black light, these dyed items will fluoresce, which is how you know they’re working! The color of things dyed by these d es changes according to different types of material. For instance, red, brown, and orange will appear when dyed onto the wood.
- Make “invisible ink” visible. You can use lemon juice or milk (or even urine! To write in invisible ink, but the heat of a black light will make it visible! Just make sure you’re using a black light and n t a regular light bulb.
- Provide lighting for other activities such as glow-in-the-dark bowling, playing with glow sticks, or using magnetic fishing lures that can be used to fish at night (when the fish are attracted to light).
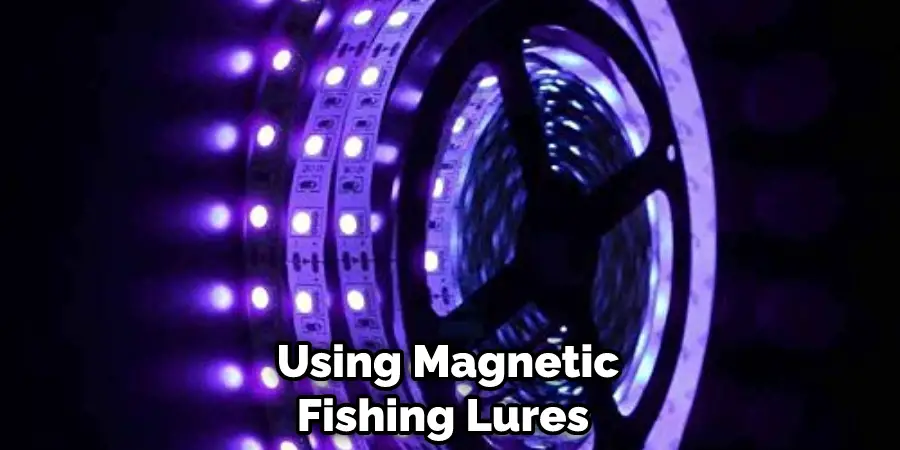
You can buy traditional blacklight bulbs at your local hardware store or find them in some hair salons. These unique fluorescent bulbs are usually purple, but when turned on, they emit ultraviolet rays that are invisible to the human eye.
A blacklight bulb is a type of light bulb that is used to kill germs. Hospitals use them to clean equipment and to inspect hotel rooms. Paranormal investigators use them to try to see ghosts in places where people have reported seeing them.
Things You’ll Need
- White glue or hot glue gun
- Strips of LED light strip x2
- 12-volt power adaptor x1
- Switch/button for on/off function x1
- Tape measure, ruler, and marker x1 ccccc
- Scissors or a razor blade to cut plastic casing X-ACTO knife can be used too.
A Detailed Guide on How to Make a Blacklight With Led Light Strips
Method 1: Using a Remote Control Power Adaptor
Step 1:
Measure the length of LED light strips you need to cover the blacklight space. We recommend purchasing extra strips if you need to replace any due to wear and tear.
Step 2:
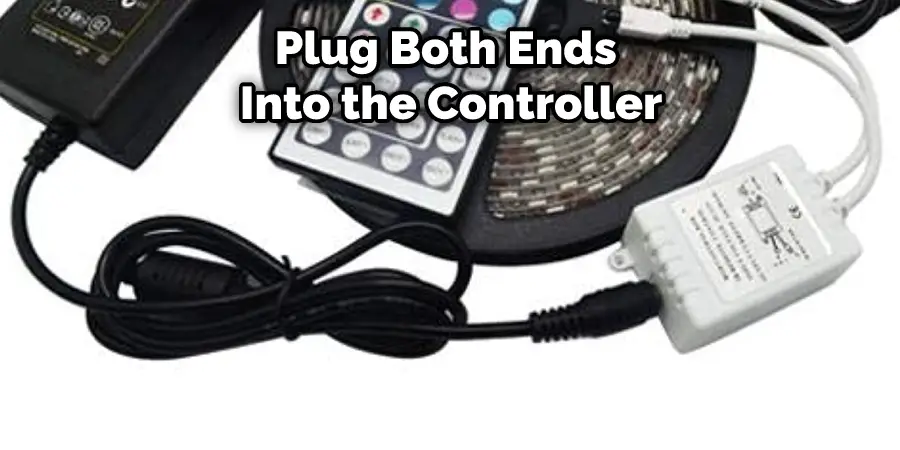
Set up your switch/button station on a table or desk. Plugin the power adaptor, connect one end of each strip into the power adaptor, and plug both ends into the controller. Using an X-ACTO knife or scissors, cut open a plastic casing that covers LED lights about halfway up starting from one end (leave enough space for controller connections later).
Step 3:
Trim off any excess wire on LED light strips for neatness and convenience. Usually, the soldered side has extra wiring than the opposite end with a power adaptor connection. Next, you can use either white glue or a hot glue gun to attach the LED light strip to the wall vertically. Ensure you see the positive(+)and negative(-) before securing them in place with glue.
Also, notice that each strip has protective film overs soldered connections that need to be peeled off before powering the strip/connecting controller. Finally, attach LEDs 2-6 inches from the ceiling, depending on your red effect. We recommend having at least 2 inches of space between LE s and surface for durability.
Step 4:
Once you are done with LED lights, arrange your switch/button station on the wall (usually near the door) and connect all wires to the controller. Make sure to check your work!
Step 5:
Plugin power adapts r and switches/button for a test run. If everything works correctly, plugin light strip control er and enjoy!
Method 2: Using a Light Strip Connecting Cable
Step 1:
Measure the length of LED strips you need to cover blacklight space. We recommend purchasing extra strips just in case.
Step 2
Trim off any excess wire from each LED strip for neatness and convenience. Usually, extra wiring is at the soldered side of the strip rather than the opposite end with power adaptor connectors.
Step 3:
Plugin the light strip controller and arrange the power adapter station on a wall that is easily accessible once installation has been complete. Next, cut open plastic casing that covers LED lights about half ay up starting from one end (leave enough space for connecting cable).
Step 4:
To attach LED light strips vertically onto a surface where the blacklight will be located, first peel off any protective film over soldered connections of each LED strip. You can use either hot glue or white glue. How far from the ceiling the strips are placed depends on your desired effect, but we recommend at least 2 inches of space between LEDs and the surface for durability purposes.
Step 5:
After you finish installing your LED lights, use the connecting cable (usually included with the LED strips) to attach both ends of one strip to the other strip. How you connect them is up to you! We recommend using white glue or a hot glue gun to attach connectors to the wall near the blacklight area. That way, the LED strips are less likely to fall off while you’re installing blacklights under beds or couches.
Step 6:
Plug in the power adaptor and turn on the controller for a test run. If everything works correctly, enjoy your newly made backlights was!
These methods will help in how to make a blacklight with led light strips.
Tips and Warnings
Tips:
- Make sure you get the right Led light strip color. Black lights work best with purple, lavender, and blue colors.
- Be sure LED light strips are waterproof and weatherproof. The last thing you want is short because water got into your blacklight.
- Be sure to test out the LED light strips by turning on all the lights in the room first. This will give you an idea of just how bright your blacklight will be. You can always add more if needed.
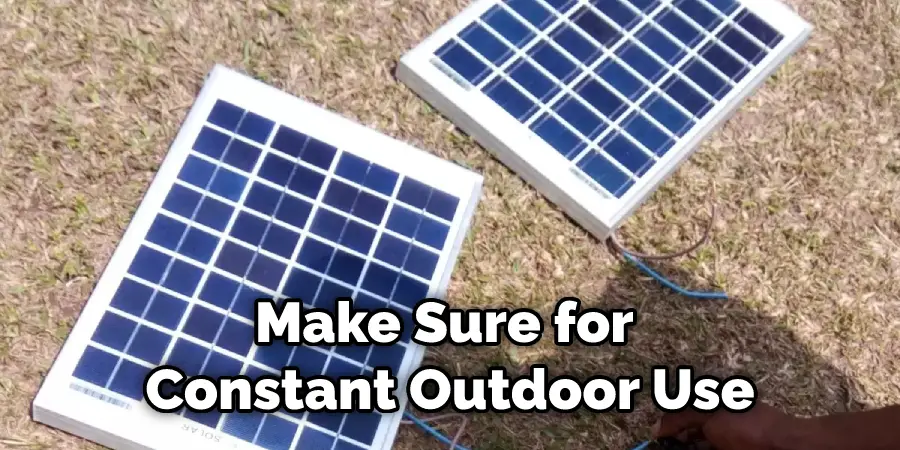
- If you’re going to be using a solar panel, make sure it was made for constant outdoor use.
Warnings:
- Remember to unplug the lights after you’re done. It may take a couple of minutes for the light to shut off completely, and if you accidentally touch it, it can cause temporary blindness.
- DIY blacklights are not meant to be used for long periods.
- Keep pets and kids away. The last thing you want is a pet or child getting hurt by an LED light strip that was unplugged but still had power running through it.
- Don’t look directly at the lights if you turn them on.
- Don’t shine a blacklight in your eyes. This may cause temporary blindness.
You Can Check It Out to: Make Custom Led Light Colors
Why Does a Black Light Make Things Glow
Blacklight doesn’t look like much, but it will uncover substances that appear invisible under regular lighting. How does the ultraviolet radiation emit by a black light cause particular objects to glow? The answer lies in the structure of atoms, which are made up of three particles: protons, neutrons, and electrons. Electrons orbit around an atom’s nucleus, composed of protons and neutrons.
It’s this grouping that gives rise to an atom’s electromagnetic properties. An electron has a negative charge, while a proton has a positive charge. Opposite directions attract each other, so electrons orbit around nuclei rather than flying away from them. When you expose something to blacklight radiation, its molecules absorb energy from the ultraviolet photons emitted by the black light.
This causes electrons to magically jump from their usual positions in atoms to others that are very far away. When the electron drops back down into its original position, it emits a photon of visible light to give itself enough energy to return home. Each molecule has dozens of available places for this drop, so when you shine a blacklight on an object, each one releases photons at different wavelengths, producing visible light at frequencies that correspond with the energy differences between absorbed and emitted photons.
You Can Check It Out to: Make a Pipe From a Light Bulb
Frequently Asked Questions
Can You Make Black Light With Led Lights?
Yes, you can make black light with led lights. This type of lighting is often used in photography and videography to create a variety of effects that are unique and effective.
When using black light with led lights, be sure to use the correct filters so that your images look their best. Some popular filters include silver (for white balance), UV (to control exposure), infrared (for controlling temperatures), or dichroic (to change colors).
Do They Make Black Light Led Strips?
Yes, there are a few brands of black light LED strips that can be used for various purposes such as displaying logos or designs, creating rave or concert visuals, or revealing hidden information. They come in a variety of colors and sizes and typically use low-voltage DC power, so they are both safe to use and easy to install.
Does Led Light Tan Your Skin?
LED lights are a trending form of lighting, and for a good reason. They deliver an intense amount of light with minimal heat, which is great for those who have sensitive skin. LED strips or bulbs emit a cool white color that doesn’t trigger the release of histamines like conventional incandescent light does.
Additionally, LEDs produce less outdoor glare than other forms of lighting while still providing ample illumination indoors. This makes them ideal for use in offices and homes where natural sunlight is not available or desired.
Some people worry about the potential health risks associated with exposure to LEDs, such as cancer or genetic mutations, but studies have found that these concerns are unfounded. LEDs may even be helpful in combating some health problems like acne!
Do Led Light Strips Damage Walls?
Led light strips can definitely damage walls if they’re installed improperly. If the strips are installed too close to the wall, heat will be generated and the wall may start to buckle or crack. Additionally, if the strips are installed next to windows or doors, they may cause them to leak. In general, it’s best to install led light strips at least two feet away from walls and other sensitive areas.
Conclusion
We hope you have learned how to make a blacklight with led light strips. Blacklights are used to show the fluorescence of certain substances. You can use led light strips for this purpose, which you can purchase online or at hardware stores. If you want to learn how to make a blacklight with led lights strips, take a look around your house and see if any items might be fluorescent under ultraviolet light.
